


III.1 Cultivating soil
We have already located the garden; now it is time to start designing it.
We start by cleaning up the area we have chosen to design our edible garden. This would be a first teamwork activity between the beneficiaries. We remove, if necessary, rocks, weeds and holes with the purpose of making the surface as level as possible.
Unless we want to make our edible garden with raised garden beds, technique that will be explained later on in this didactic unit, the soil could be ploughed one last time if it is too hard, even though it is not recommended since it would destabilize the soil life. If there is a lot of grass, it could be good to use a brush cutter or to cut them manually, spreading them out on the floor and soaking them. We can also use animals, such as hens, ducks, geese or pigs, building a corral which can be fixed or movable, with shadow and water so we can leave our animals in enough time, which will be when the field is grass free and fertilised by the animals.
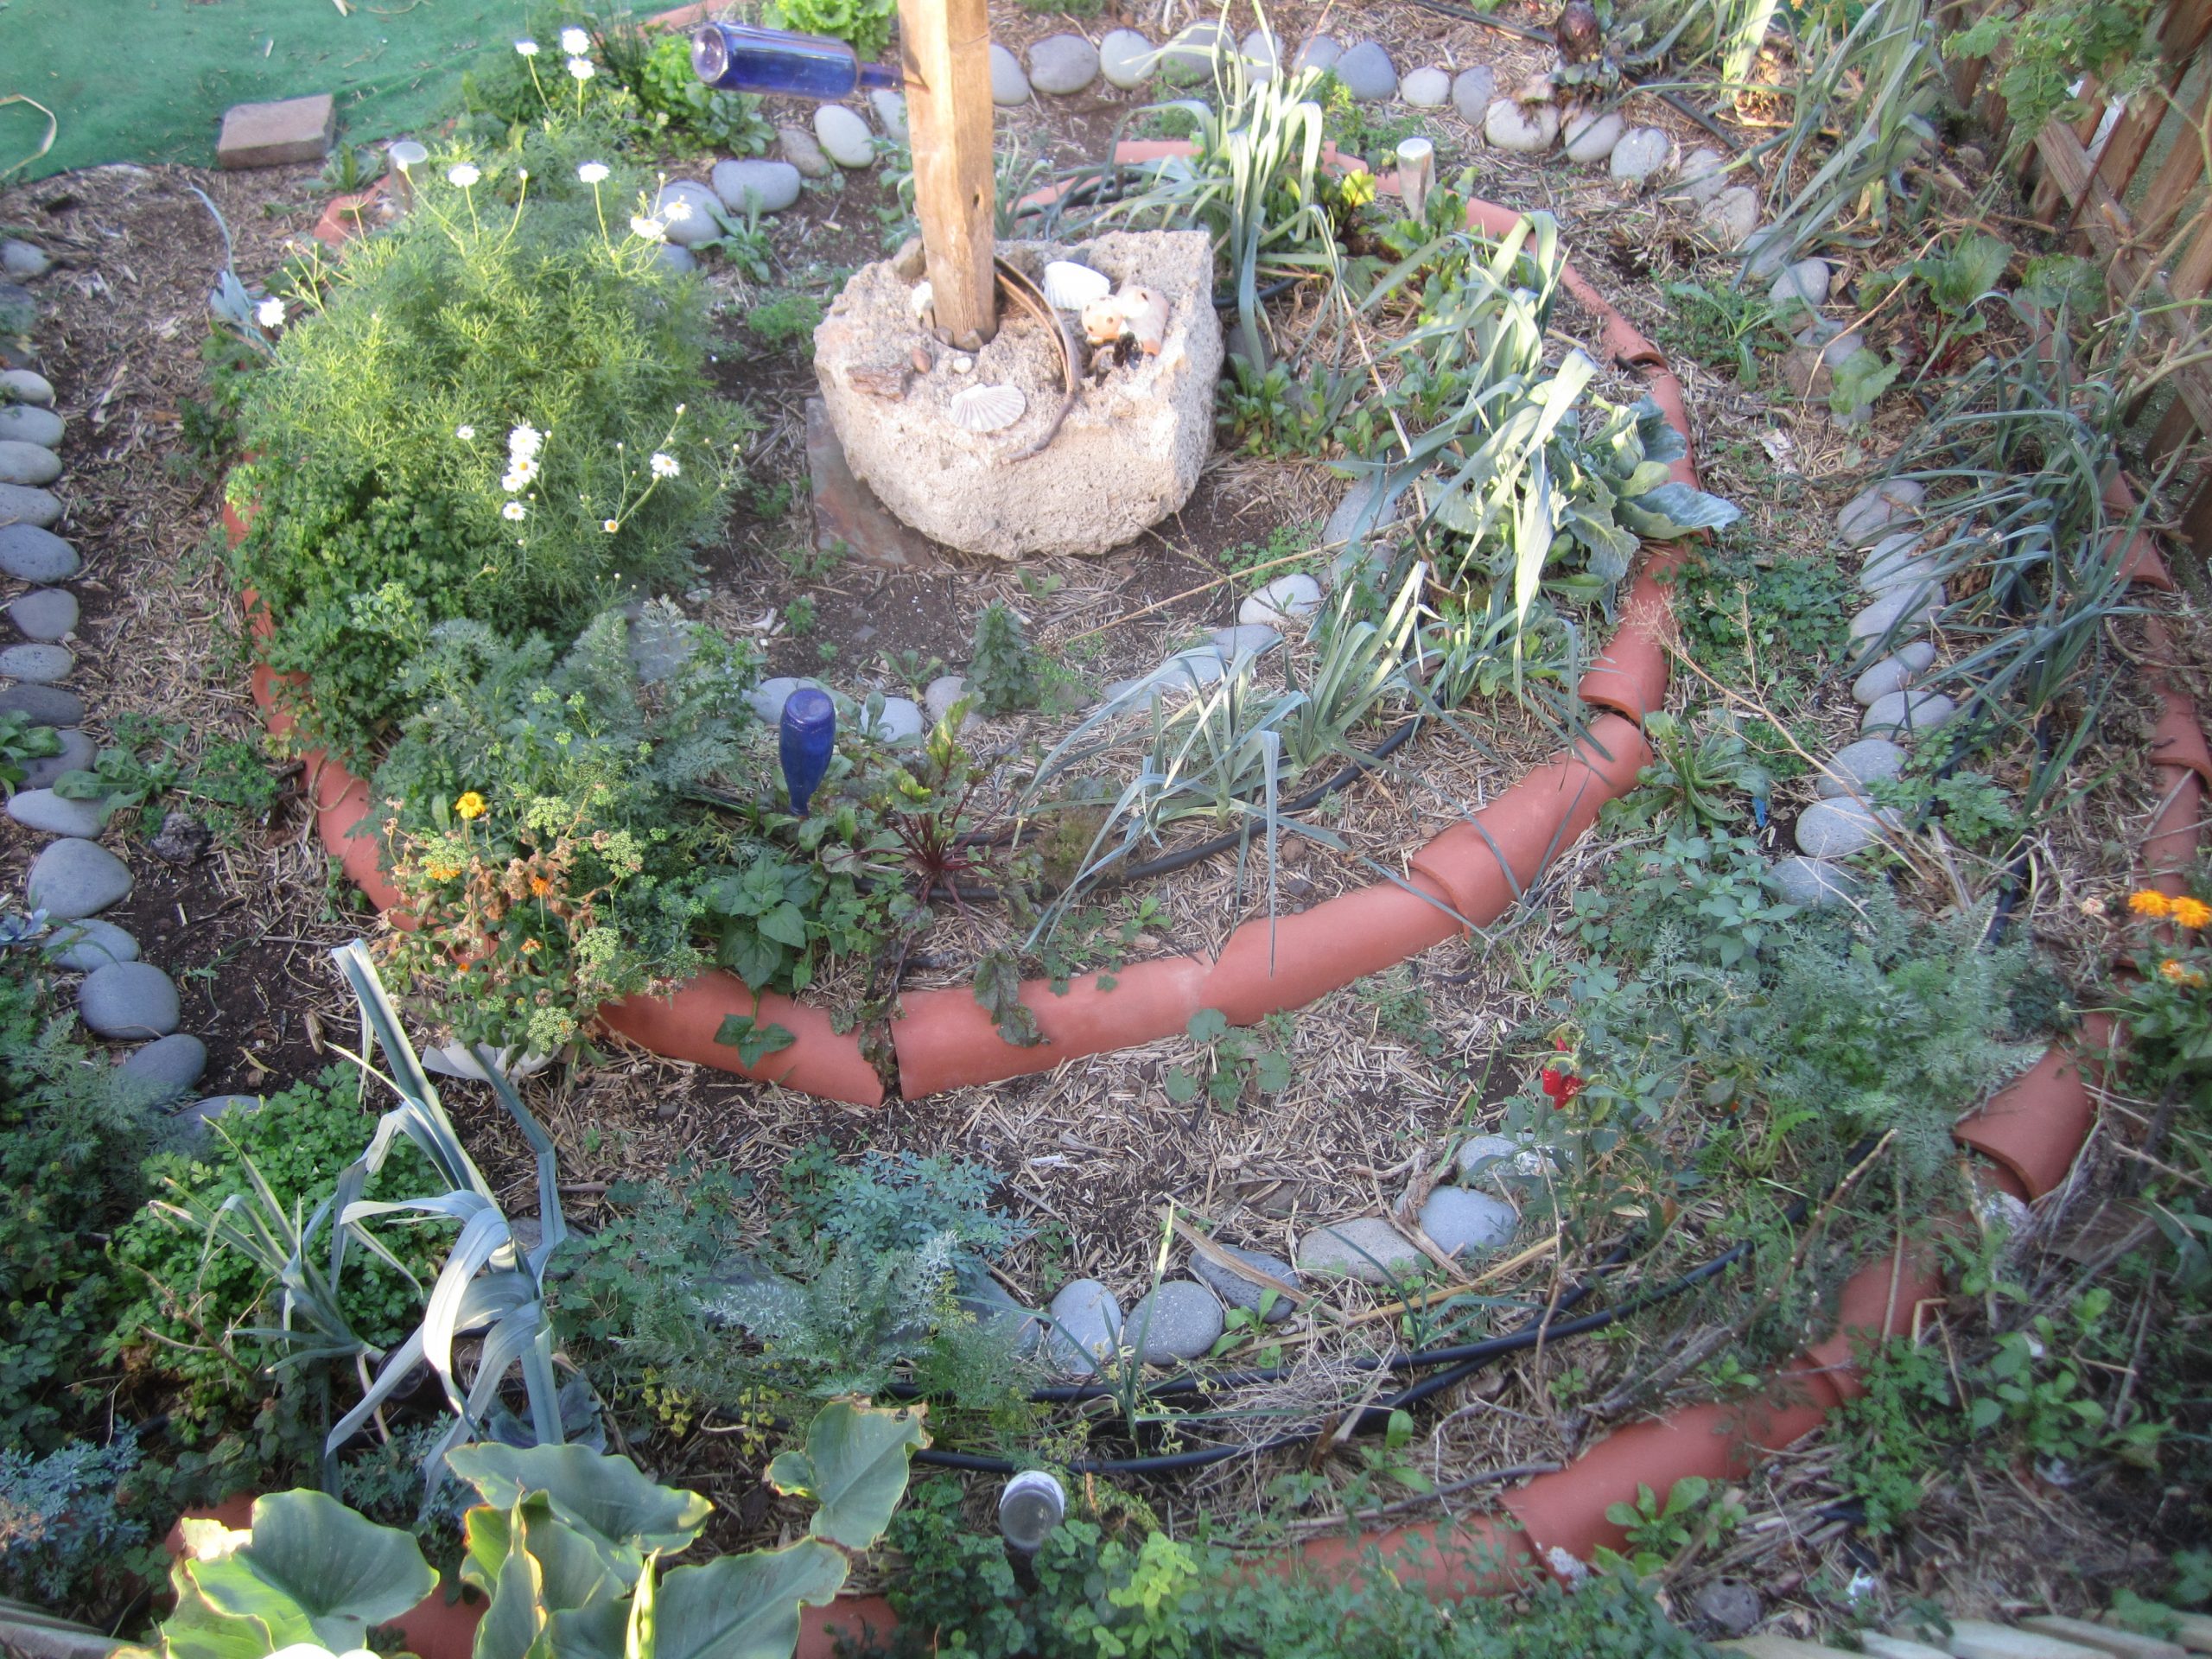
It is important to install at least a biotope in the edible garden. For that purpose, we choose the location and we build it first, integrating it into the garden with plants and borders (Figure III.1).

Figure III.1.- Built biotope in the edible garden.
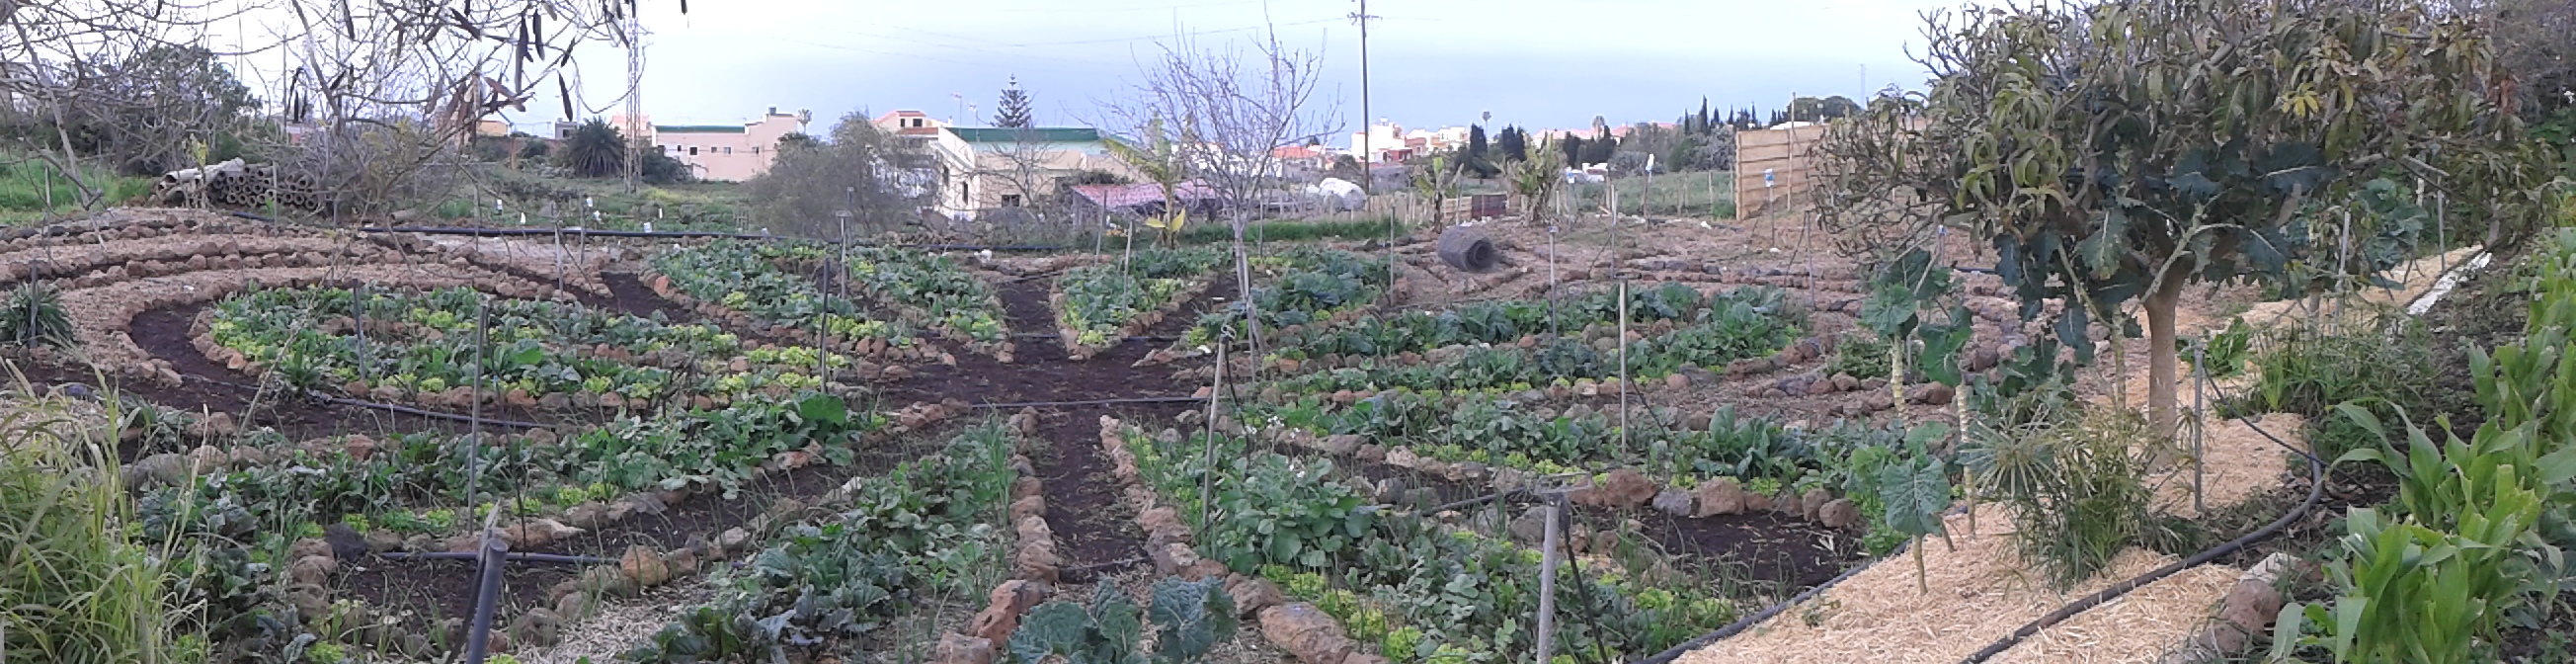
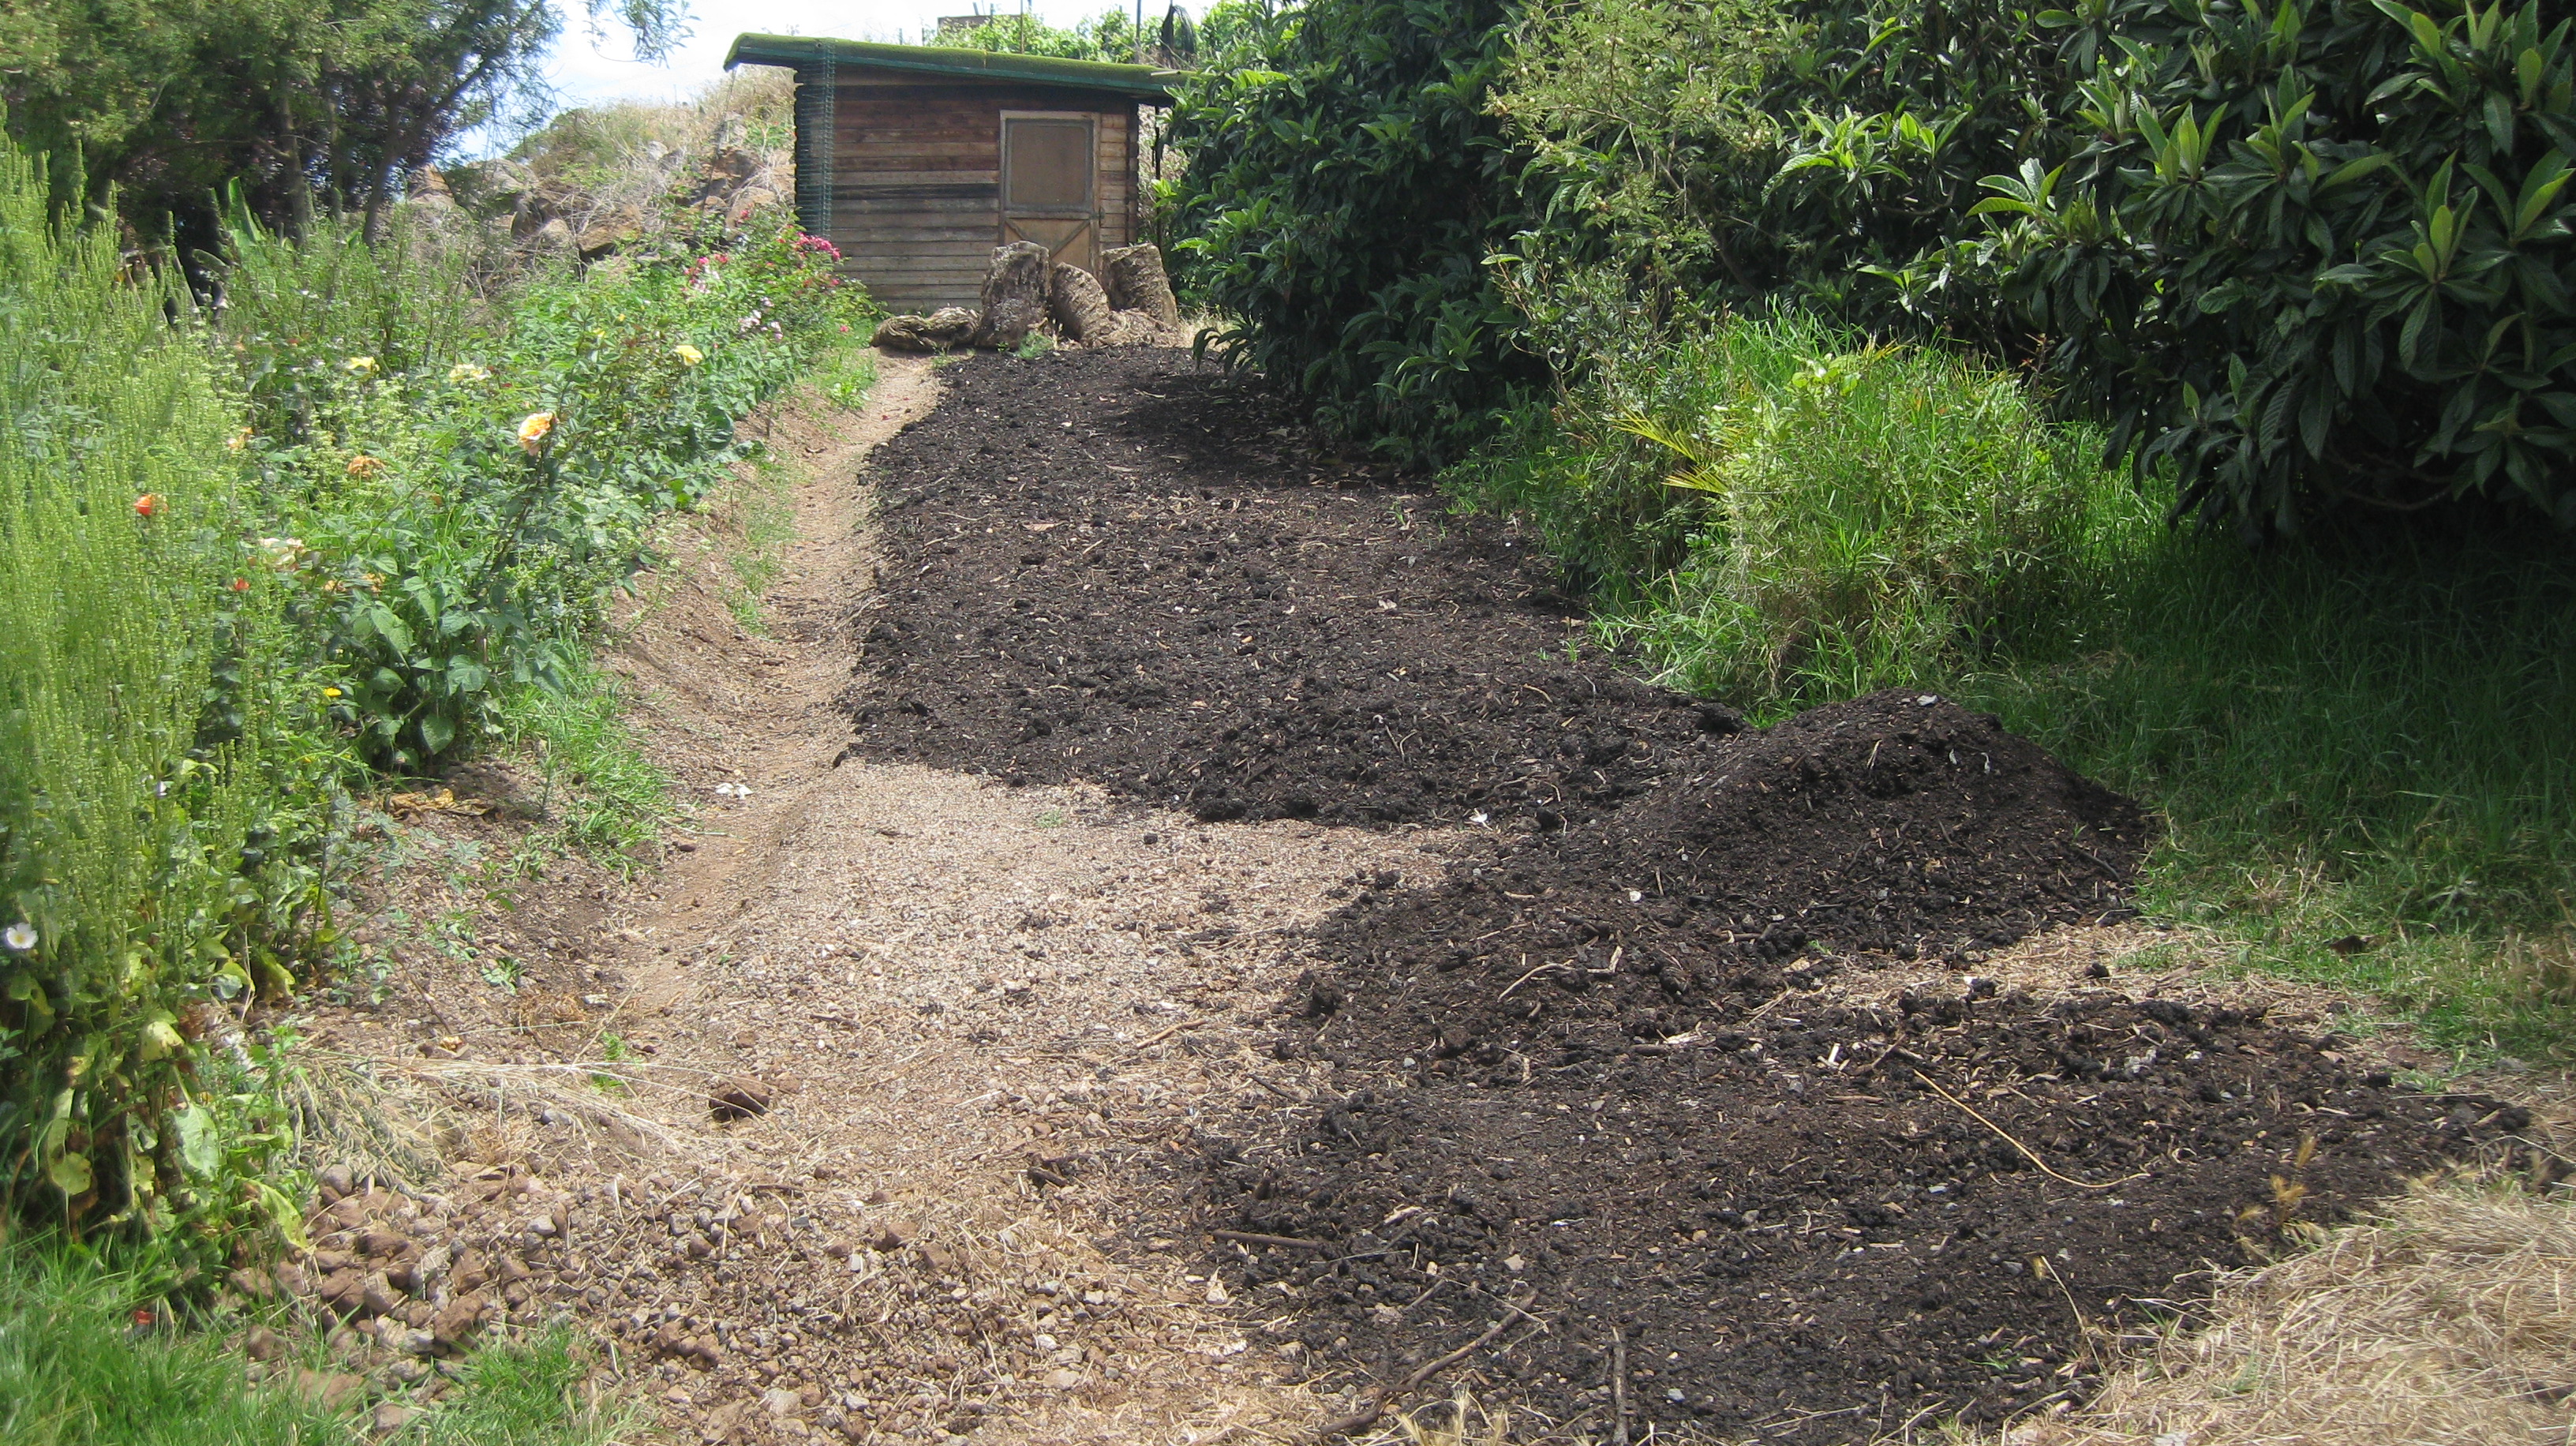
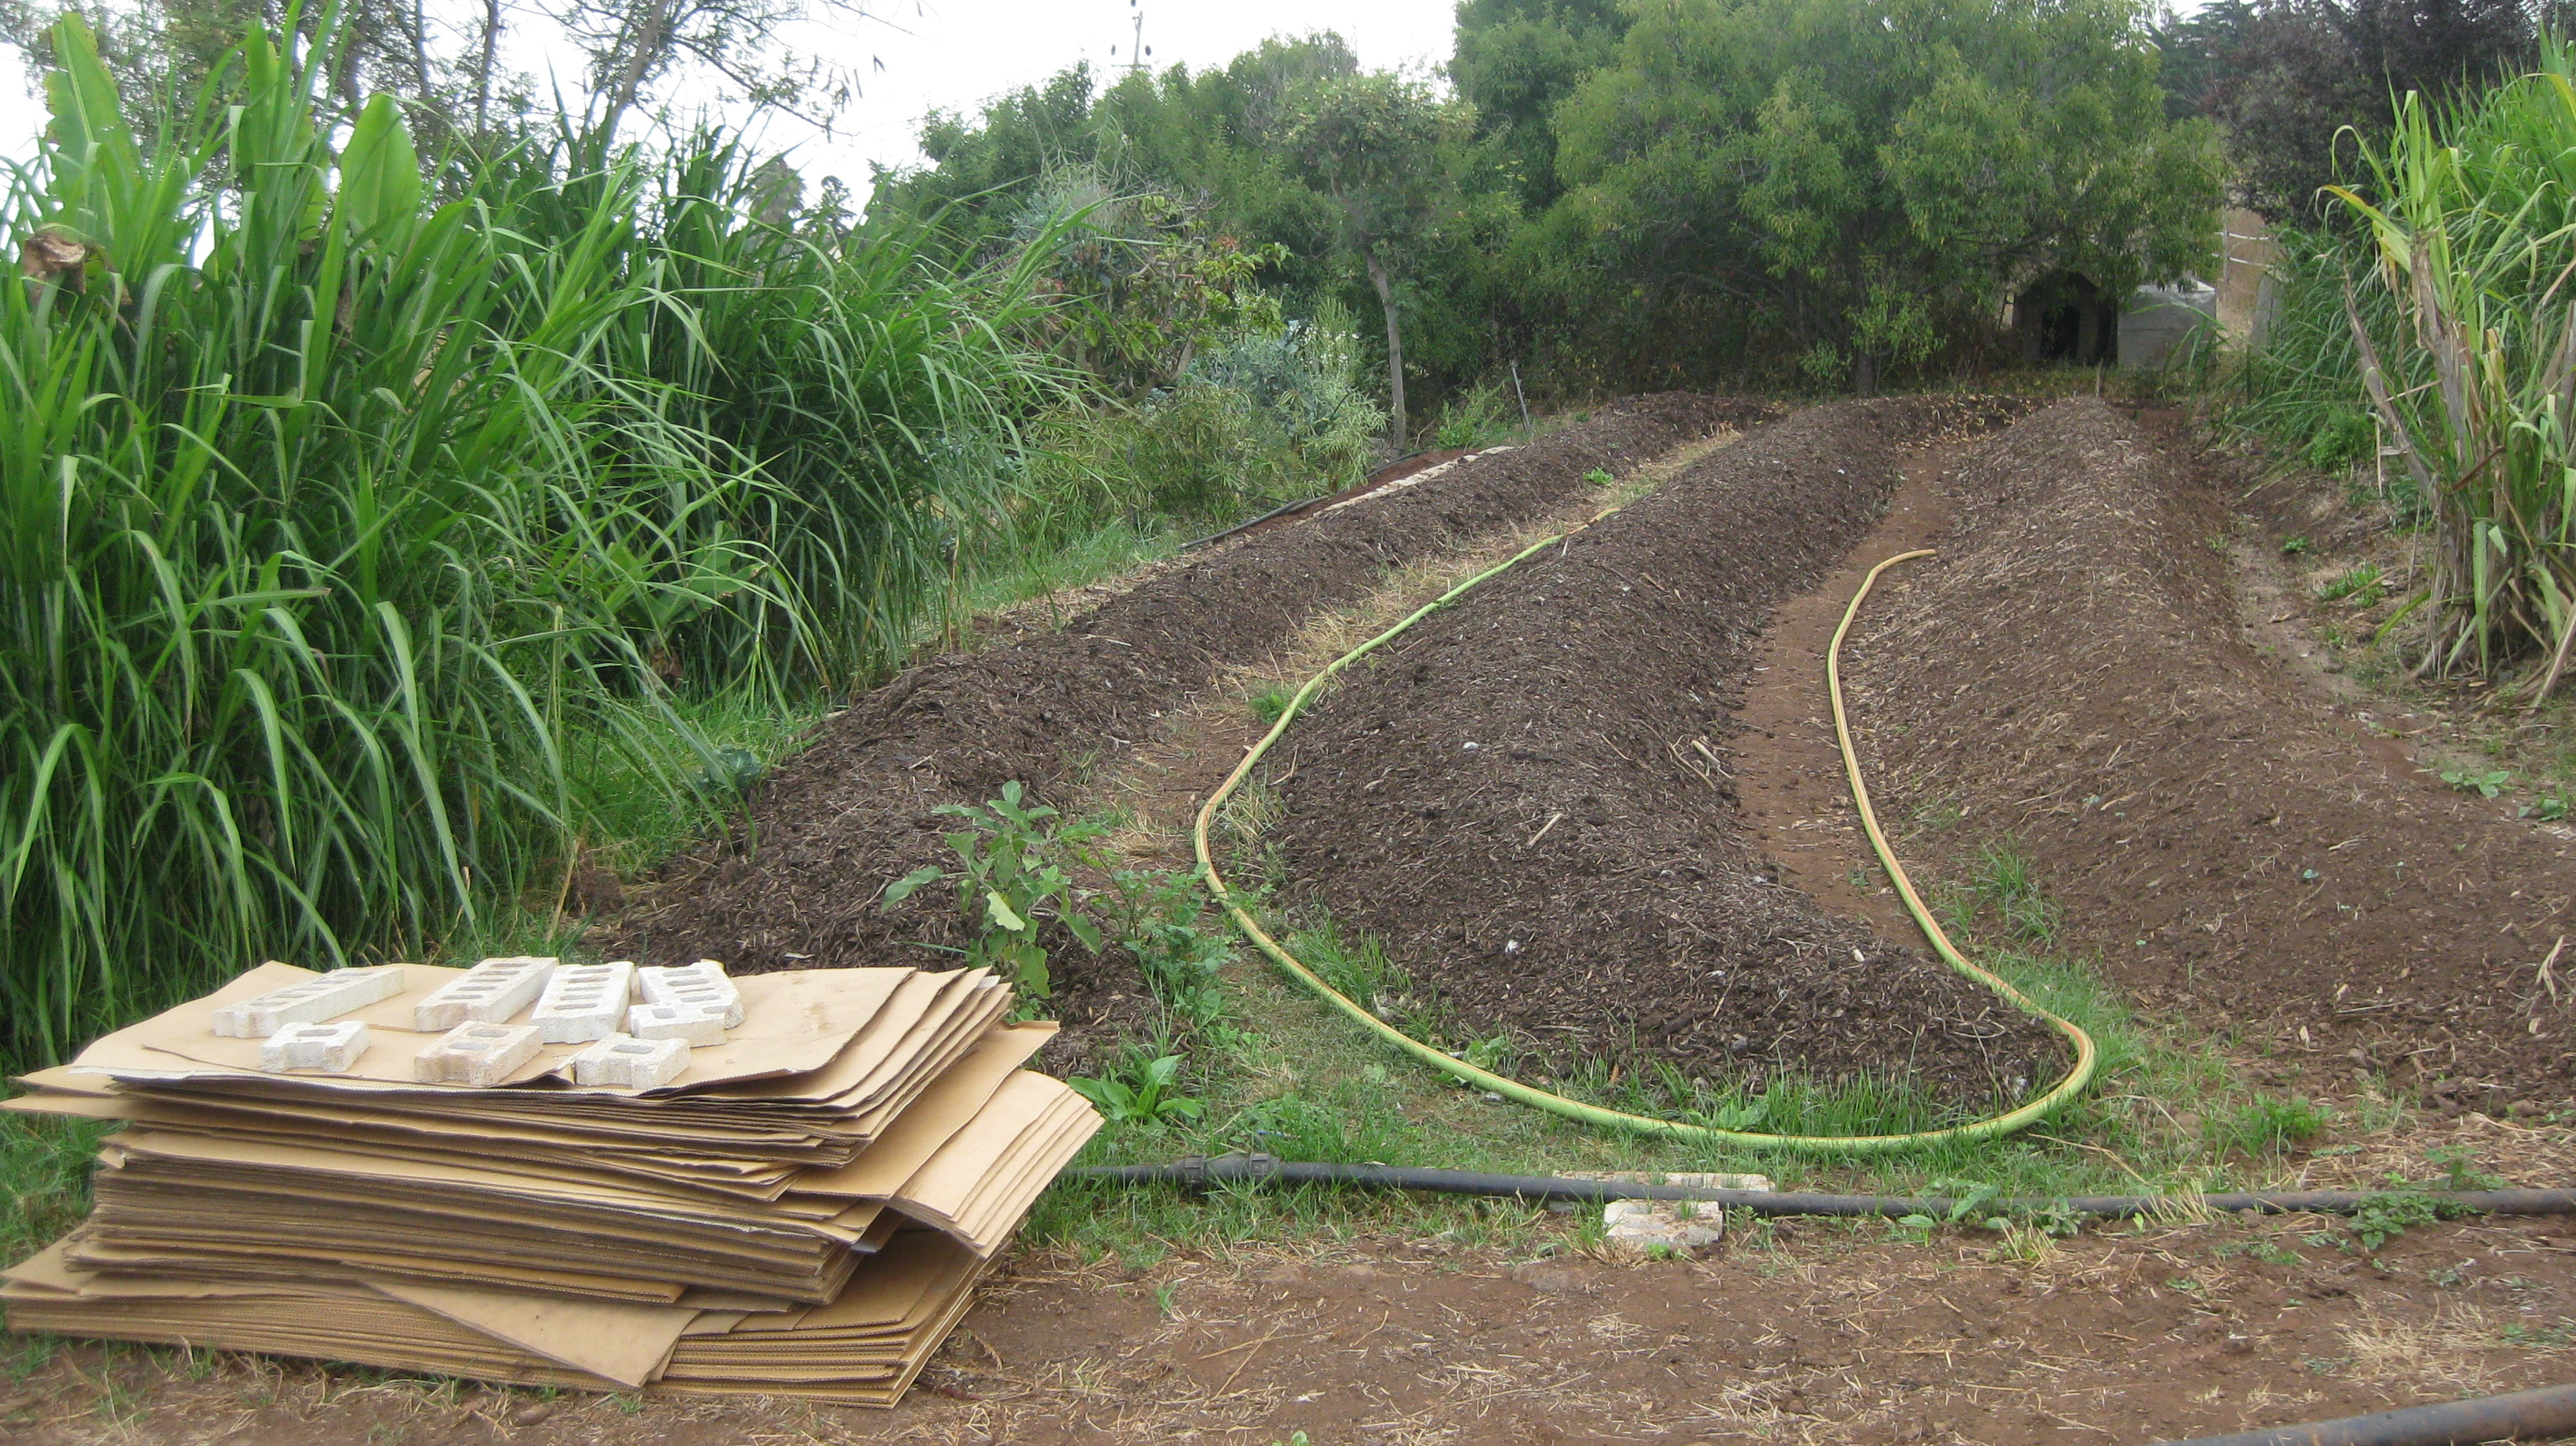
Now, the land is ready to be covered with an even layer of compost, which will be, at least, between 15 and 20 cm high. This is the most important task we have to achieve if we want to have good permanent results from the first year on. We must never extend a layer thinner than 15-20 cm of compost, even if we want to have more farmland. It is better to have less space with the minimum compost suggestion than trying to get more surface with less compost. If we don’t have enough compost, we will only place it in the allotments, getting this way a lower path. If this is the case, we need to design the allotments in advance so that we can extend the compost in them (Figure III.2). Once this work is finished, we soak the compost without flooding it.
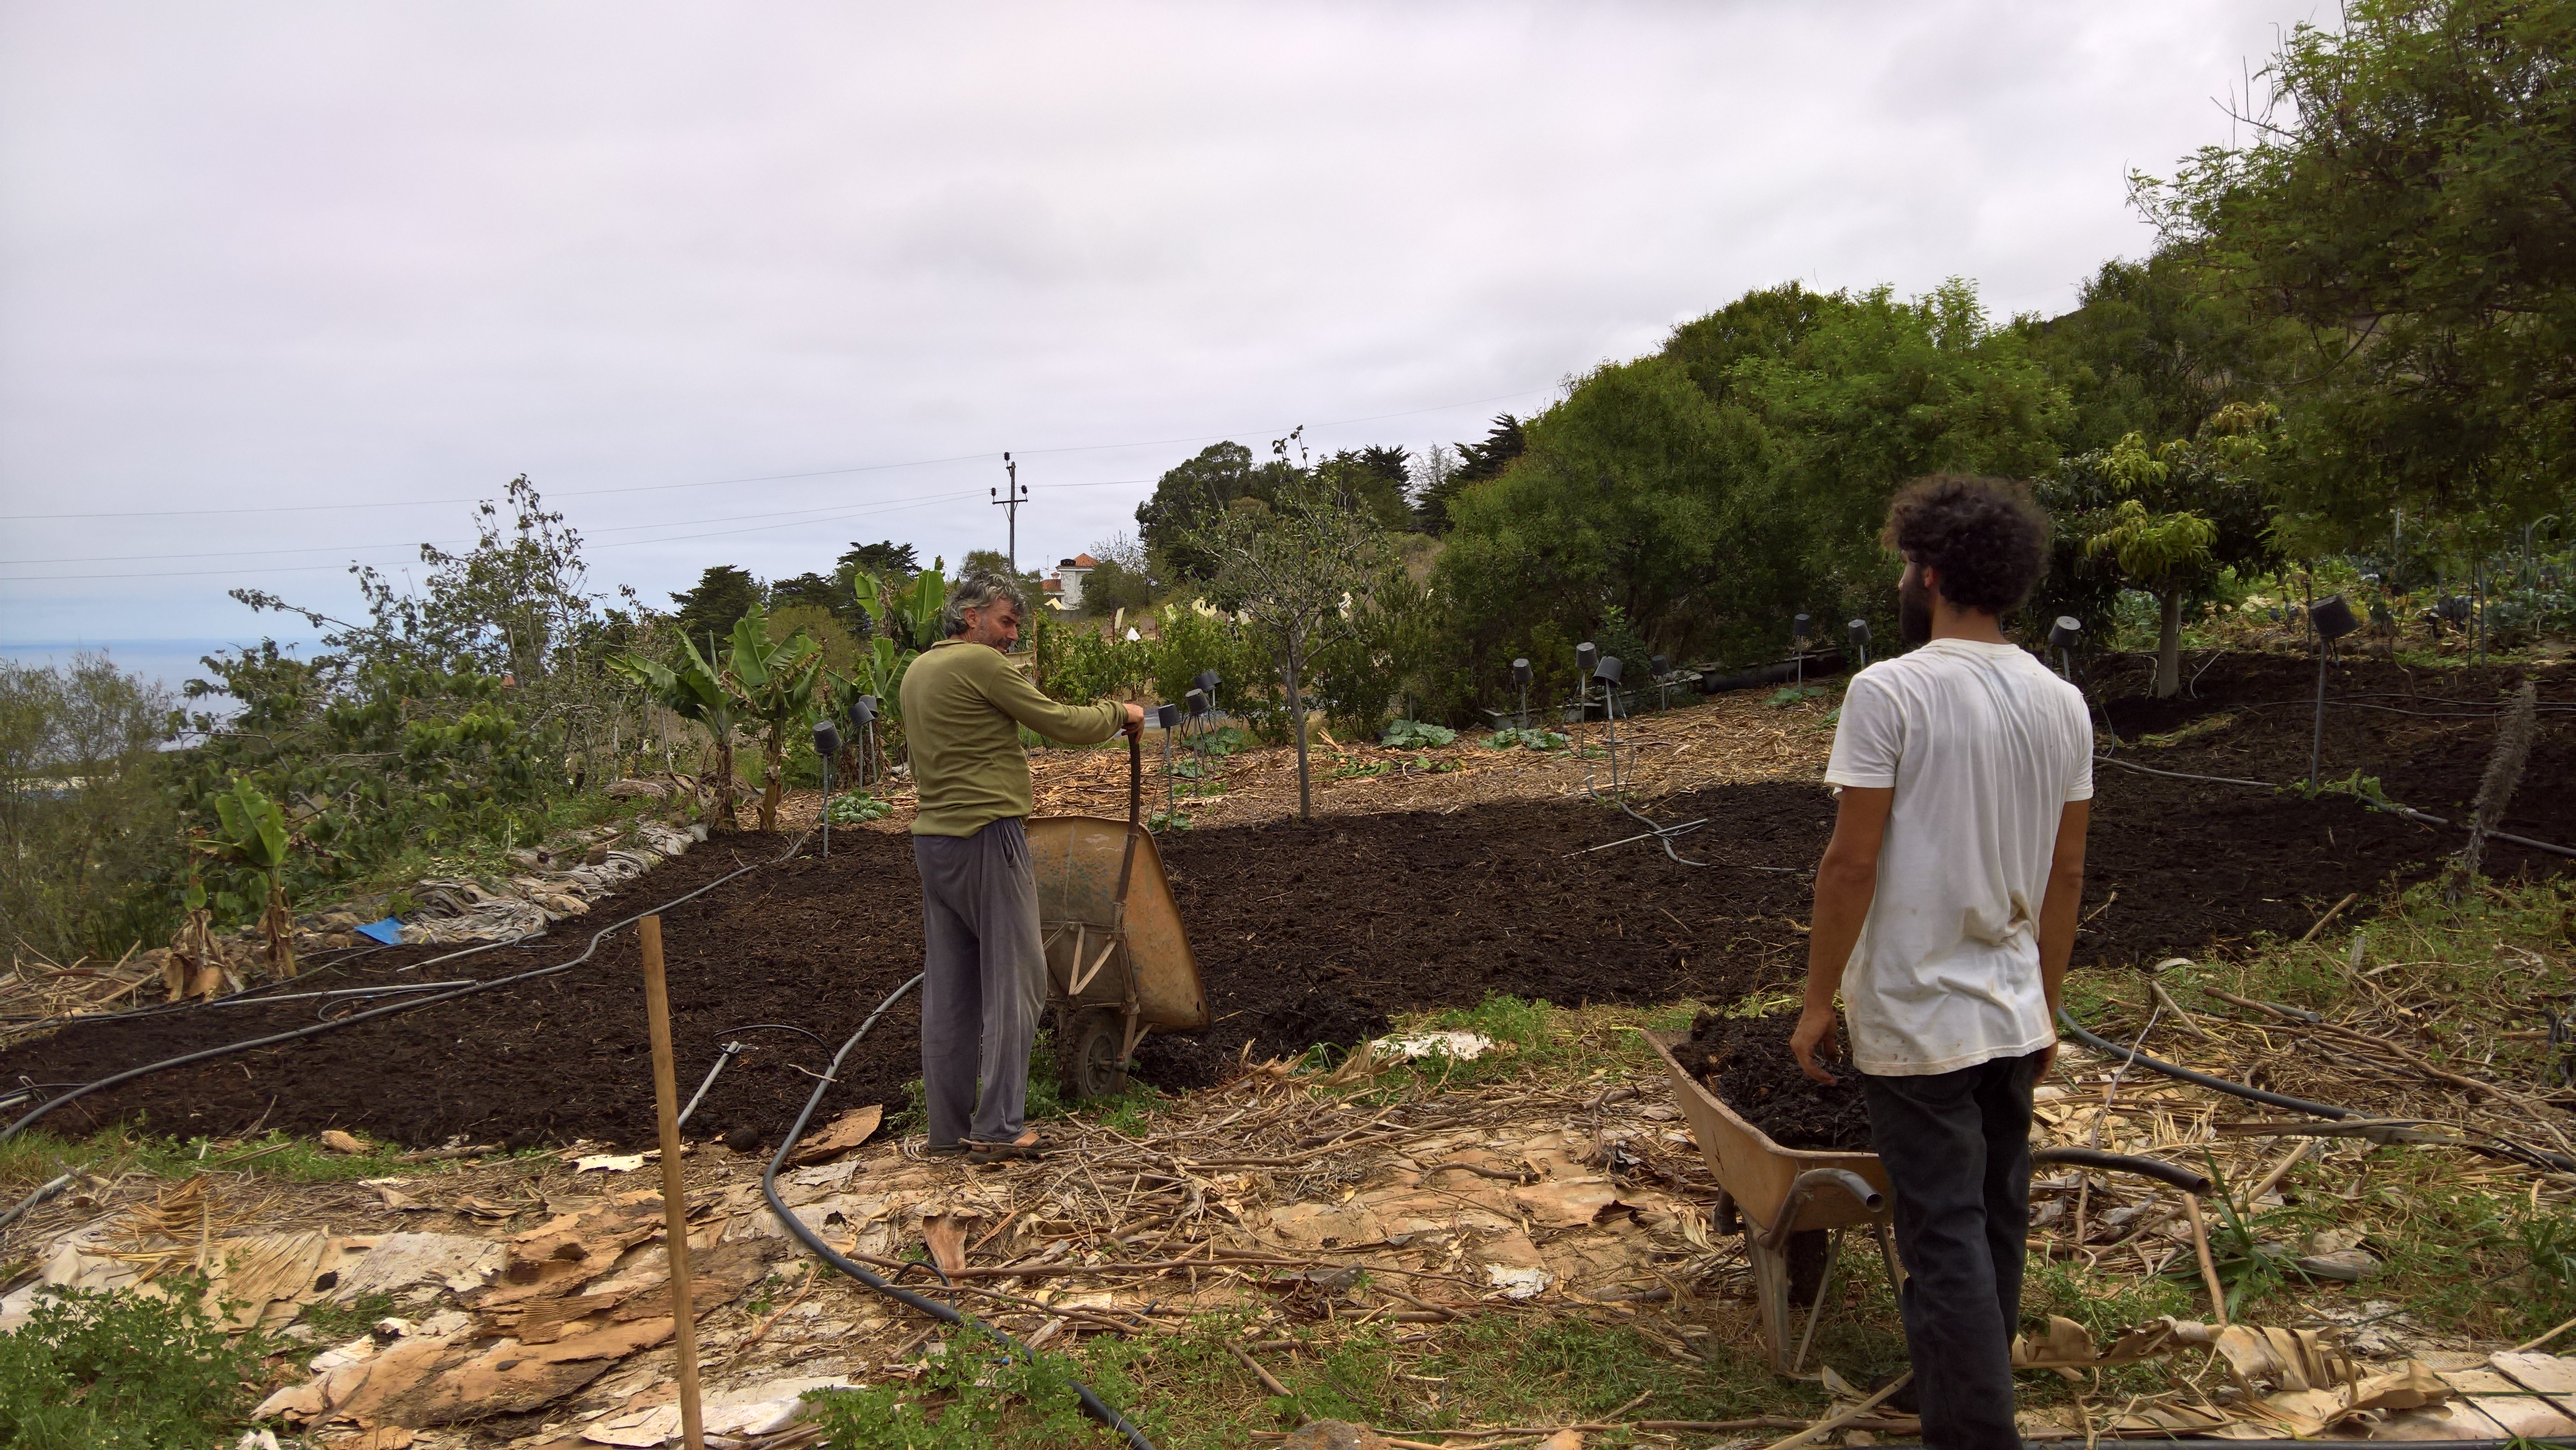
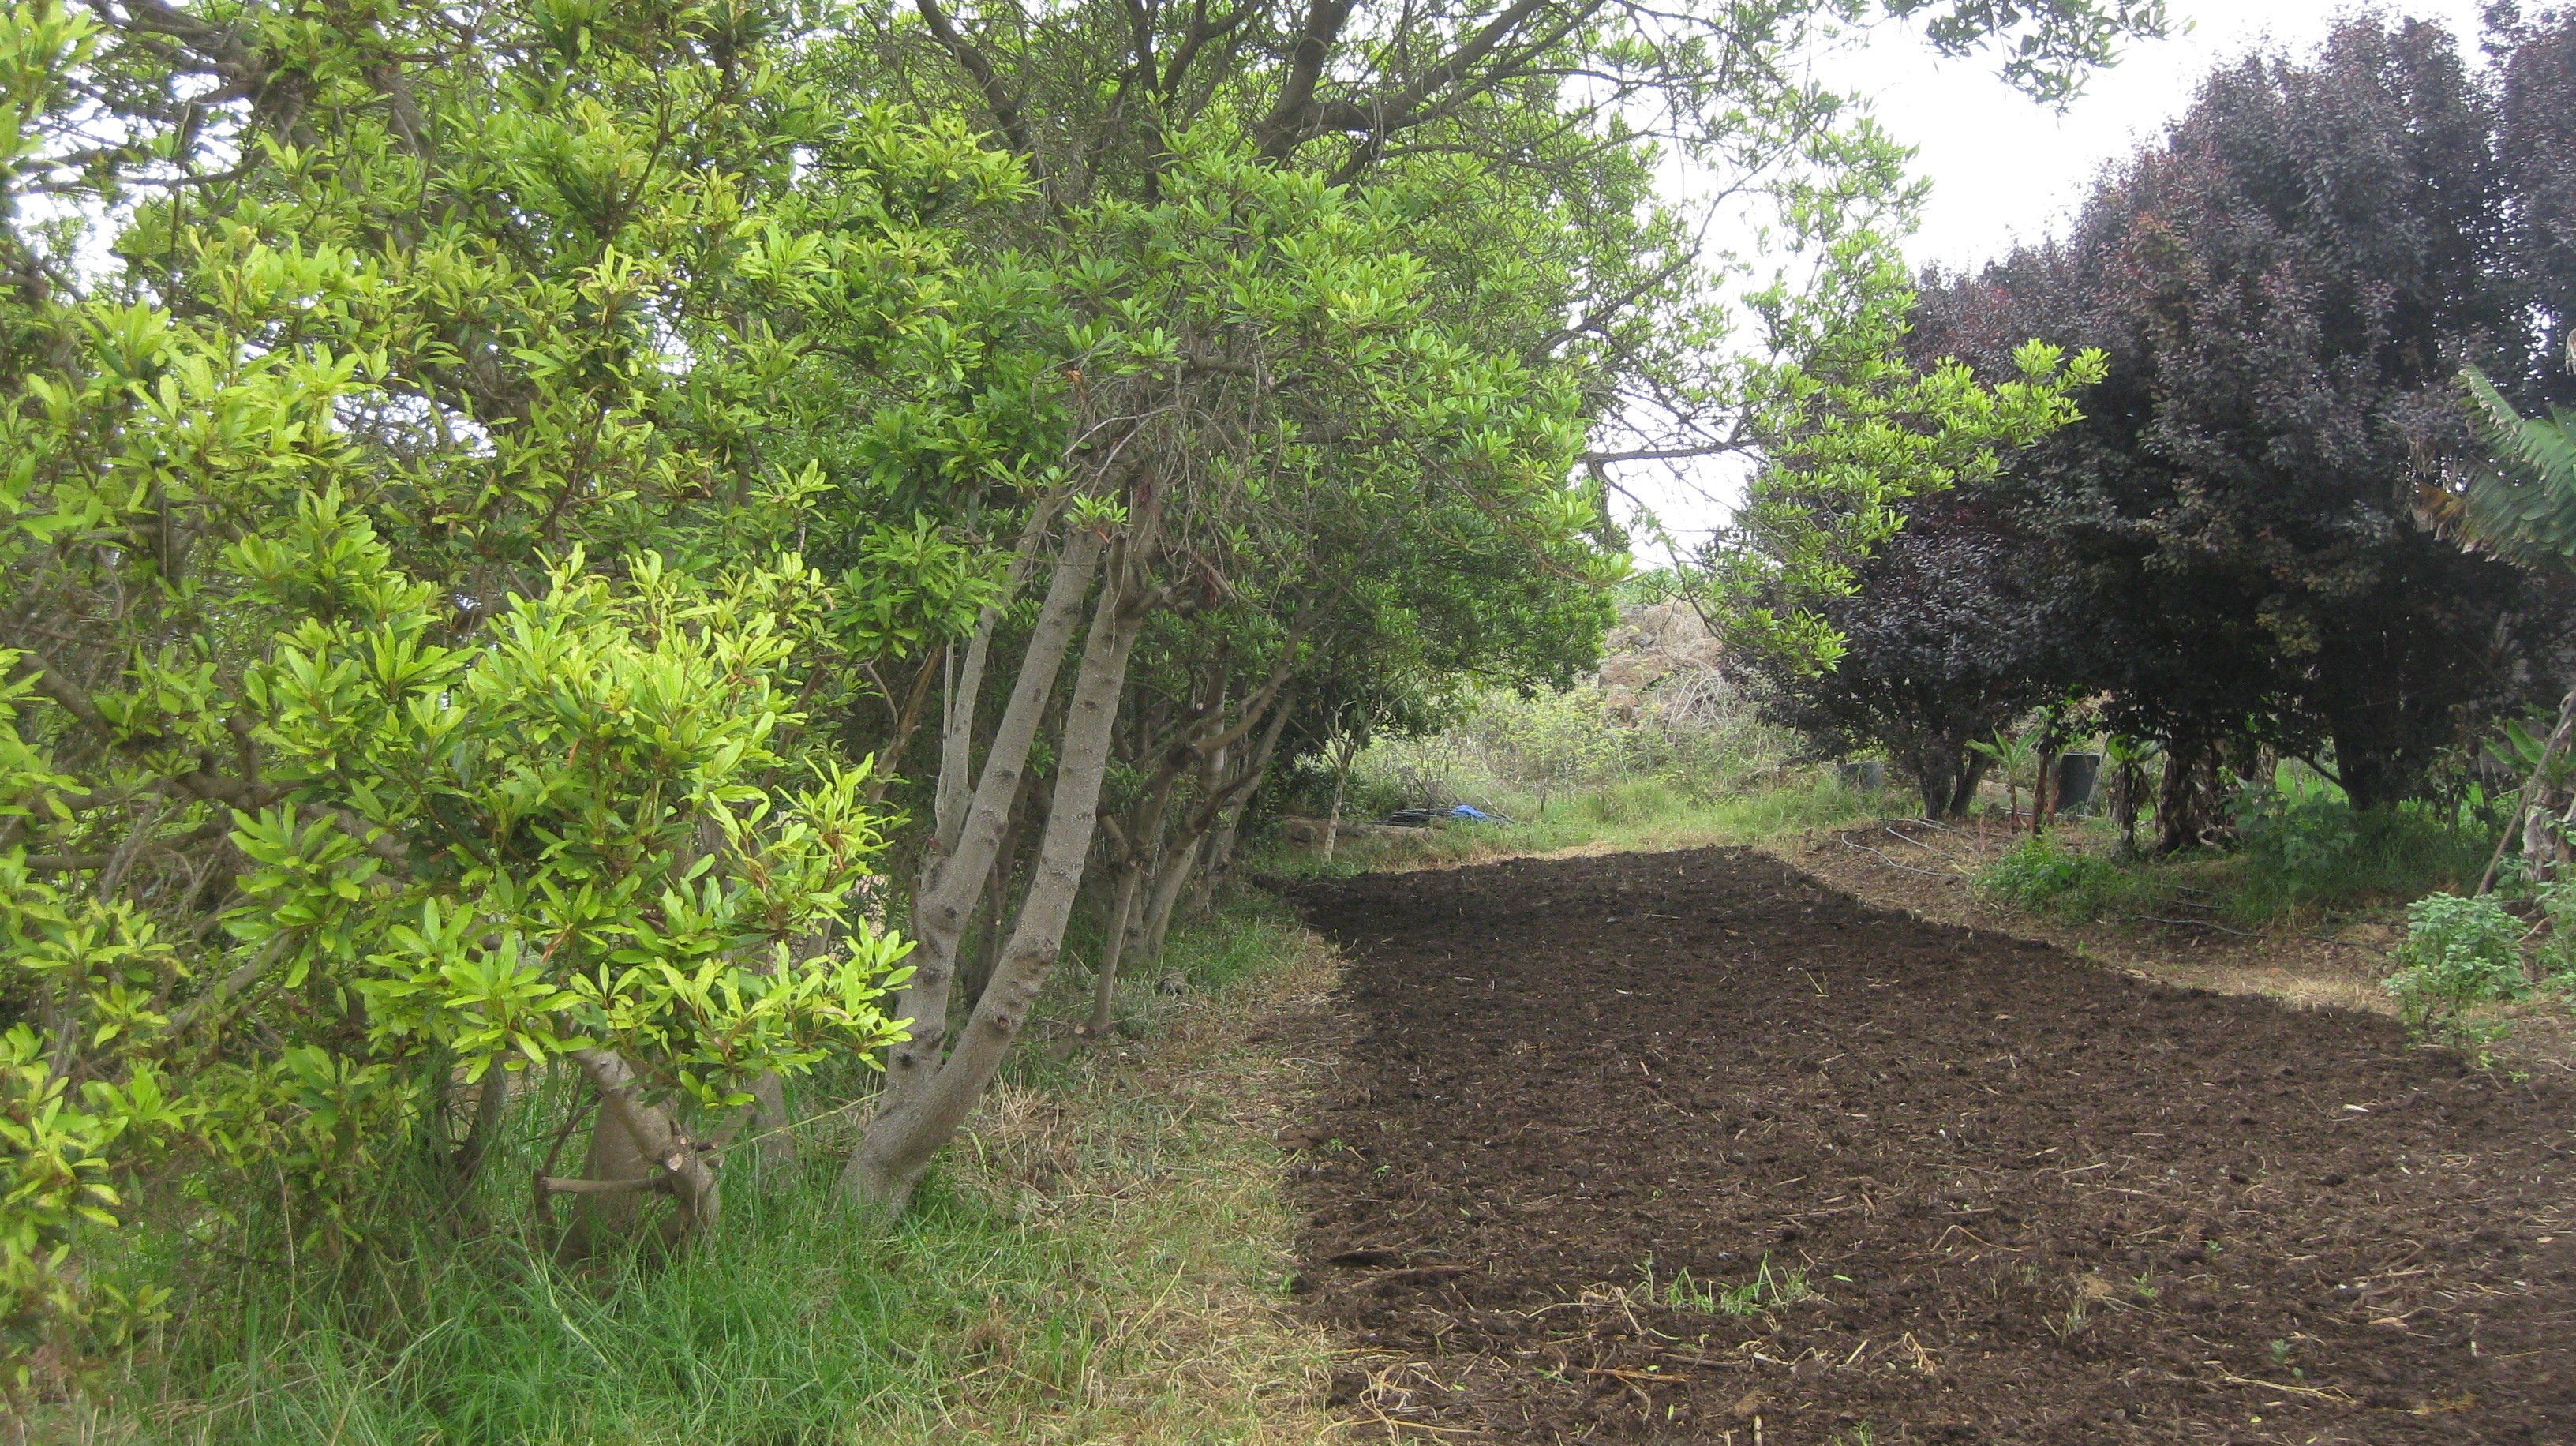
Figure III.2.- Compost distribution in the edible garden and compost distribution only in the allotments.
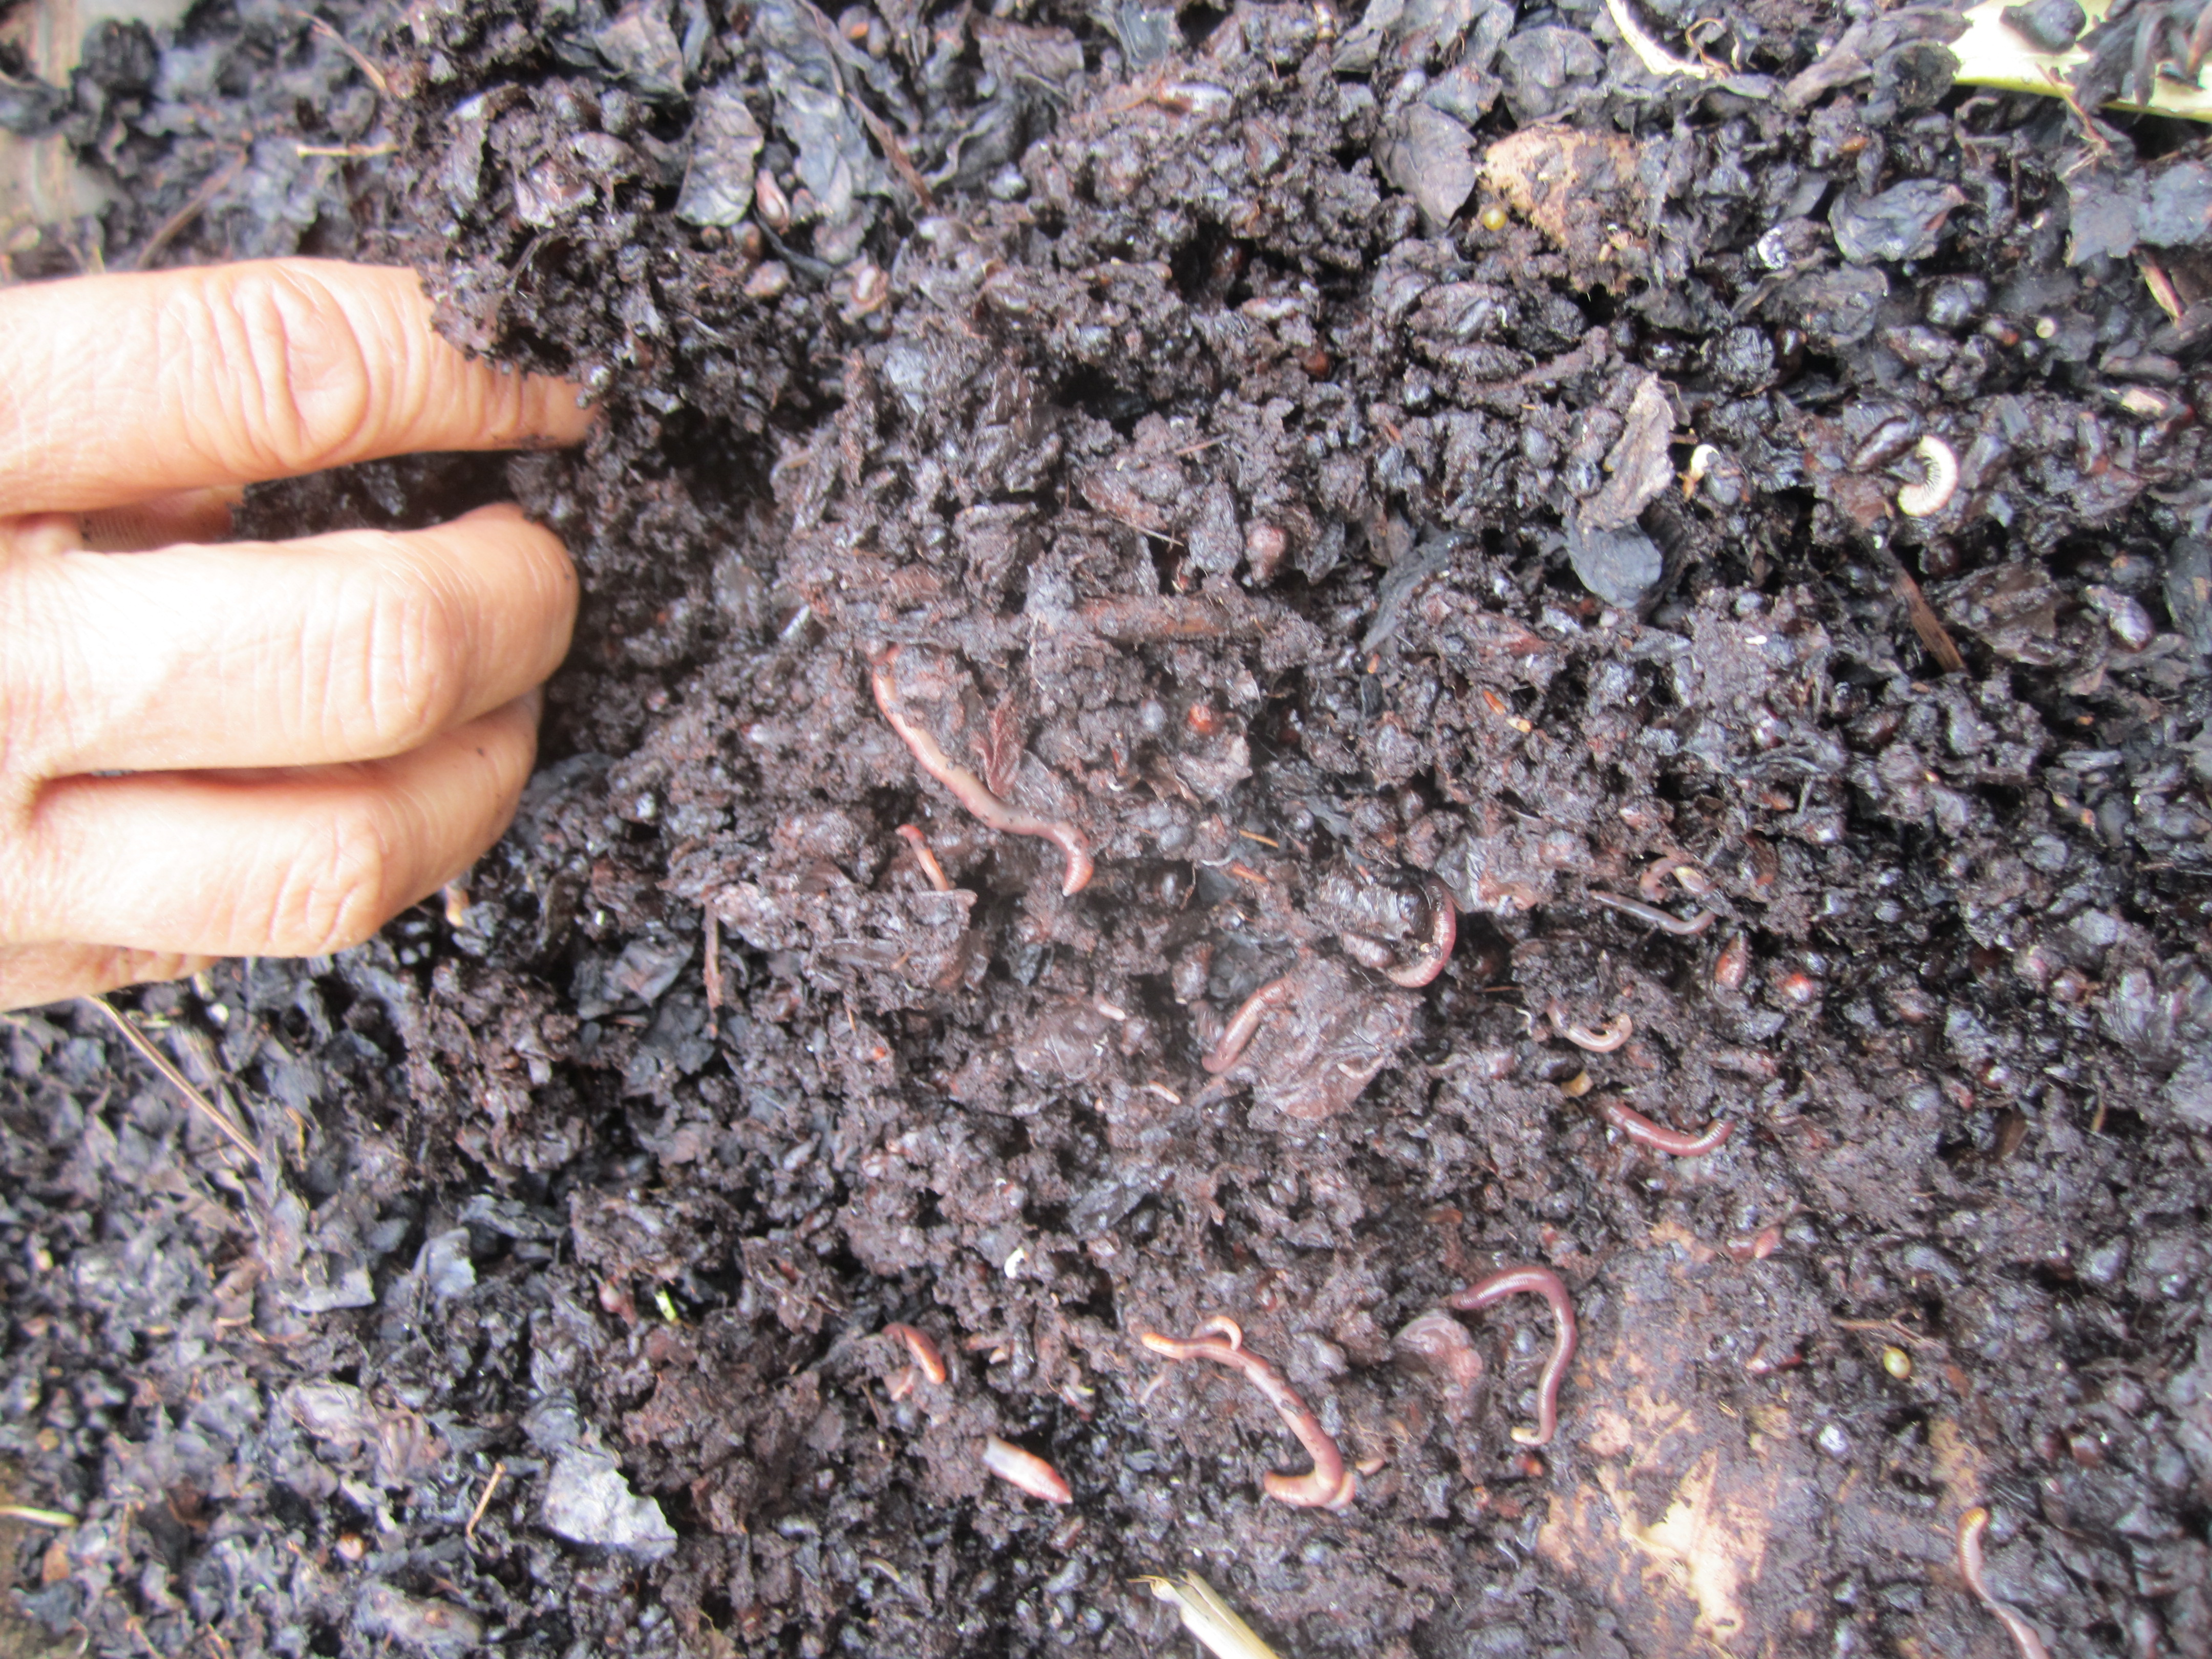
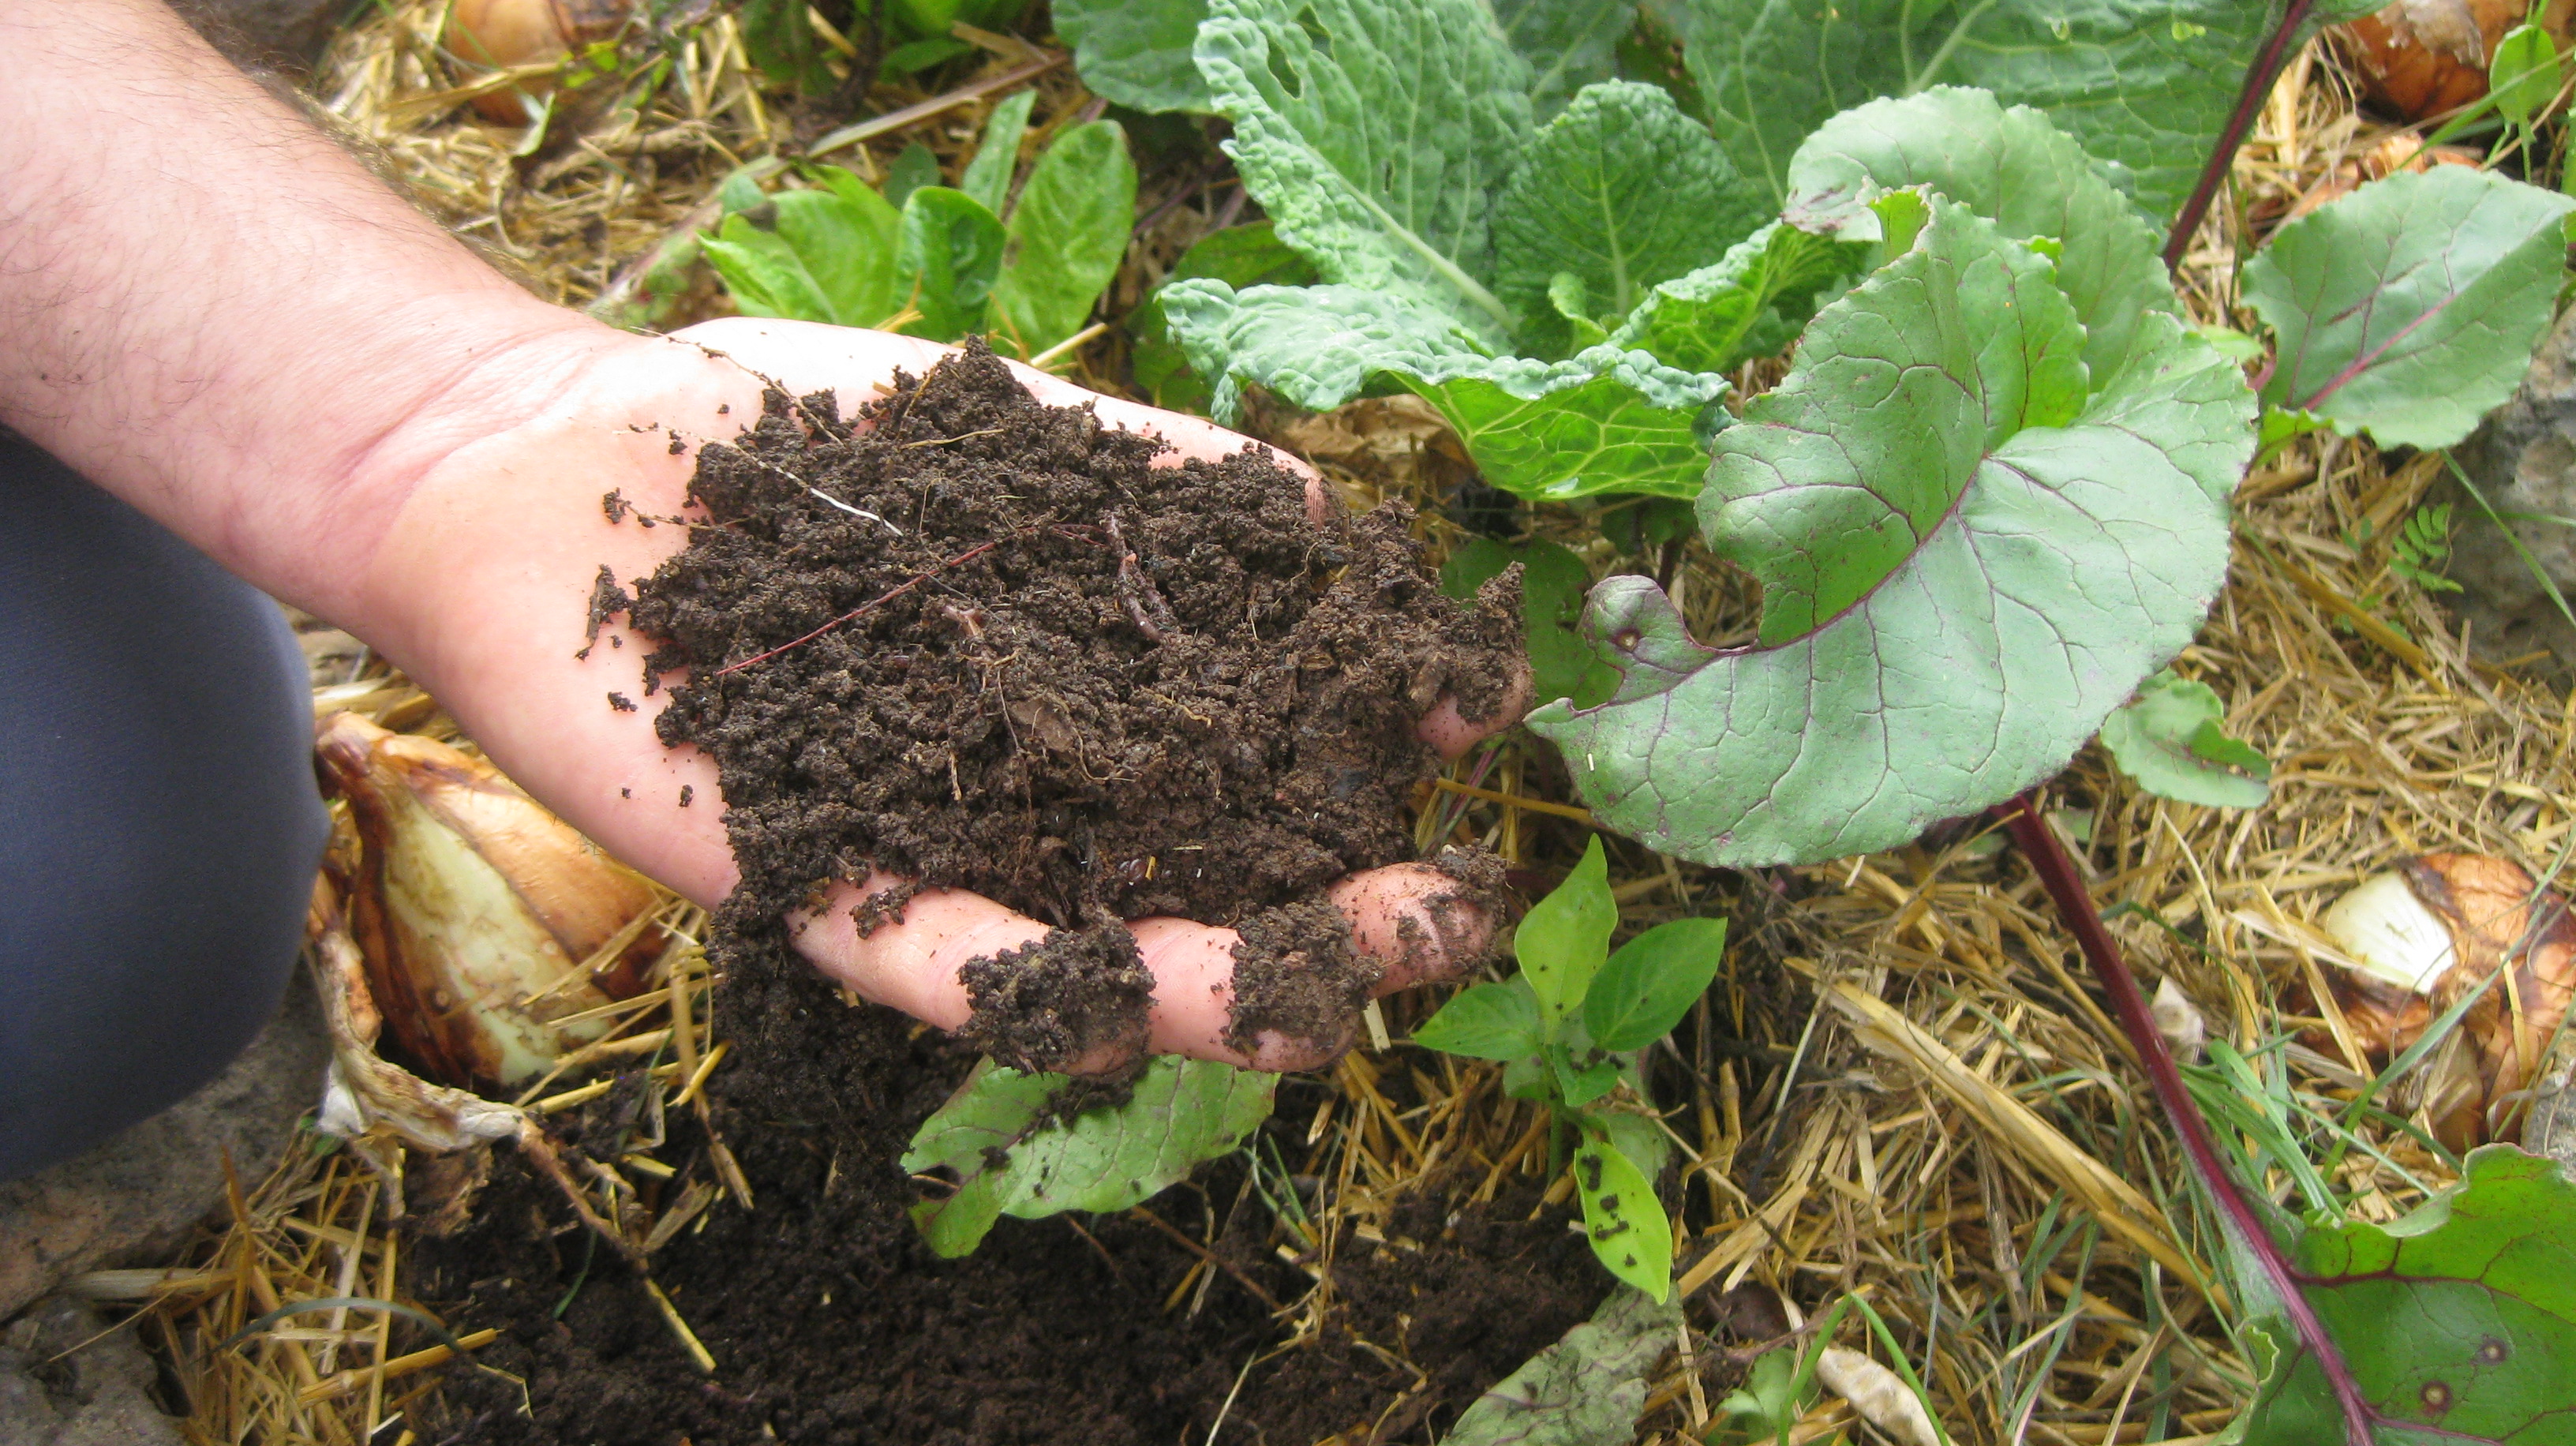
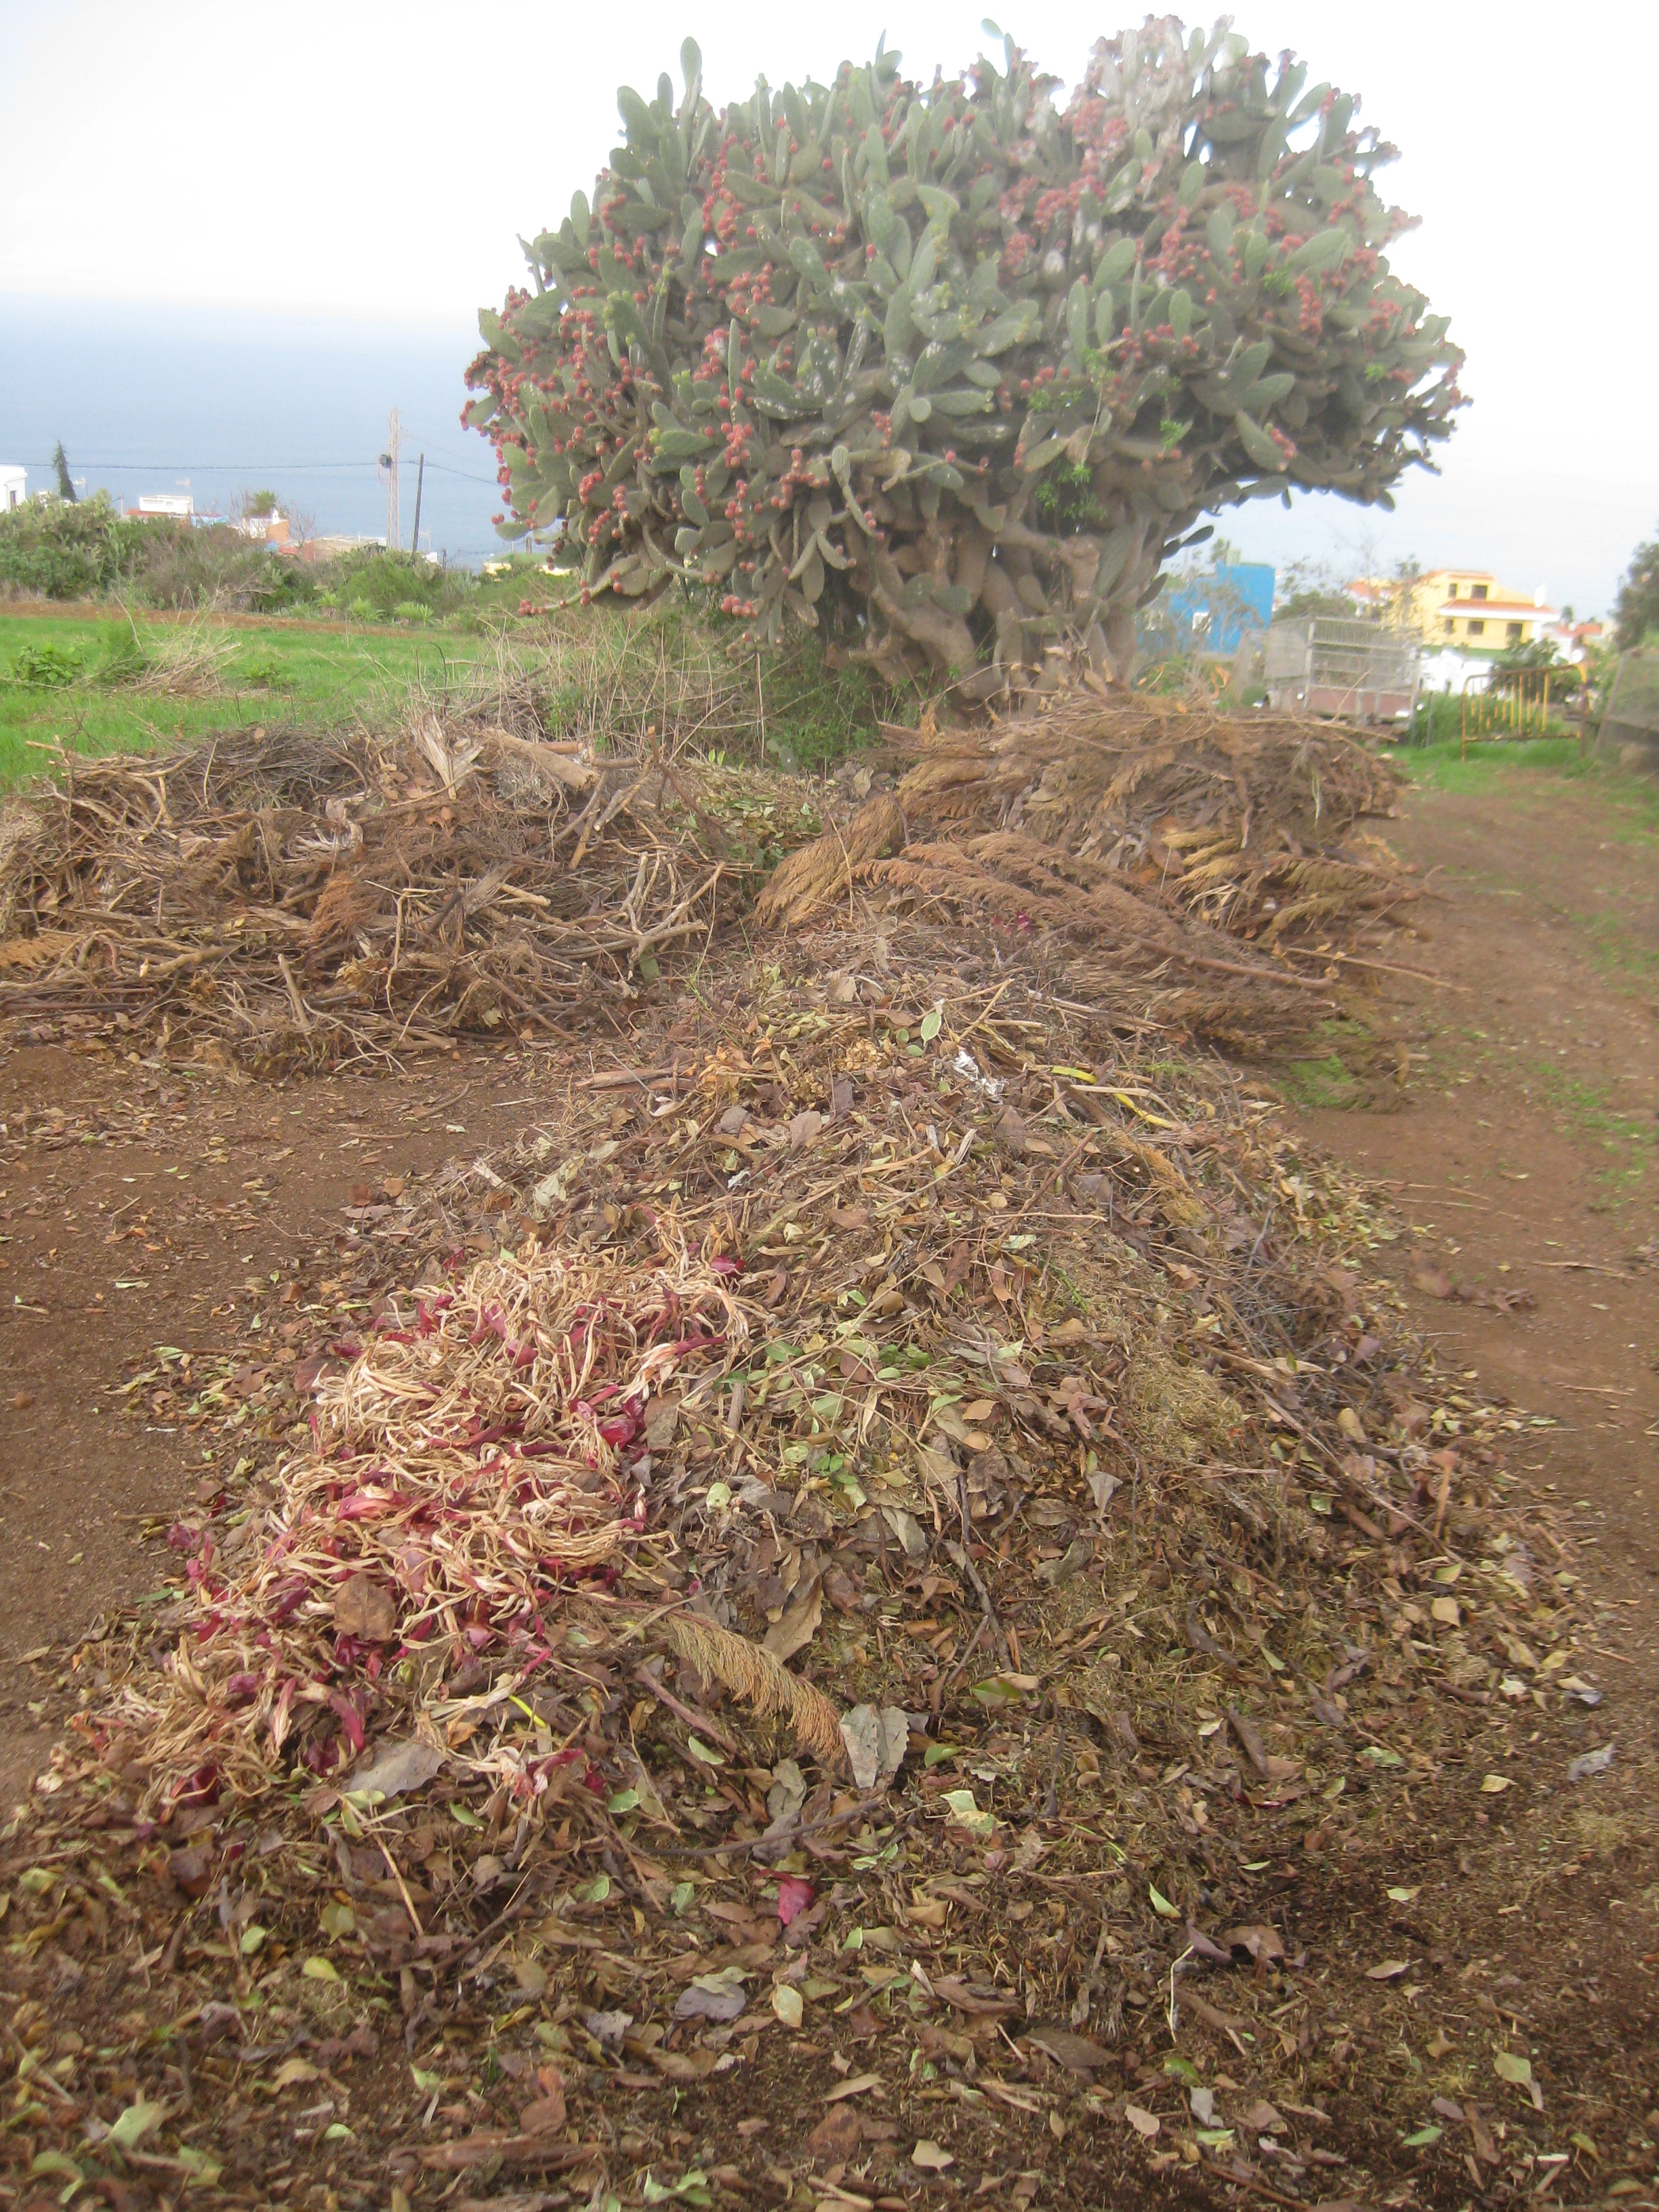
It is necessary to find a good quality compost to cultivate. This can either be an organic vegetable compost, an animal compost or even a mixture of both. If we dispose of our own mature compost it could be enough to start (Figure III.3). If we needed large amounts we could obtain it from a nearby farmer by exchanging it for other products if both parties agree.
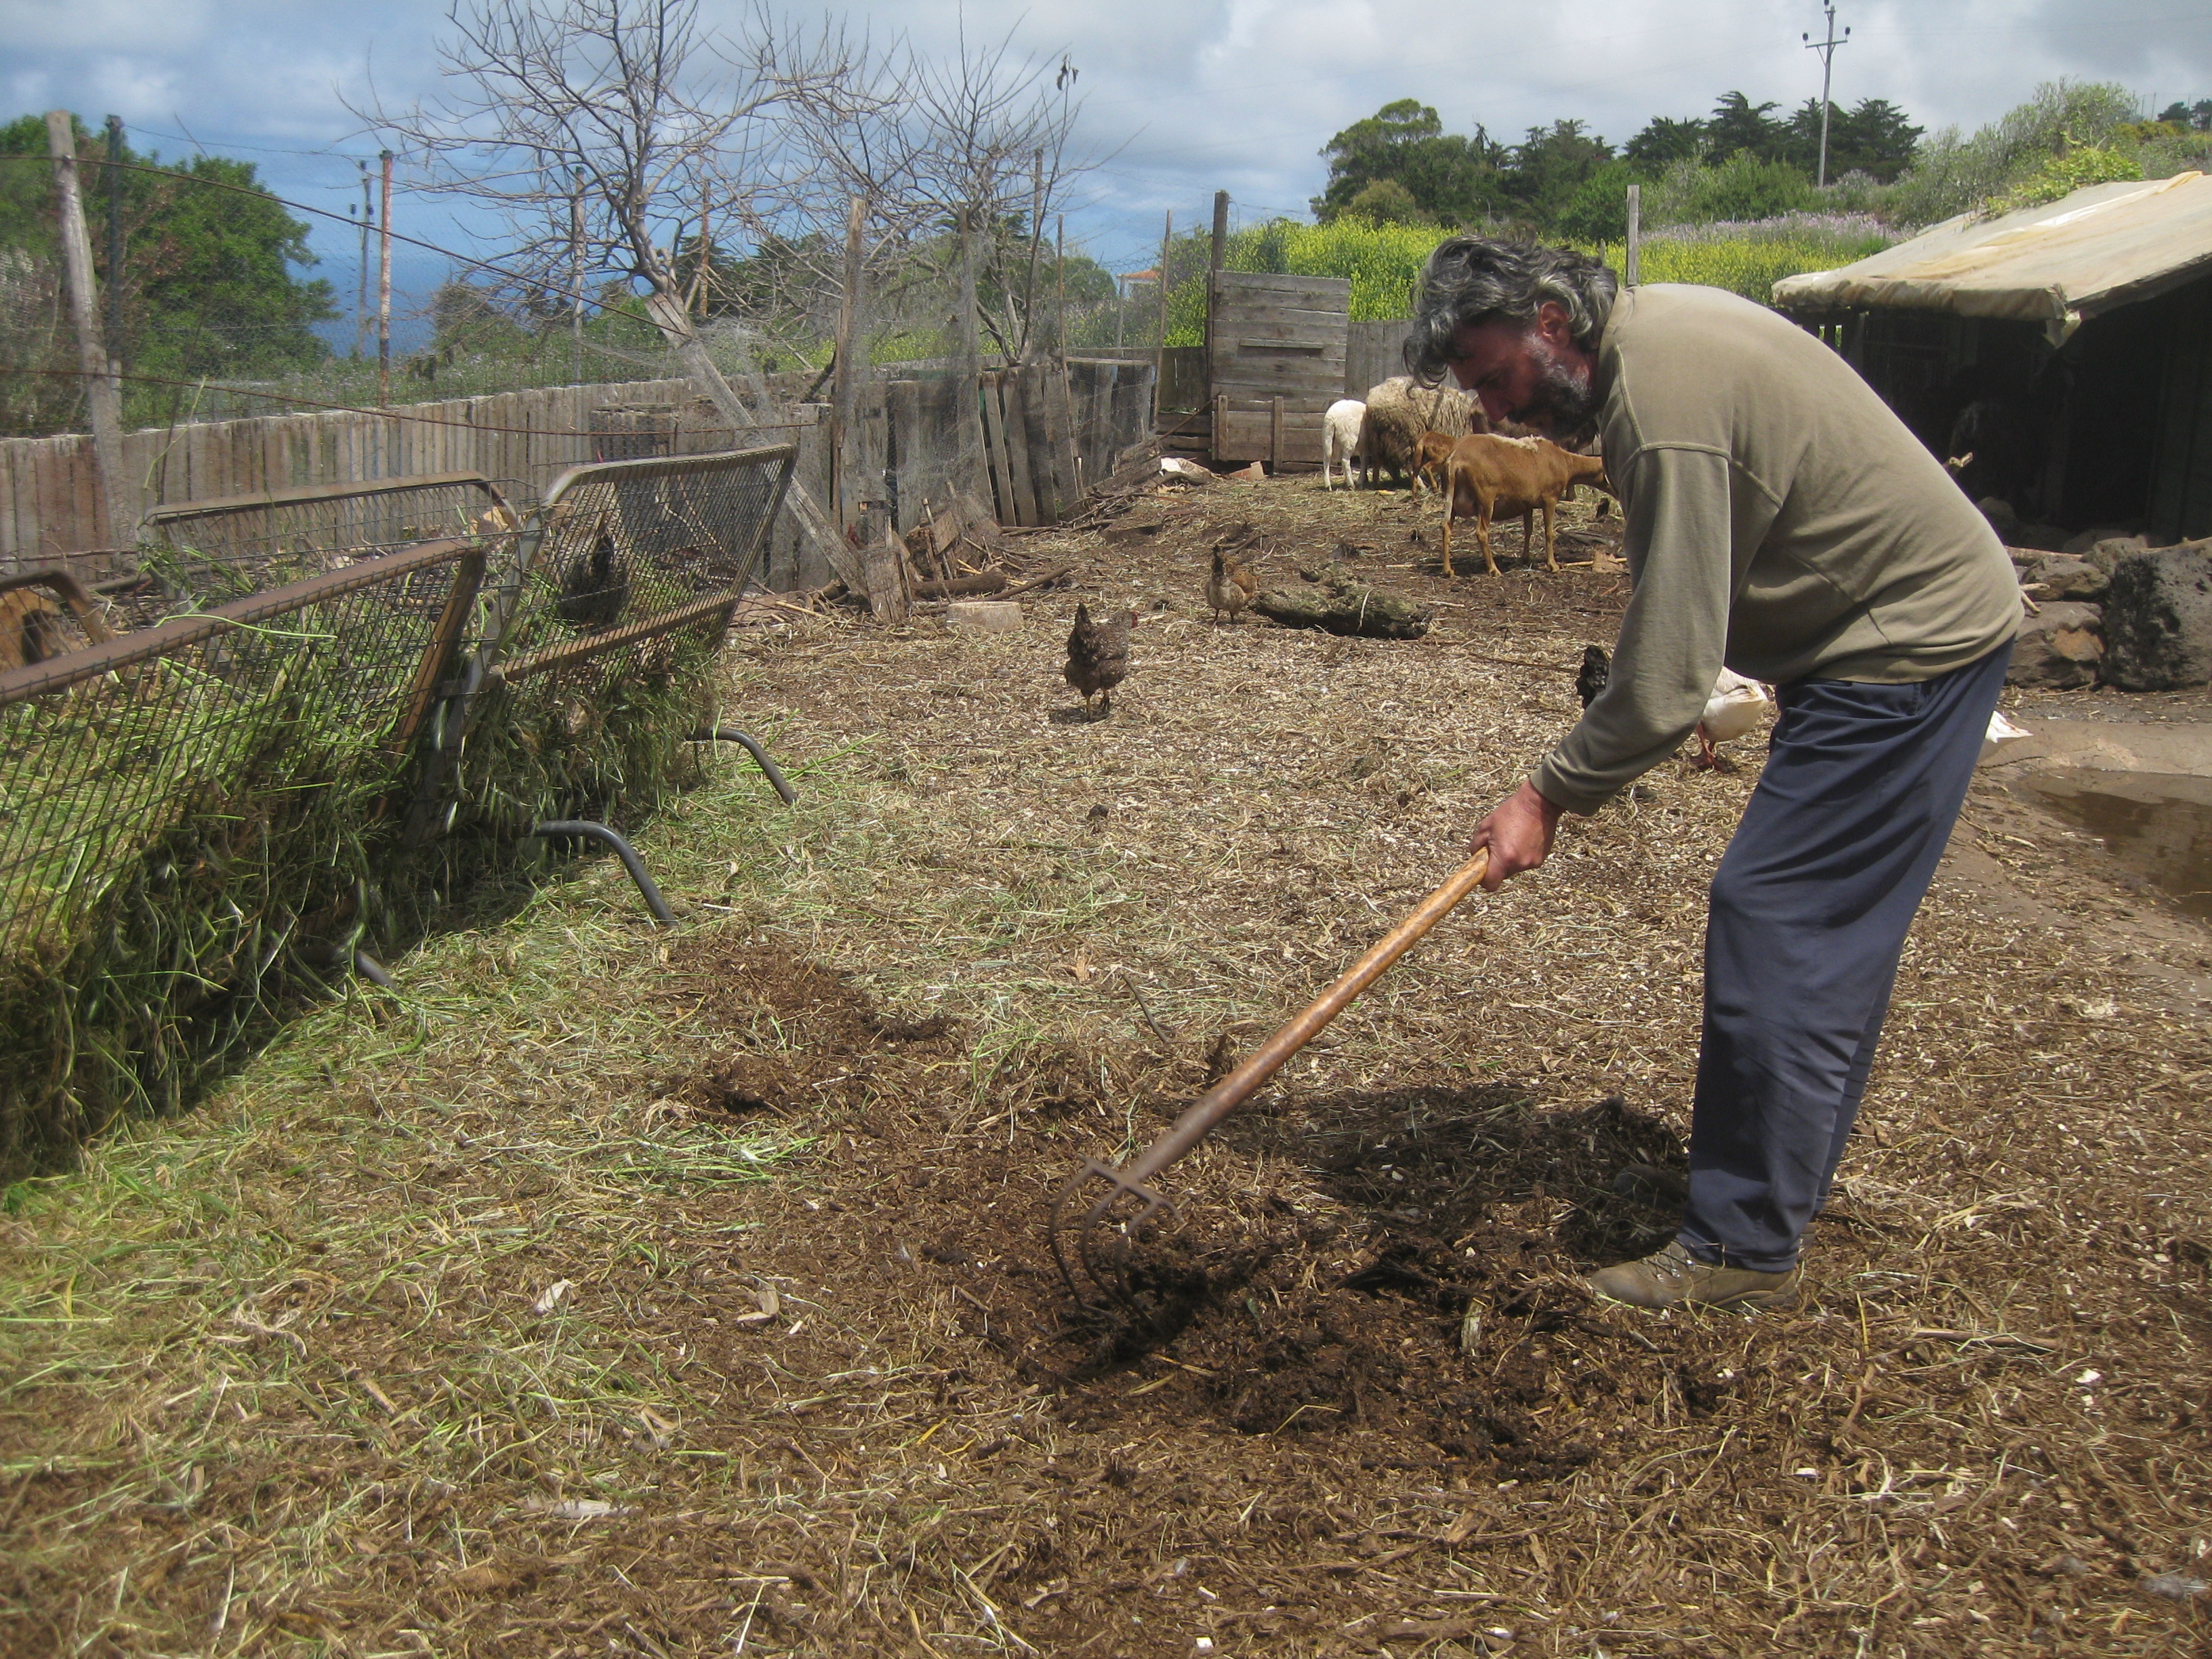
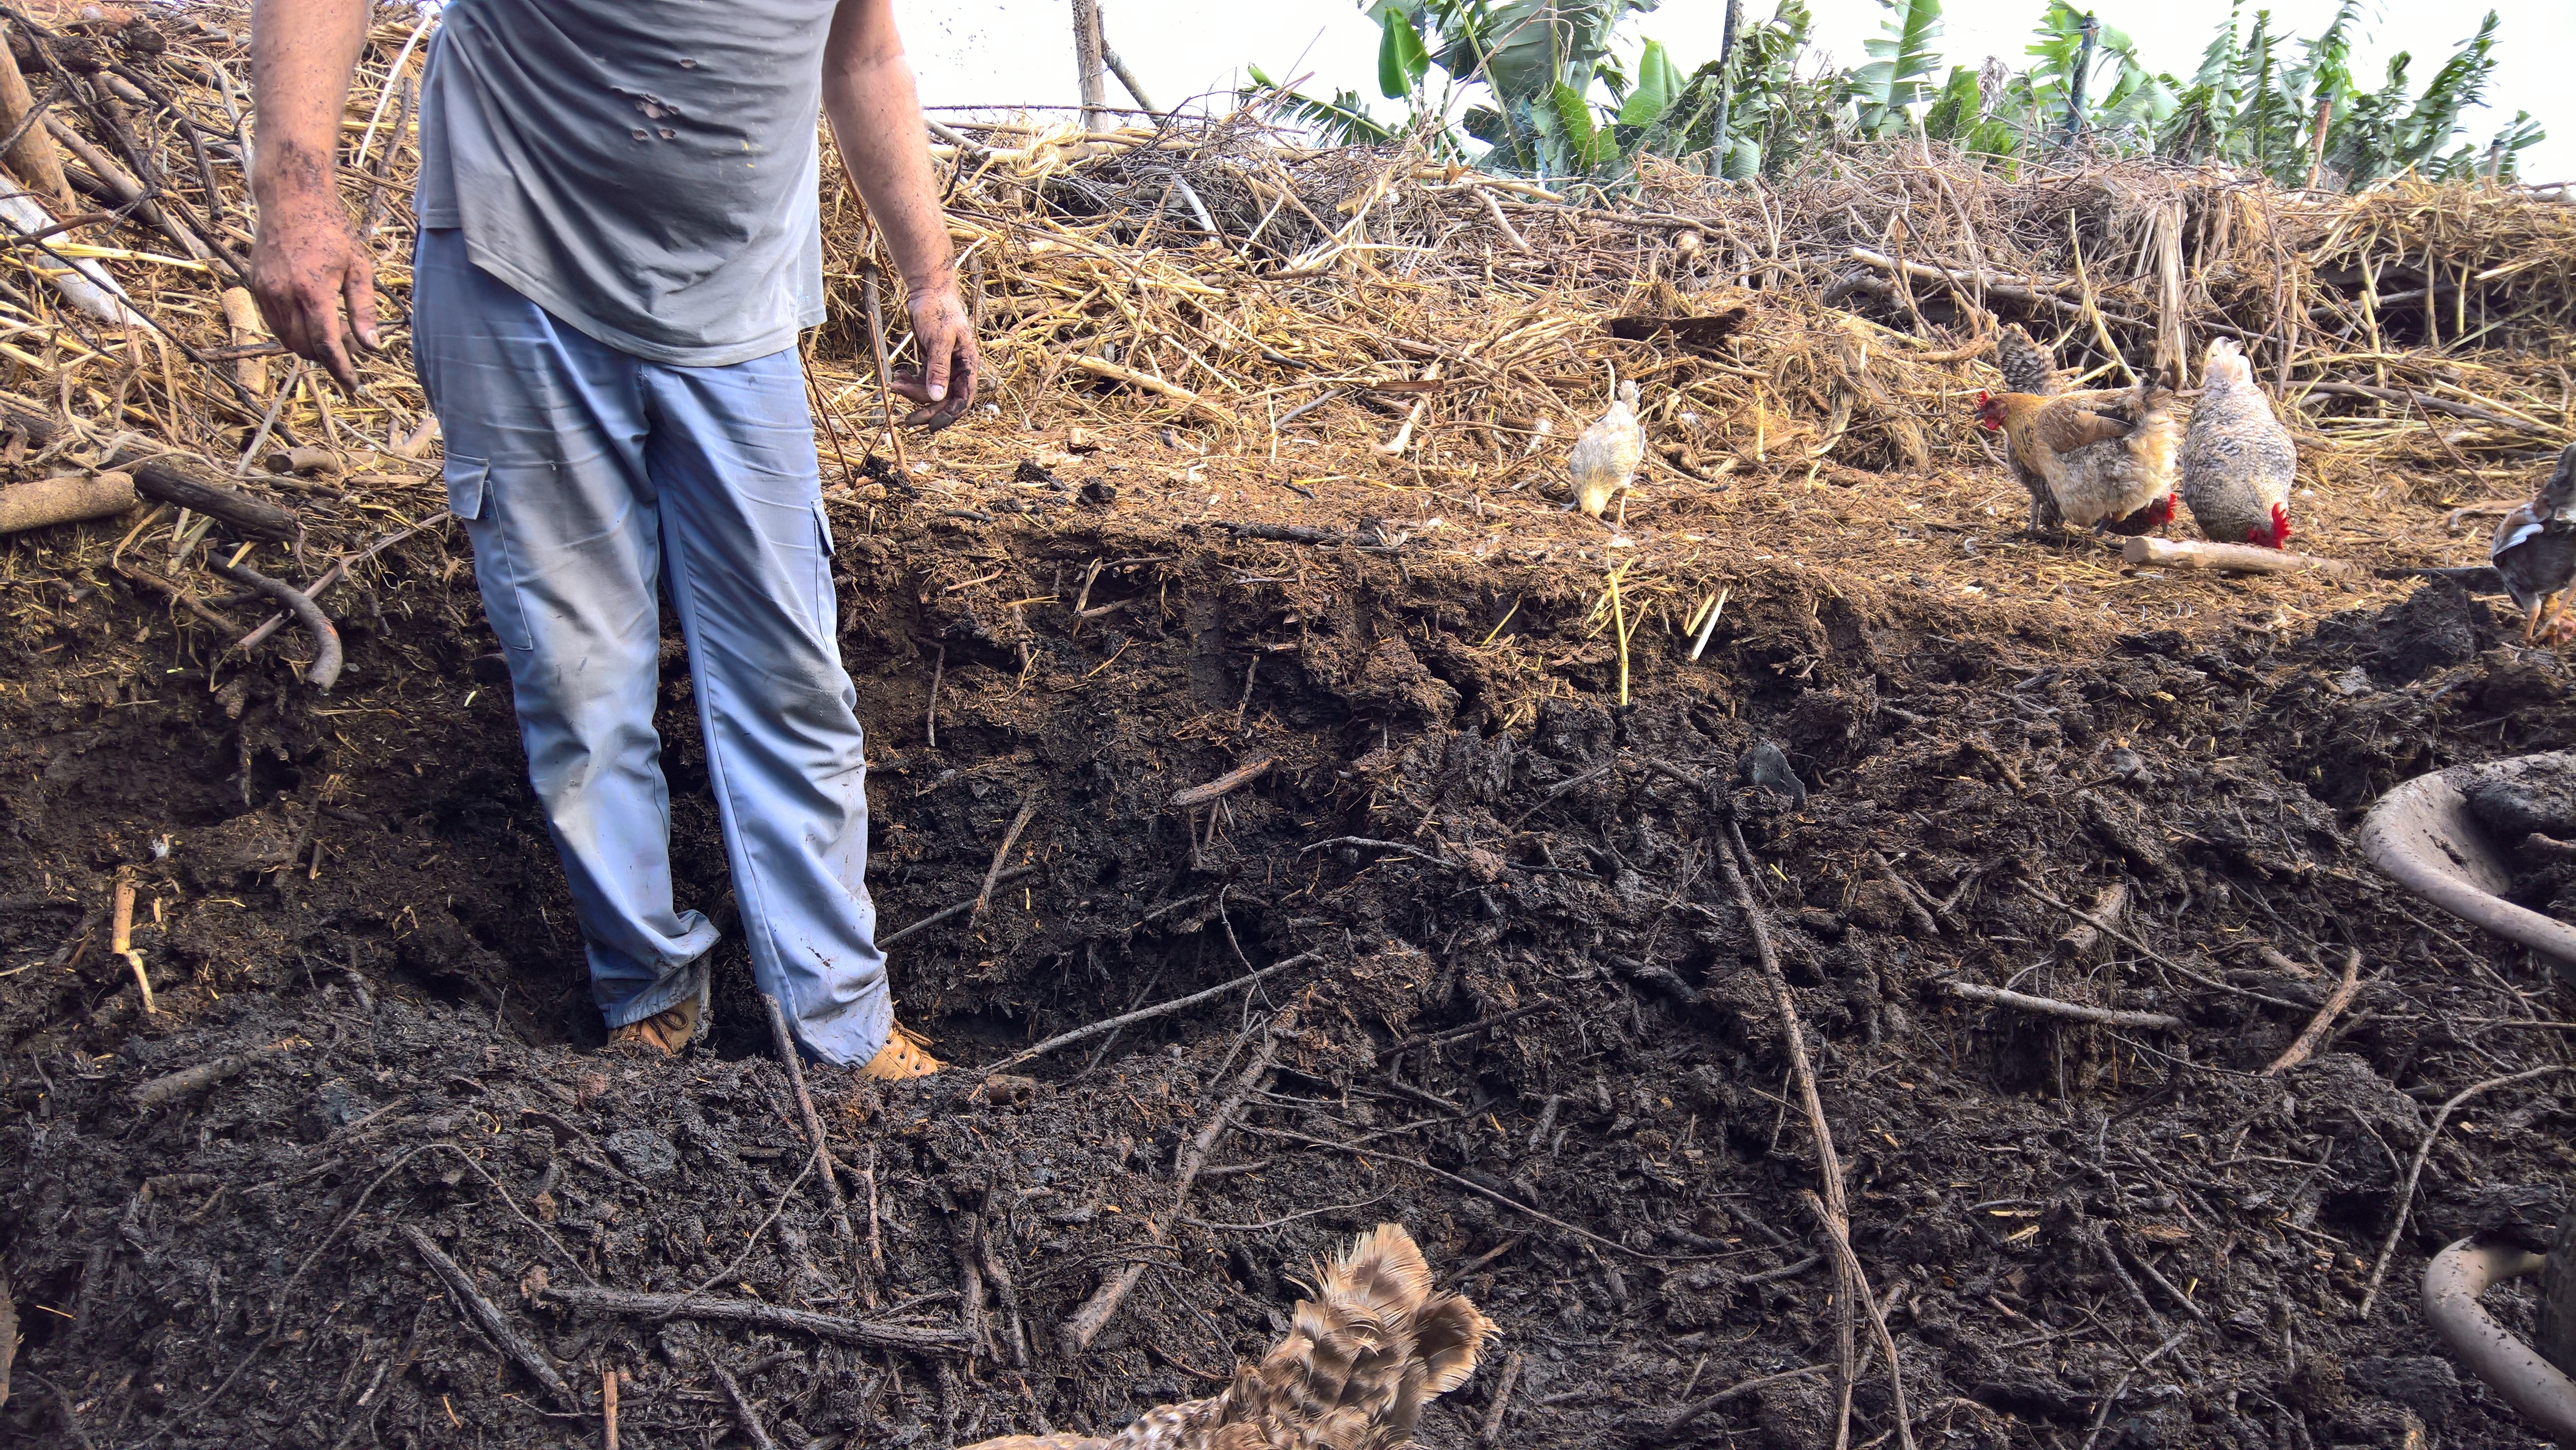
Figure III.3.-Mature vegetable and animal compost from the ADP farm.
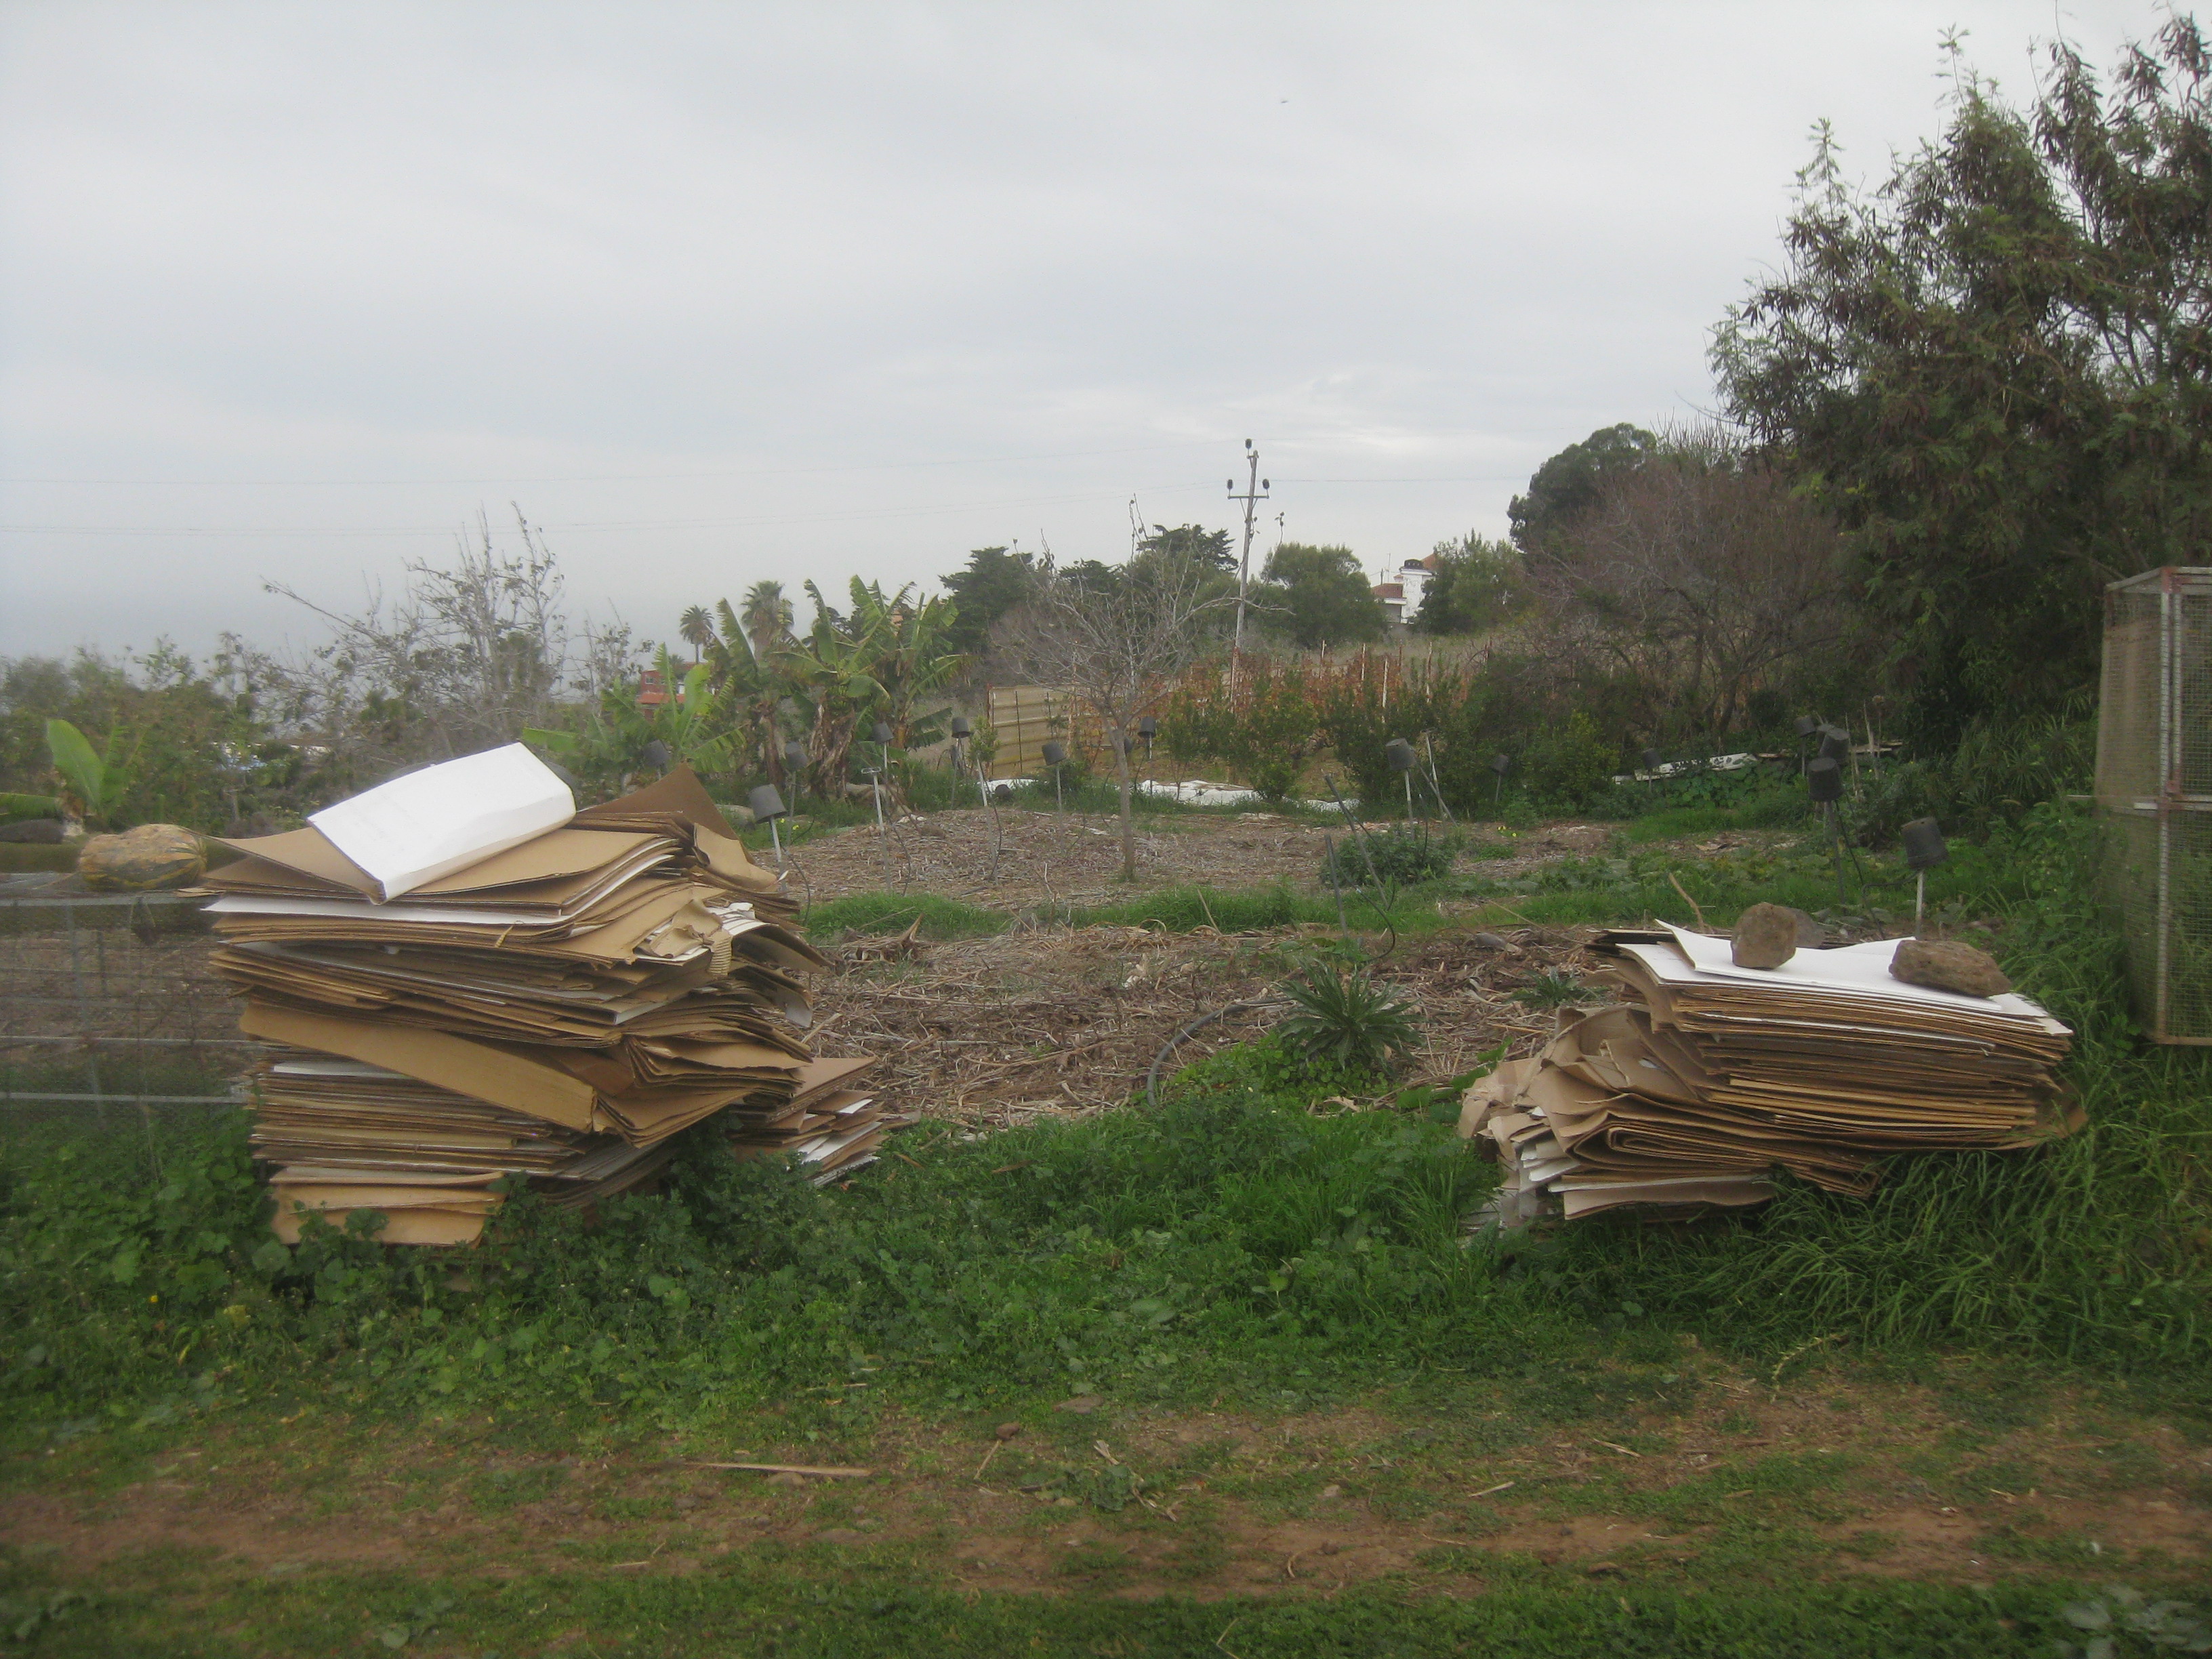
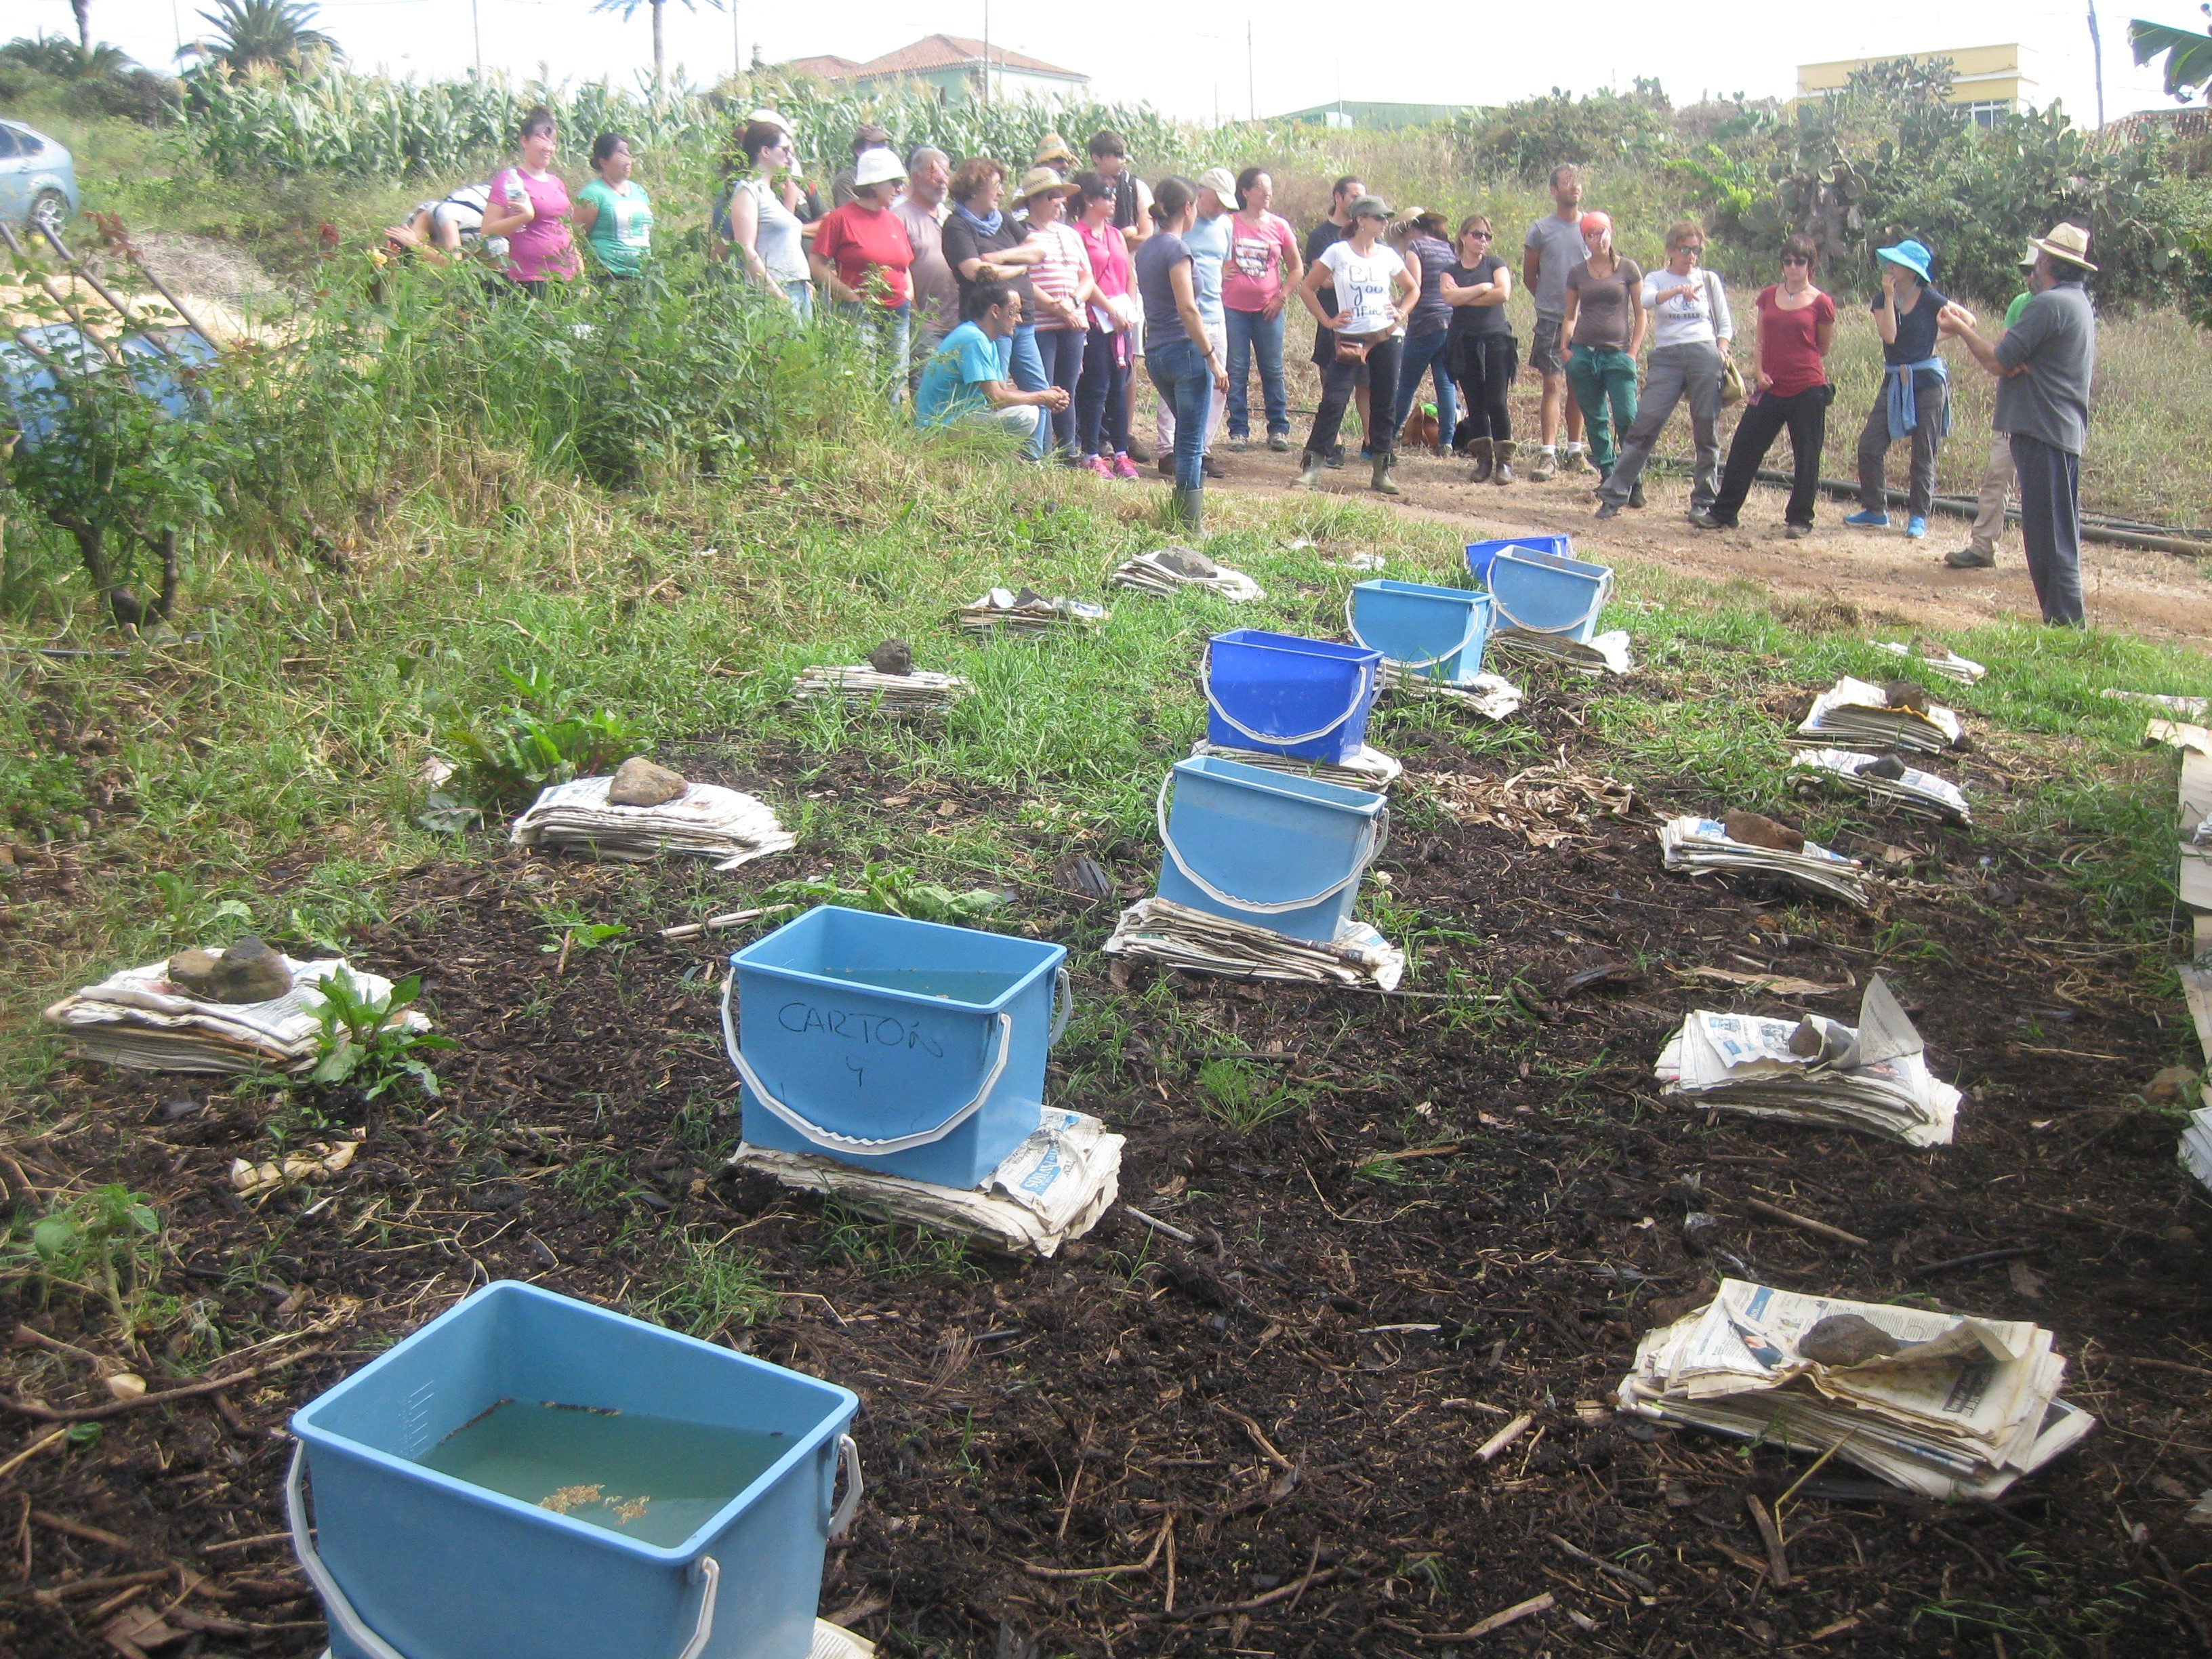
We now cover the compost with used newspapers and cardboard that’s not laminated or coloured. By doing so, on one hand, we stimulate the conditions for a rich soil life and, on the other hand, control the weeds and maintain the humidity. This process reuses and transforms the cellulose from the used newspapers and cardboard into resources (Figure III.4).
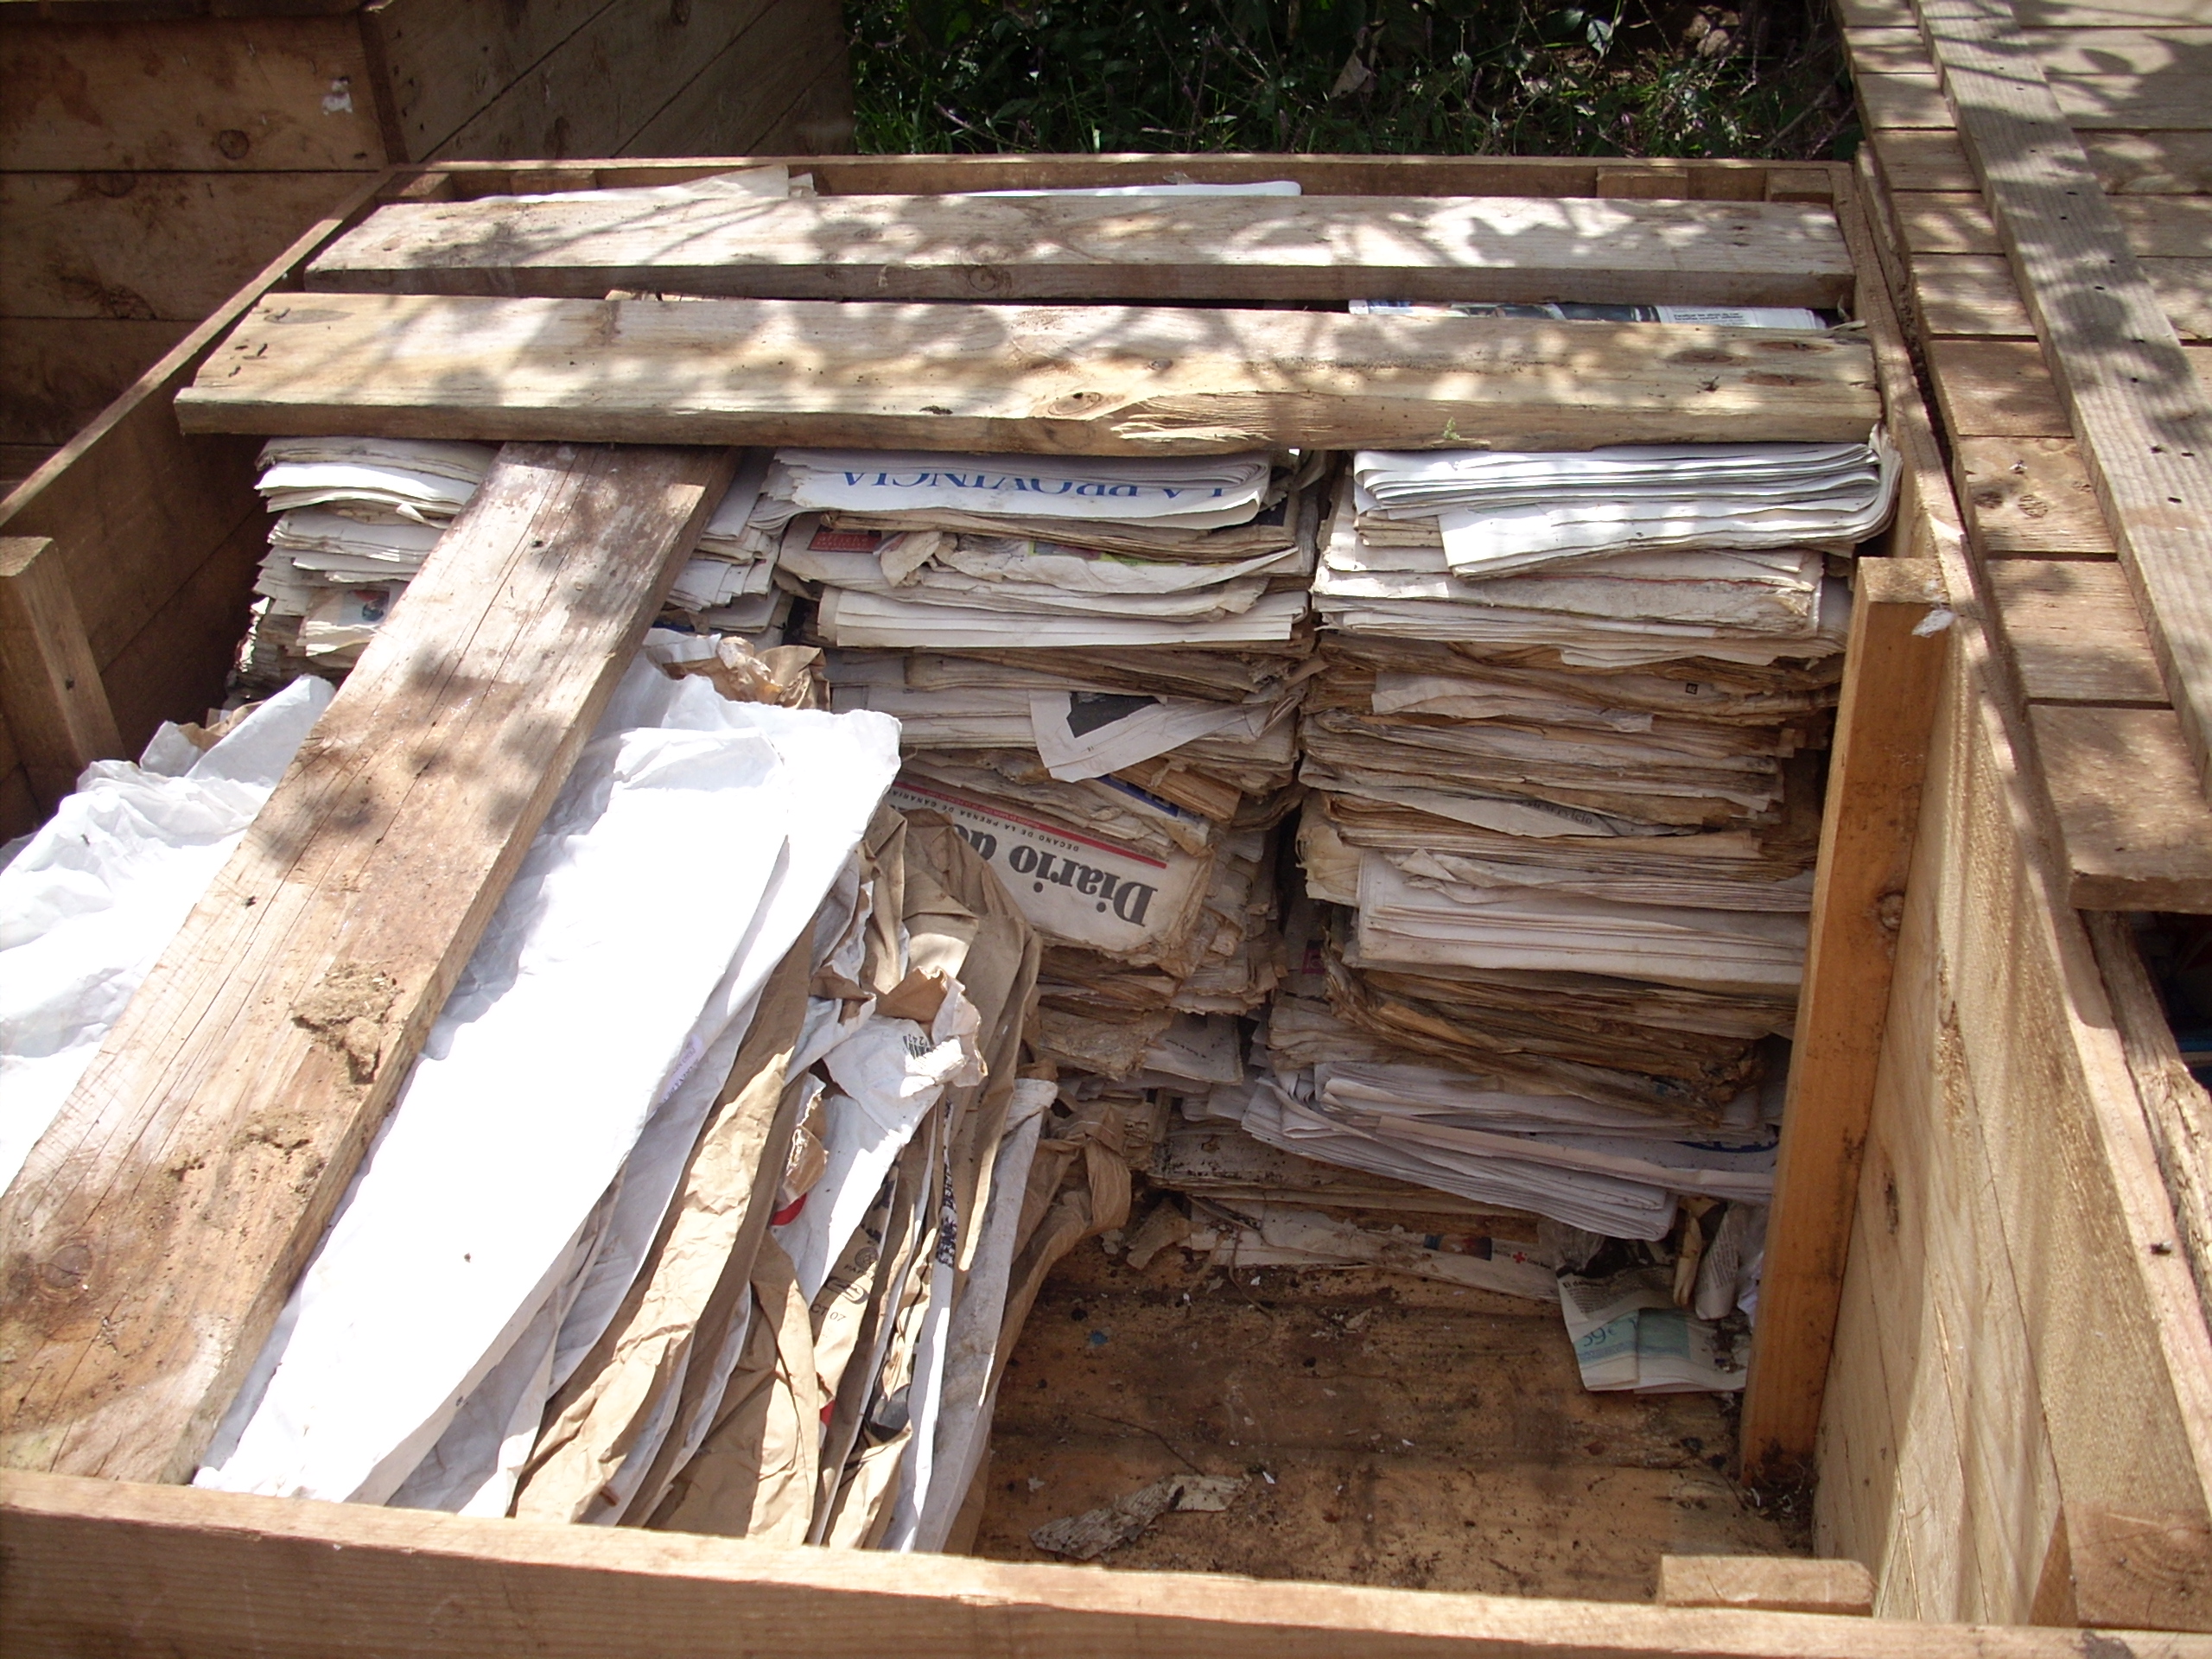

Figure III.4.- Newspapers and cardboard storage.
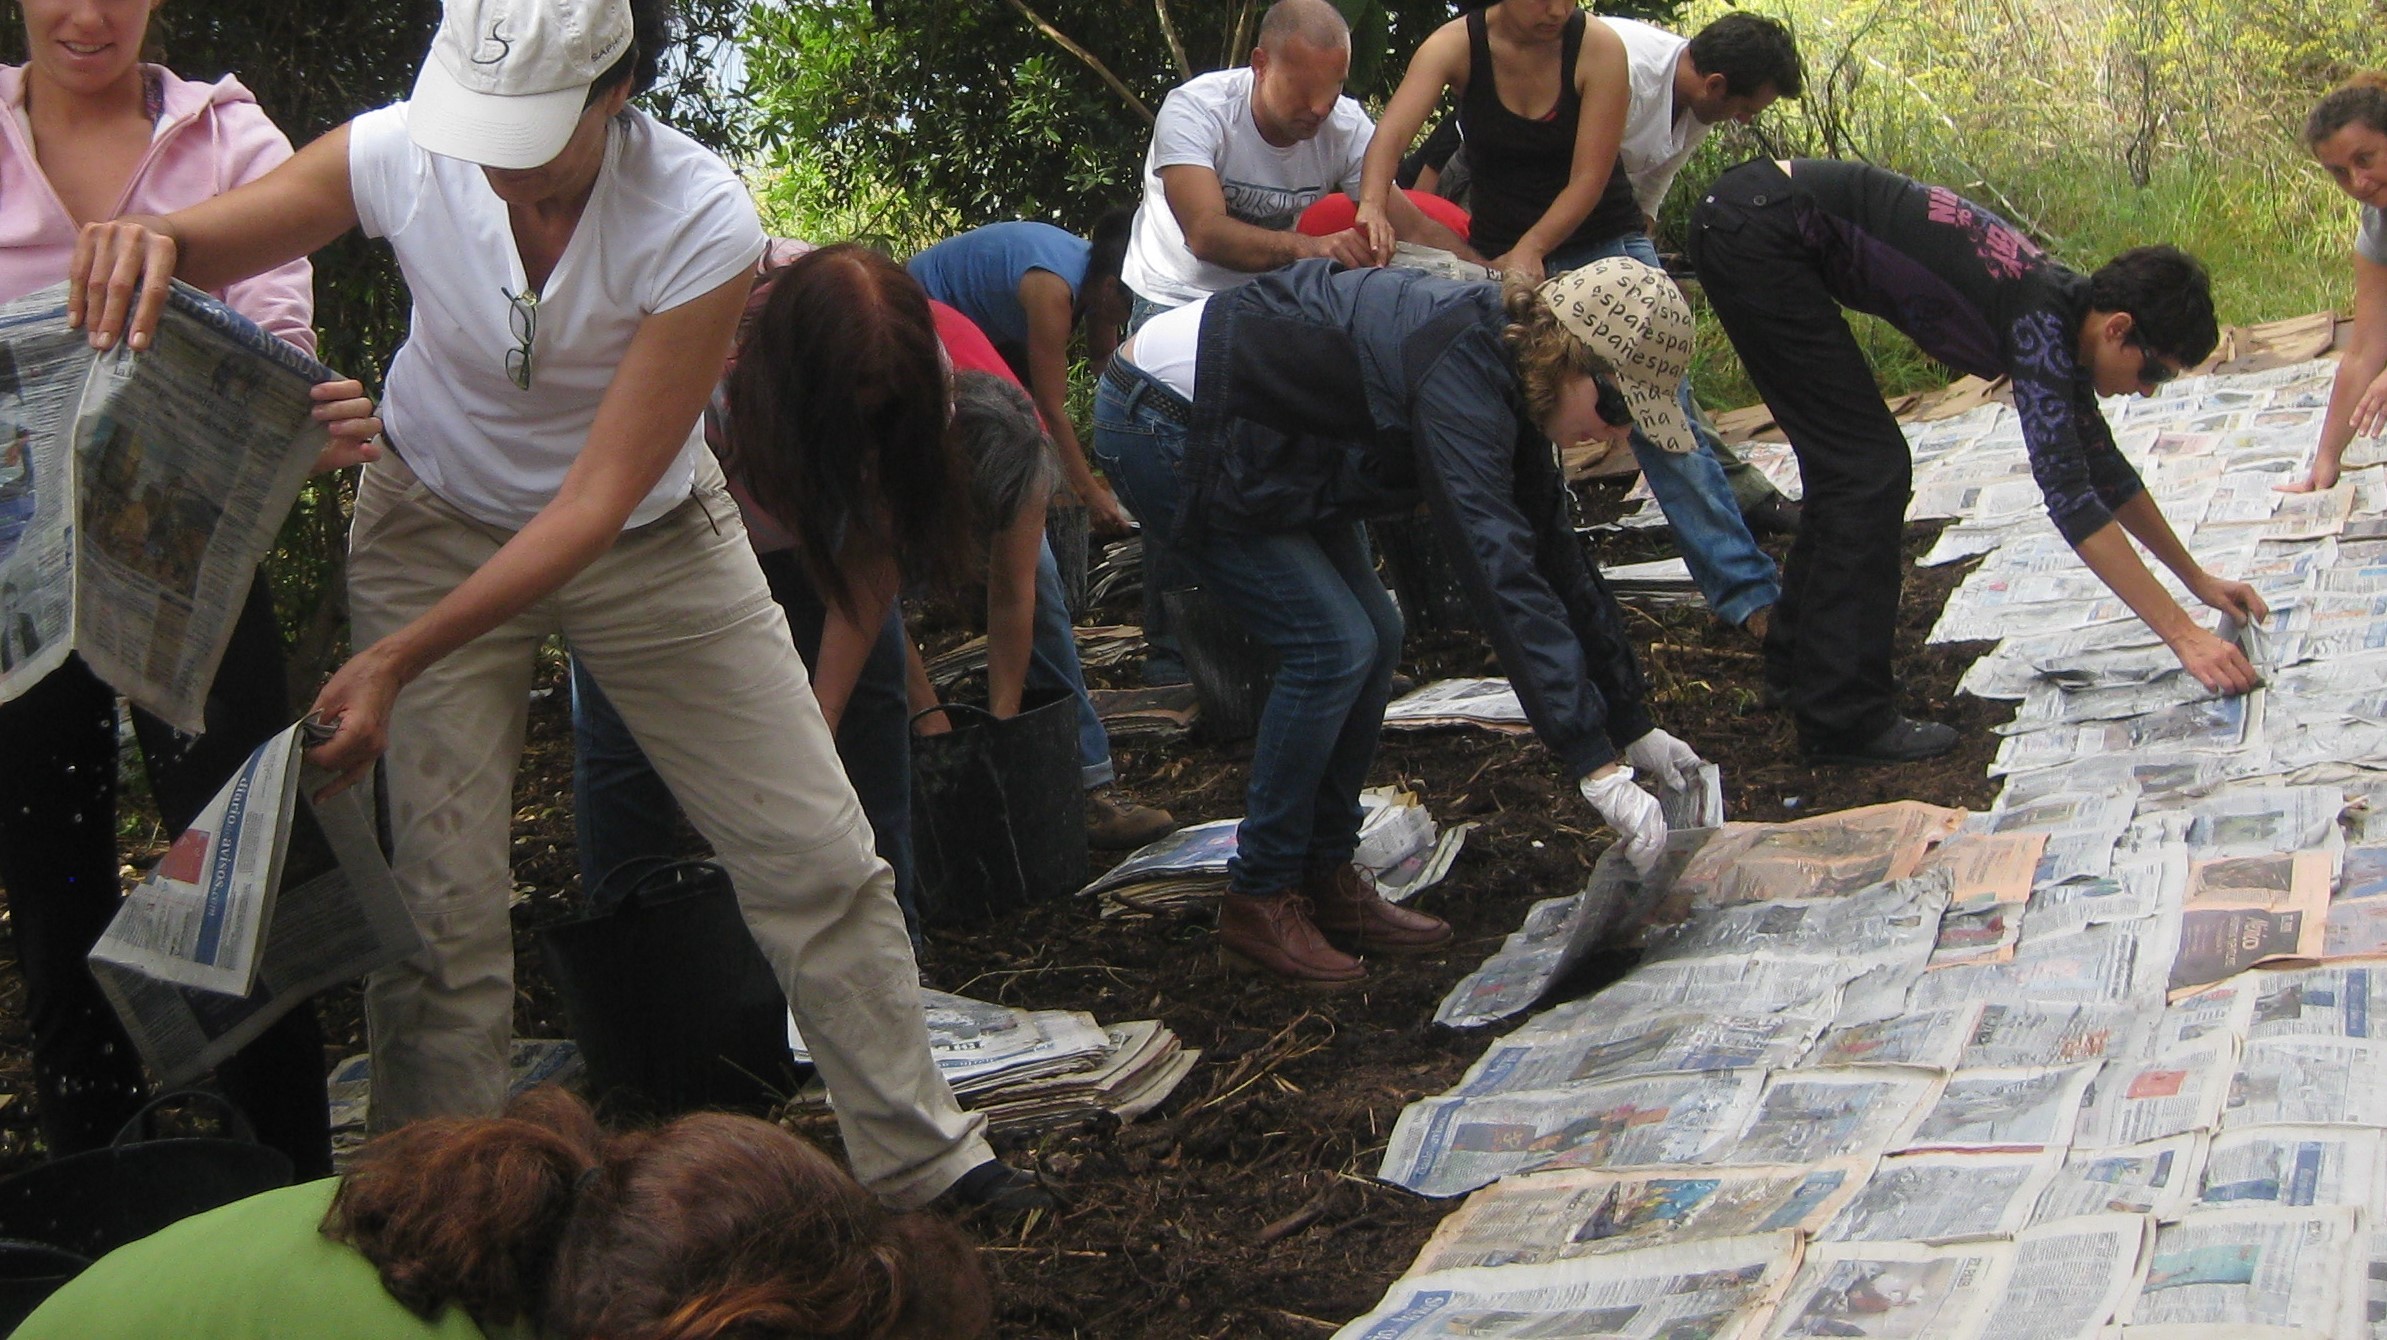
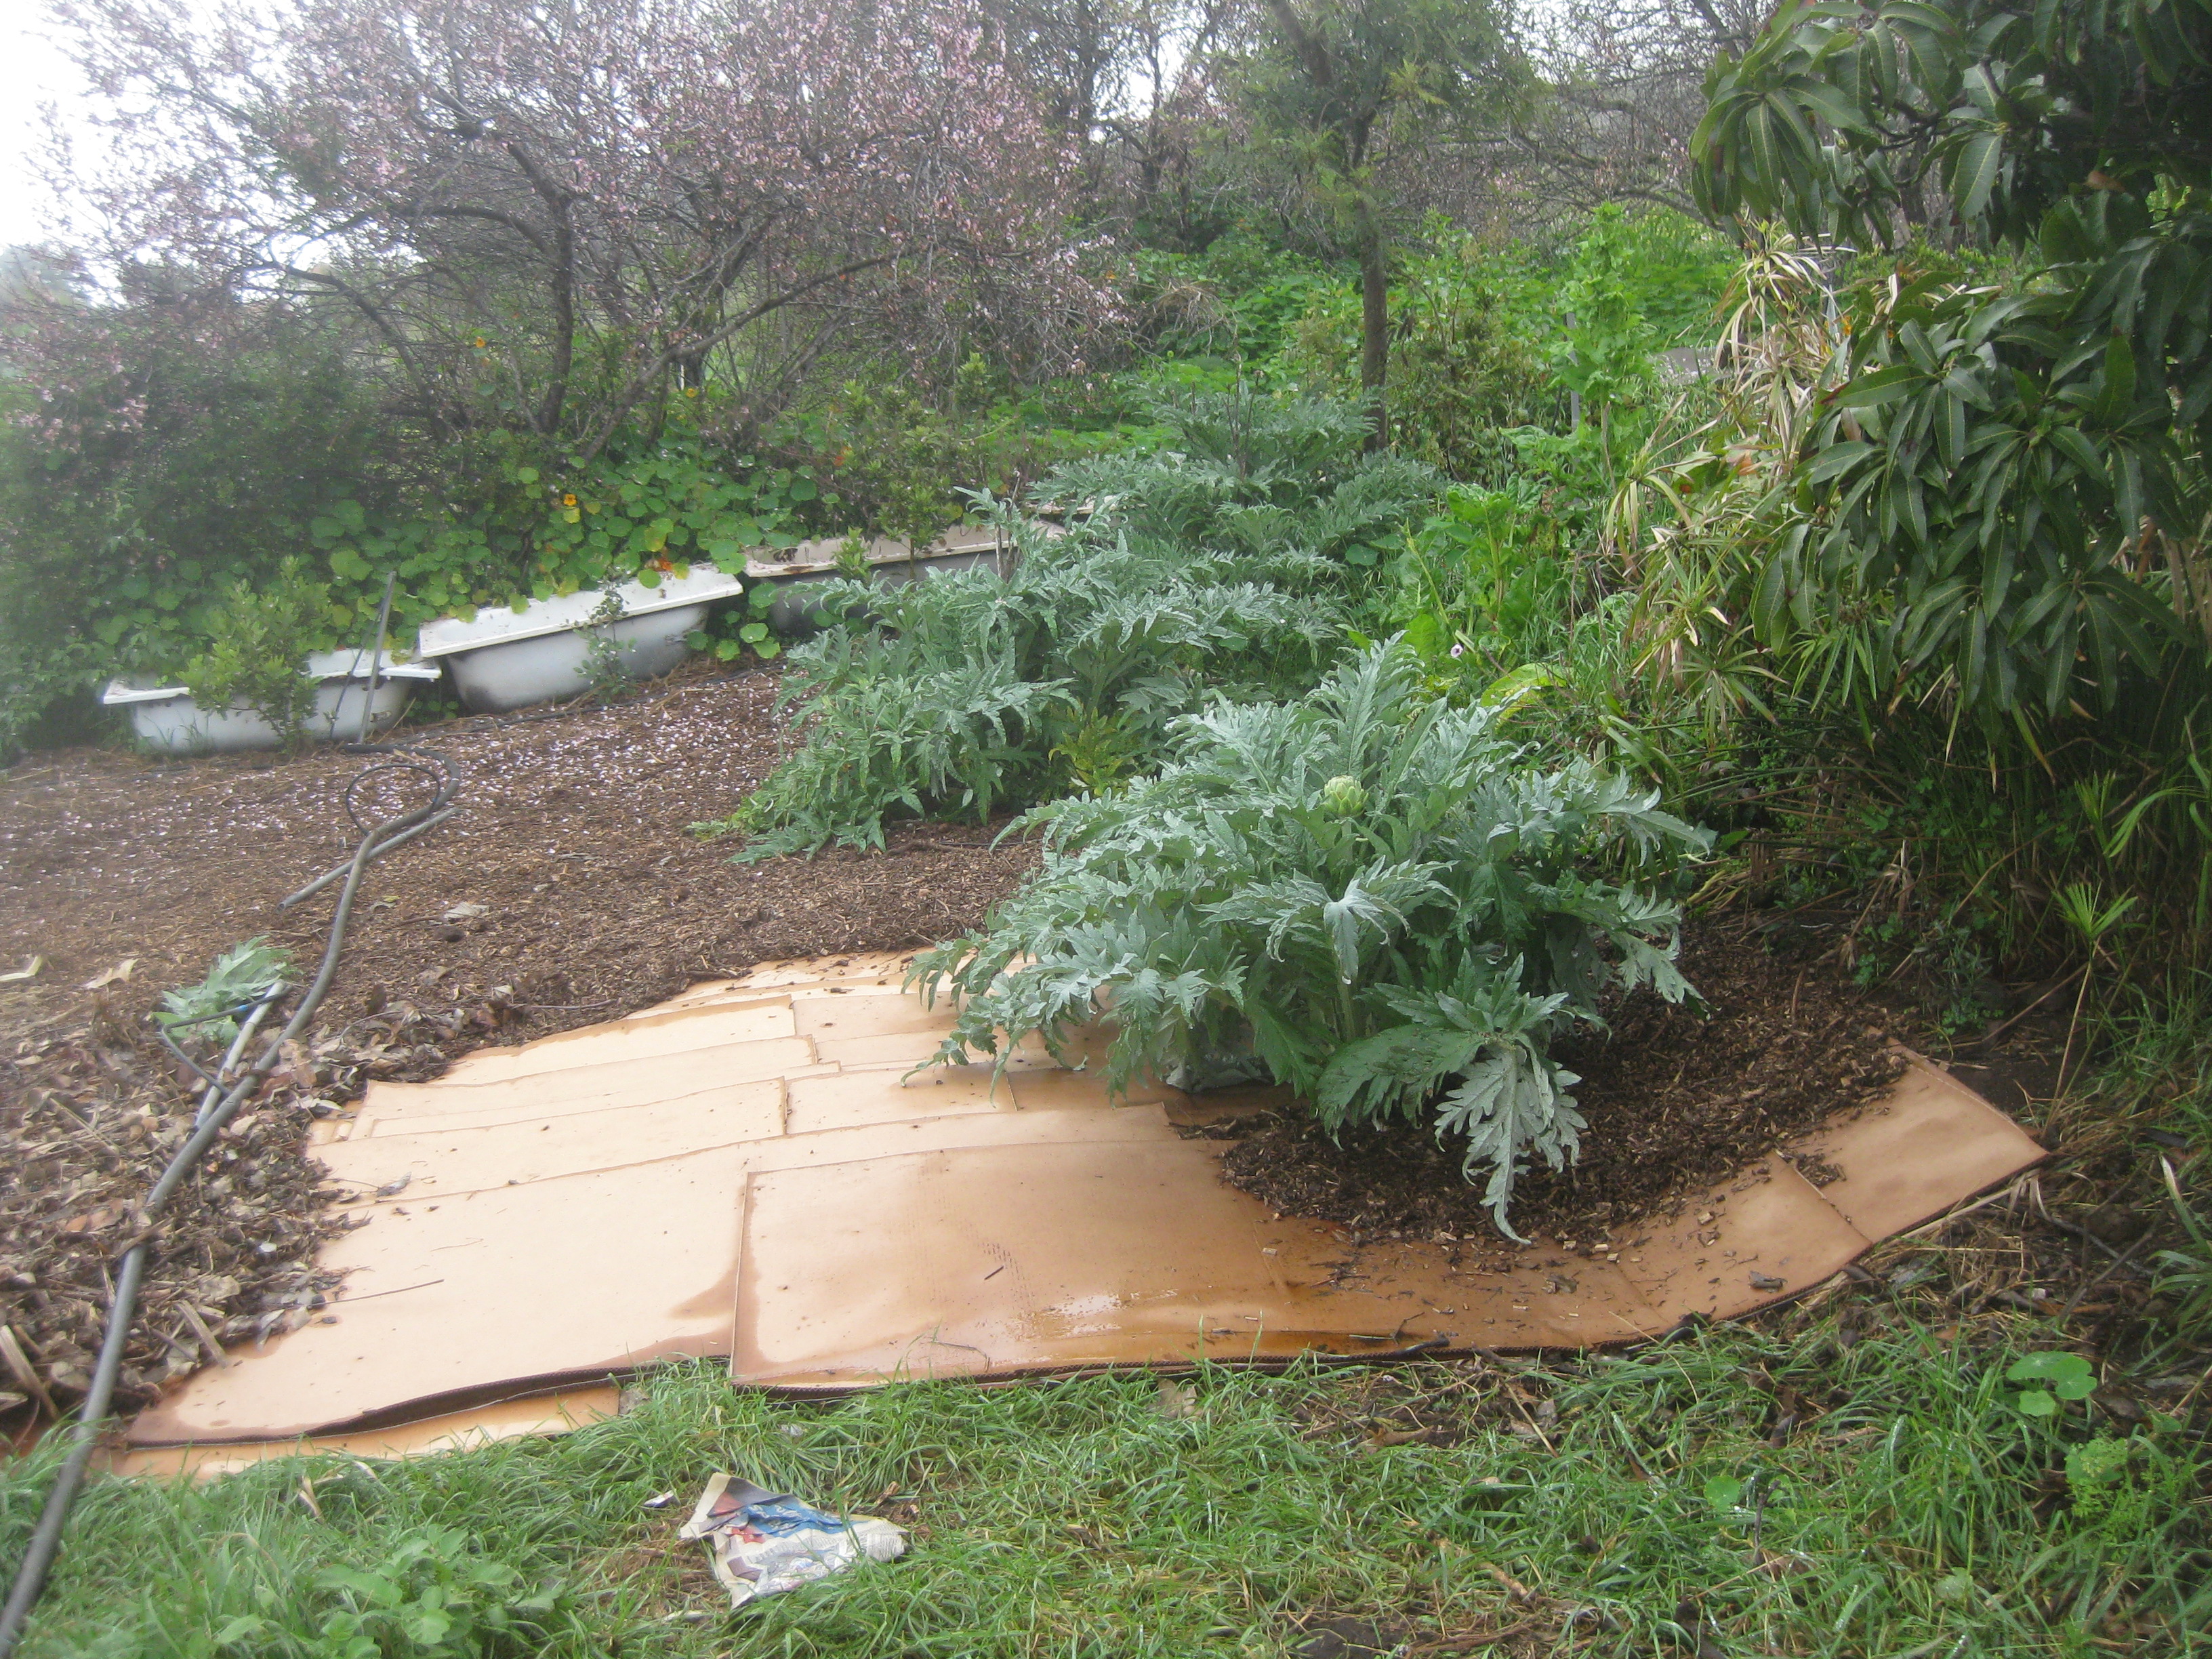
We will spread the paper or cardboard over what will be the paths and beds of the edible garden. The way of arranging is crucial in order to control the weeds during several months, or even up to a year. We have to take into account, when placing the paper or cardboard on the ground, to start from the inside to the outside so we do not step on it; and, in the case of not wanting to remove trees or plants that might be in the garden, we could surround the trunk or stem with the newspapers or cardboard (Figure III.5).
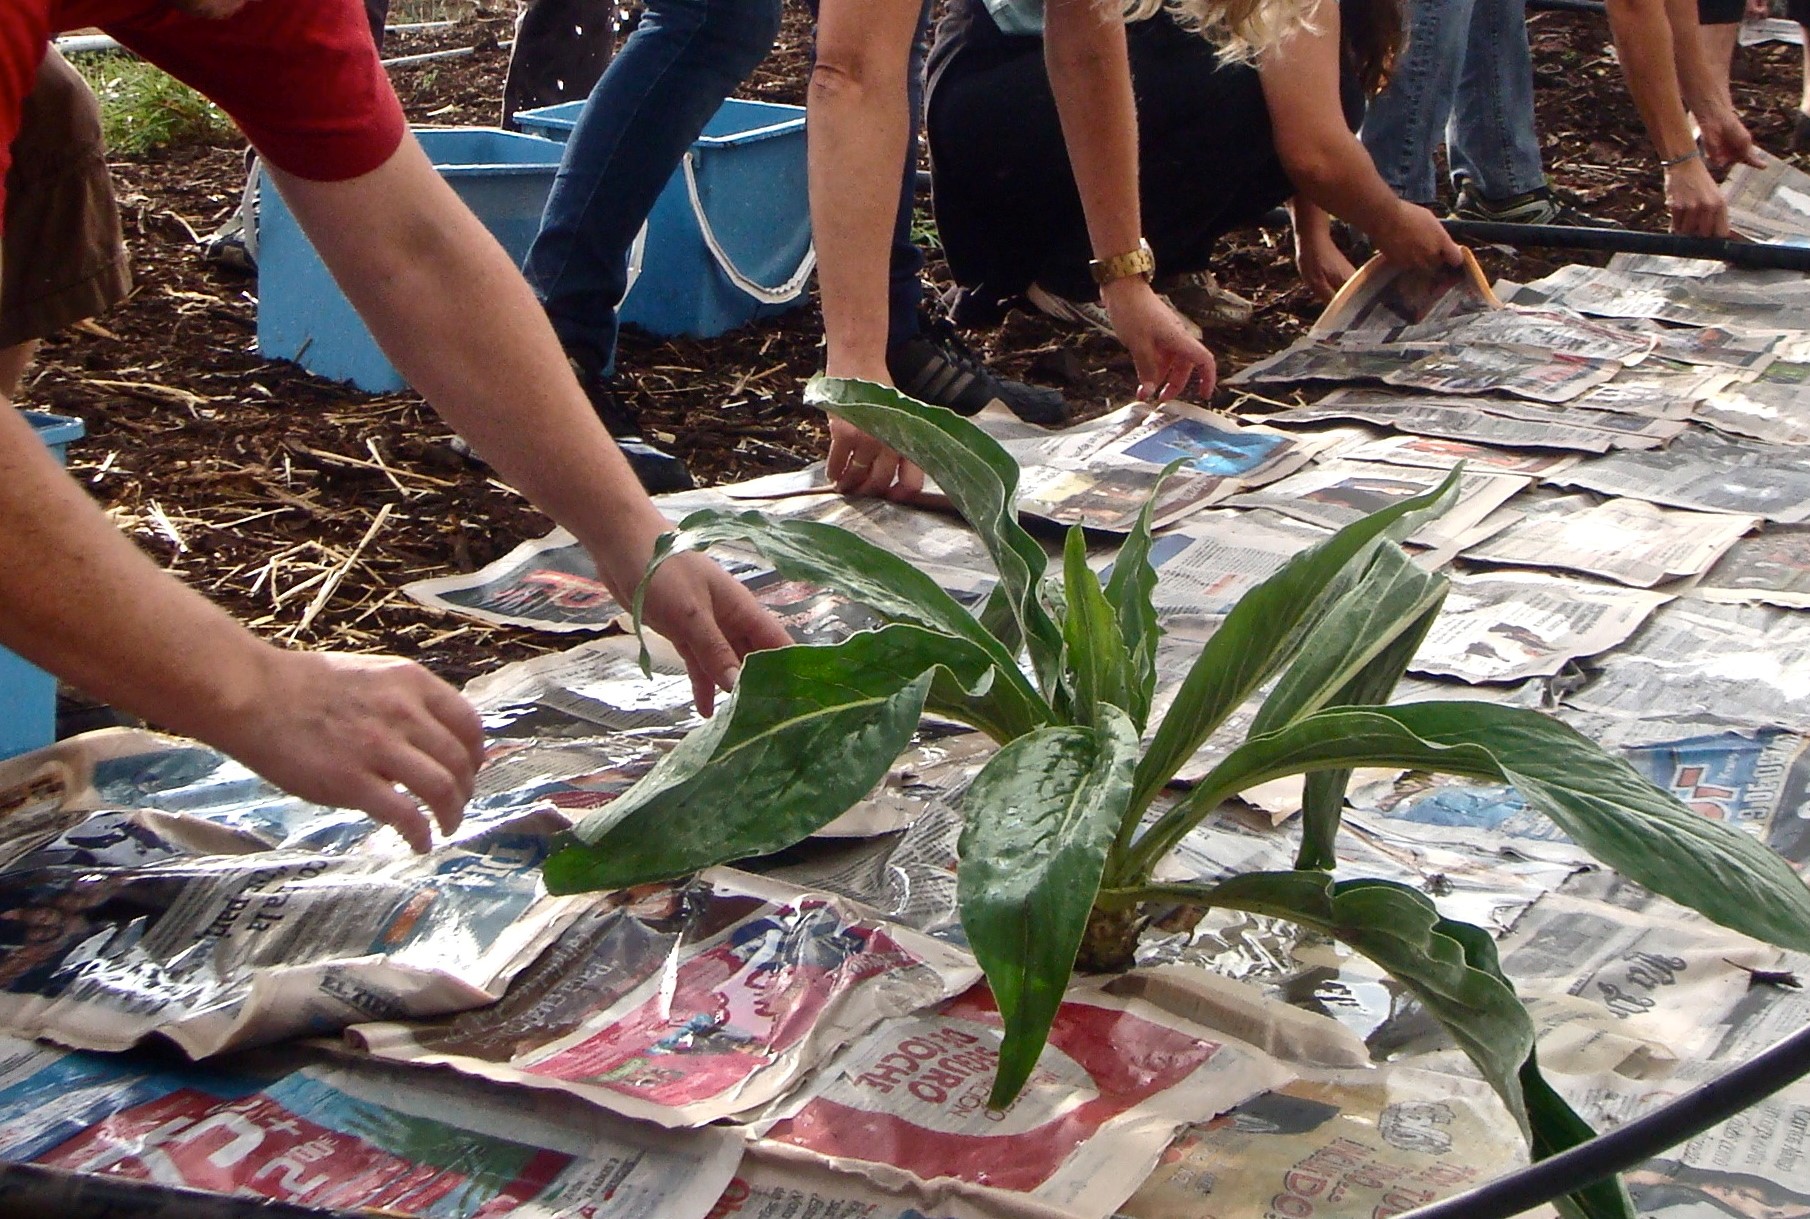
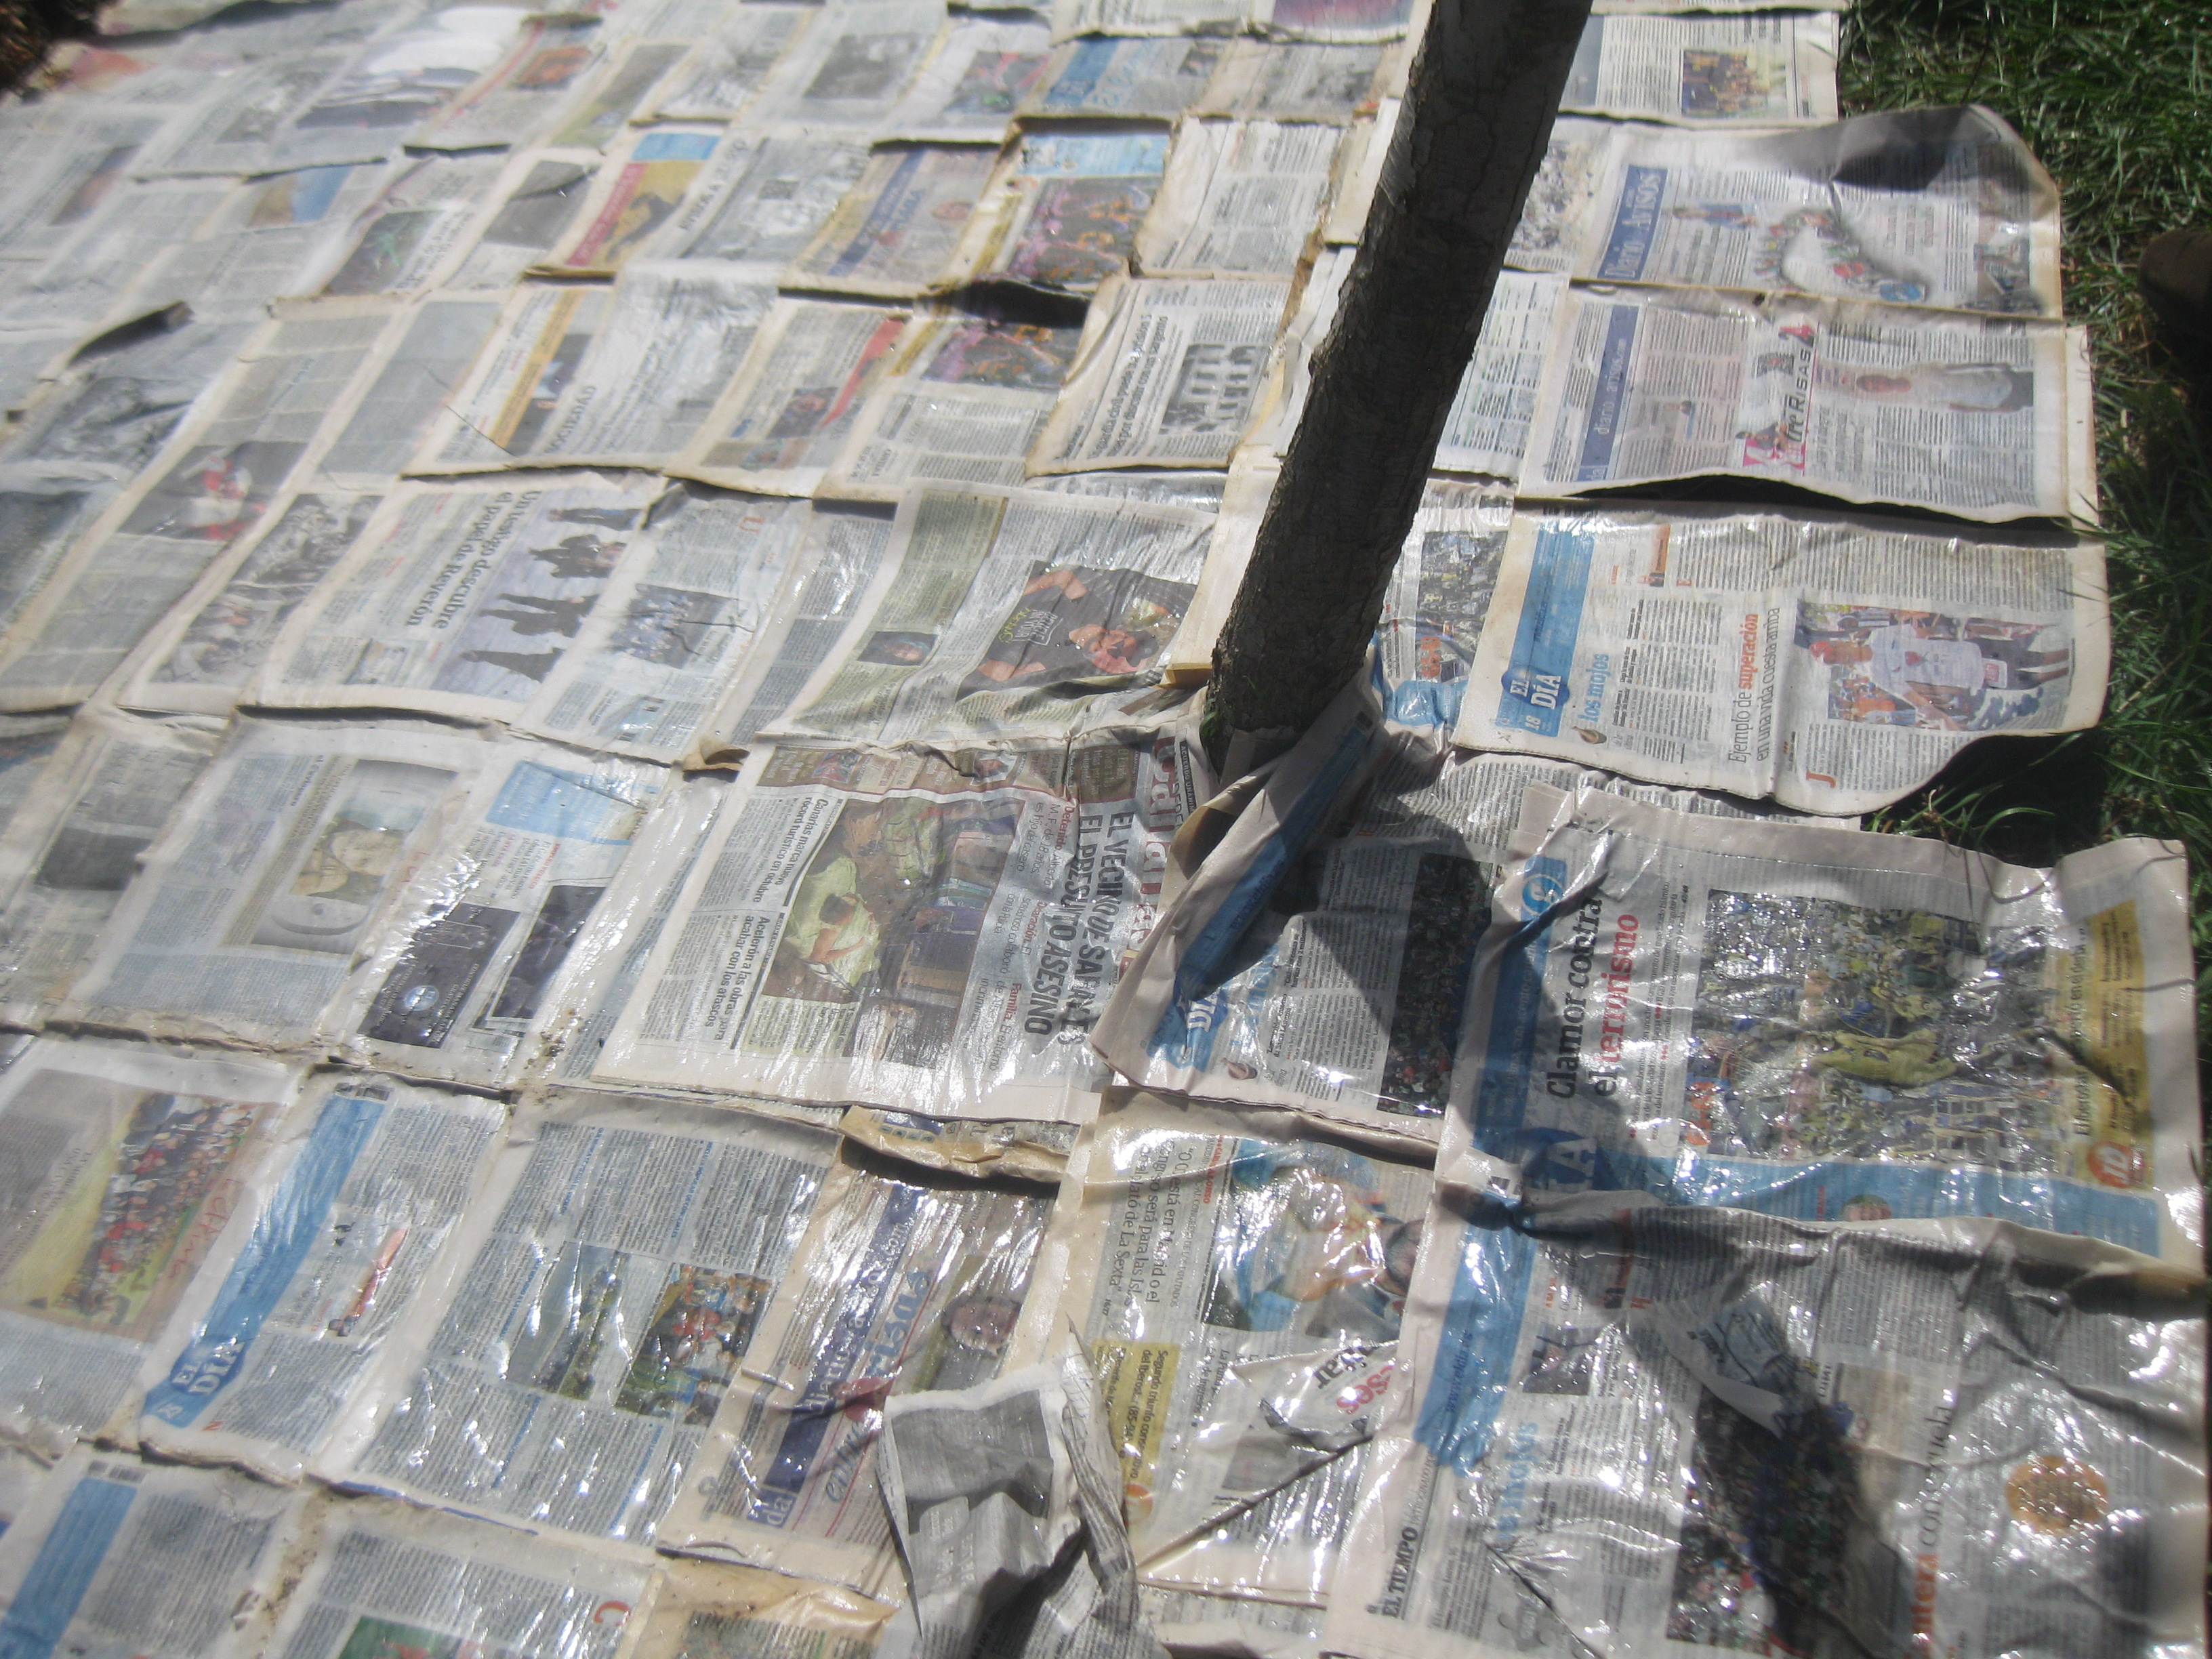
Foto III.5.-Arranging paper around plants and trees
In the case where the land has a slight slope, we would start placing the first layer of cardboard or newspapers from its highest point to facilitate the water –be it from the rain or the watering system– to retain in the soil easily thanks to the overlapping technique that will be explained next.
The newspapers are always placed wet, using buckets filled with water where we put them folded in order to soak them. The papers stick better to each other when they are wet; they spread out more evenly and don’t have as much bumps. By wetting them, we also avoid them getting lifted by the wind. Once the newspaper is soaked we open it in the middle and place it on the ground. If the newspaper is very thick we can divide it into two.
We place the newspapers on the ground the following way: we start to assemble the first row on one side at the end of the garden with the first newspaper spread out over the compost; we overlap the second newspaper over half of the first one and continue until the first row is finished. We overlap a newspaper after another so that we create and first layer that will reach the other end of the area we want to cover.
The second row follows the same technique, but taking into account that the newspaper of the second row also overlaps half of the newspaper of the first row, and so on and so forth. We will form this second row following the same technique until the area is covered from end to end (Figure III.6). If it is correctly done, there is a minimum overlapping of four layers of newspaper in the whole covered area, except for the edges, which could be fixed by adding newspaper or cardboard. This prevents grass from sprouting and easily breaking the newspapers due to an incorrect overlapping. The thickness created by the newspaper is also helpful on areas struggling with adventitious plants hard to remove. If this was not the case, we could divide the newspaper three or four times and follow the same procedure to cover the compost.
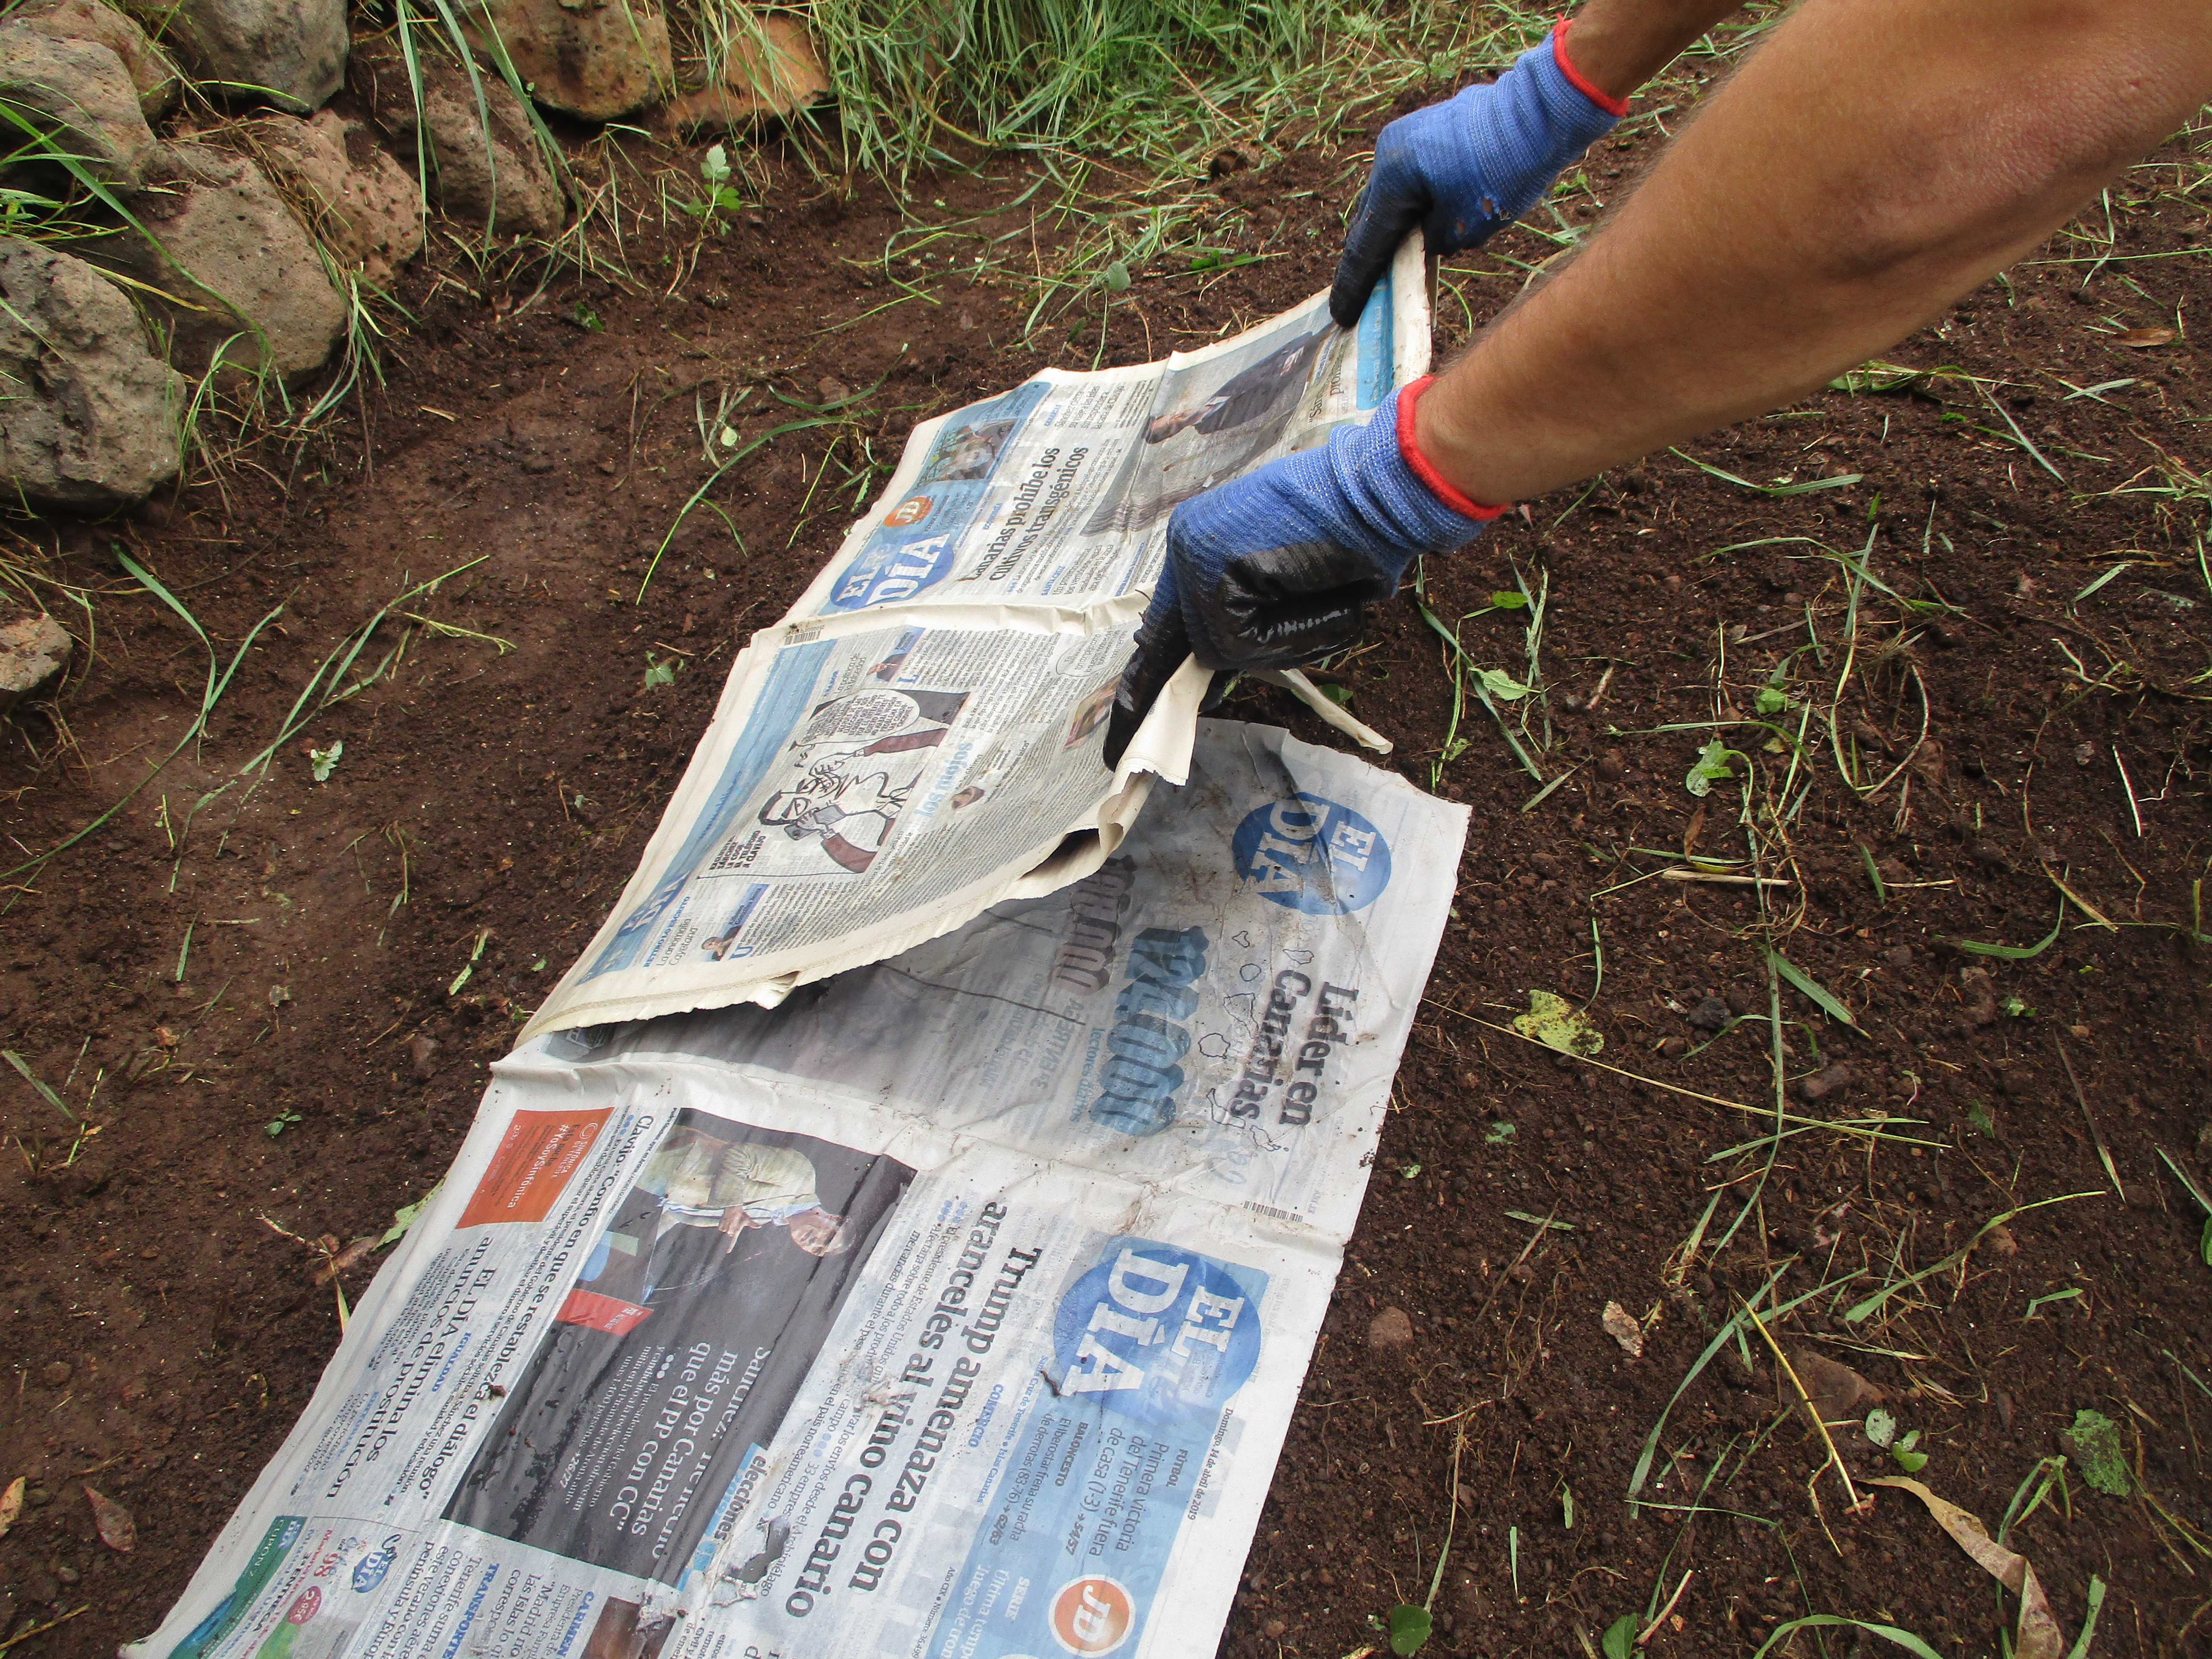
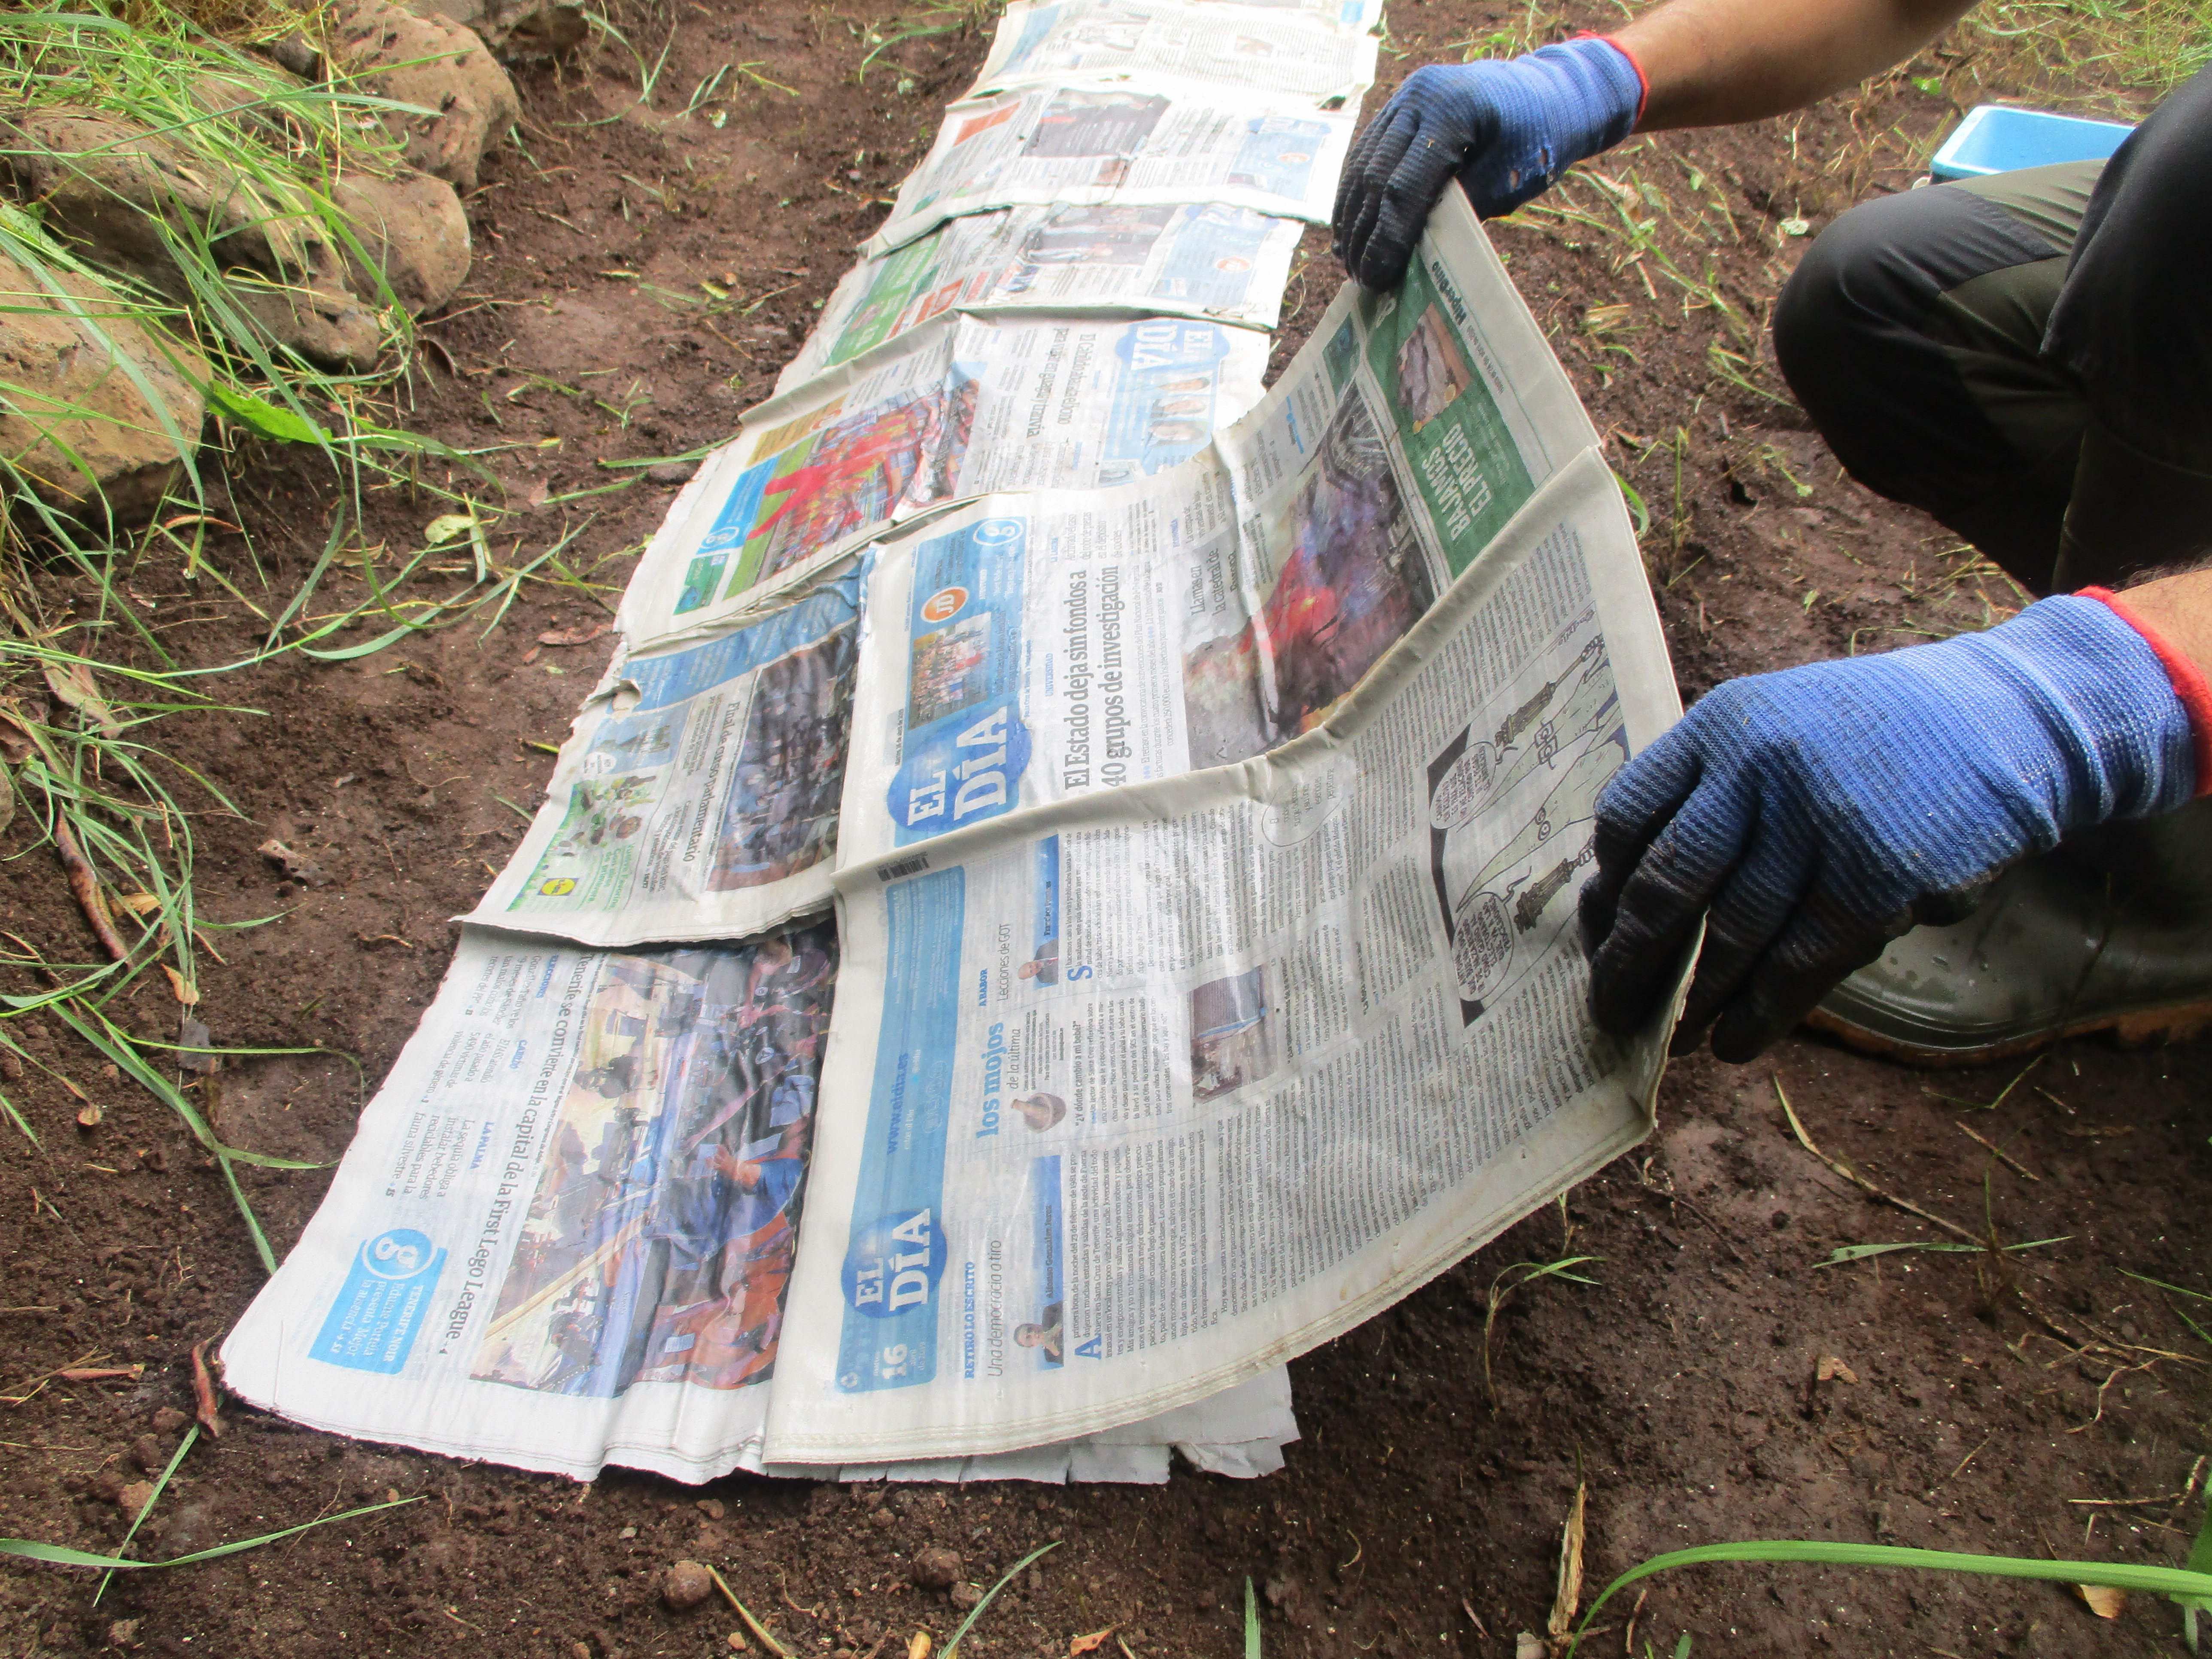
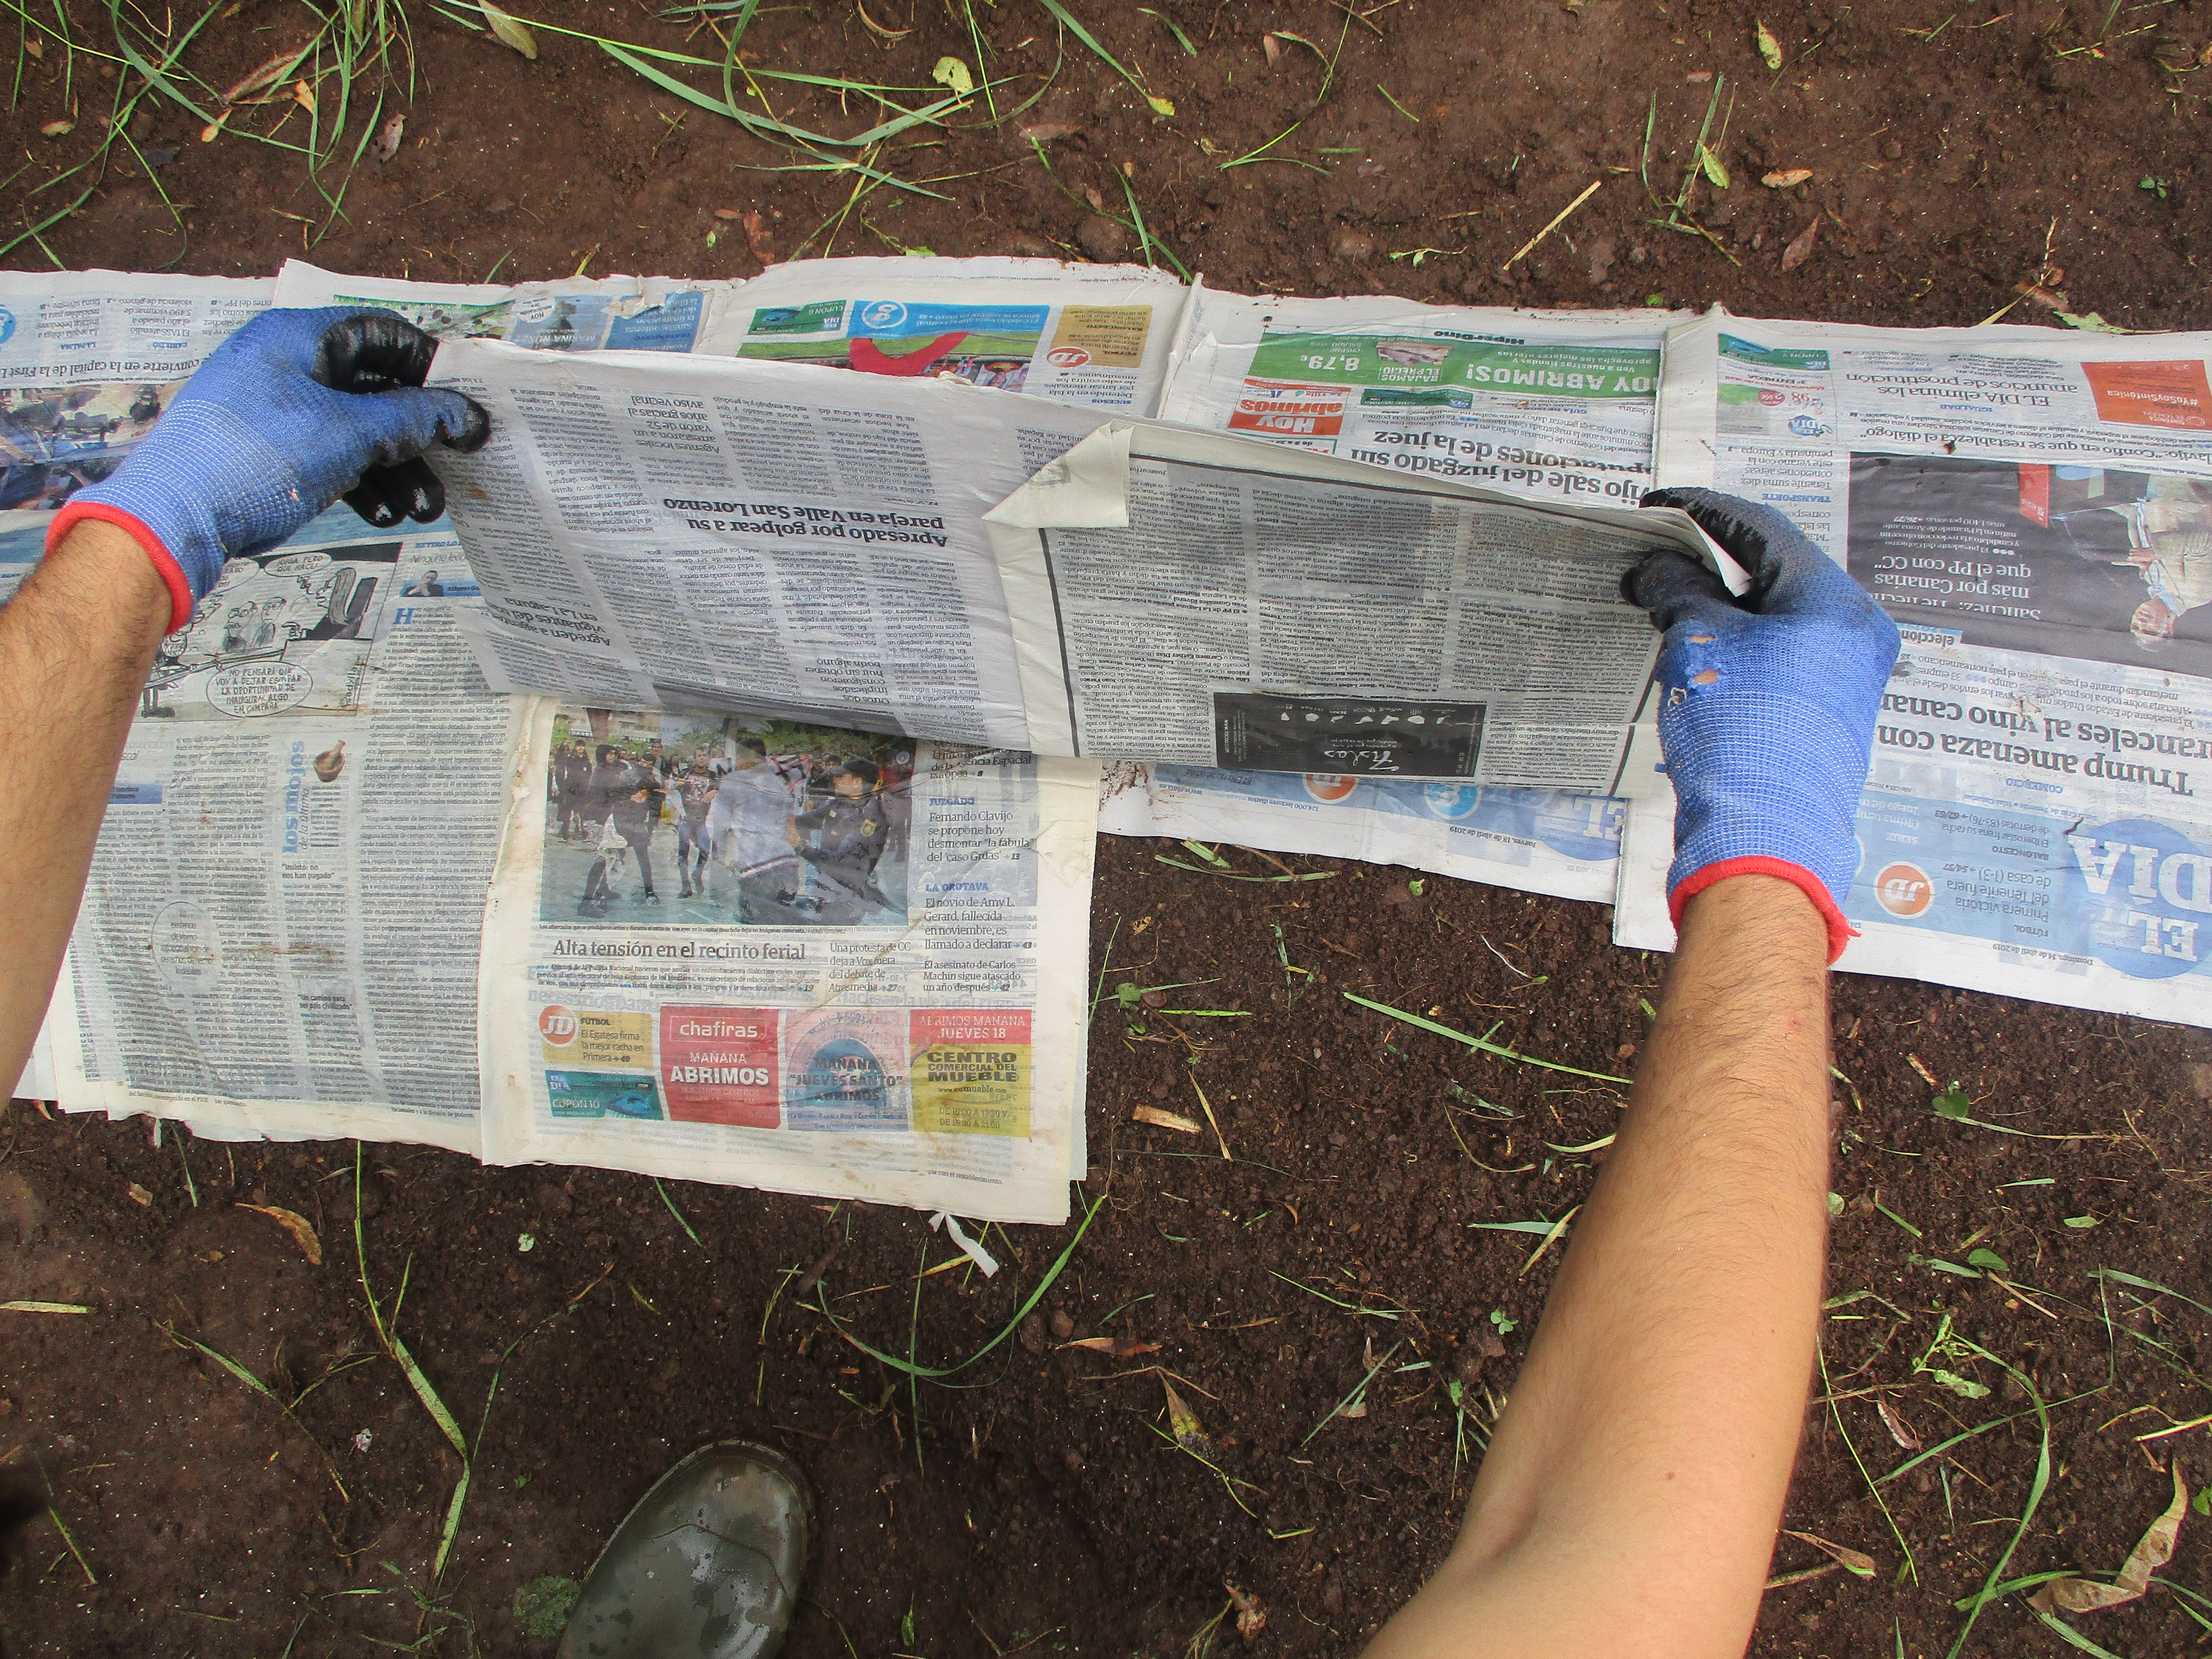
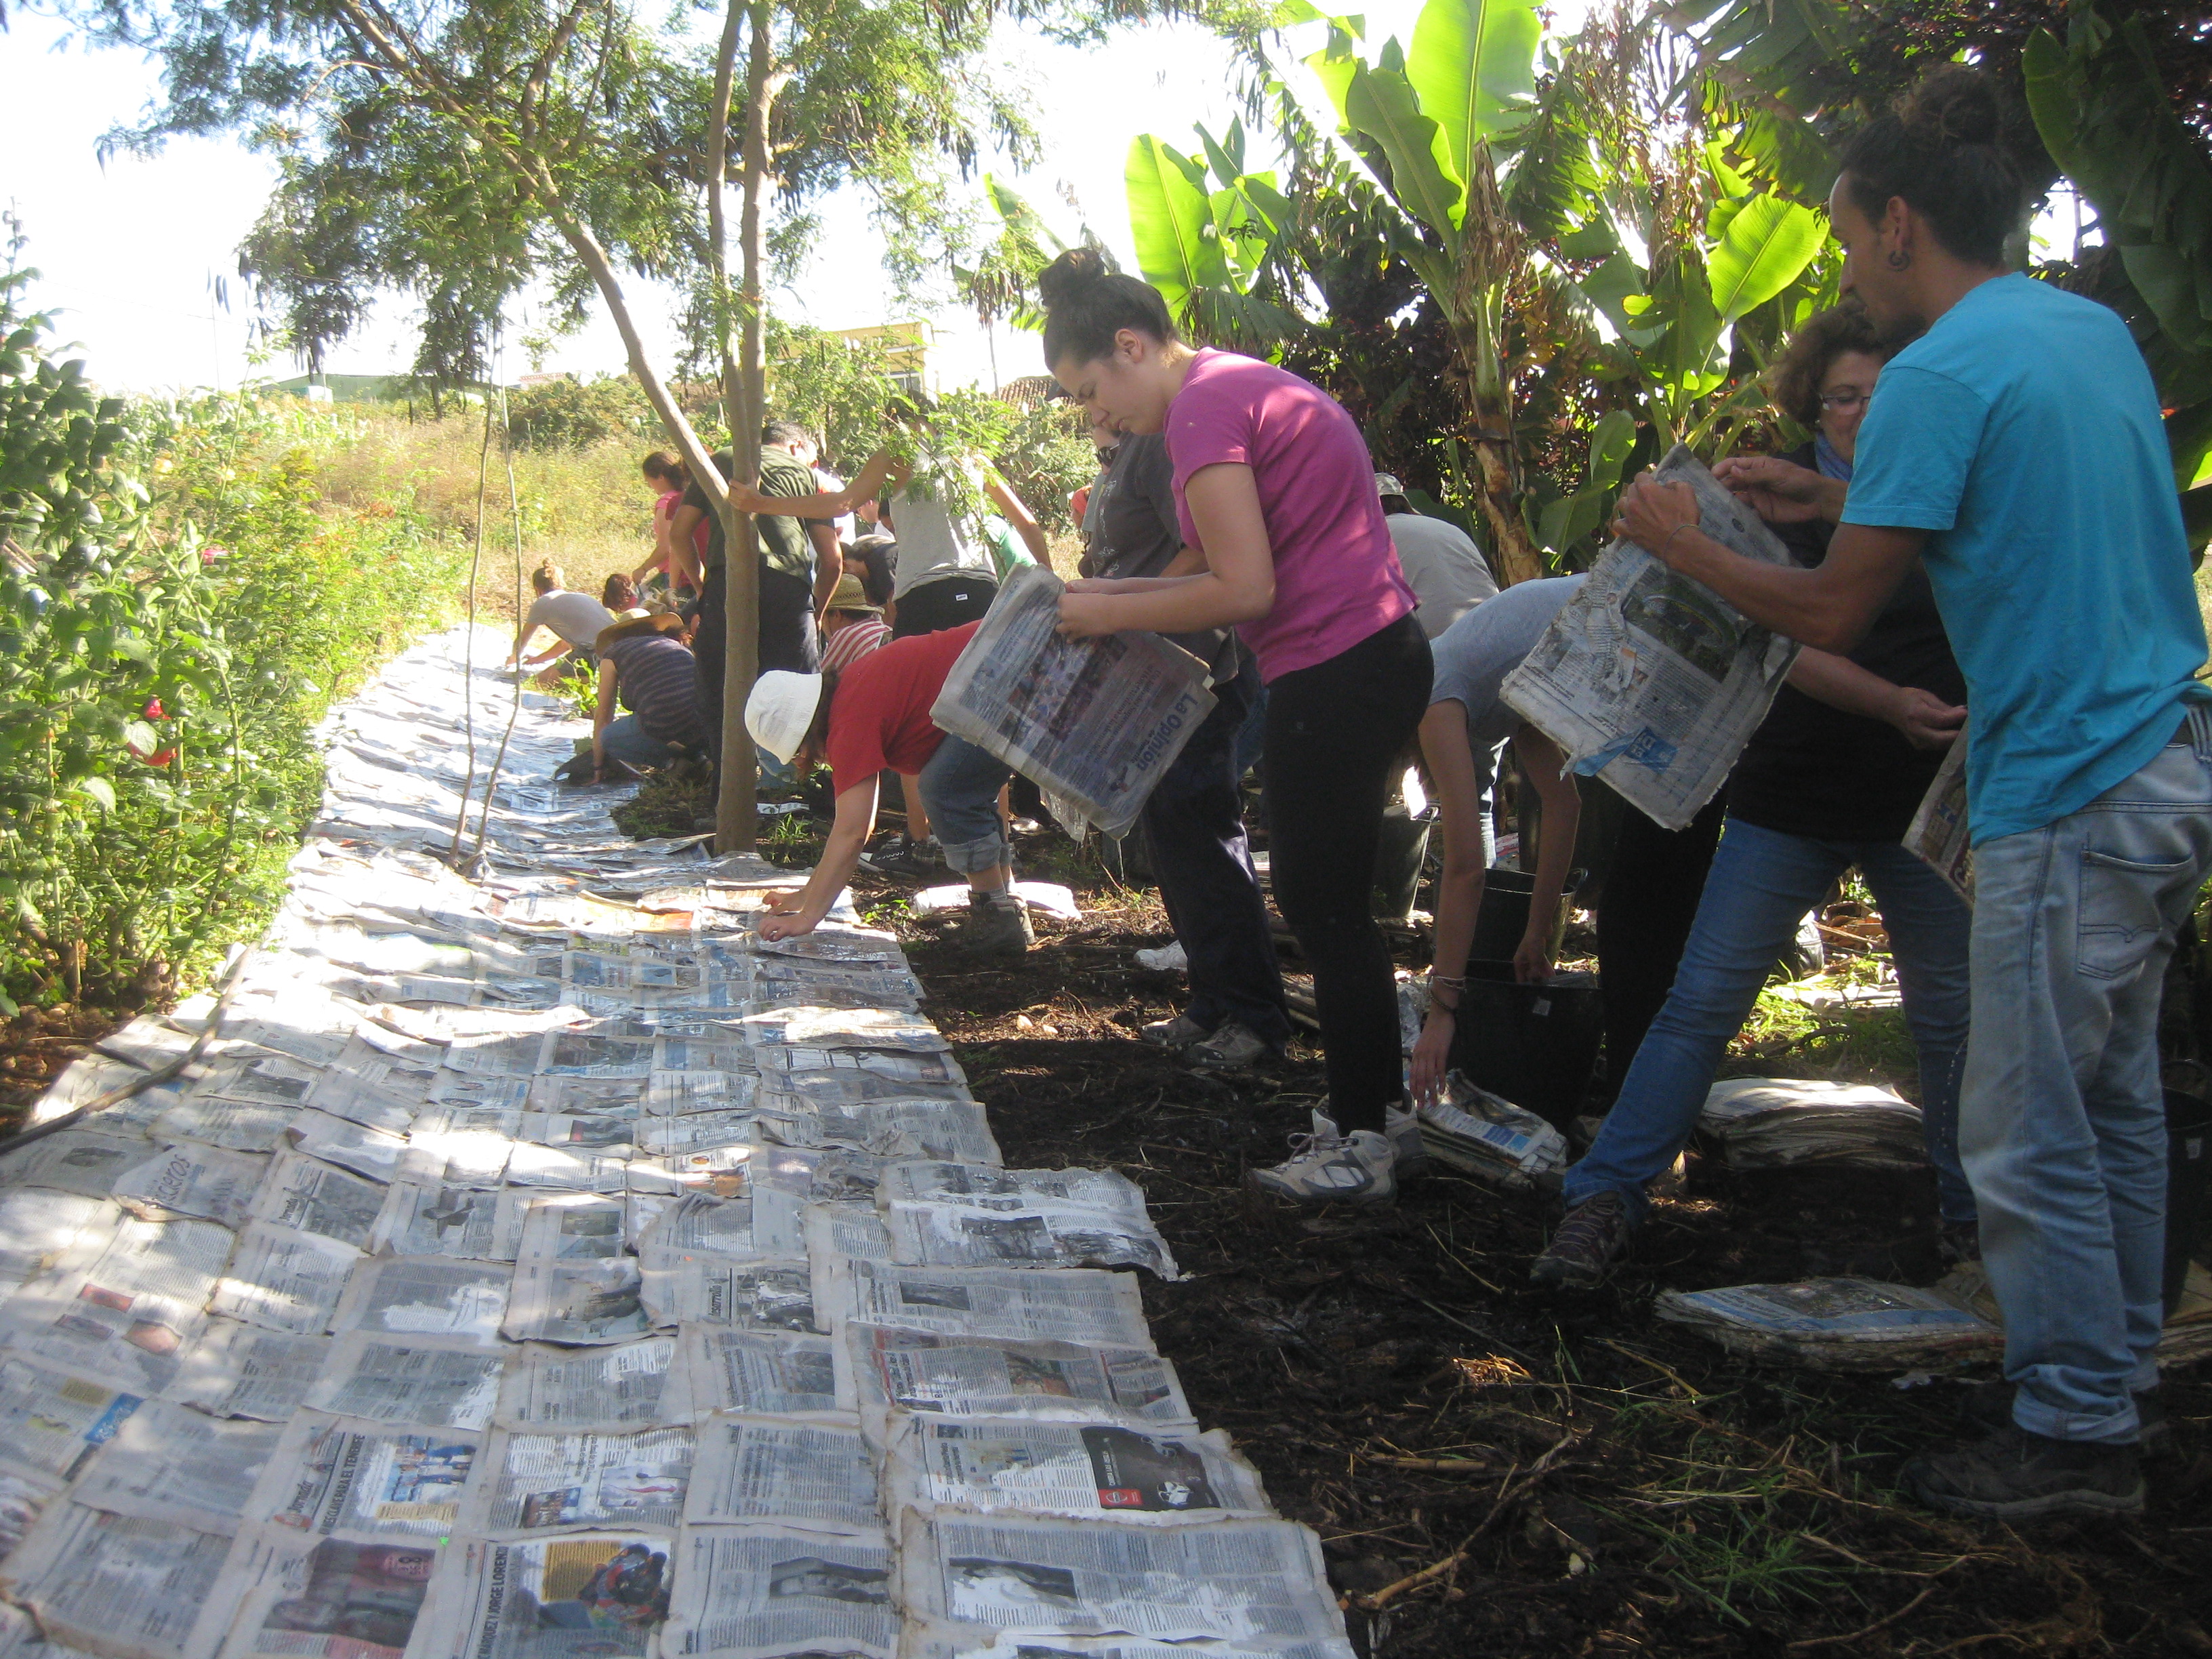
Figure III.6.-Assembling the newspapers on the ground
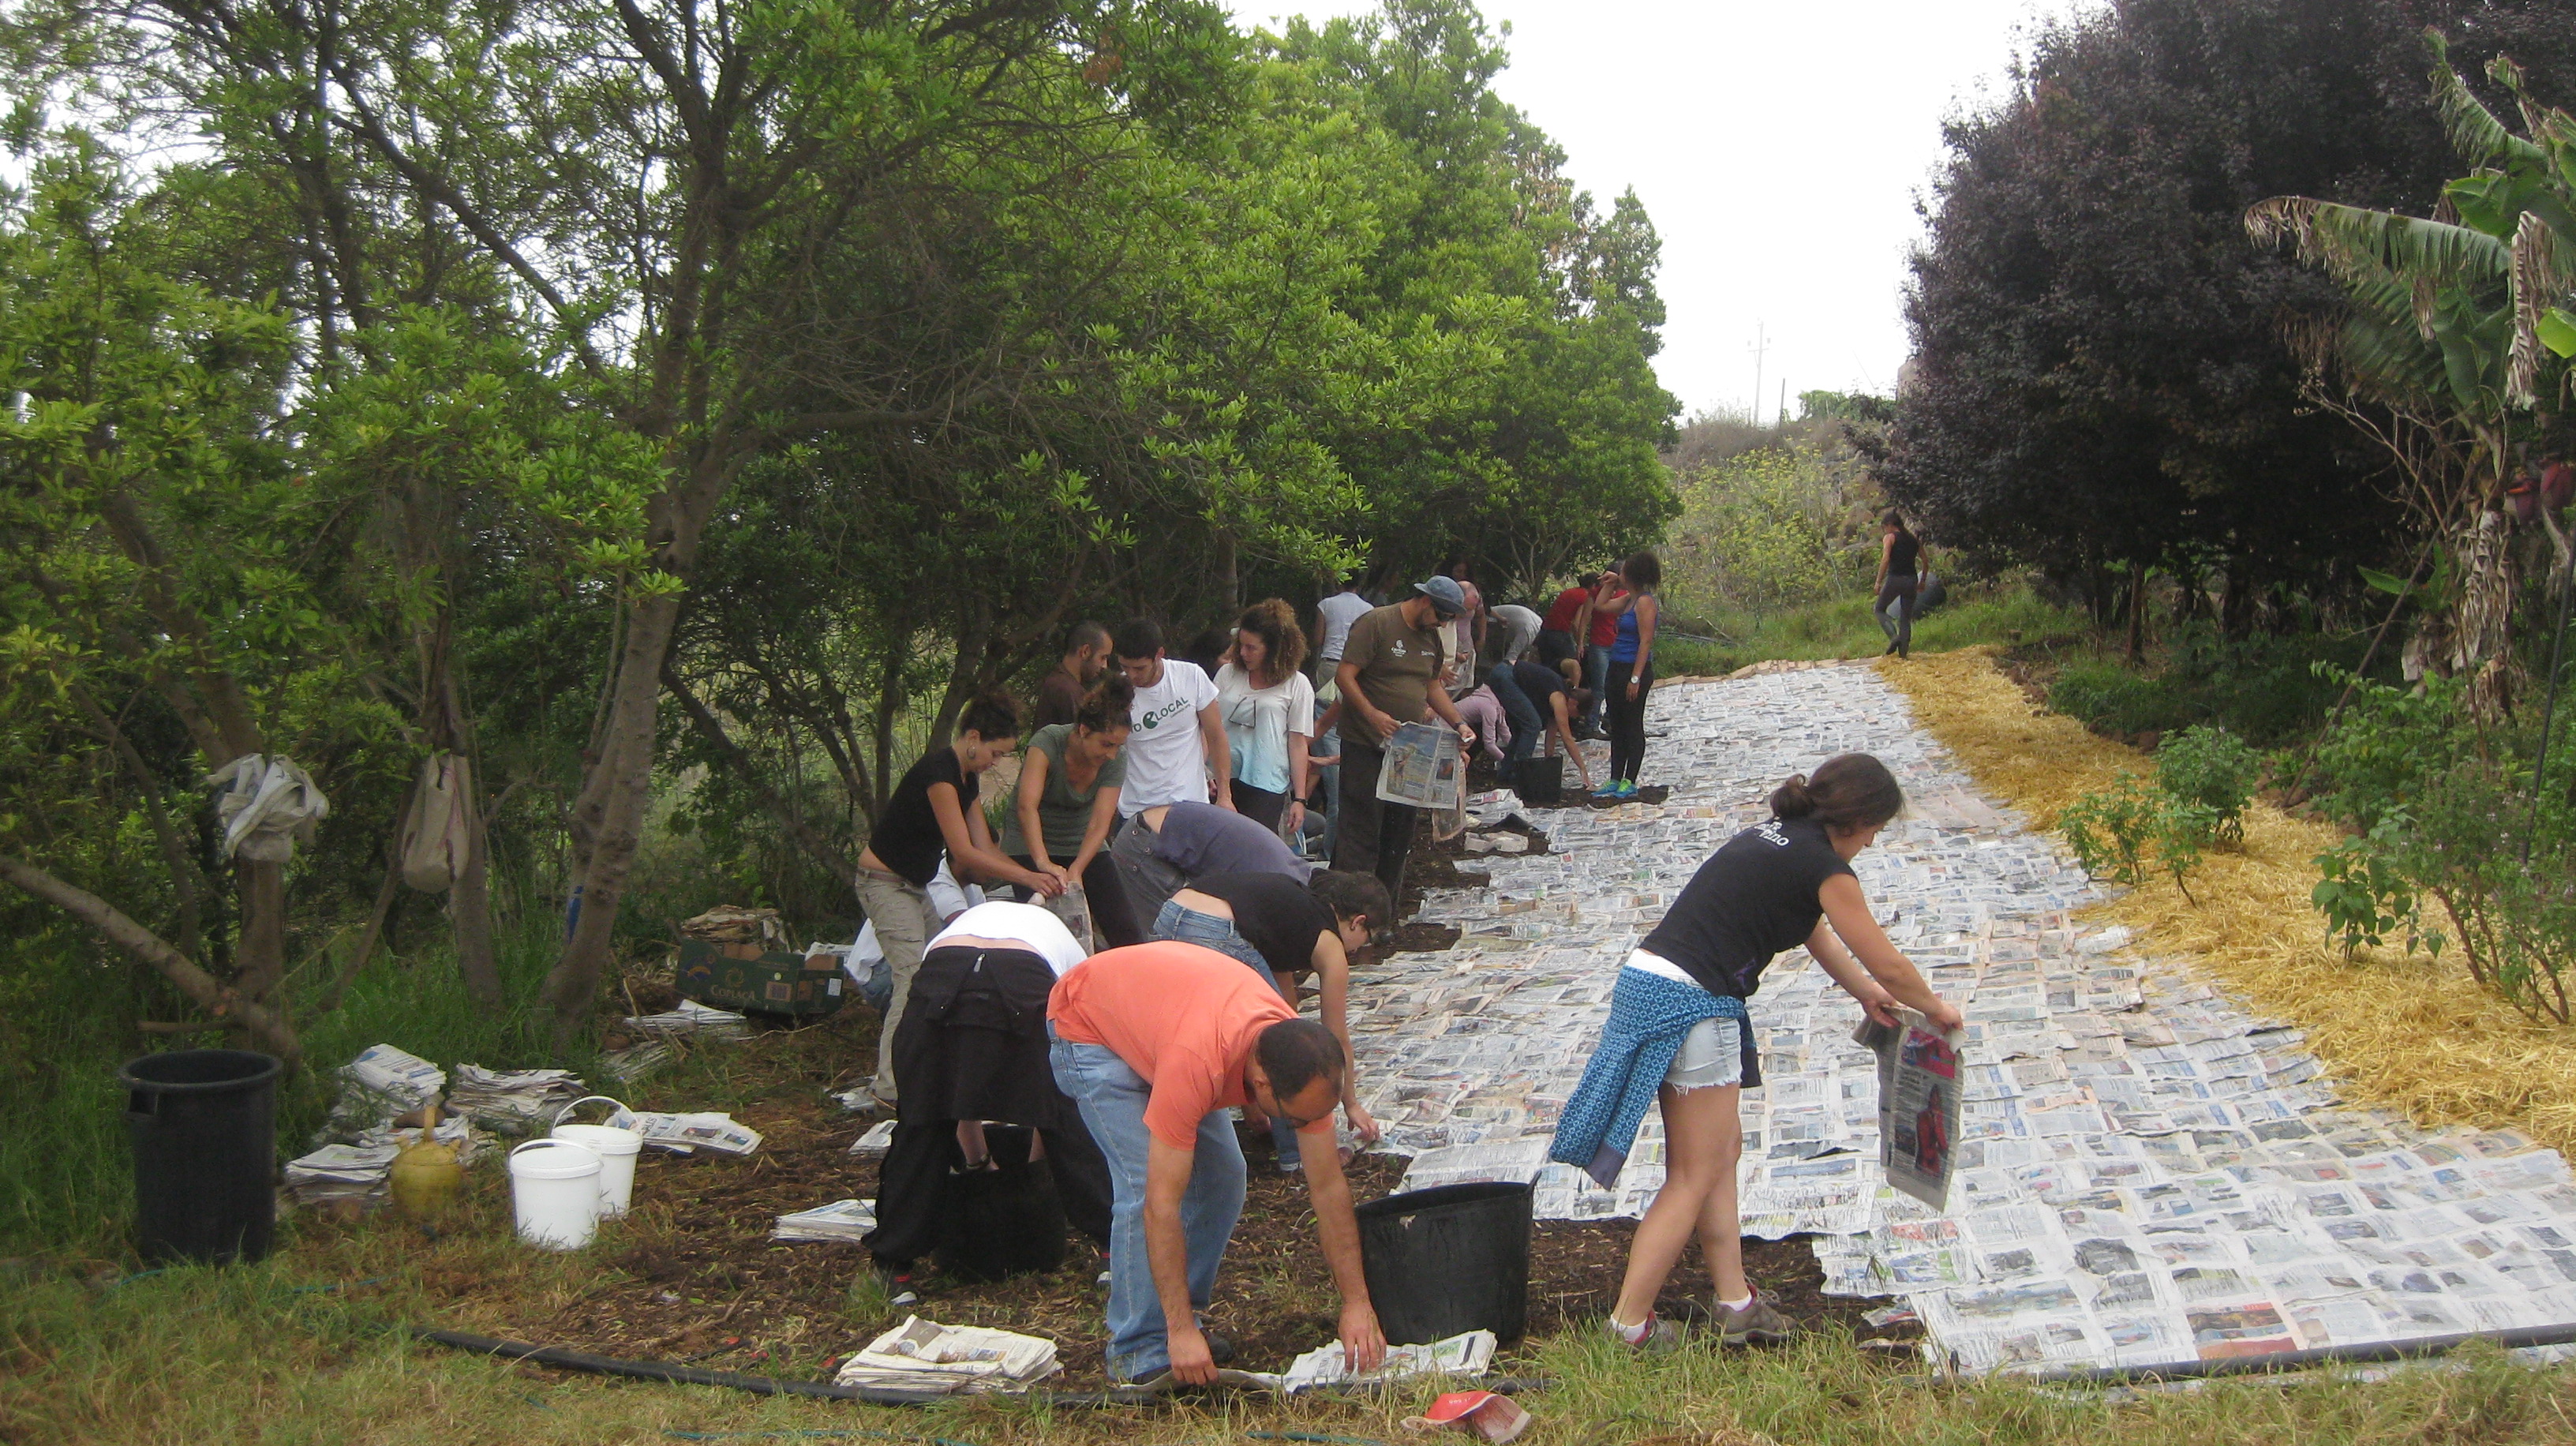
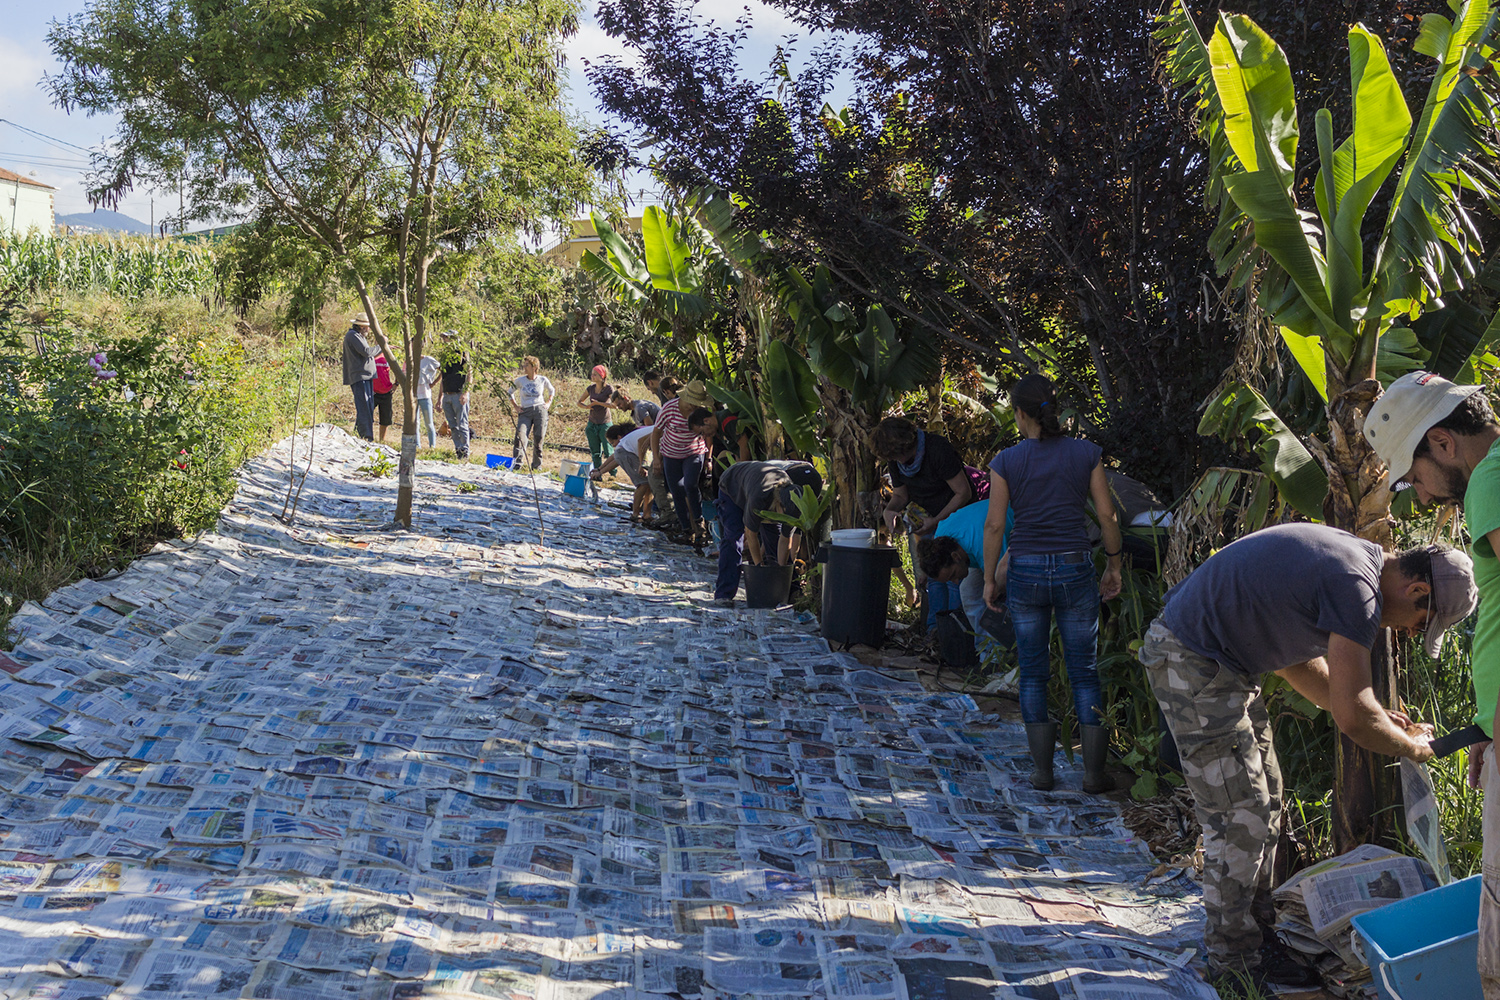
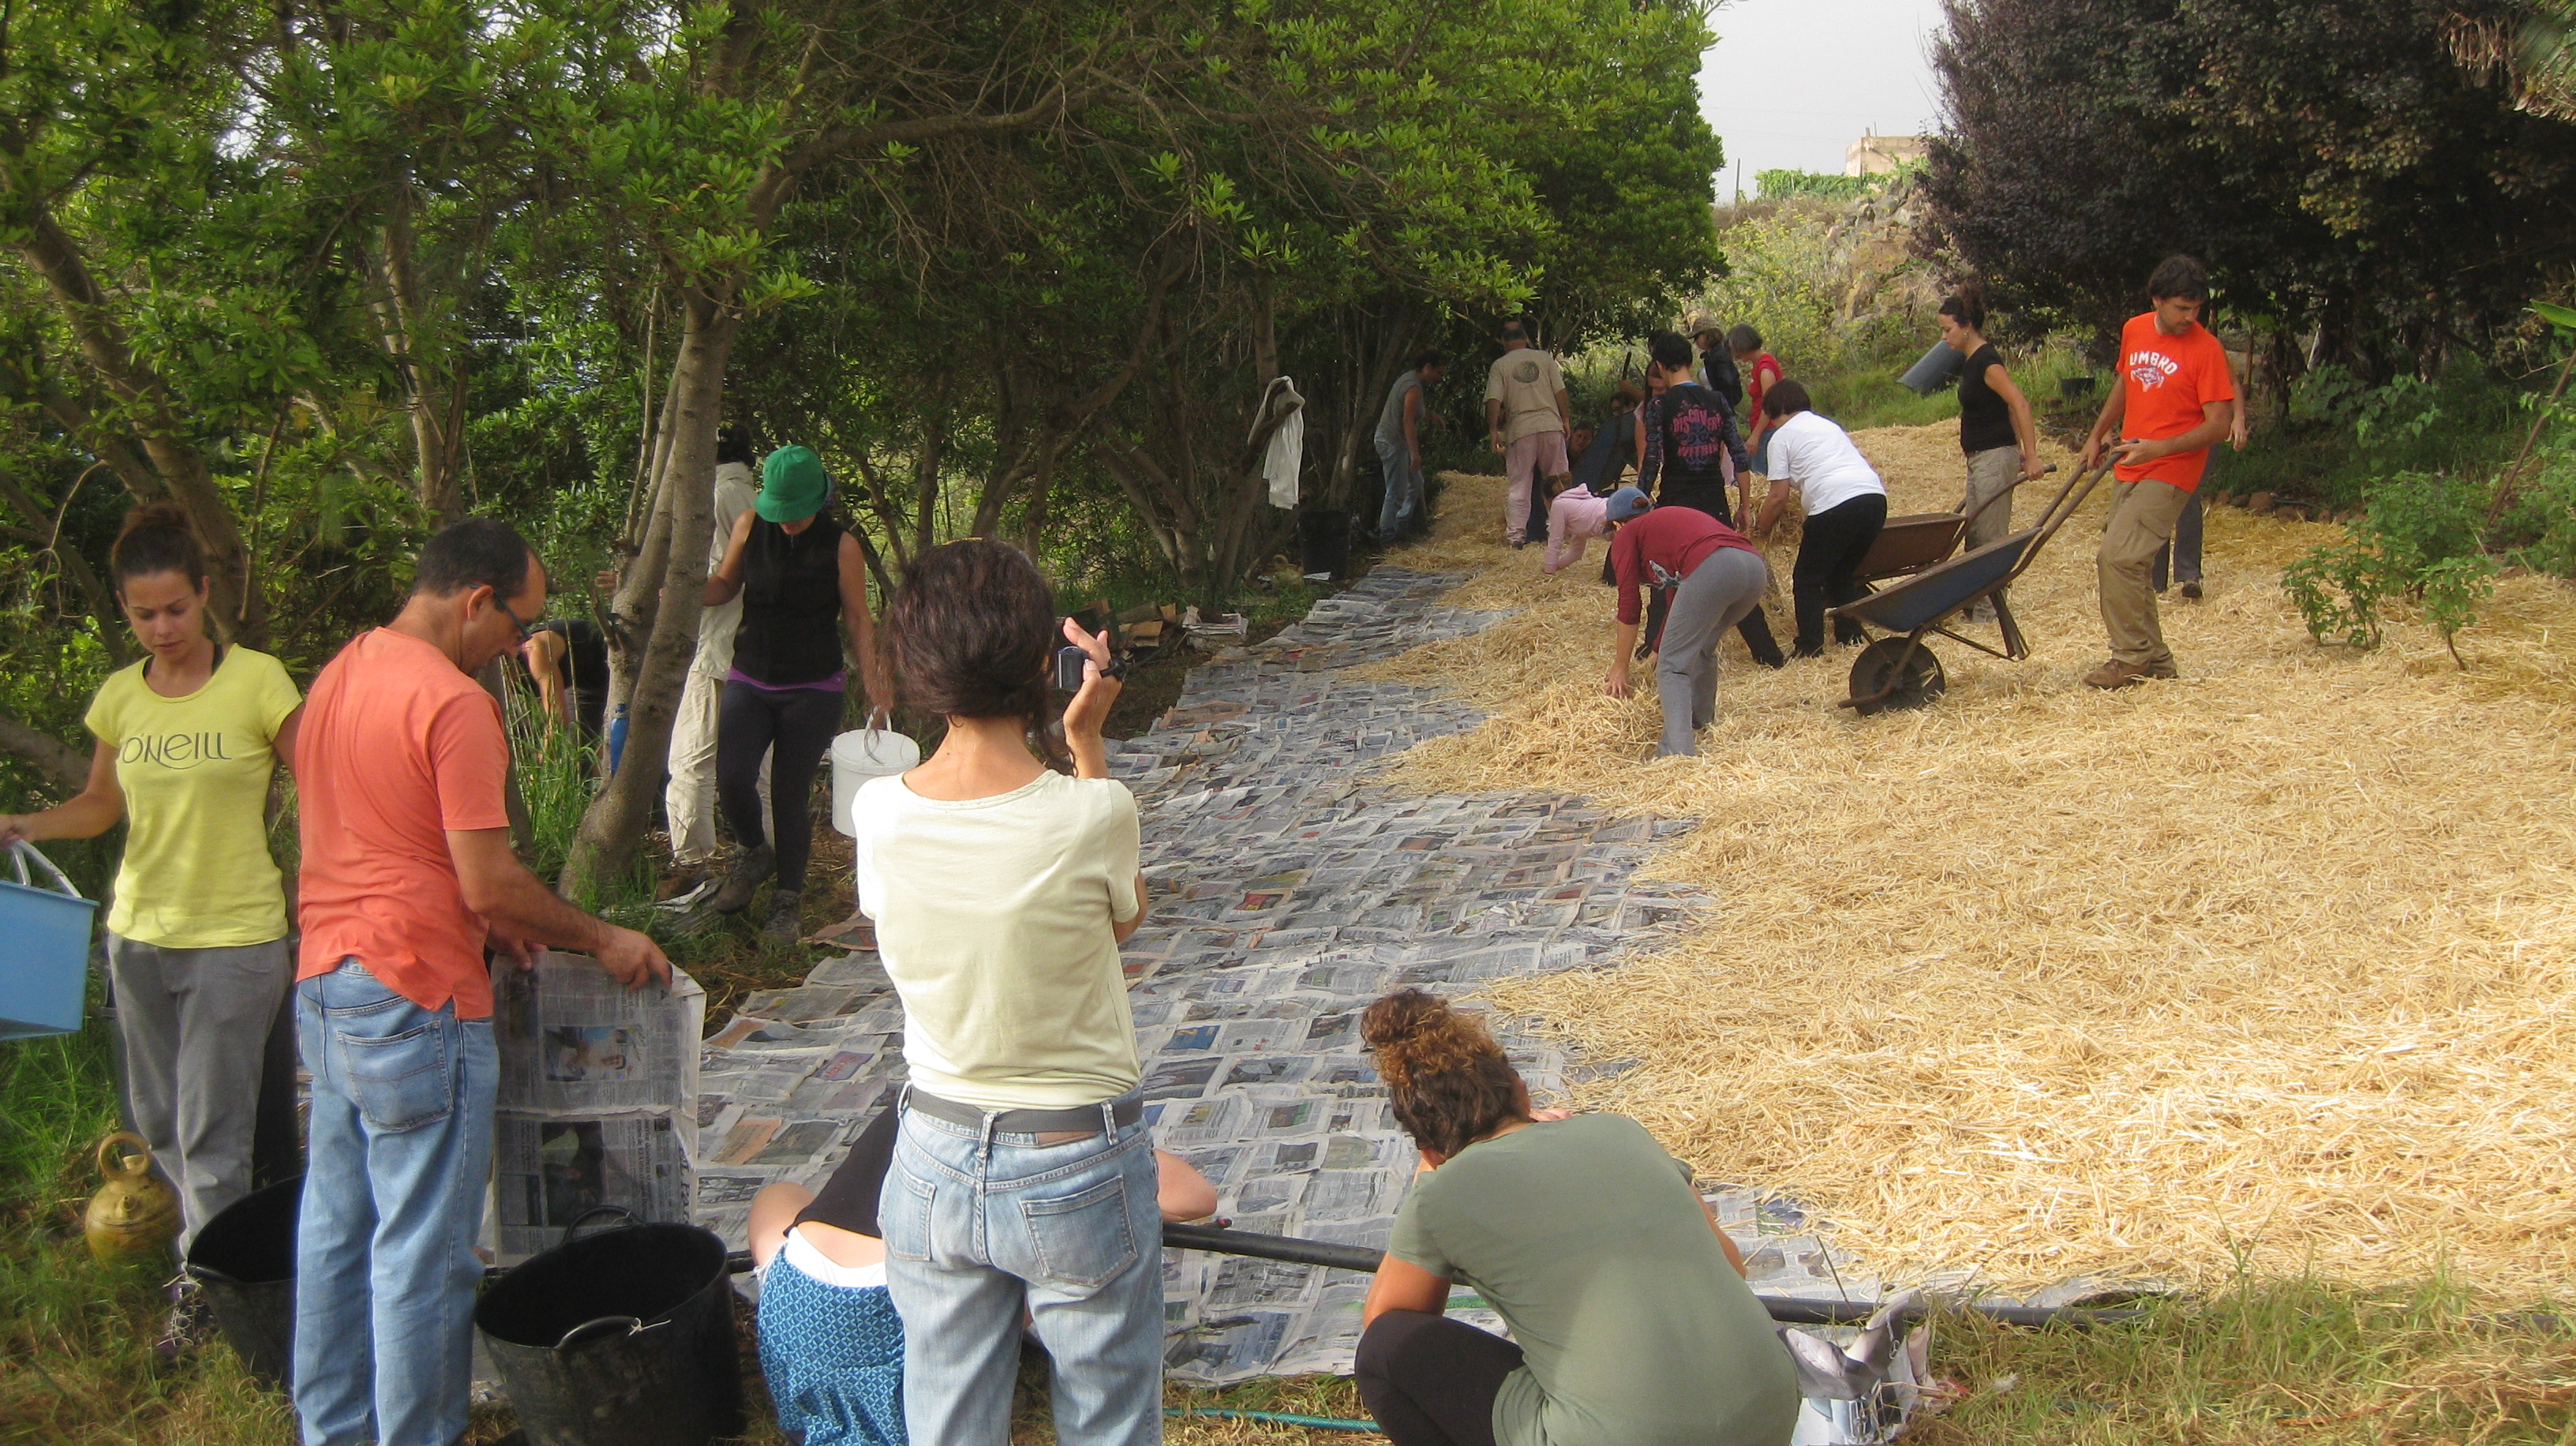
For this work, we could form pairs with our users or beneficiaries in order to cover each row with newspapers or cardboard. Each group would do a small section depending on the size of the garden and the number of users. To work evenly, each pair would have a pile of newspapers and a bucket with water; one person, after wetting and opening the paper, would pass it to the other one, who would place it over the compost according to the procedure described. Every so often the pair would switch so they could do both activities (Figure 3.7).

Figure III.7.- Assembling the newspaper in the edible garden with a group of students of a course organised by the ADP.
Since several pairs will work in the same row, there will be times when two groups run into each other. To avoid an incorrect overlapping in these areas it is important to make sure that the requirement of four overlapping layers is satisfied.
If this work was done with cardboard it would have to overlap the same or more than newspapers since the cardboard moves easily. Afterwards, we wet the cardboard with a hose to secure them and to make sure the wind does not blow them away. It is important that the dry cardboard is not stepped on once they are put in the correct overlapping position since as said they are moved very easily and the purpose of overlapping them would disappear. Cardboard has the inconvenience that since it decomposes more easily and quickly than newspaper allows grass to sprout in a shorter period of time.
It is crucial that the people responsible for monitoring the activity take part in the process to ensure that there is a good cover of newspapers and cardboard. This allows everyone to learn, share, help each other and enjoy the work and by doing so improving concentration, attention, interpersonal relations and skills.
The next step is to cover the newspaper or cardboard with organic vegetable matter, which will act as our mulch. Before placing it we have to make sure that the surface of the newspapers or cardboard is wet. If the surface were to be dry it would be necessary to wet it with a hose or the remaining water of the buckets. This would have to be done with caution: firstly, because the paper or cardboard could move if the pressure of the hose is too high or if the water from the buckets is thrown out too suddenly, and secondly, to make sure the water reaches the ground easily through the overlaps (Figure III.8).
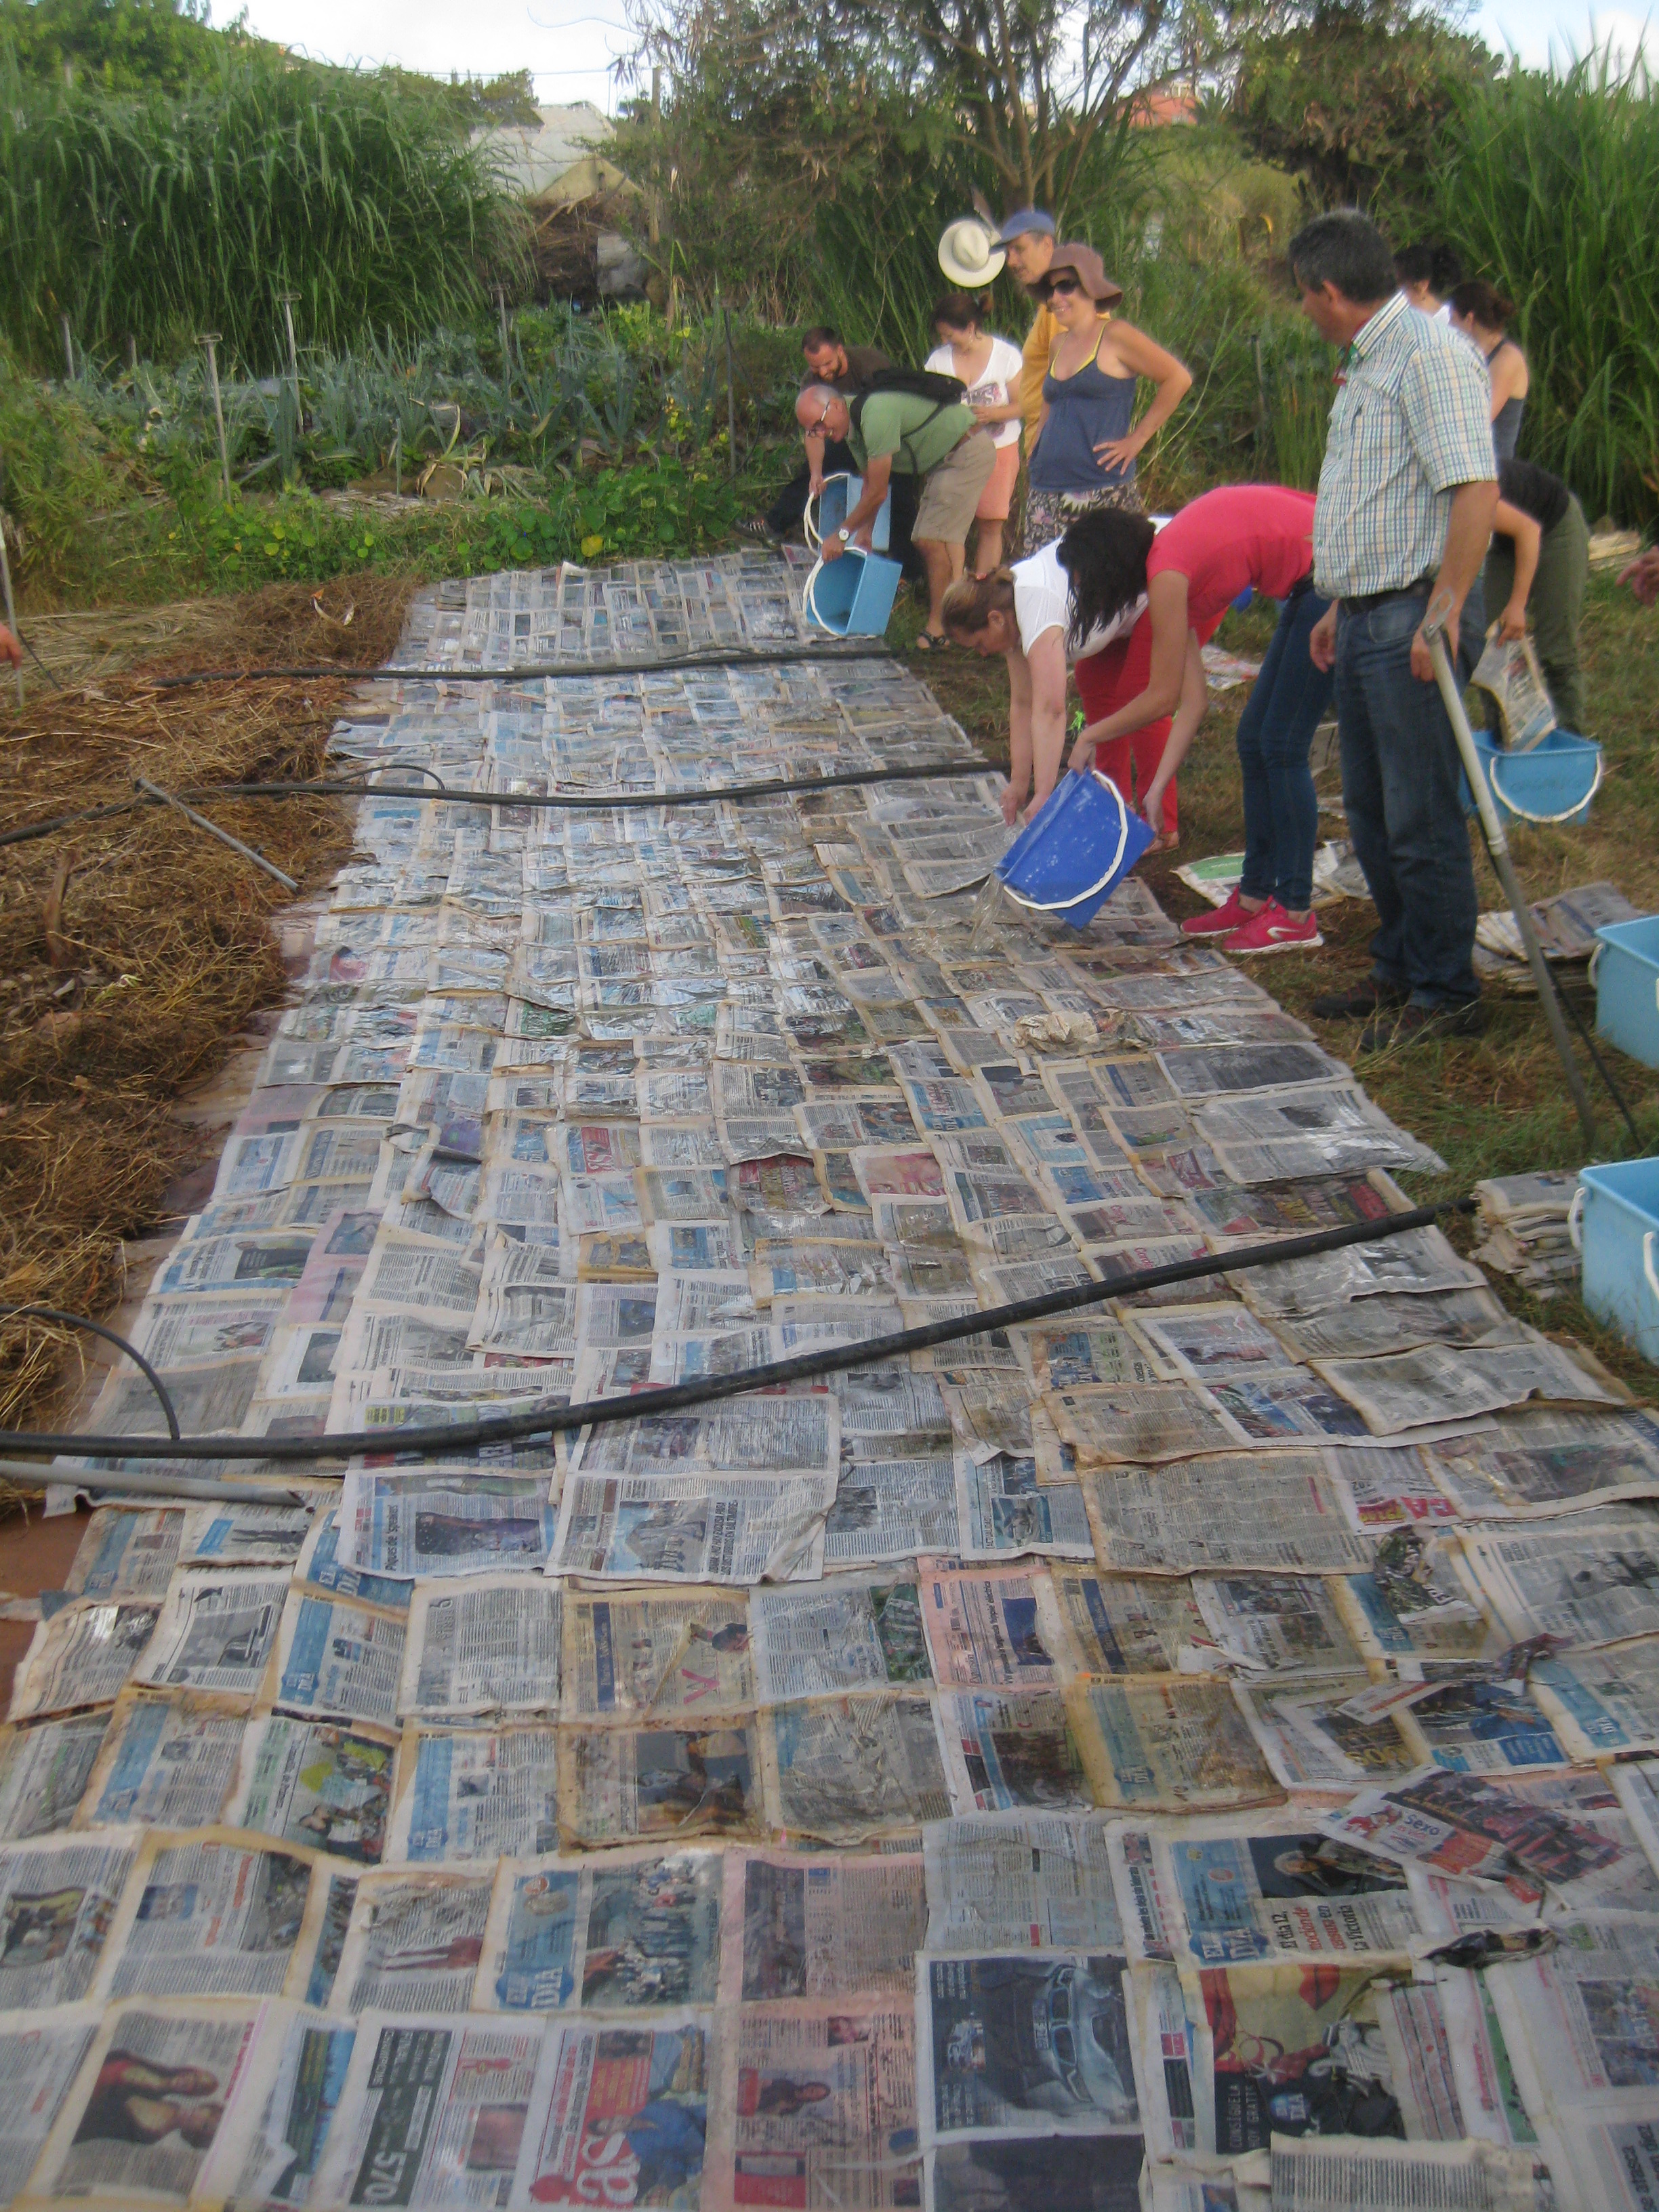
Figure III.8.- Wetting the newspaper before placing the organic matter
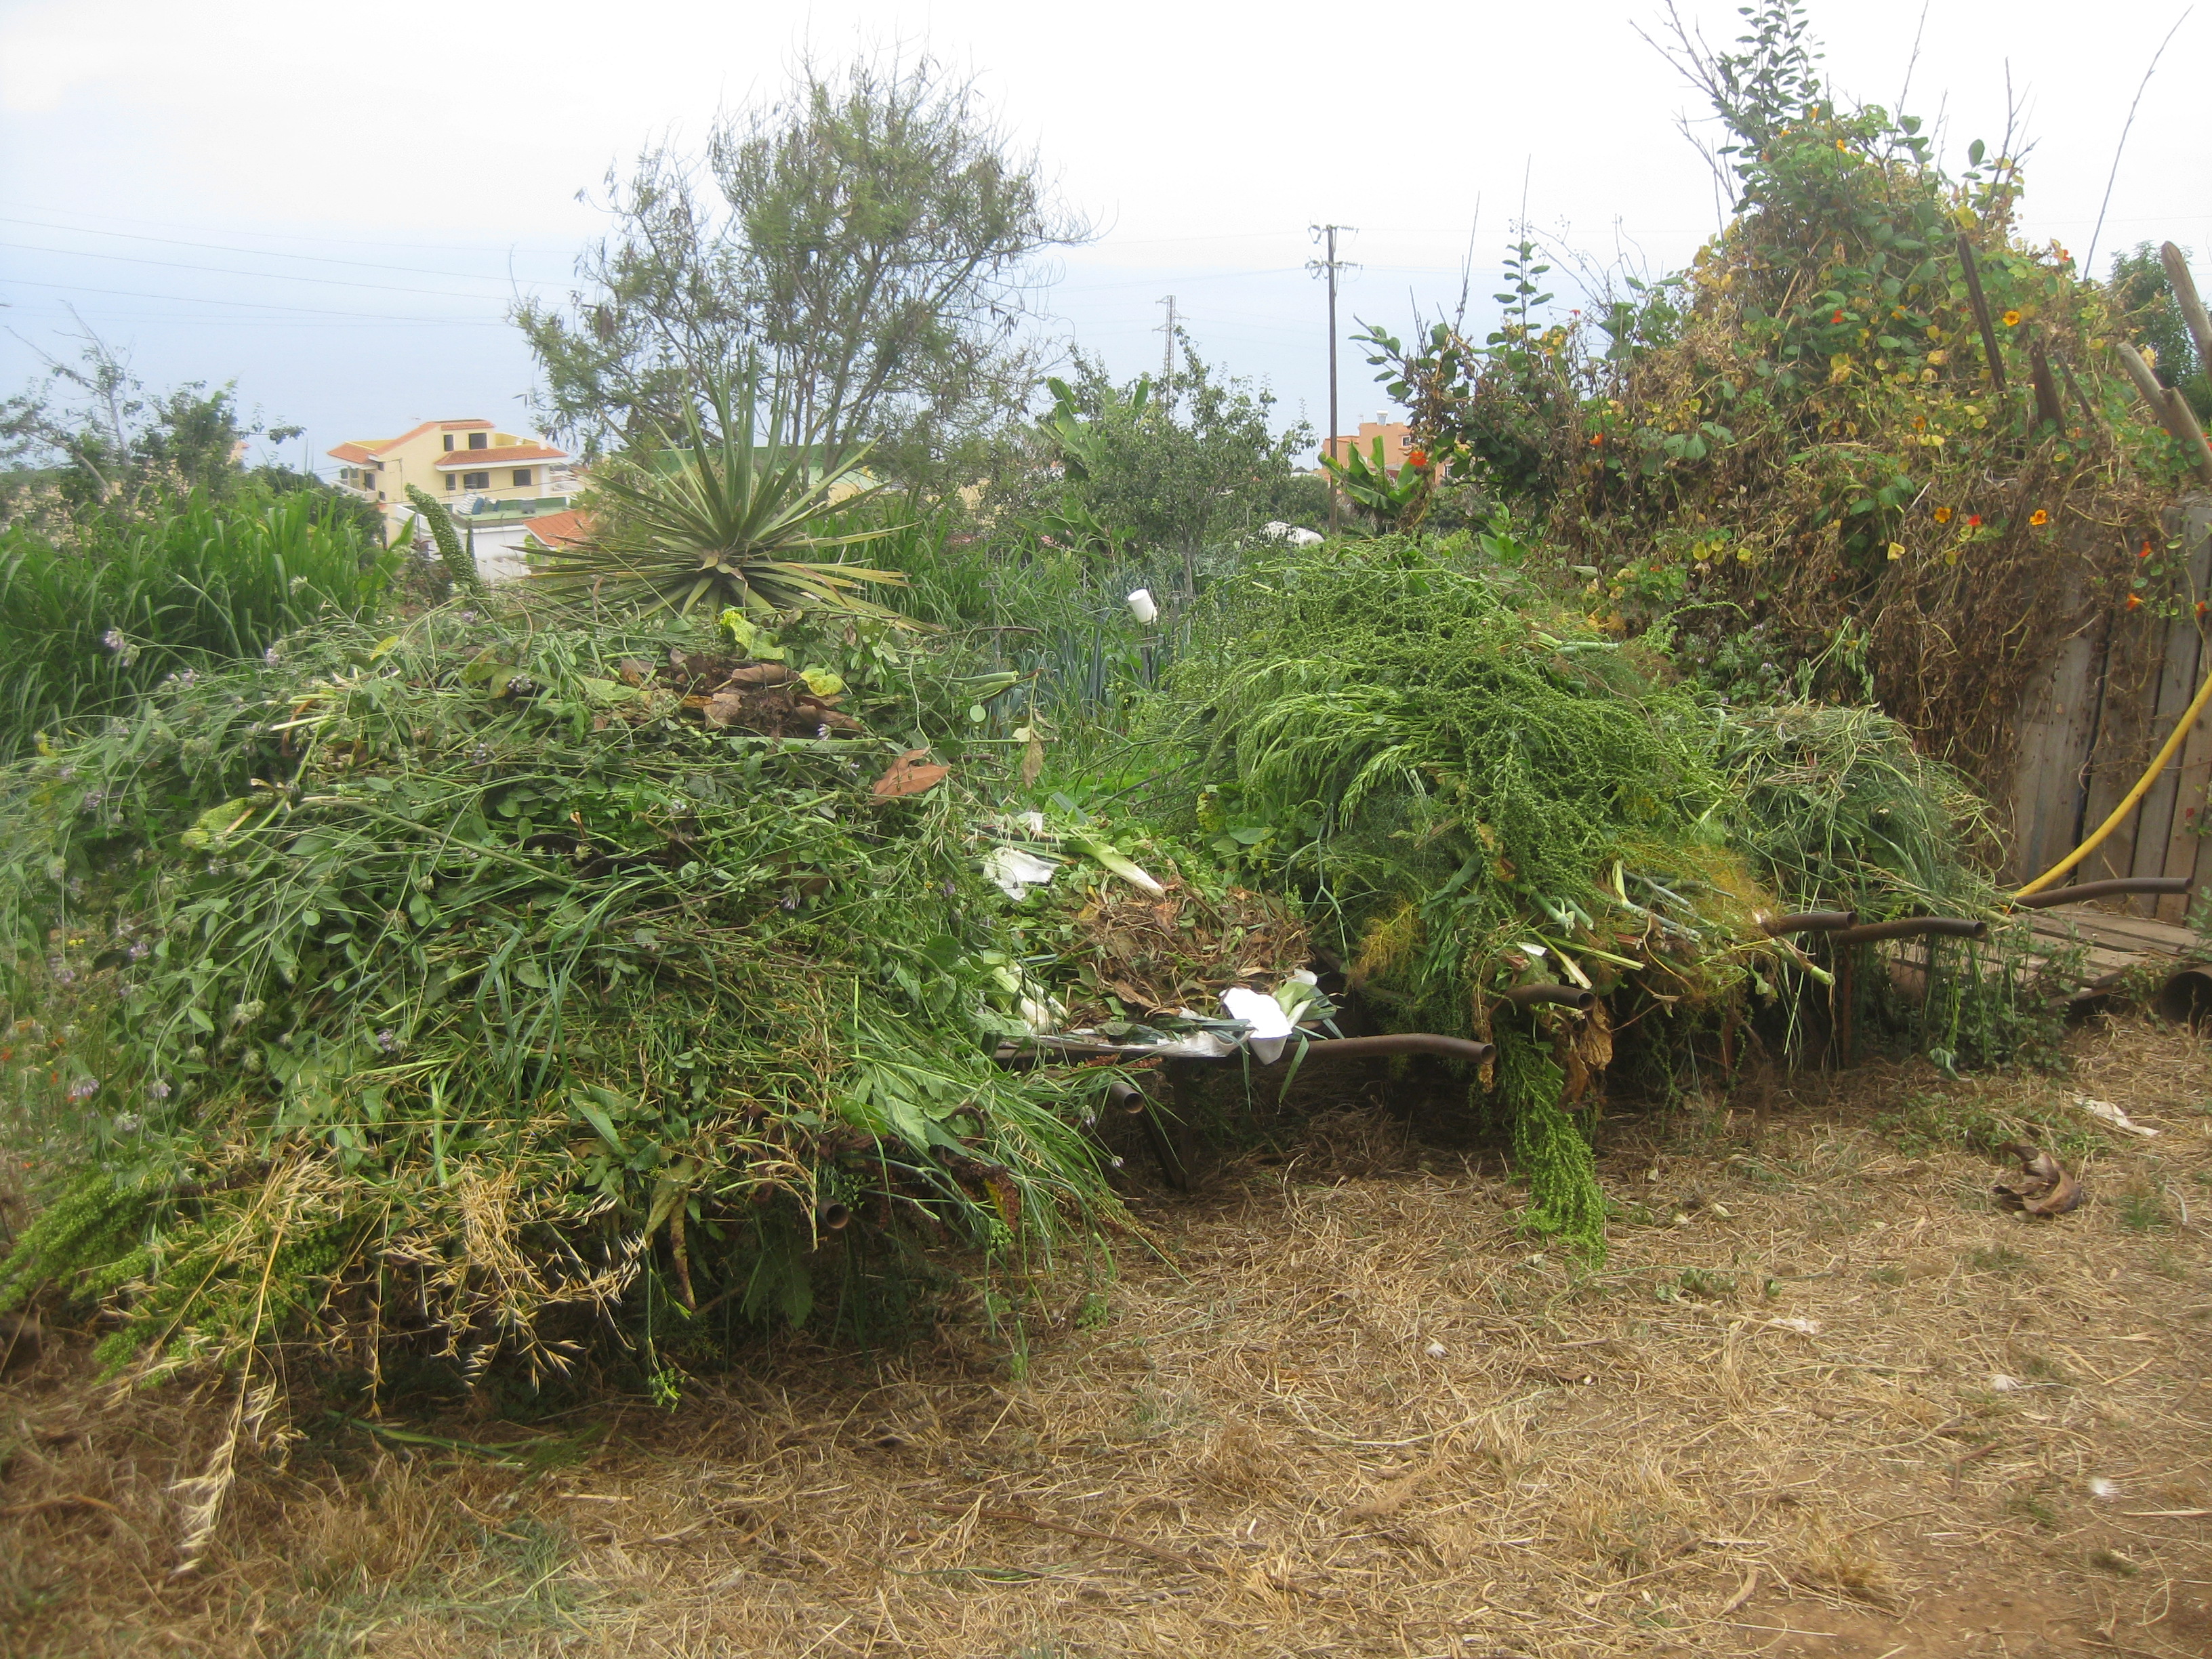
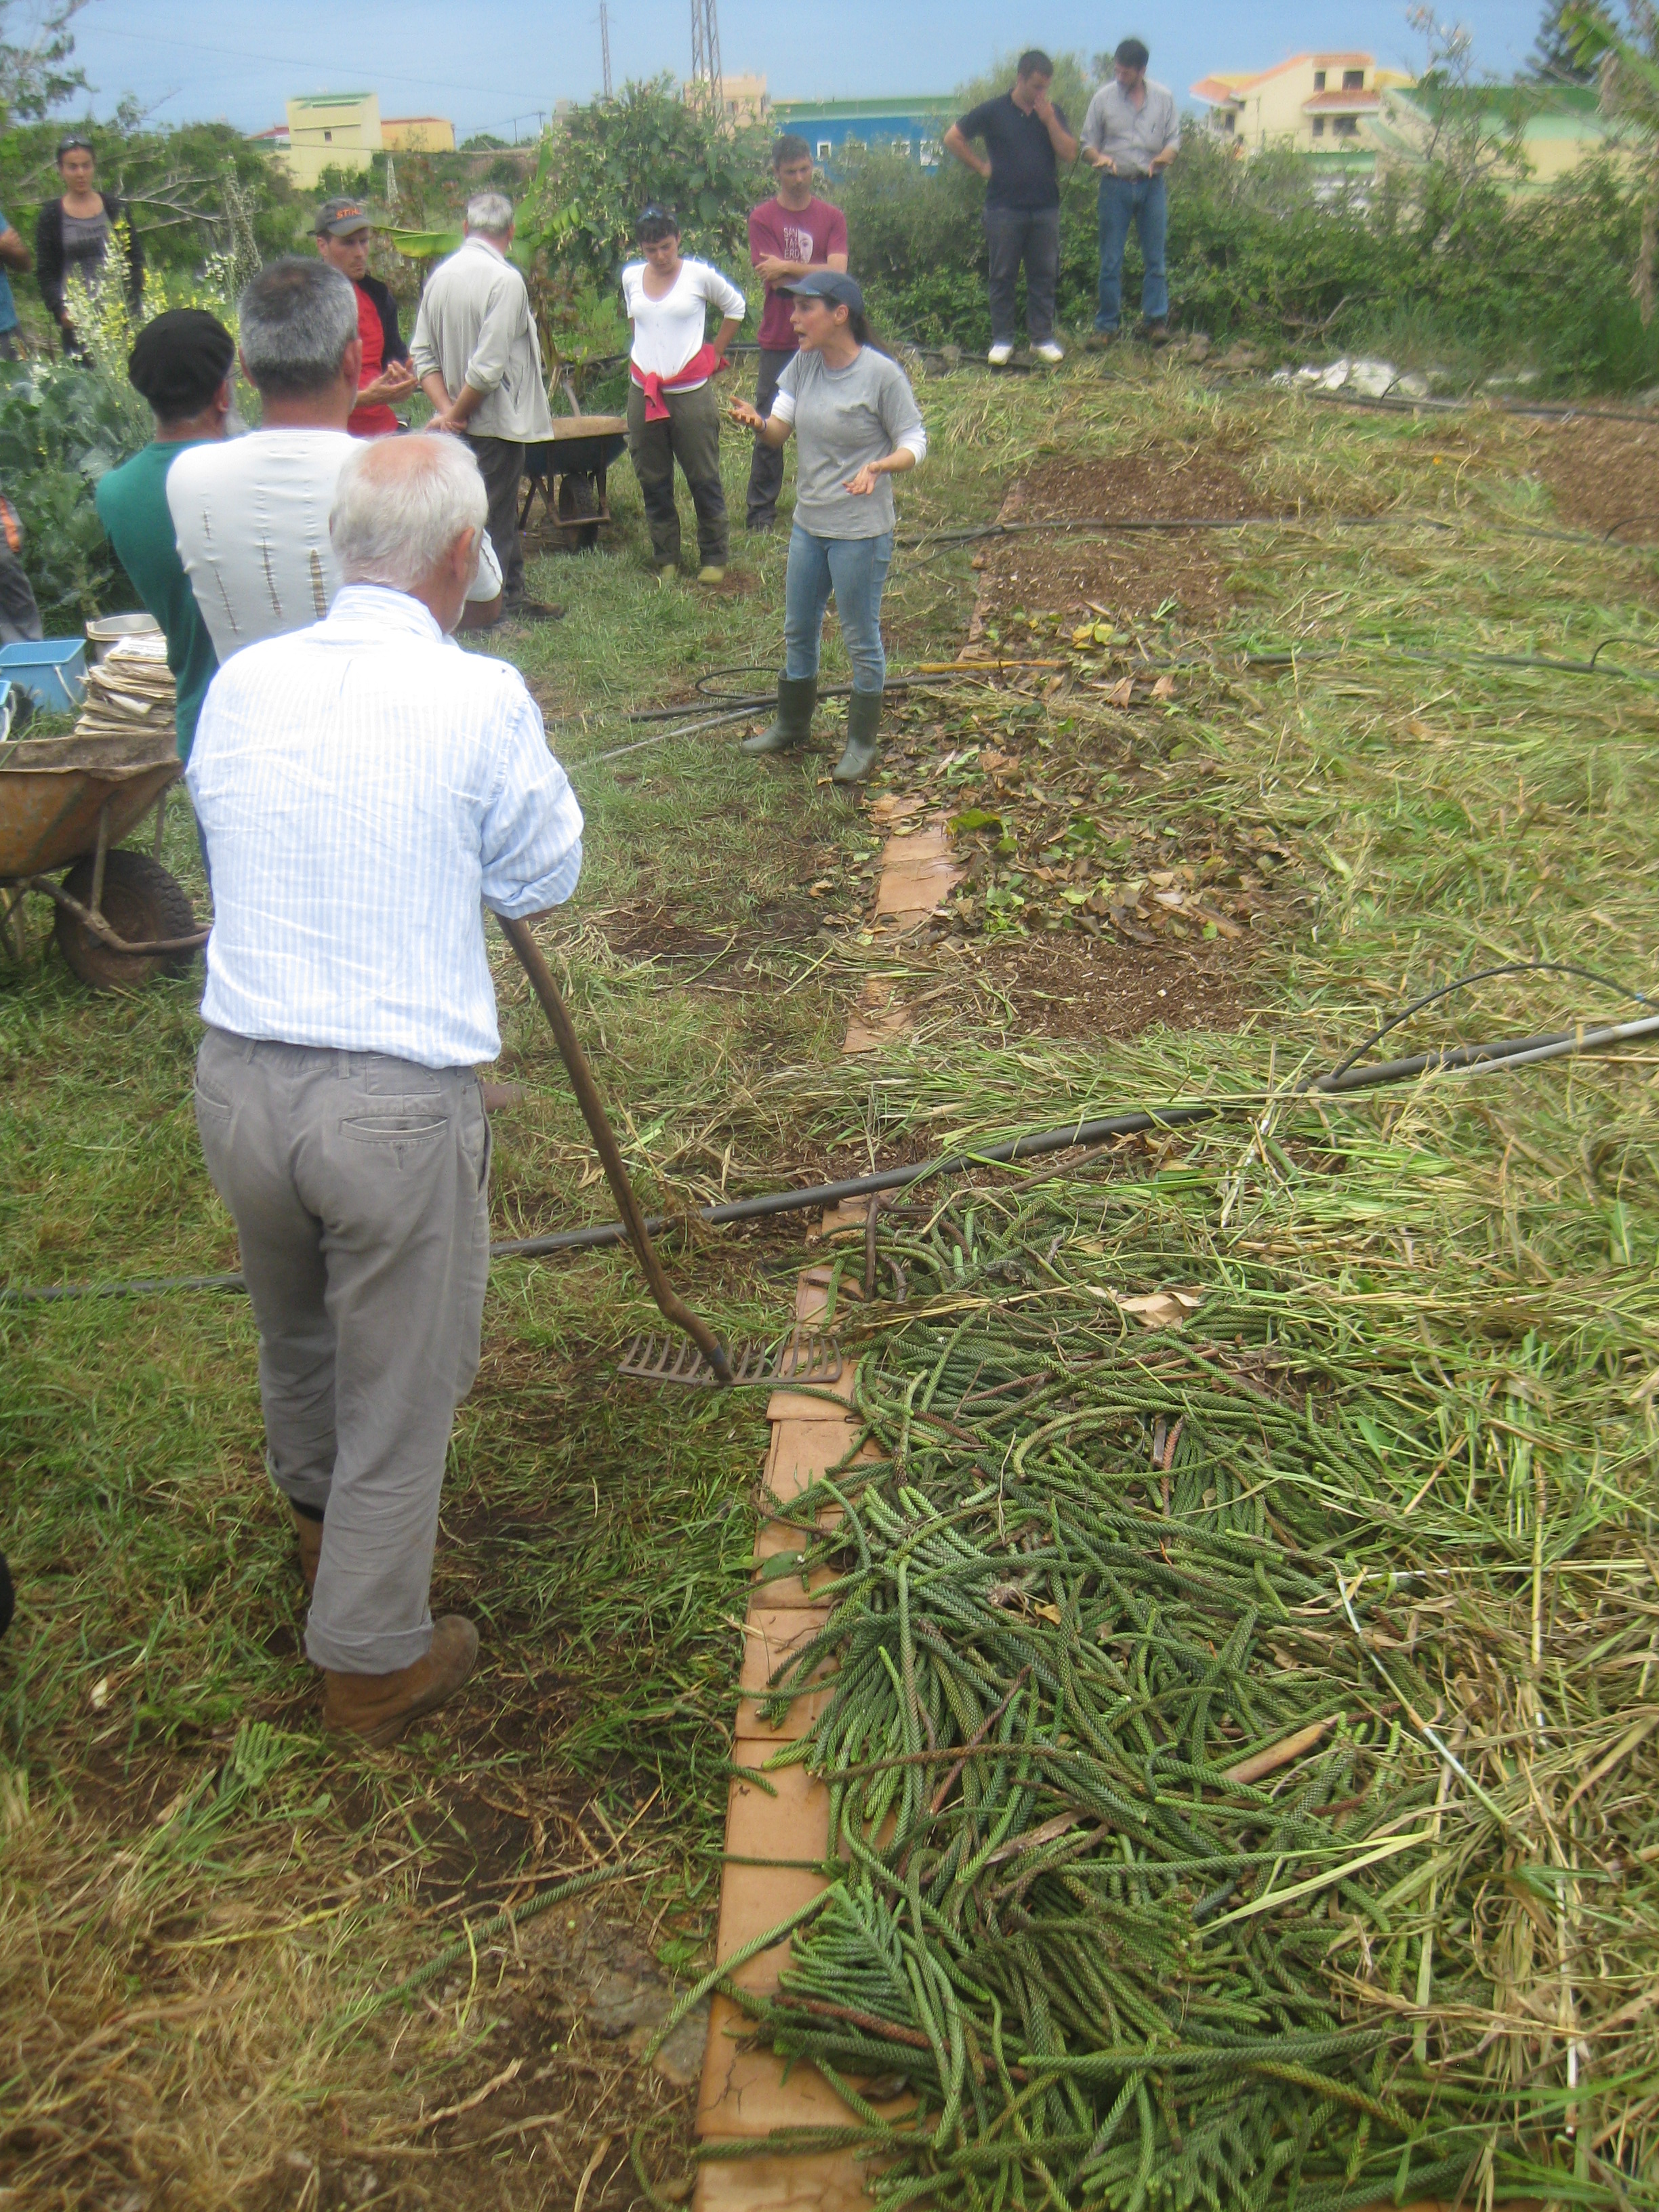
Organic vegetable matter can be green or dry like hay, shredded twigs and branches, fallen leaves, weeds, vegetable waste, pruning remains, etc. We have to take into account that once it is spread over the newspapers or cardboards, depending on the type of organic matter we have chosen, seed shoots could emerge that would germinate on the paper, not having the possibility of developing and therefore being added to the mulch (Figure III.9).
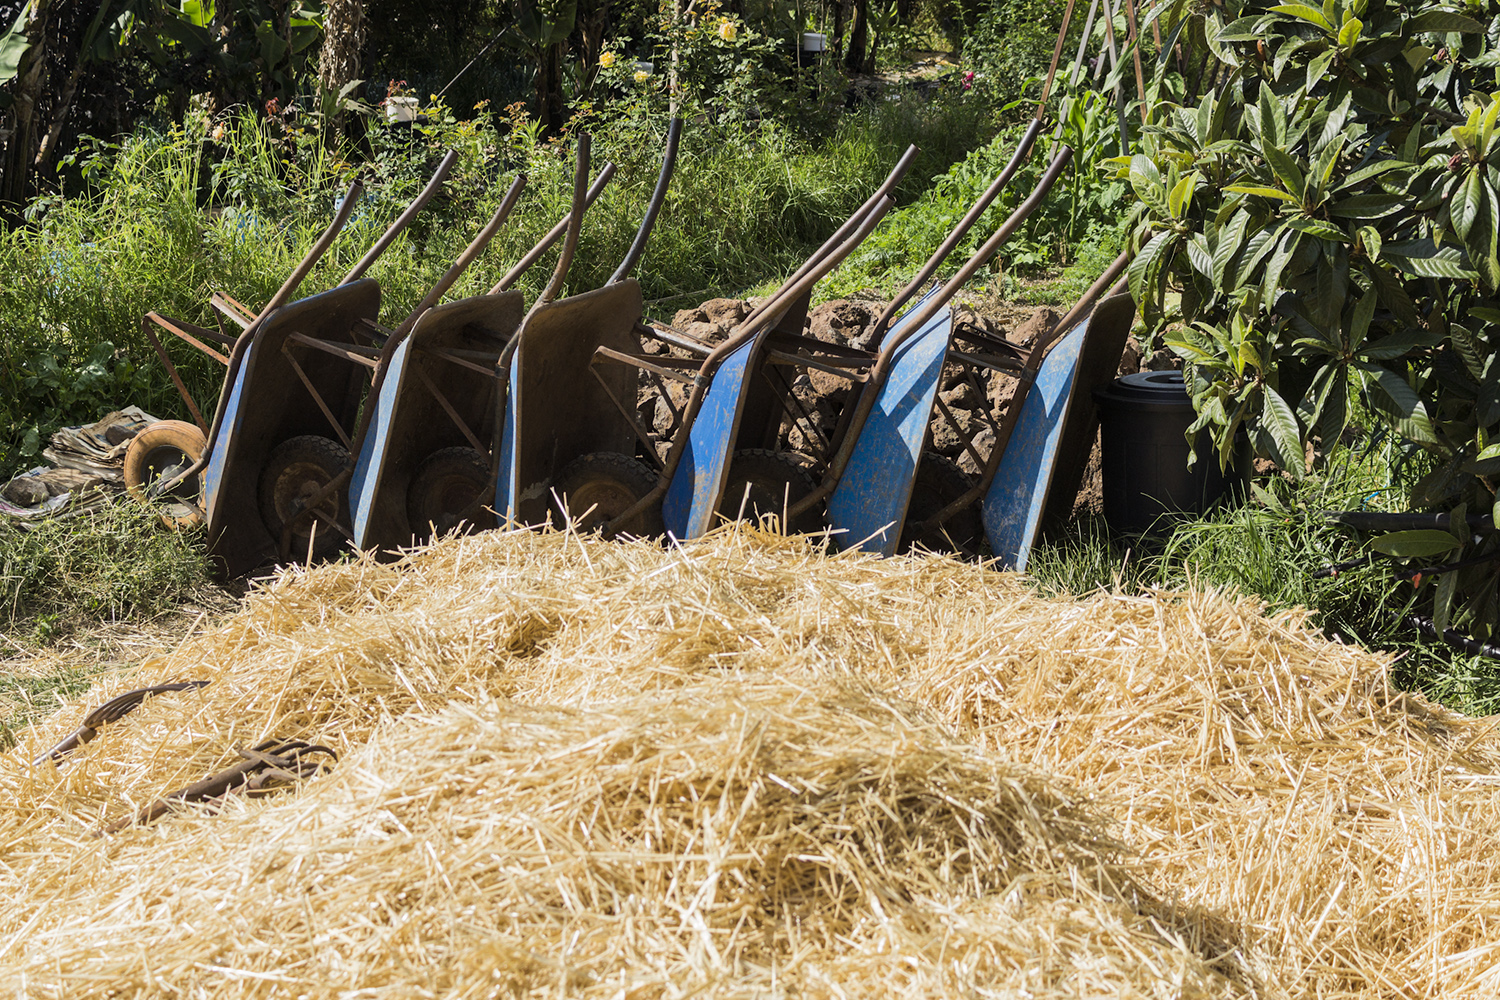

Figure III.9.- Different types of organic matter (hay, grass and vegetable waste, woodchips and plant twigs and branches).
We cover the surface of the newspaper or cardboard as evenly as possible with the mulch we have, adding a layer of 5 to 8 cm, which will be decreased by half once it settles down after a week (Figure III.10). It is important to take into account that if the wind leaves a clearing in the mulch we have to add more to maintain the same thickness. We cannot forget to water it all again once we have finished placing the mulch.
The thickness of the suggested mulch is appropriate for vegetable crops. If we wished, for example, to obtain potatoes we should add double or more of organic matter to provide tubers with more room to develop, also preventing them from spoiling.
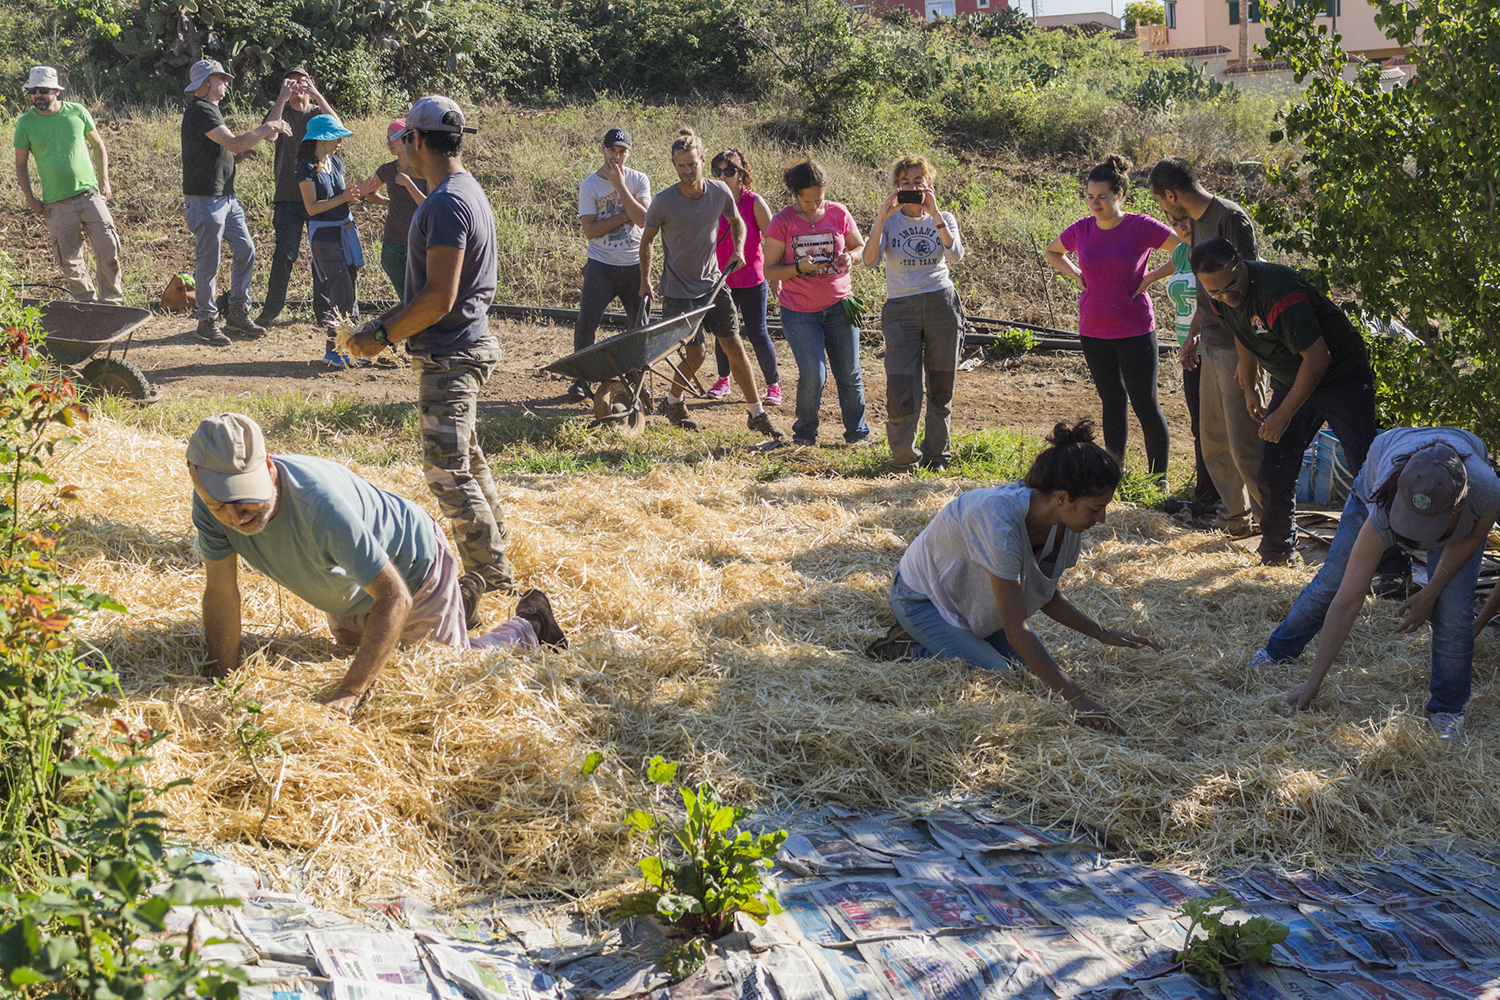
Figure III.10.- Mulching over newspapers with hay and over the cardboards with woodchips
It is important to bear in mind with this activity that every piece of newspaper or cardboard in the edible garden needs to be covered with mulch to prevent the uncovered paper from drying out from one day to the next and being moved by the wind (Figure III.11).
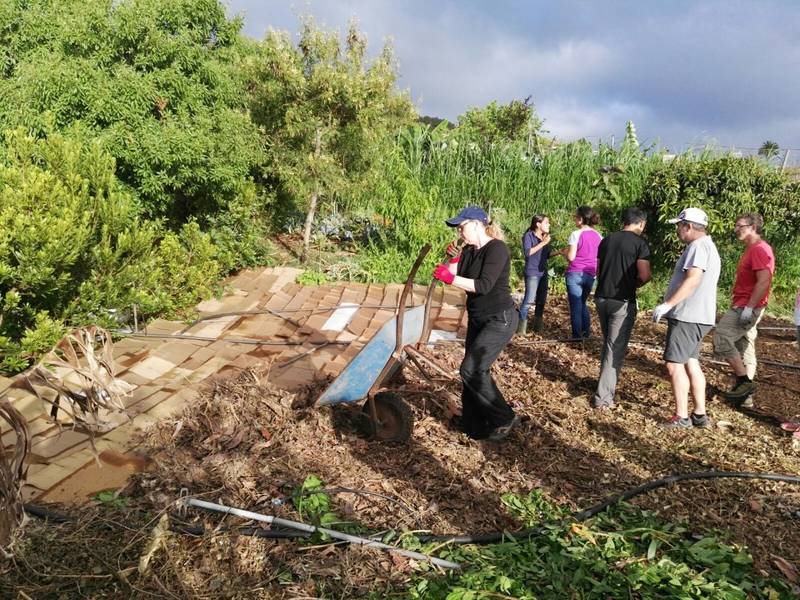
Figure III.11.- Terminating the activity by covering the newspapers and cardboard with organic matter
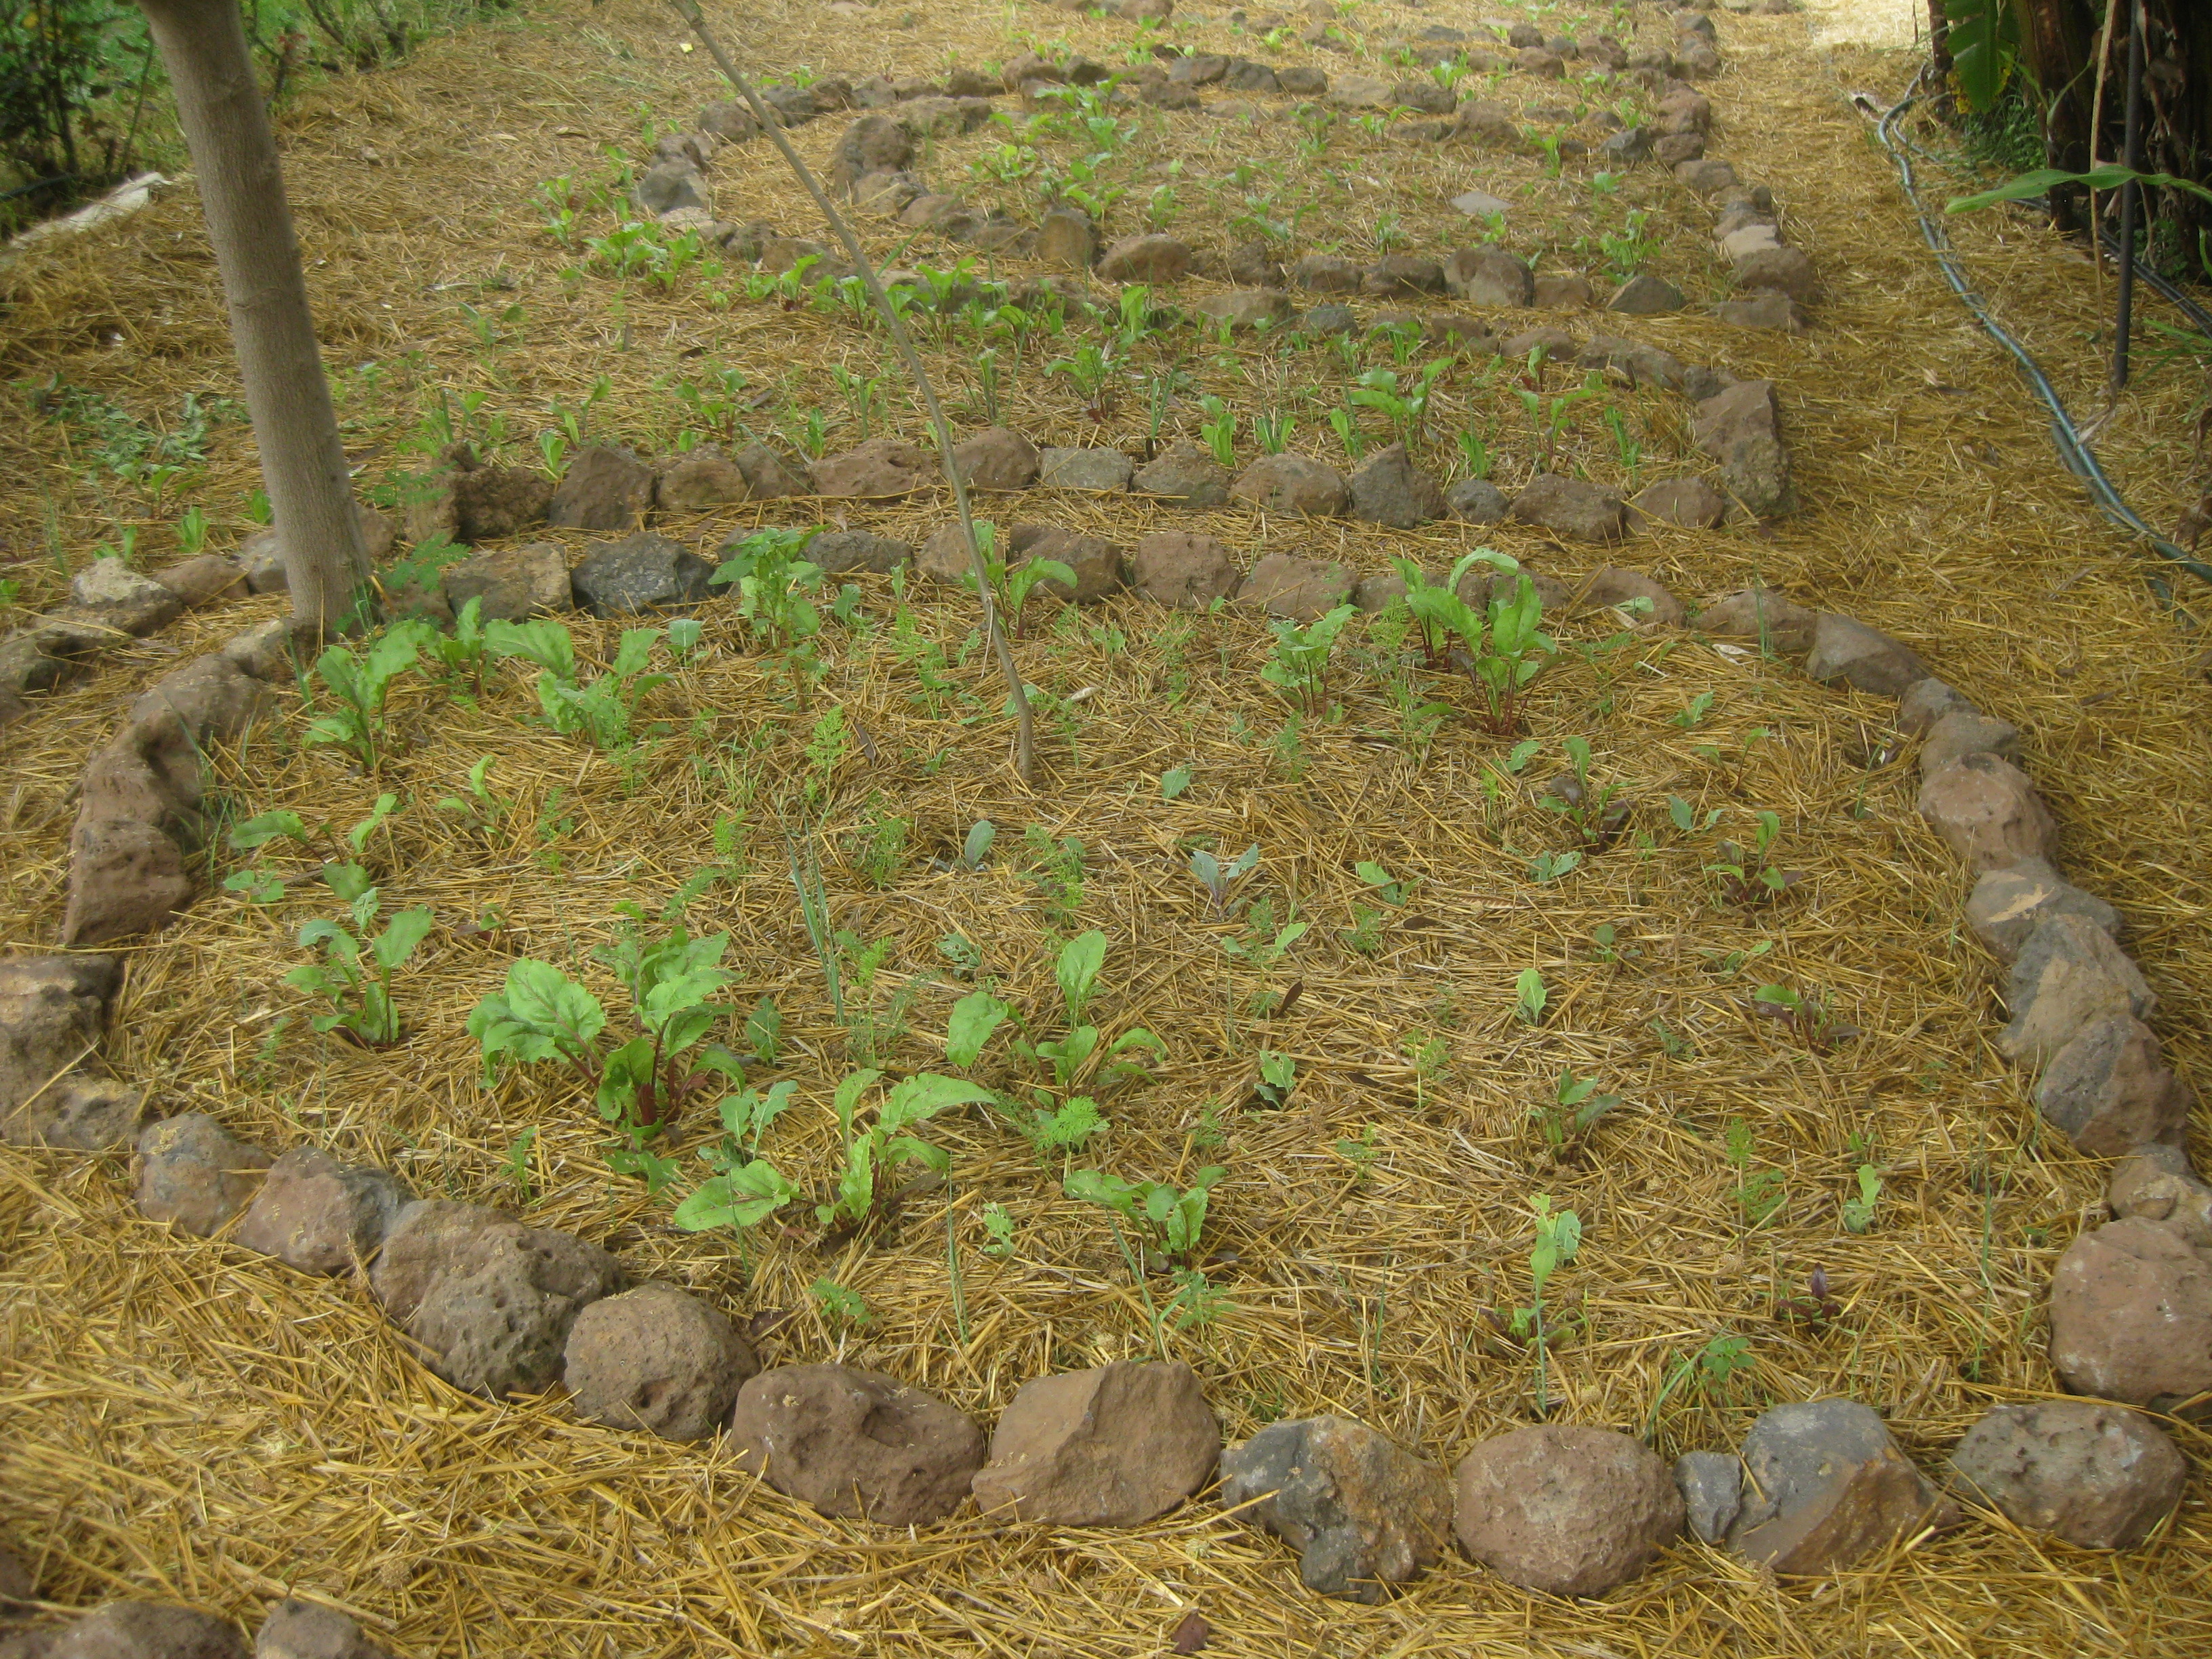
The organic matter will be added from the outside to the inside, the opposite way of the assembling of the newspapers and cardboard, with the objective of stepping on the organic matter while it is being added and never directly on the newspapers or cardboard (Figure III.12).
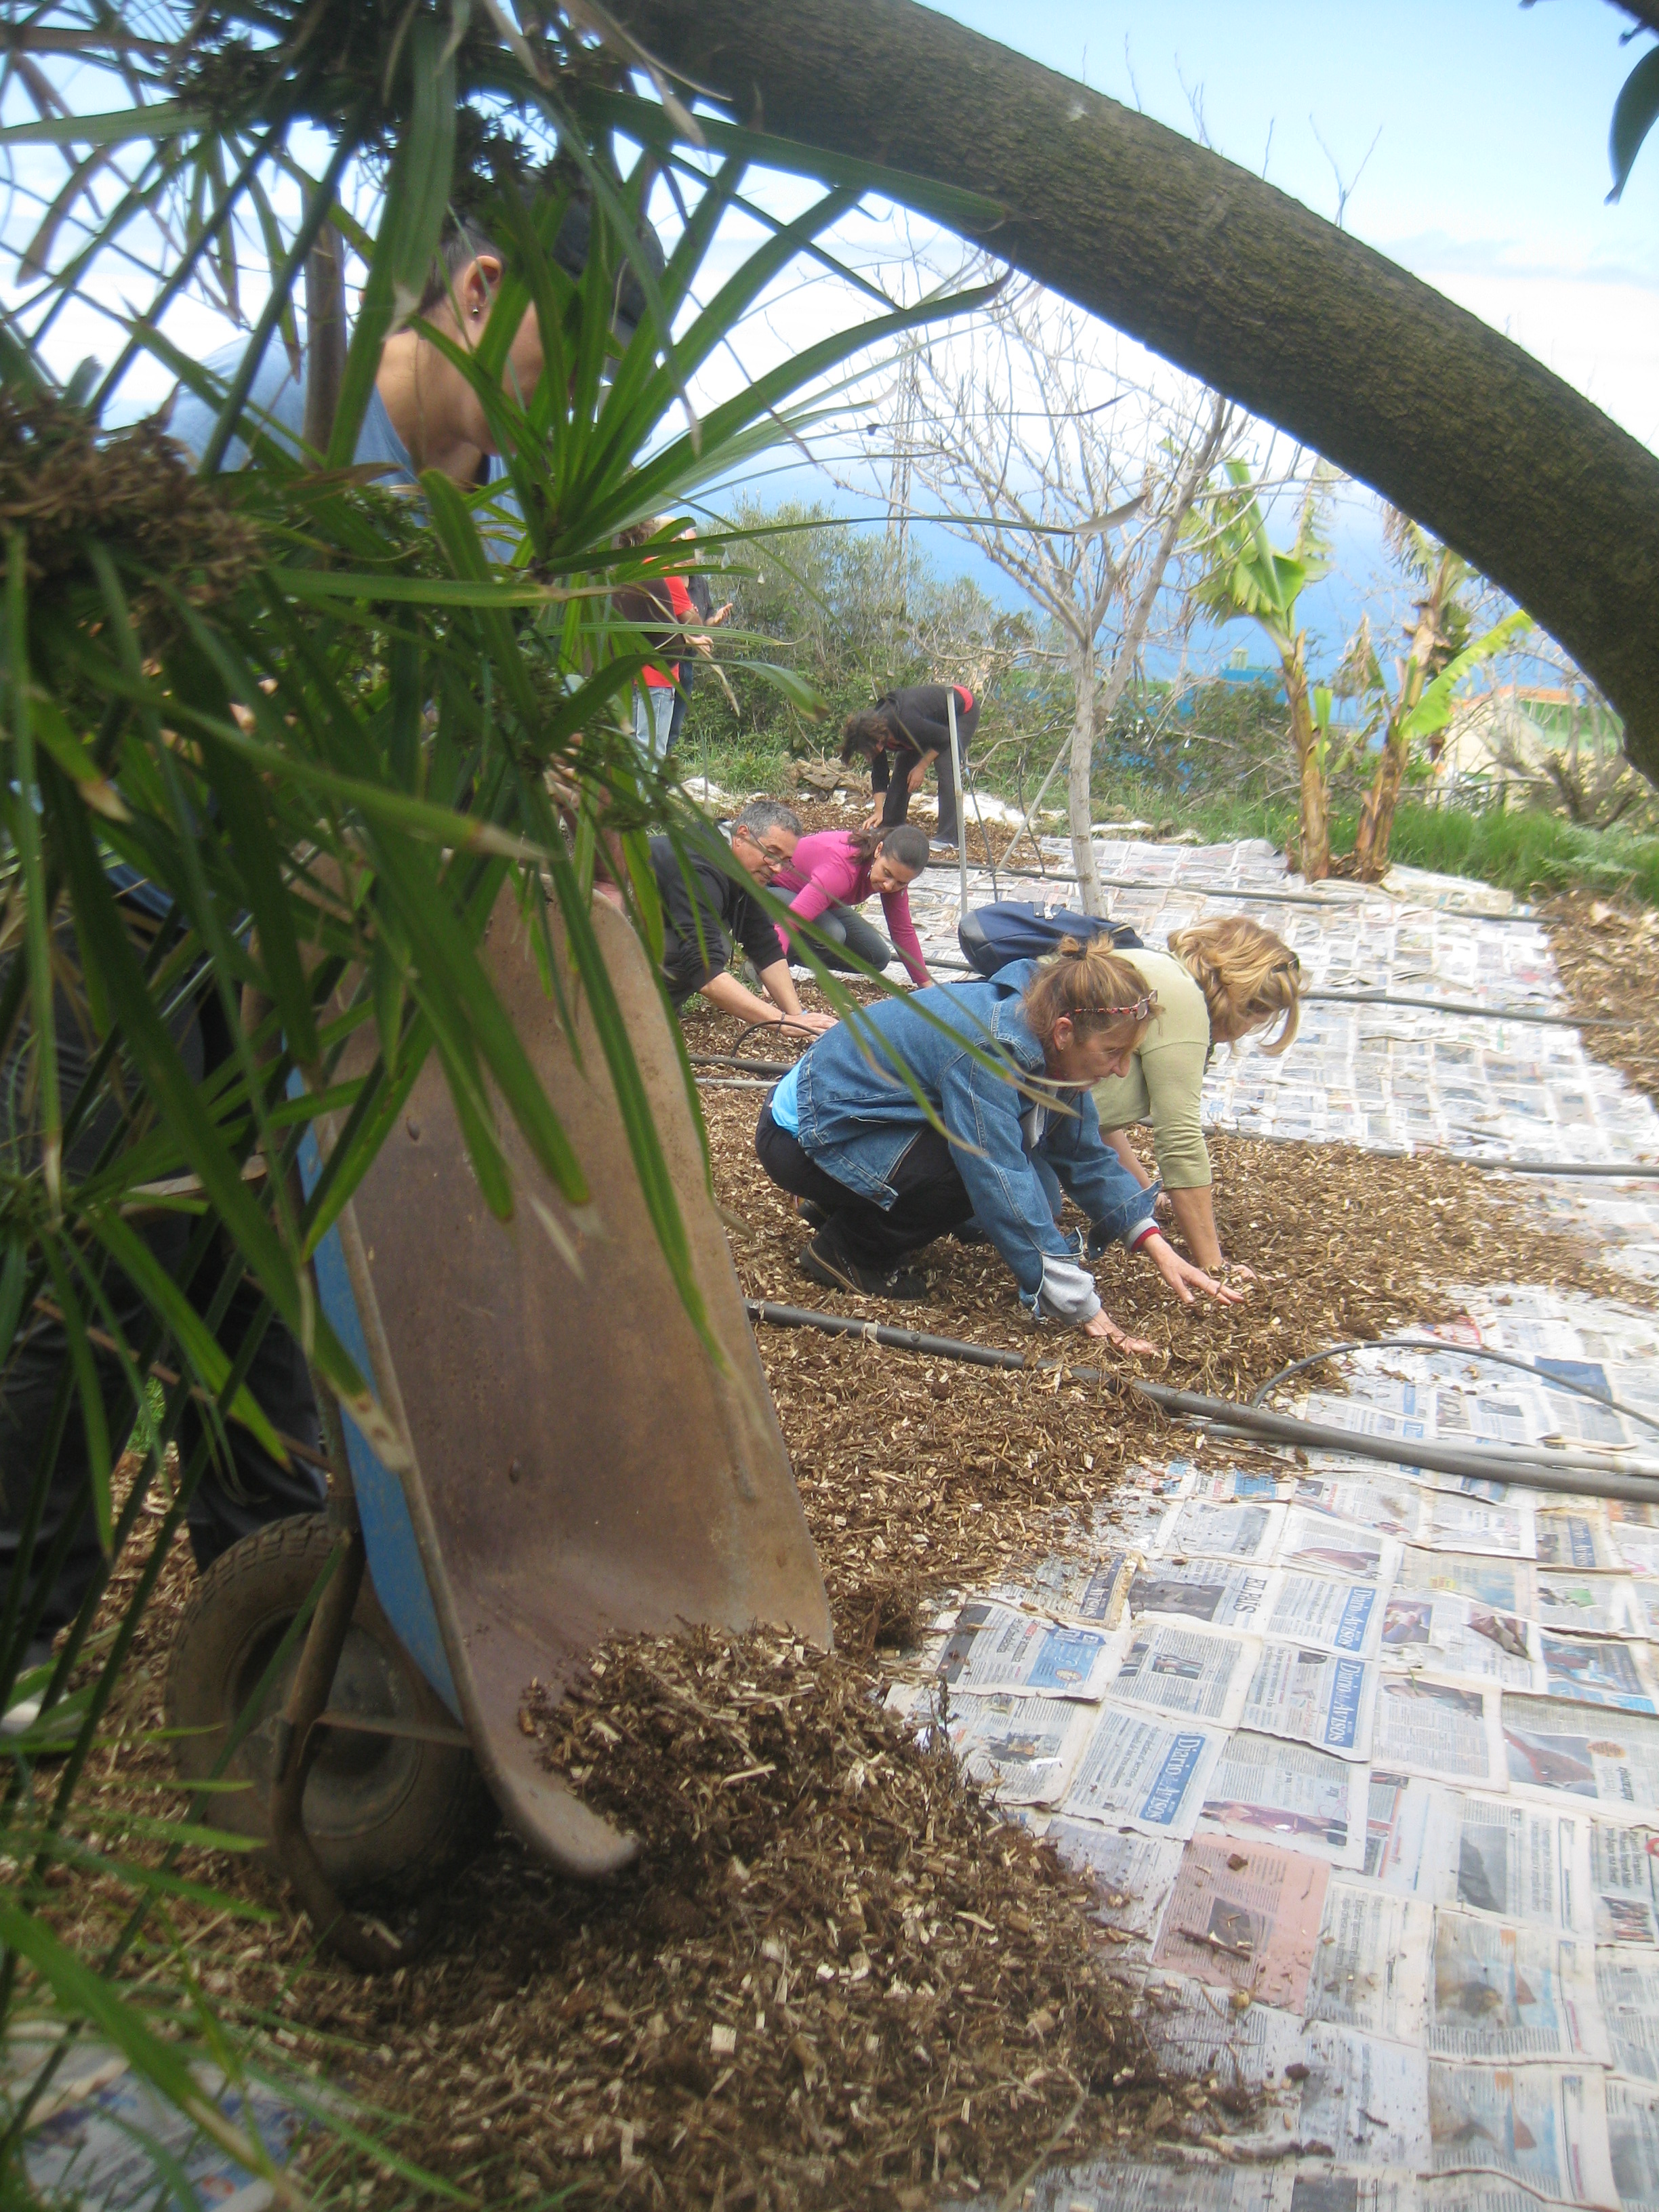
Figure III.12.- Placing the organic matter on the edible garden without stepping on the newspapers
We have to be aware that all the water that has been added from the start of this process will stay in the soil without evaporating thanks to the mulch. Furthermore, as a whole, it will provoke decomposition and the addition of nutrients to the garden soil.
III.2 Drawing our allotments
When designing the allotments, it is recommended to work previously in the classroom forming small groups with the participants so they can draw their design of the edible garden; working this way allows to share ideas and to do a practical and appropriate design according to their necessities, and encouraging abilities such as teamwork, coming up with a common consensus, problem solving, etc.
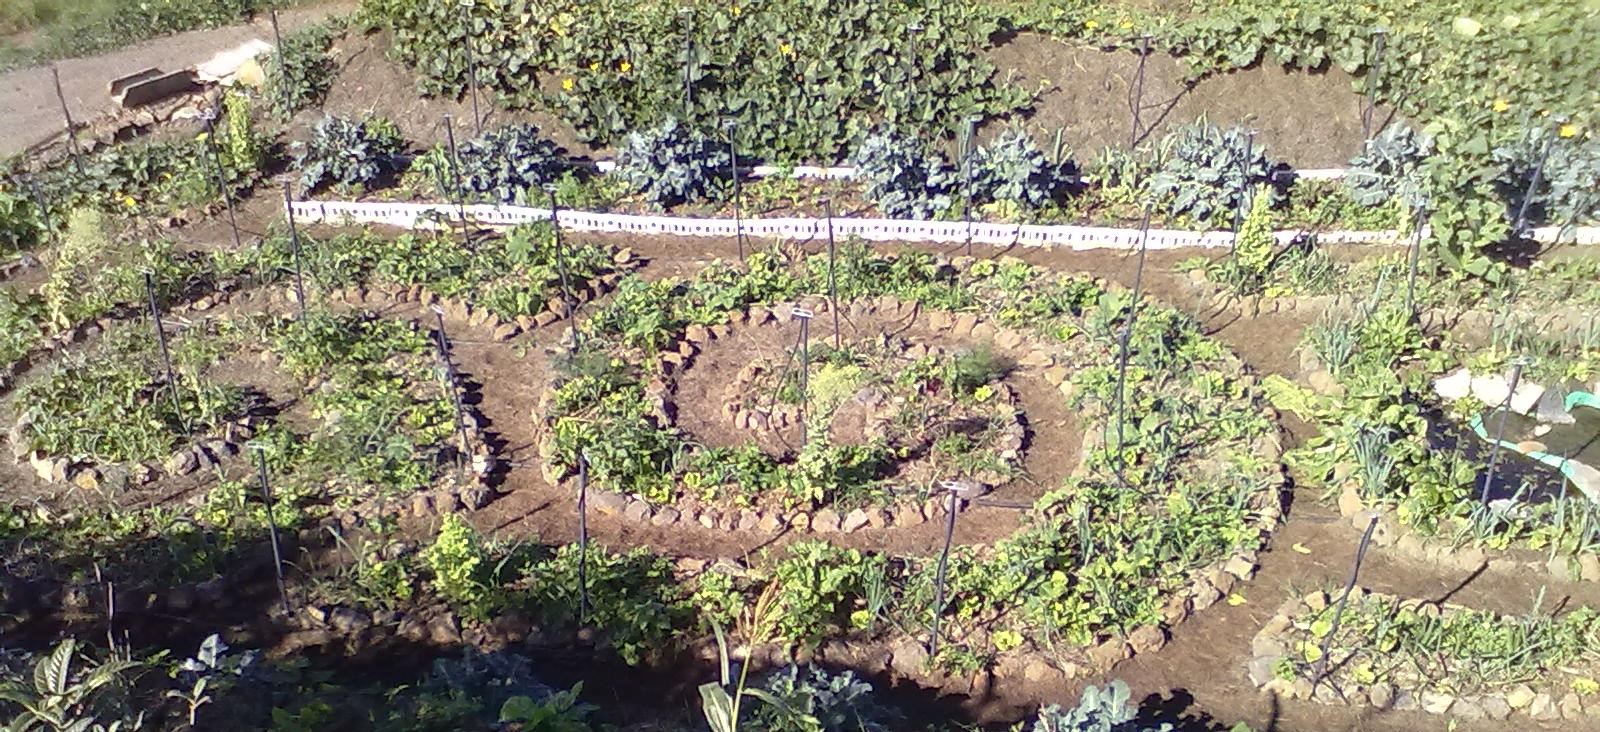
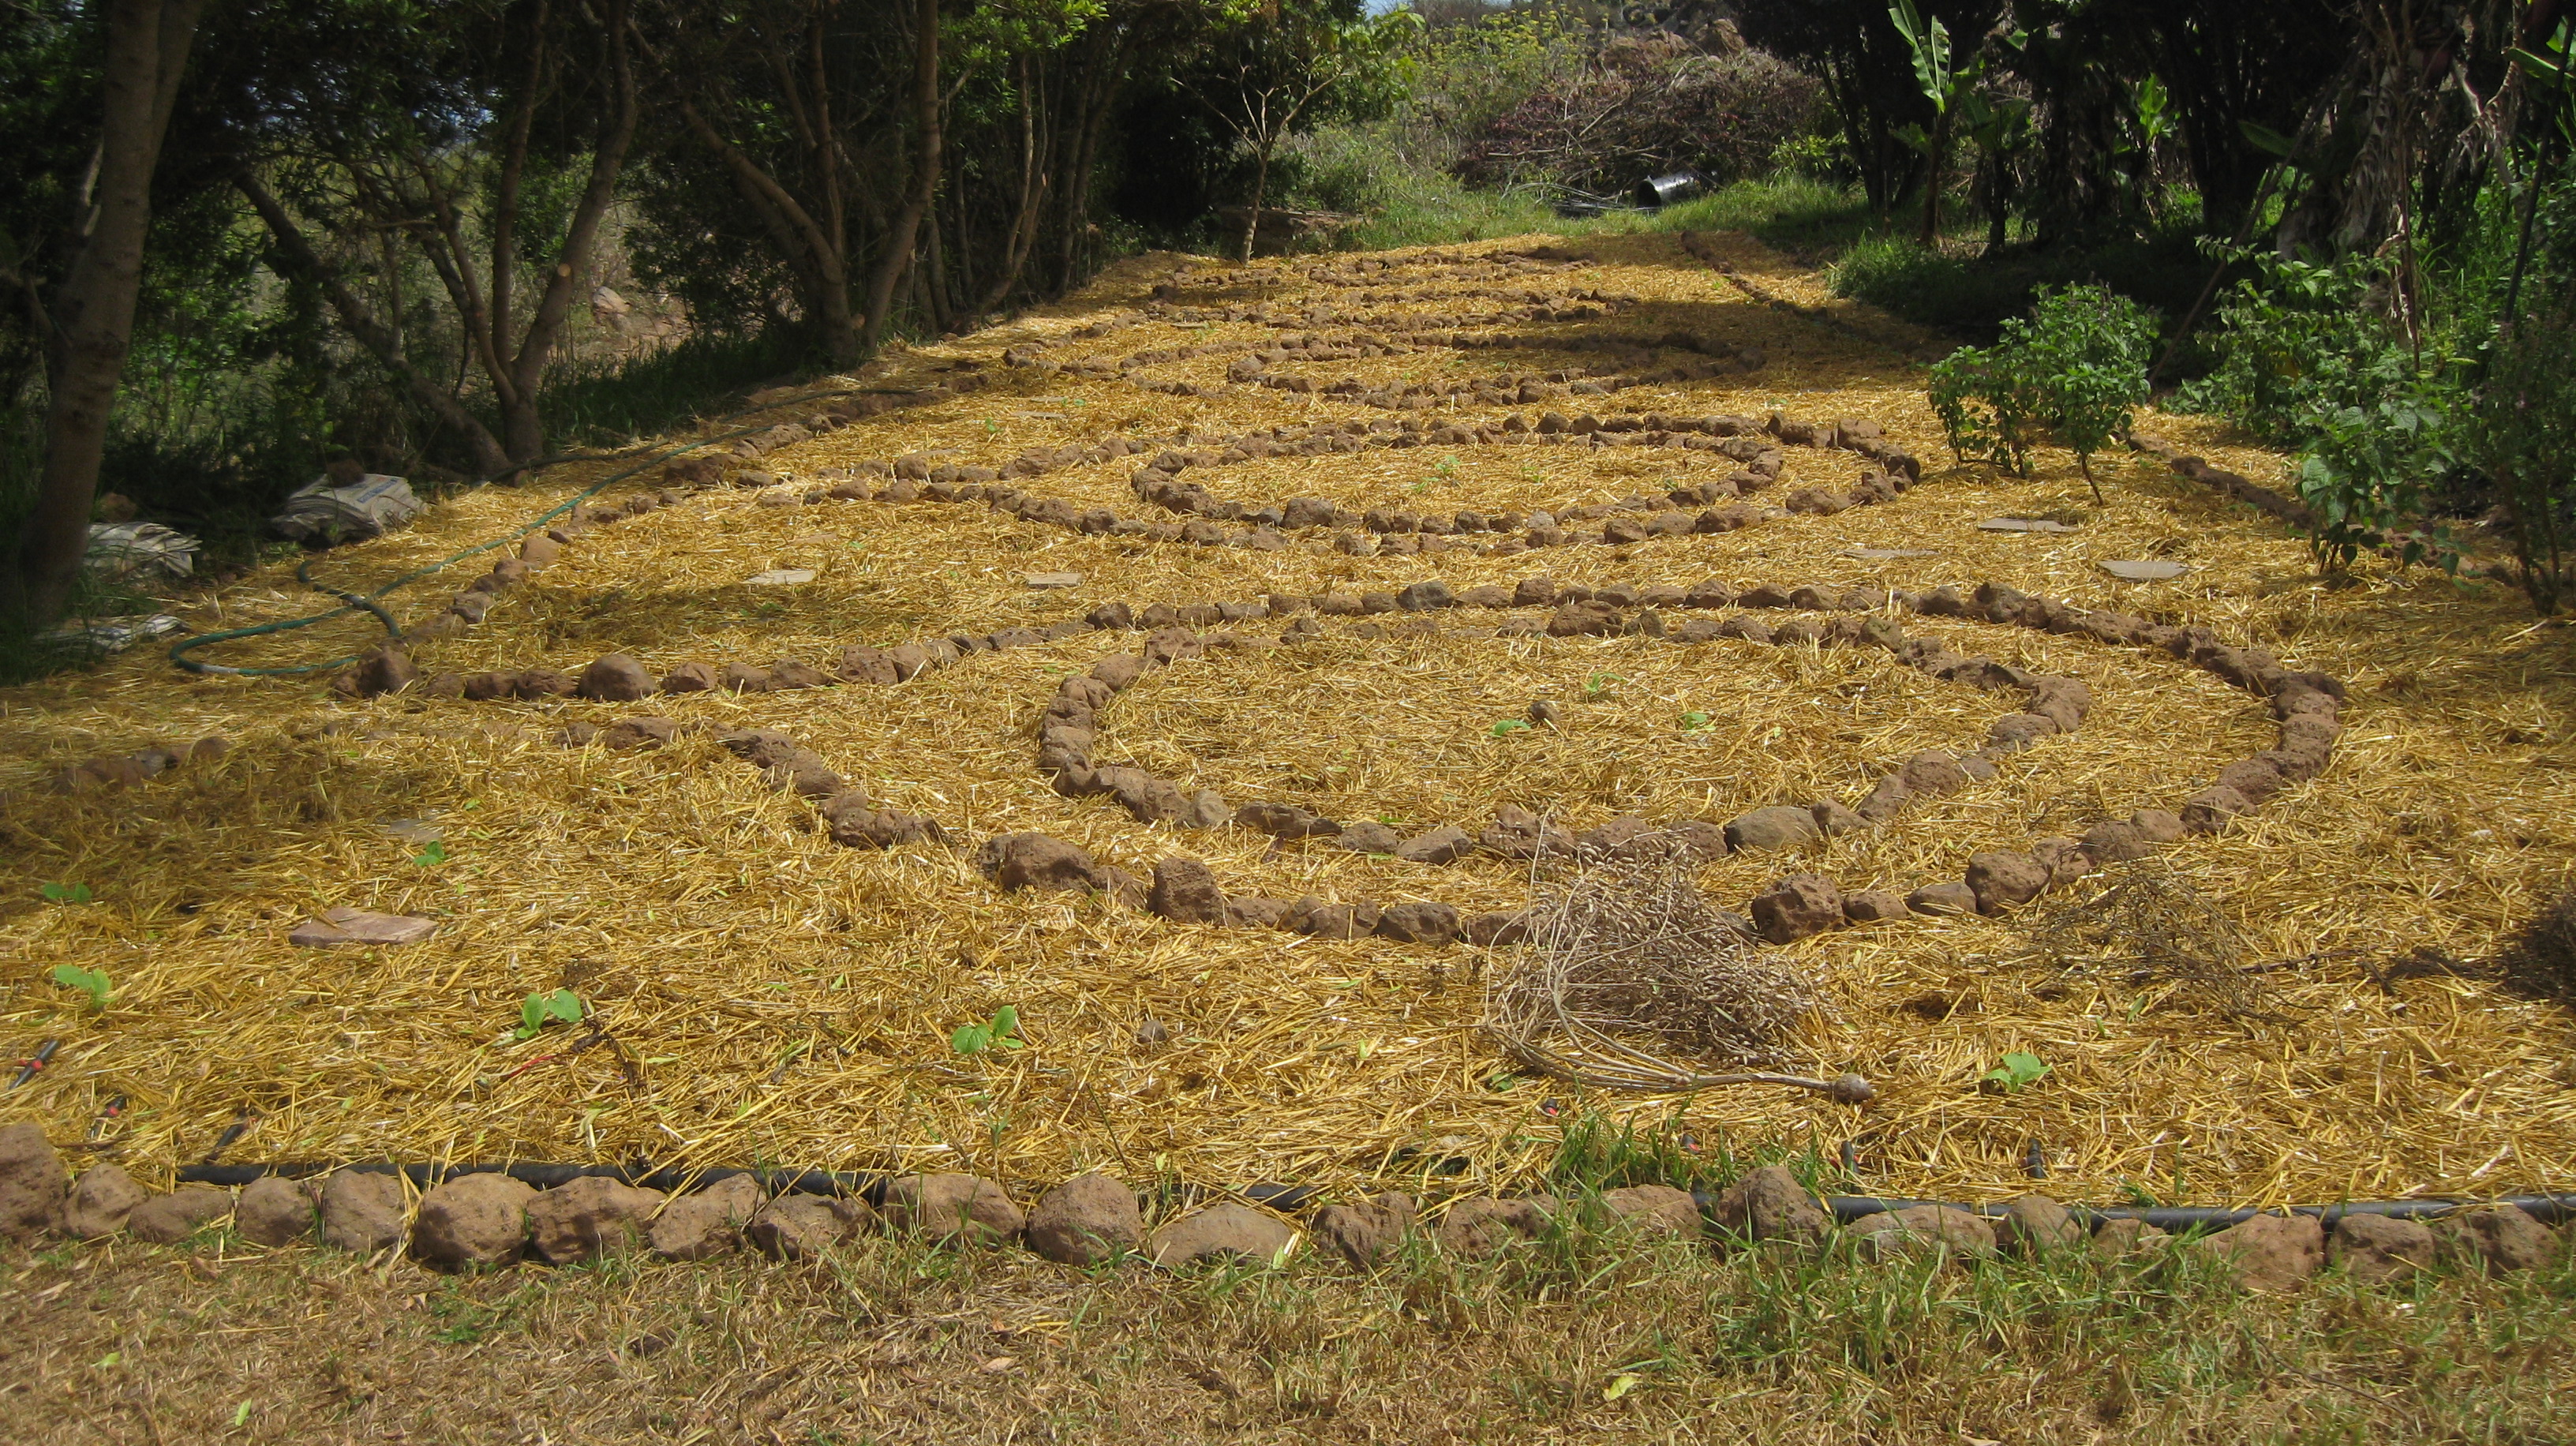
We recommend designing round shapes, like mandalas, that serve as harmonious edible gardens and can create a therapy and work environment at the same time (Figure III.13).
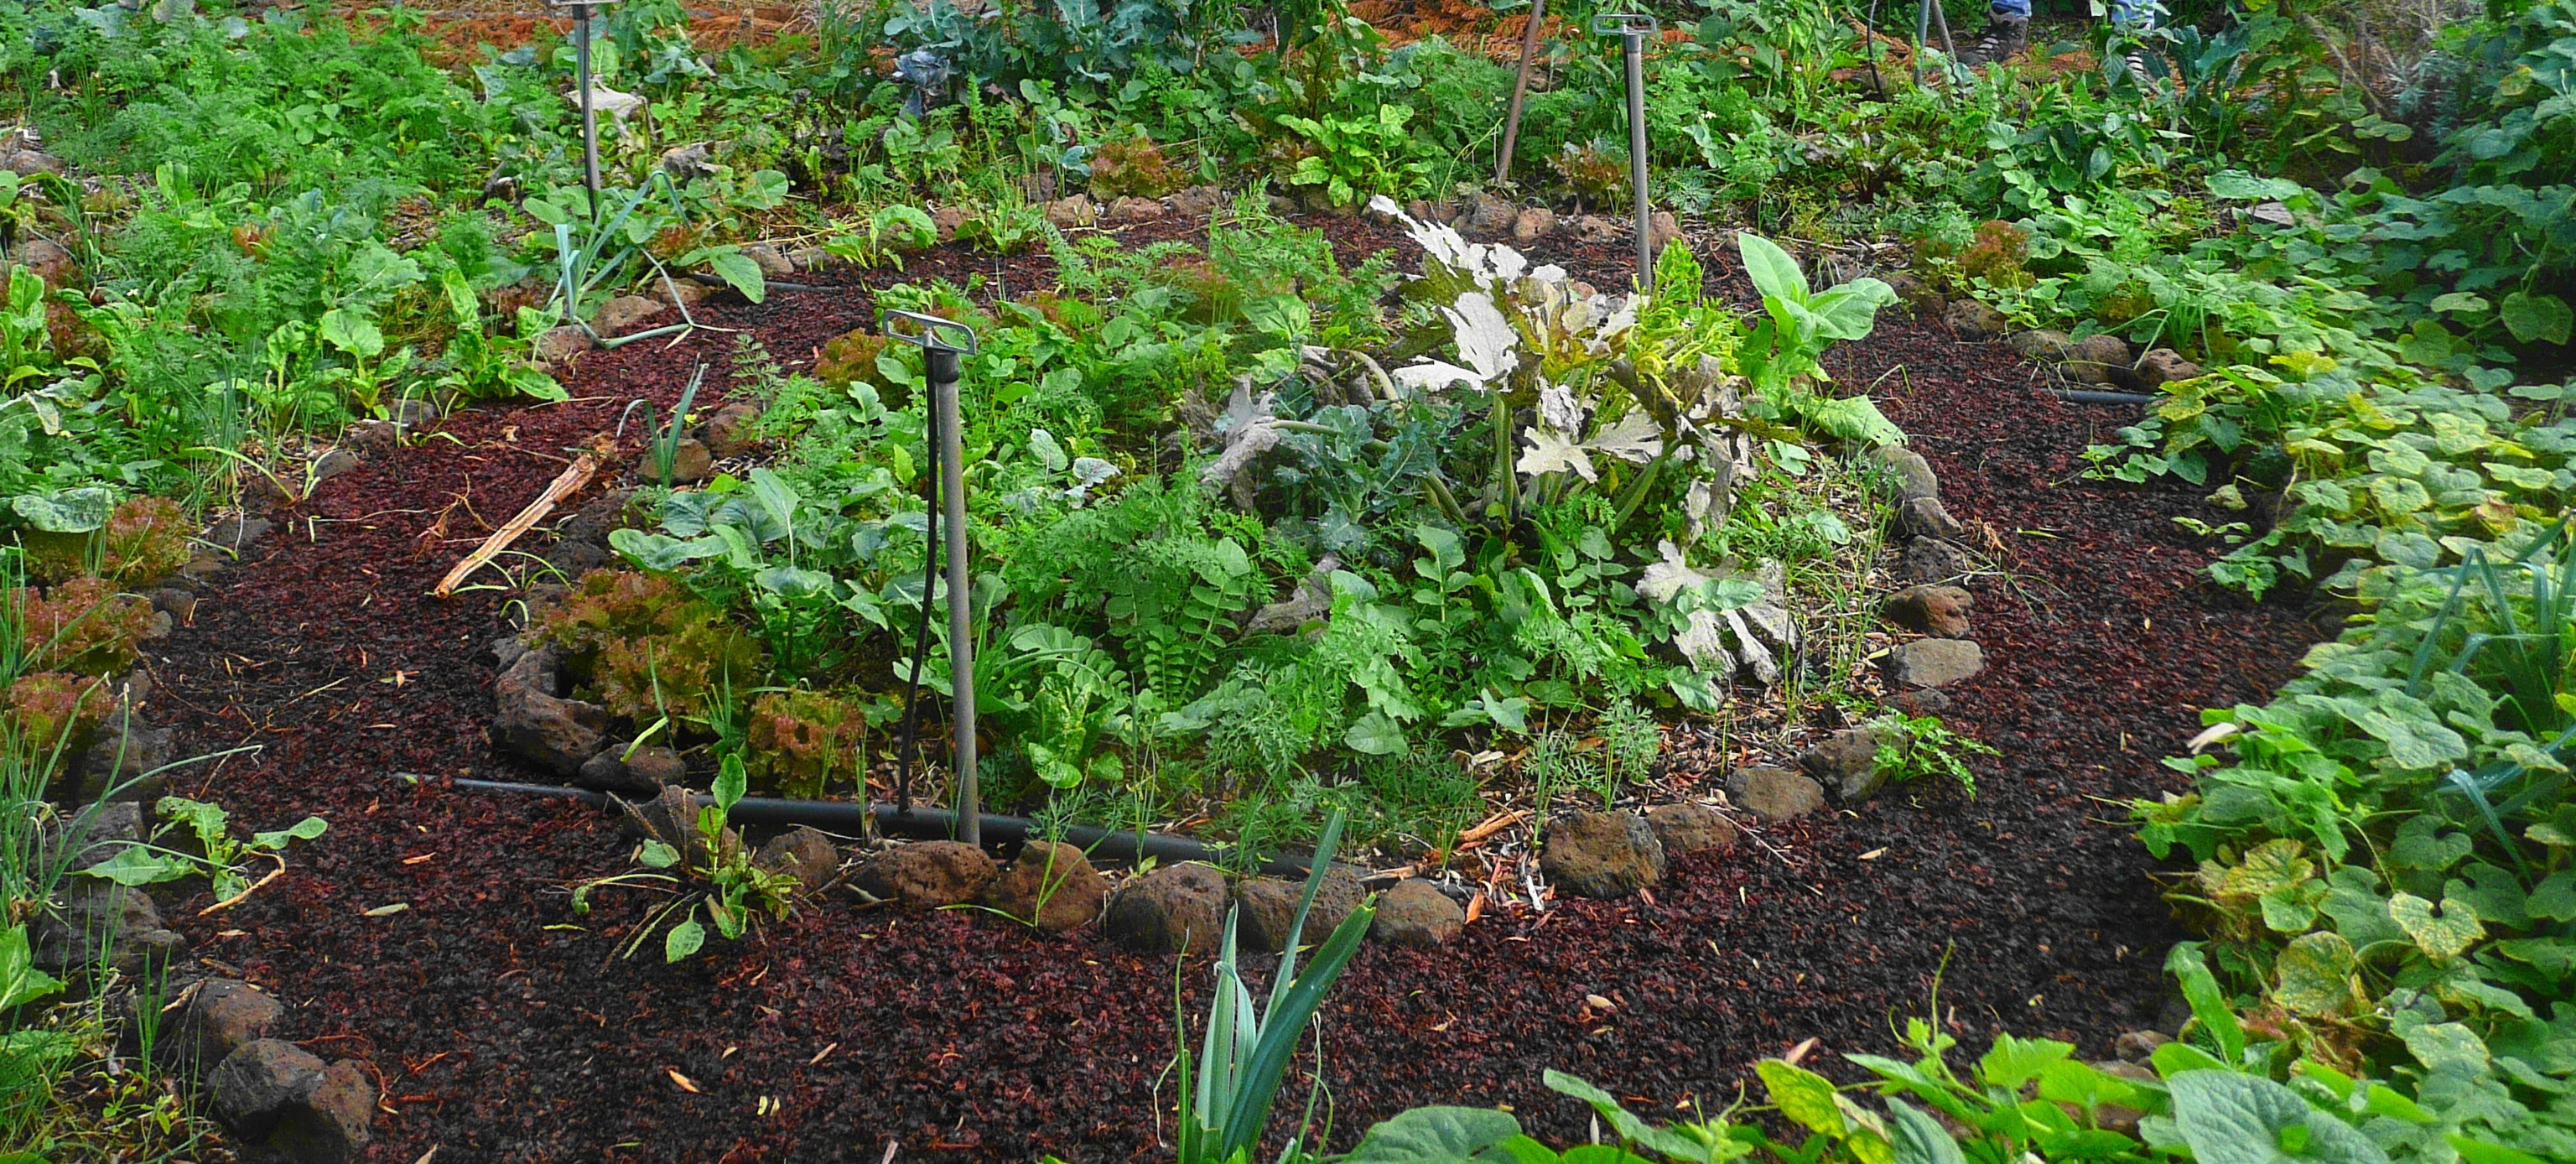
Figure III.13.- Examples of mandalas
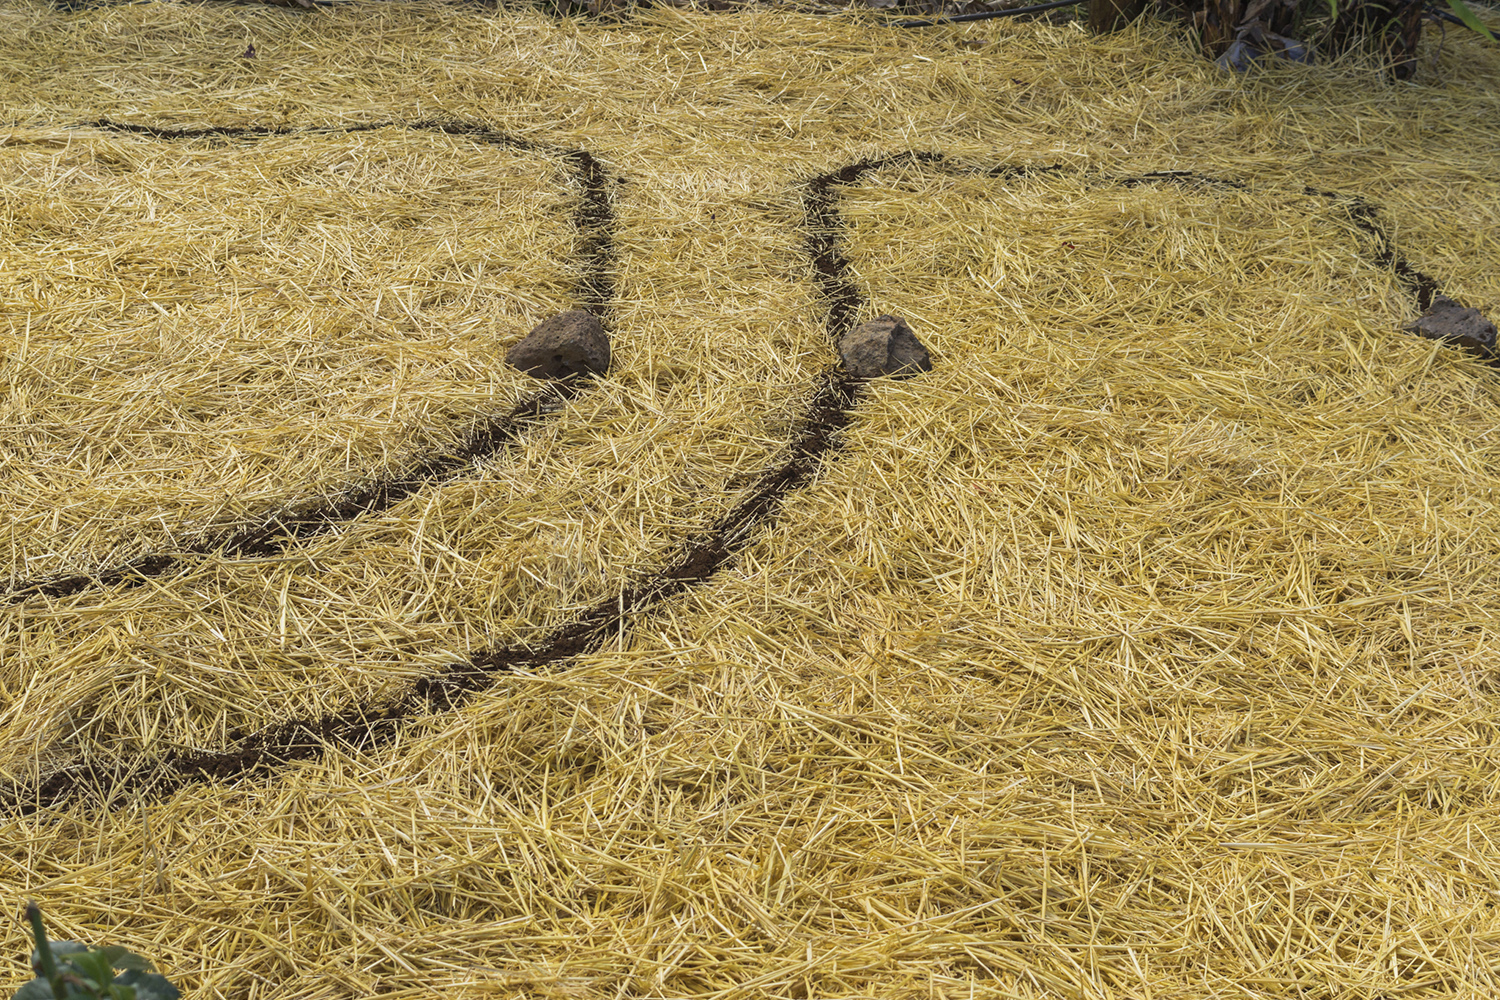
Once the final design of the edible garden is chosen we transfer it to a real-size version of it on the ground outlining it with used coffee grounds, pegs, small stones in strategic points, thread, strings, etc. (Figure III.14). This real-sized labour is useful to work as a team by measuring, calculating, and developing the skills of turning a design on paper into a reality in the edible garden.
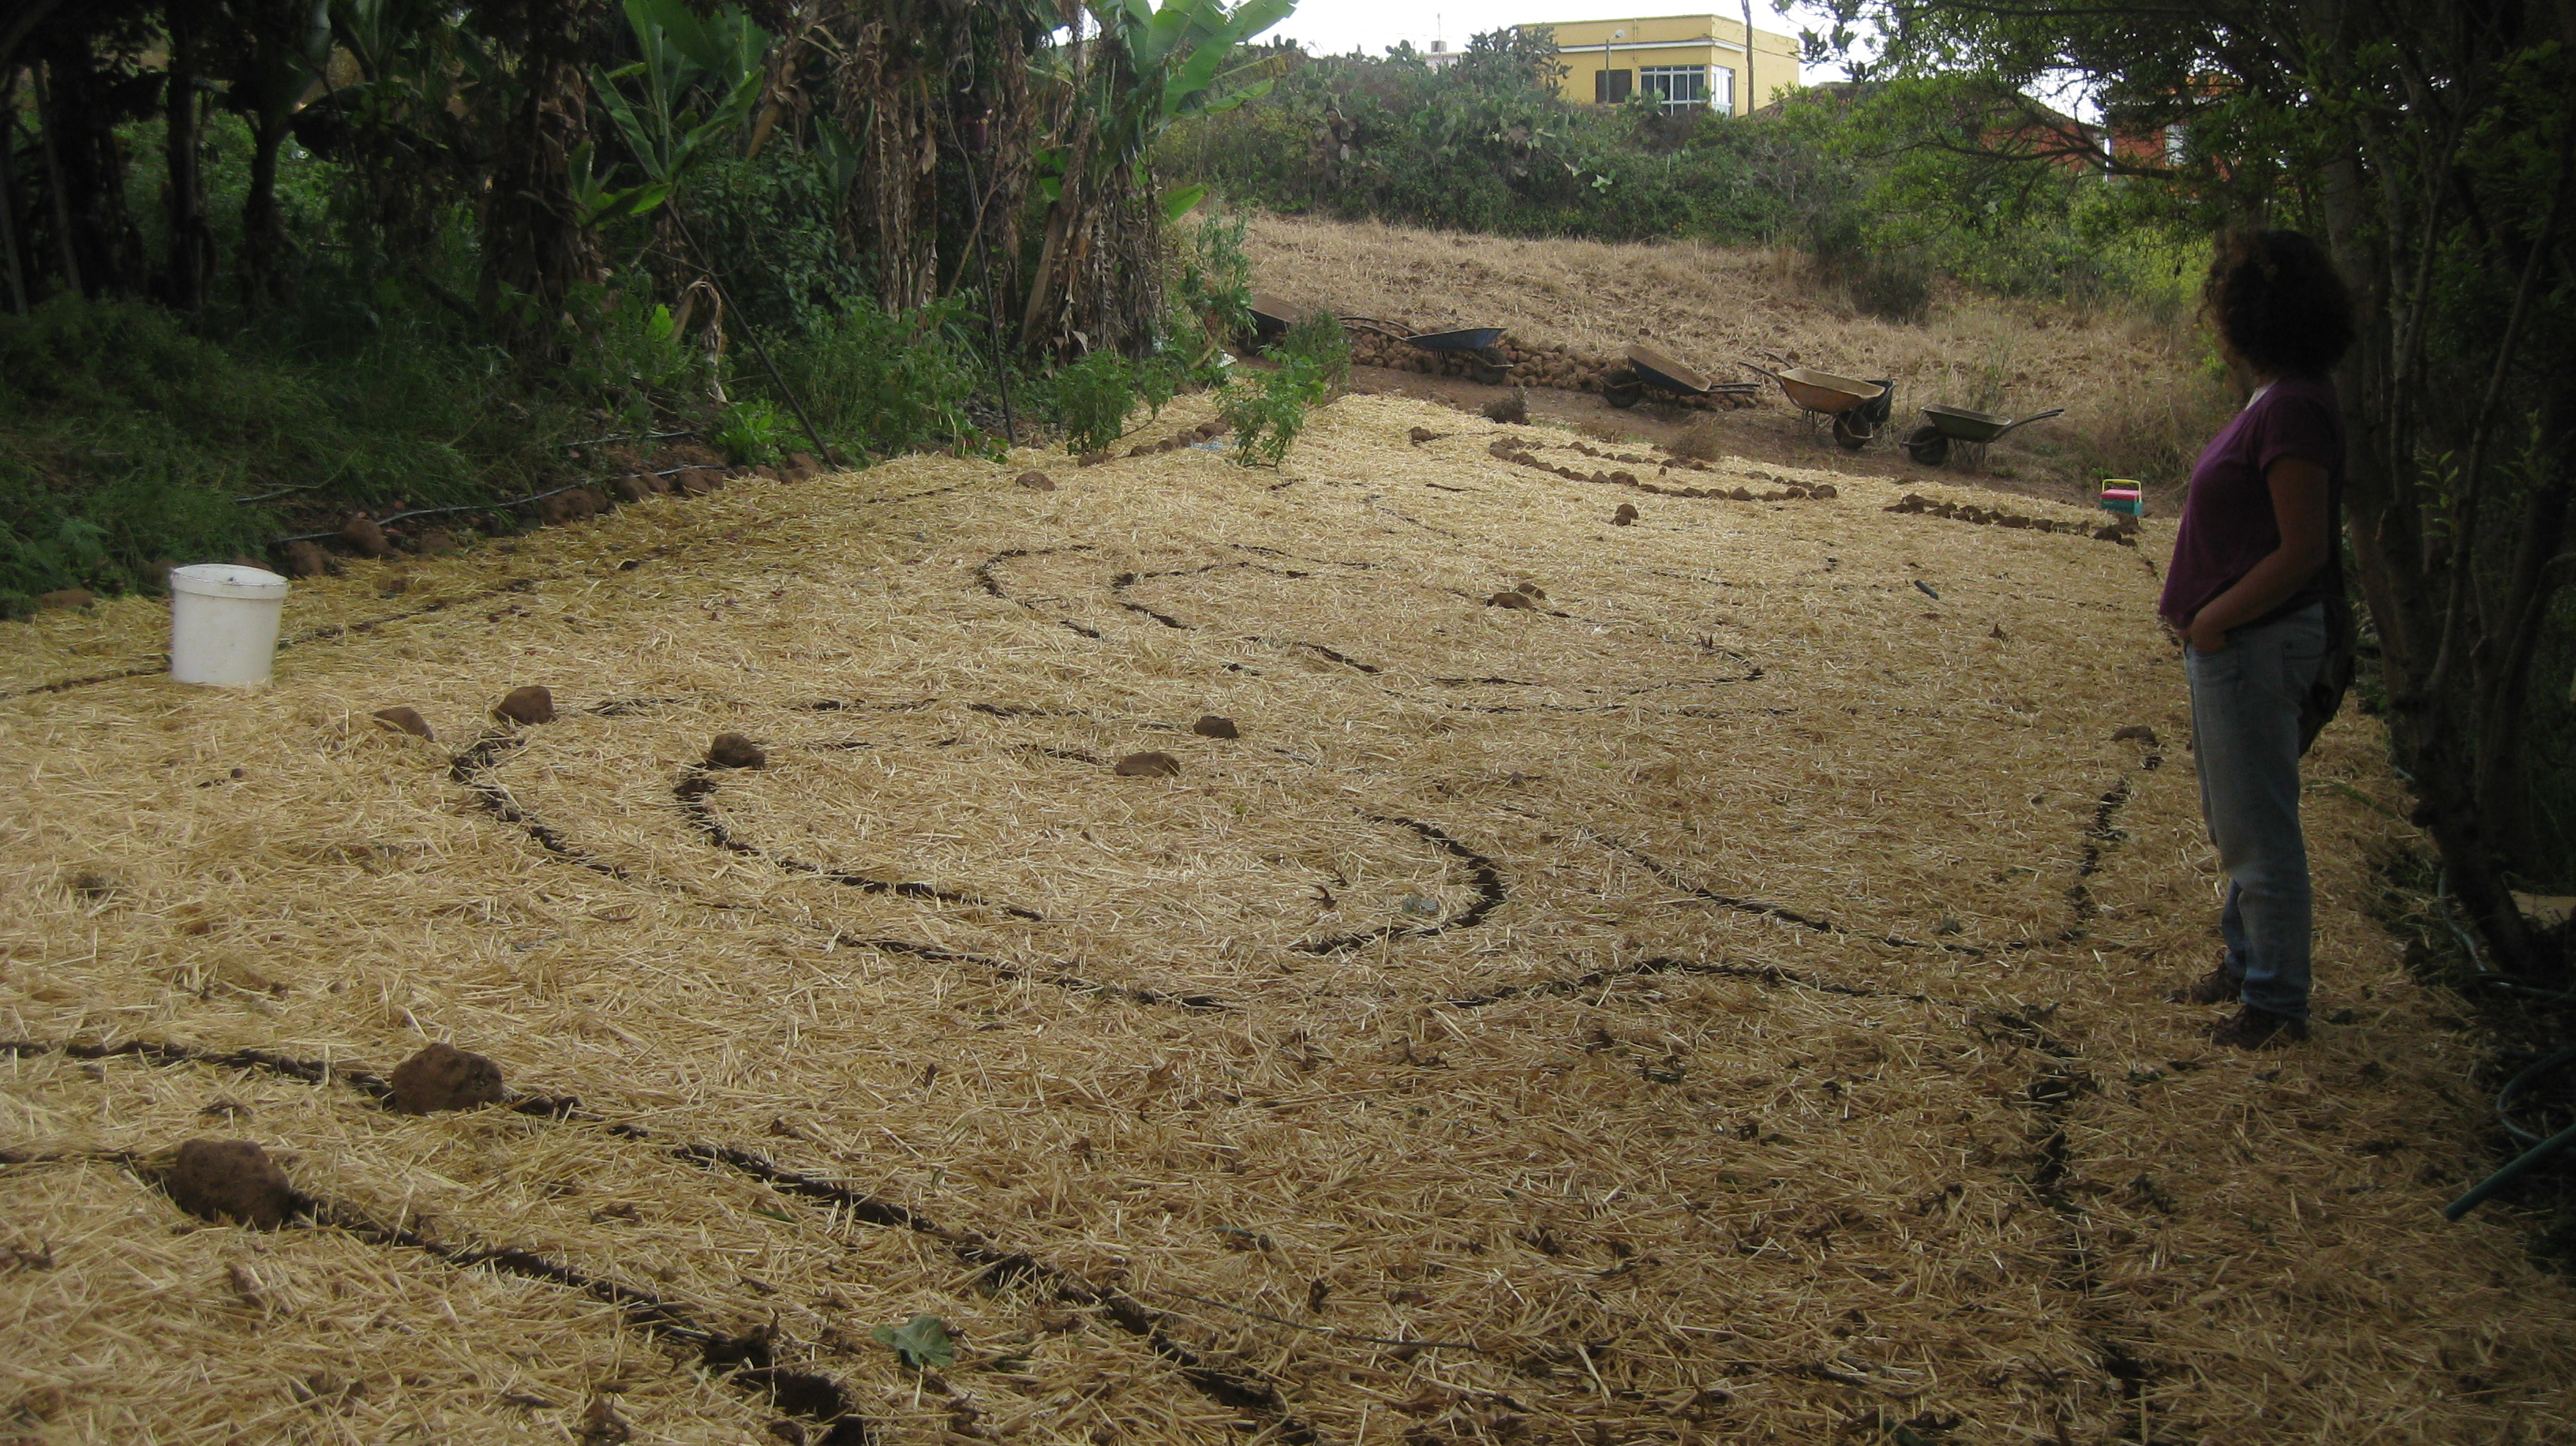
Figure III.14.- Designing on the ground with coffee grinds
The recommended measurement for the paths is 50 cm wide, and for the beds 1,10 m, although, ideally we would adjust it to the smallest person or with less elasticity of the group so that he can easily reach, by bending down or crouching, the center of the bed without stepping on the cultivated area. It is necessary to emphasize the importance of avoiding stepping on the beds to prevent the soil from becoming compacted. From now on we will only step on the paths.
After outlining the design we have to mark the limit between the paths and the beds, using whatever is around us, such as stones, used bottles, wood, etc., collecting and placing it over the outline of the design in order to leave on the ground a permanent drawing of our edible garden.
At this point we can stimulate the imagination of the participants, and attempt to reuse the available material as much as possible by integrating it artistically and aesthetically in our edible garden (Figure III.15).
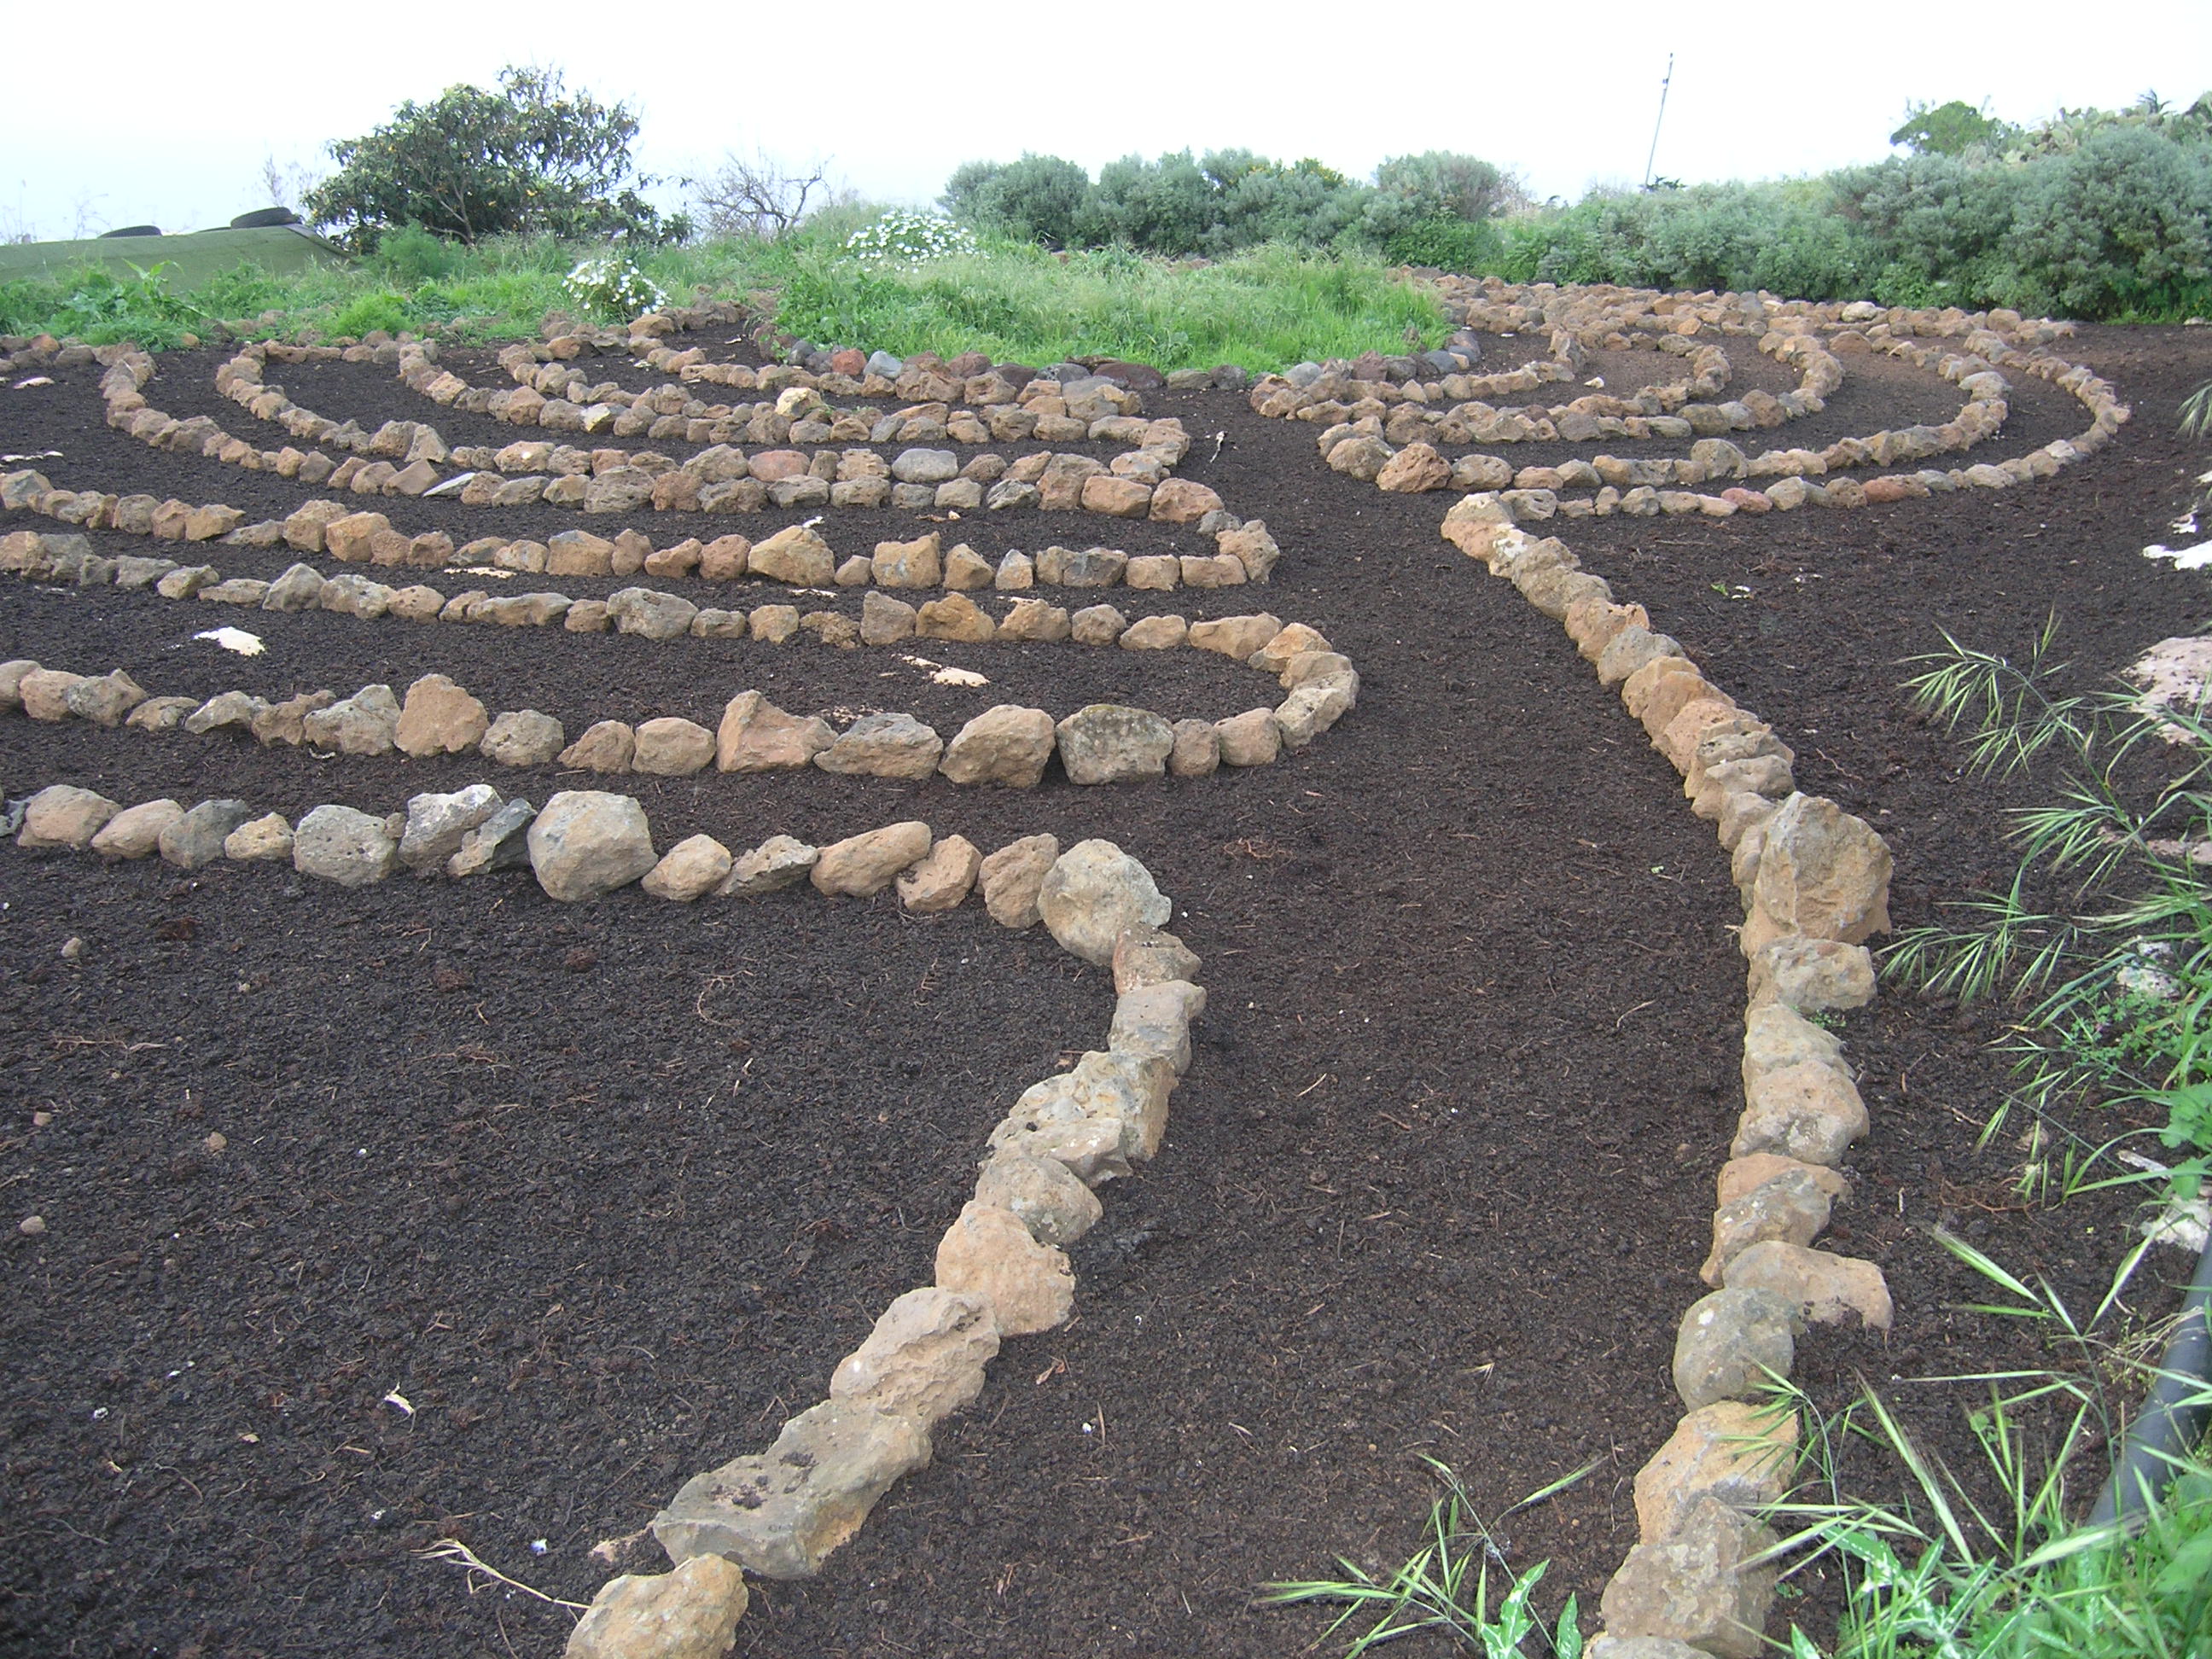
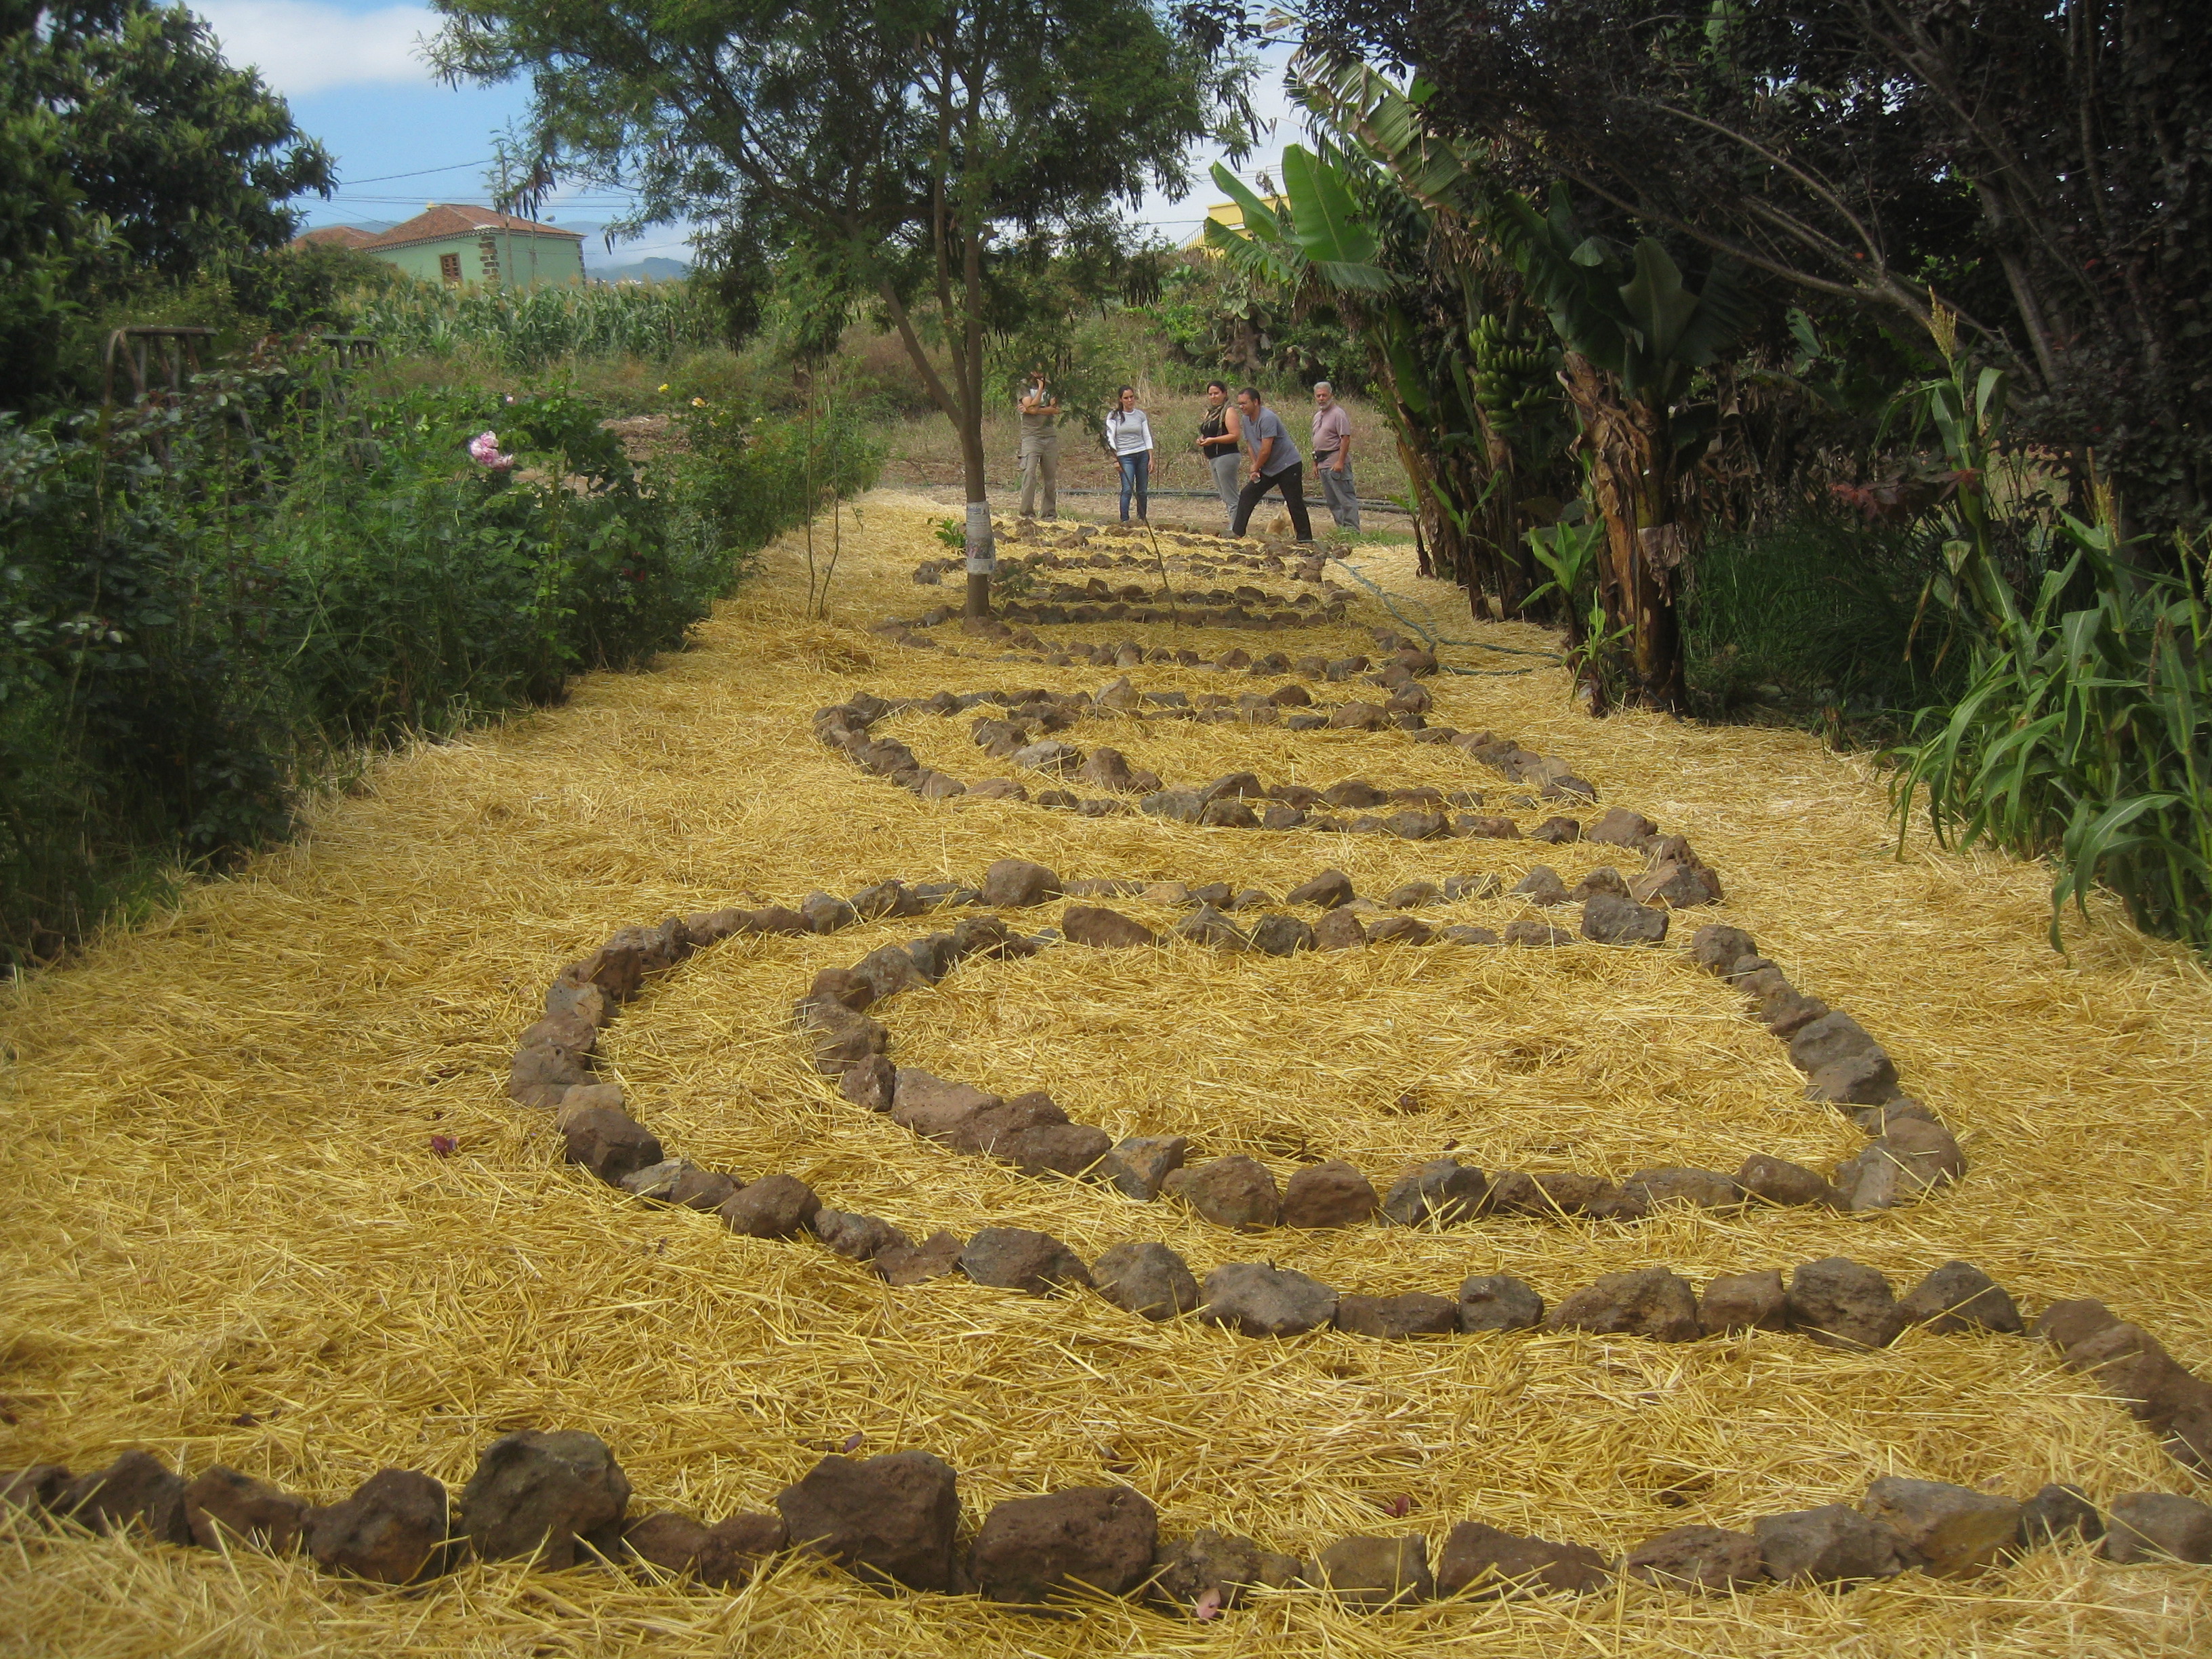
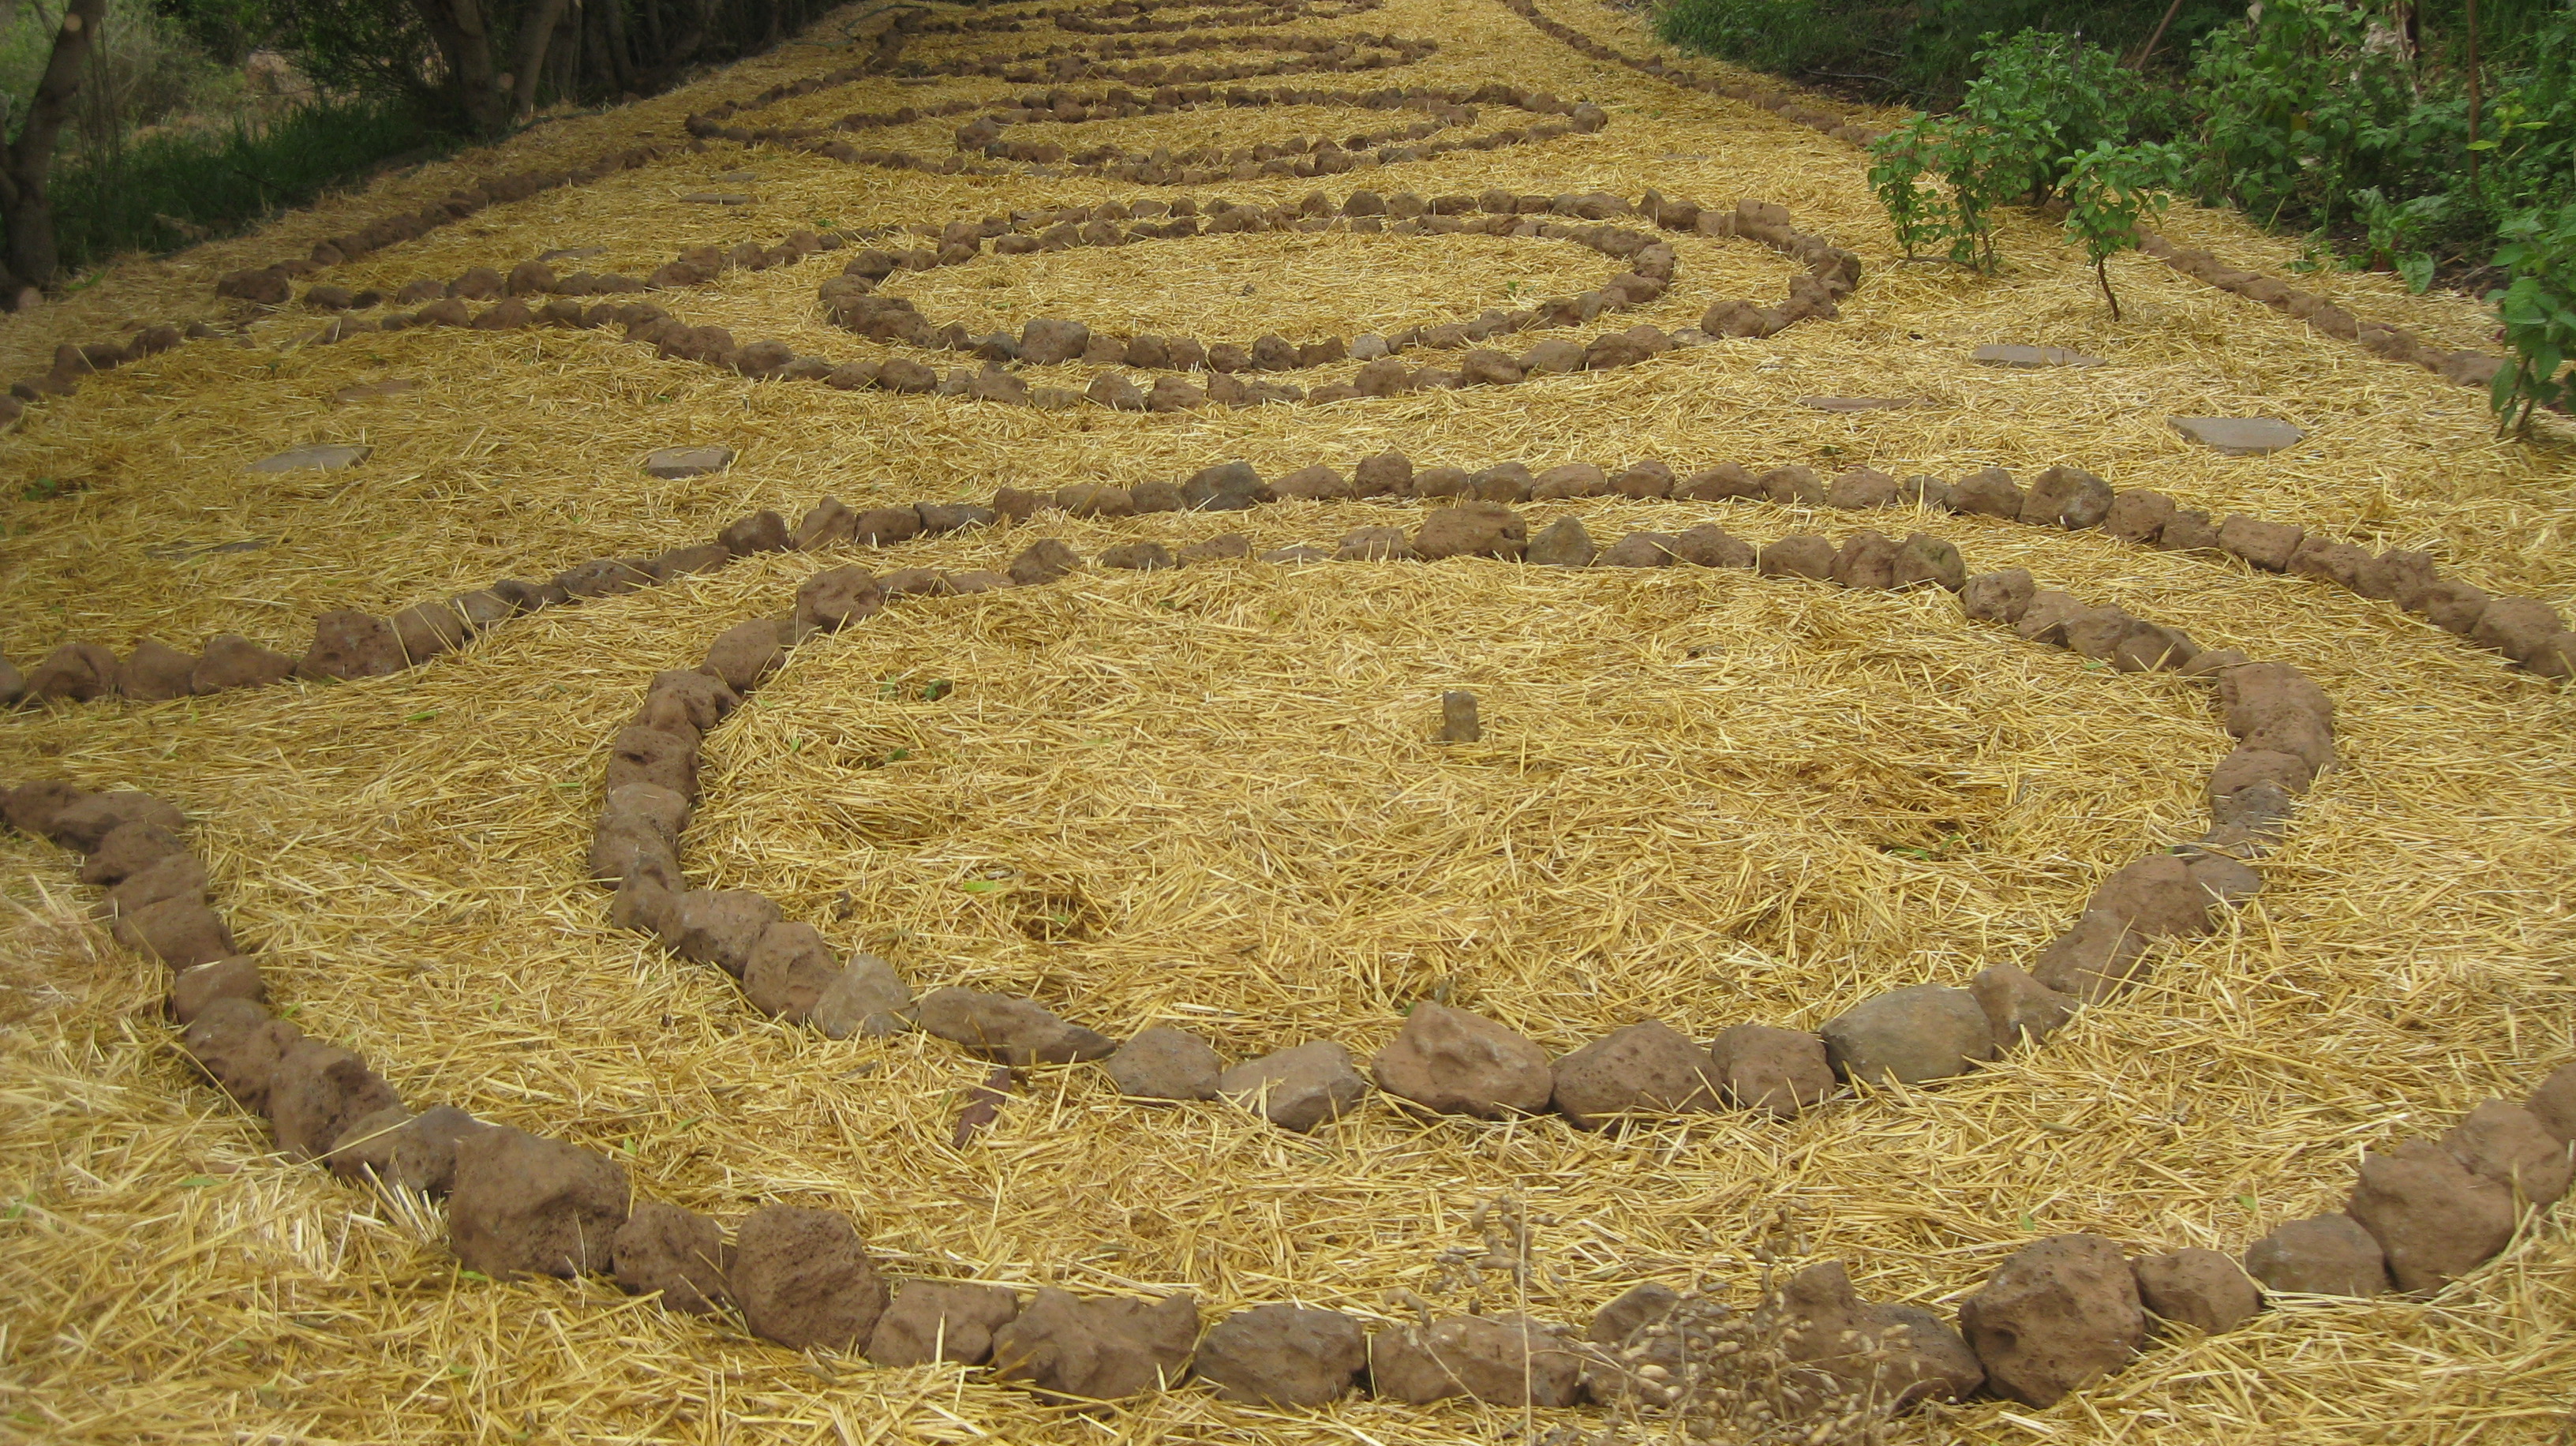
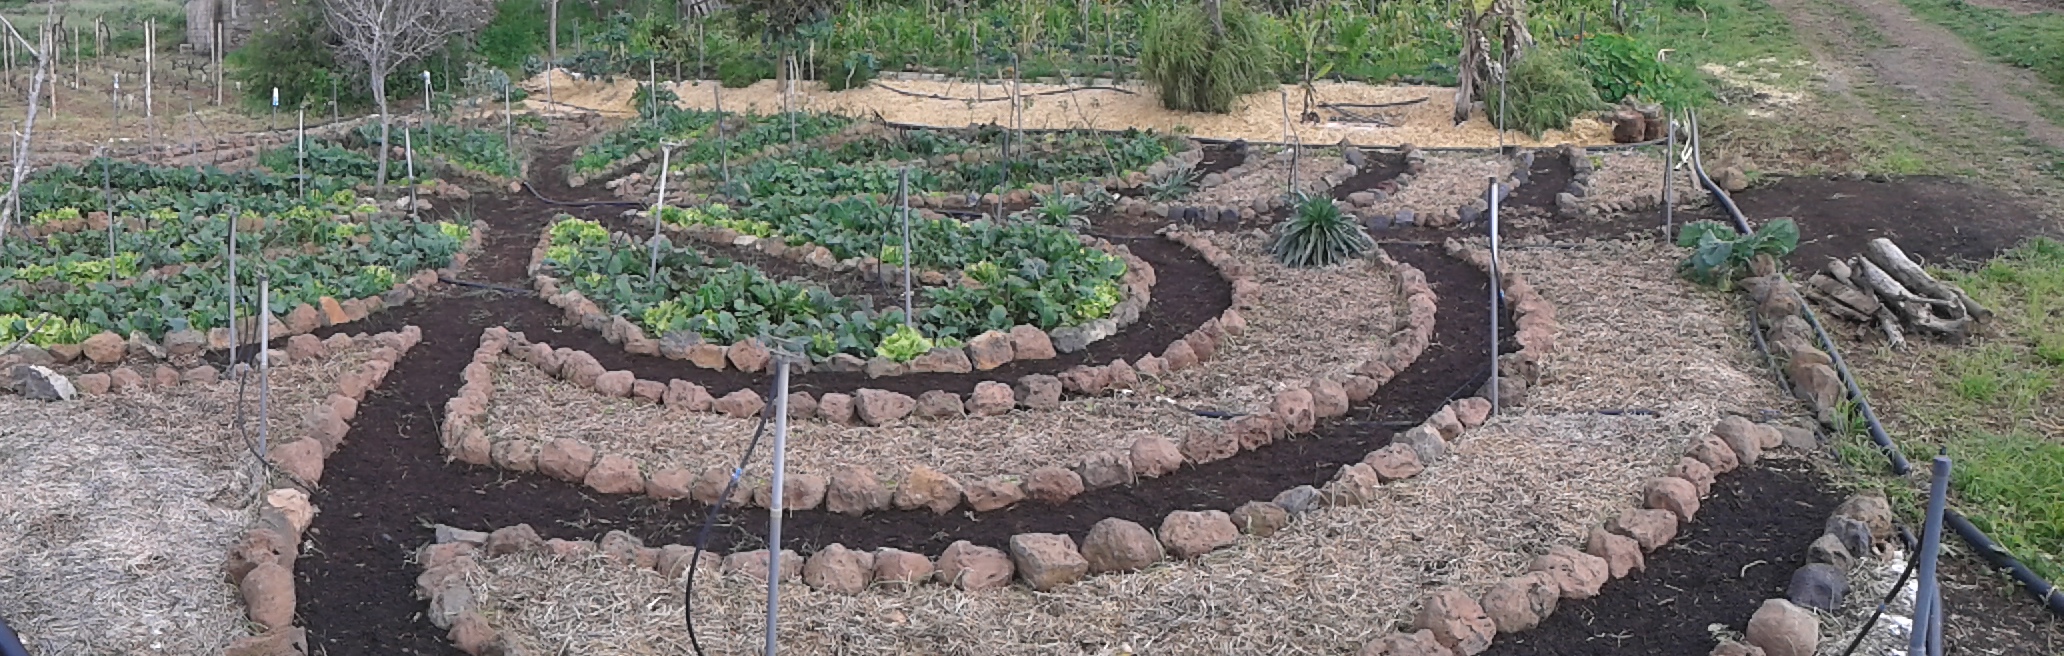
Figure III.15.-The aesthetics of our edible gardens
If we use reused glass bottles, we have to remember to place them as close to each other as possible to avoid them from falling or moving; and to attach them we could use a peg to drill a hole in the ground where we can insert the neck of the bottle (Figure III.16).
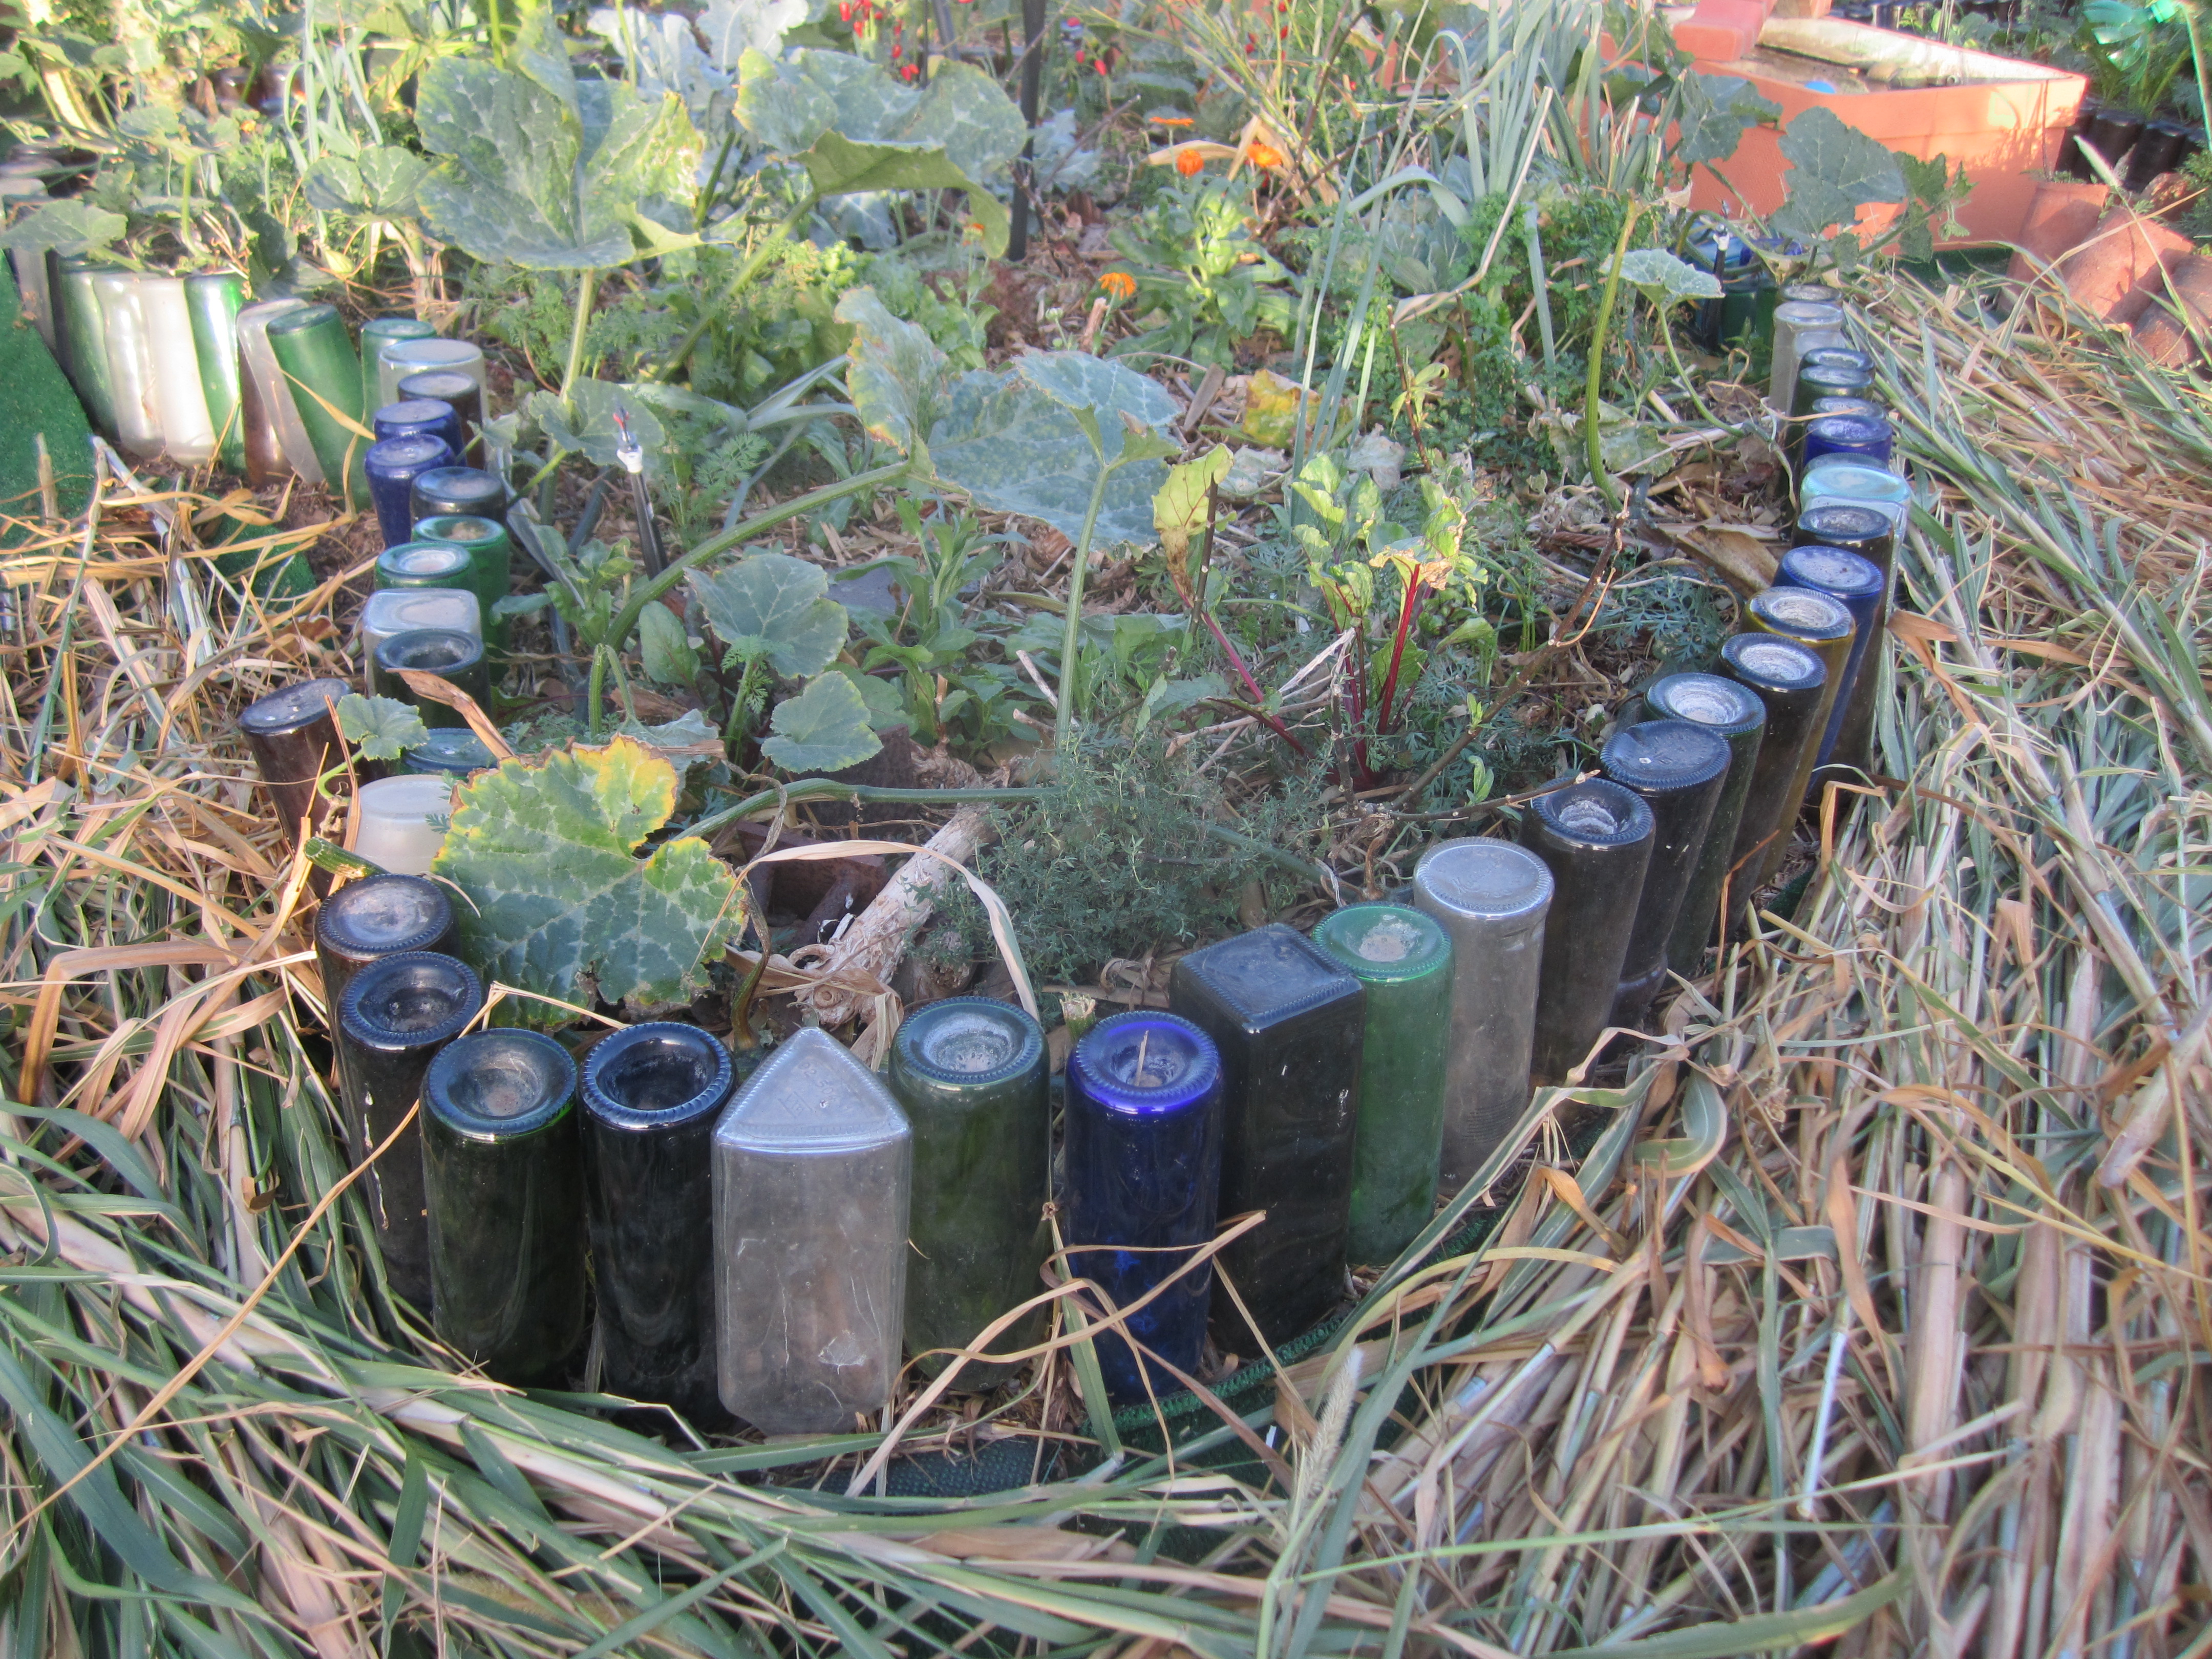
Figure III.16.- Different shapes of the limits between the paths and allotments

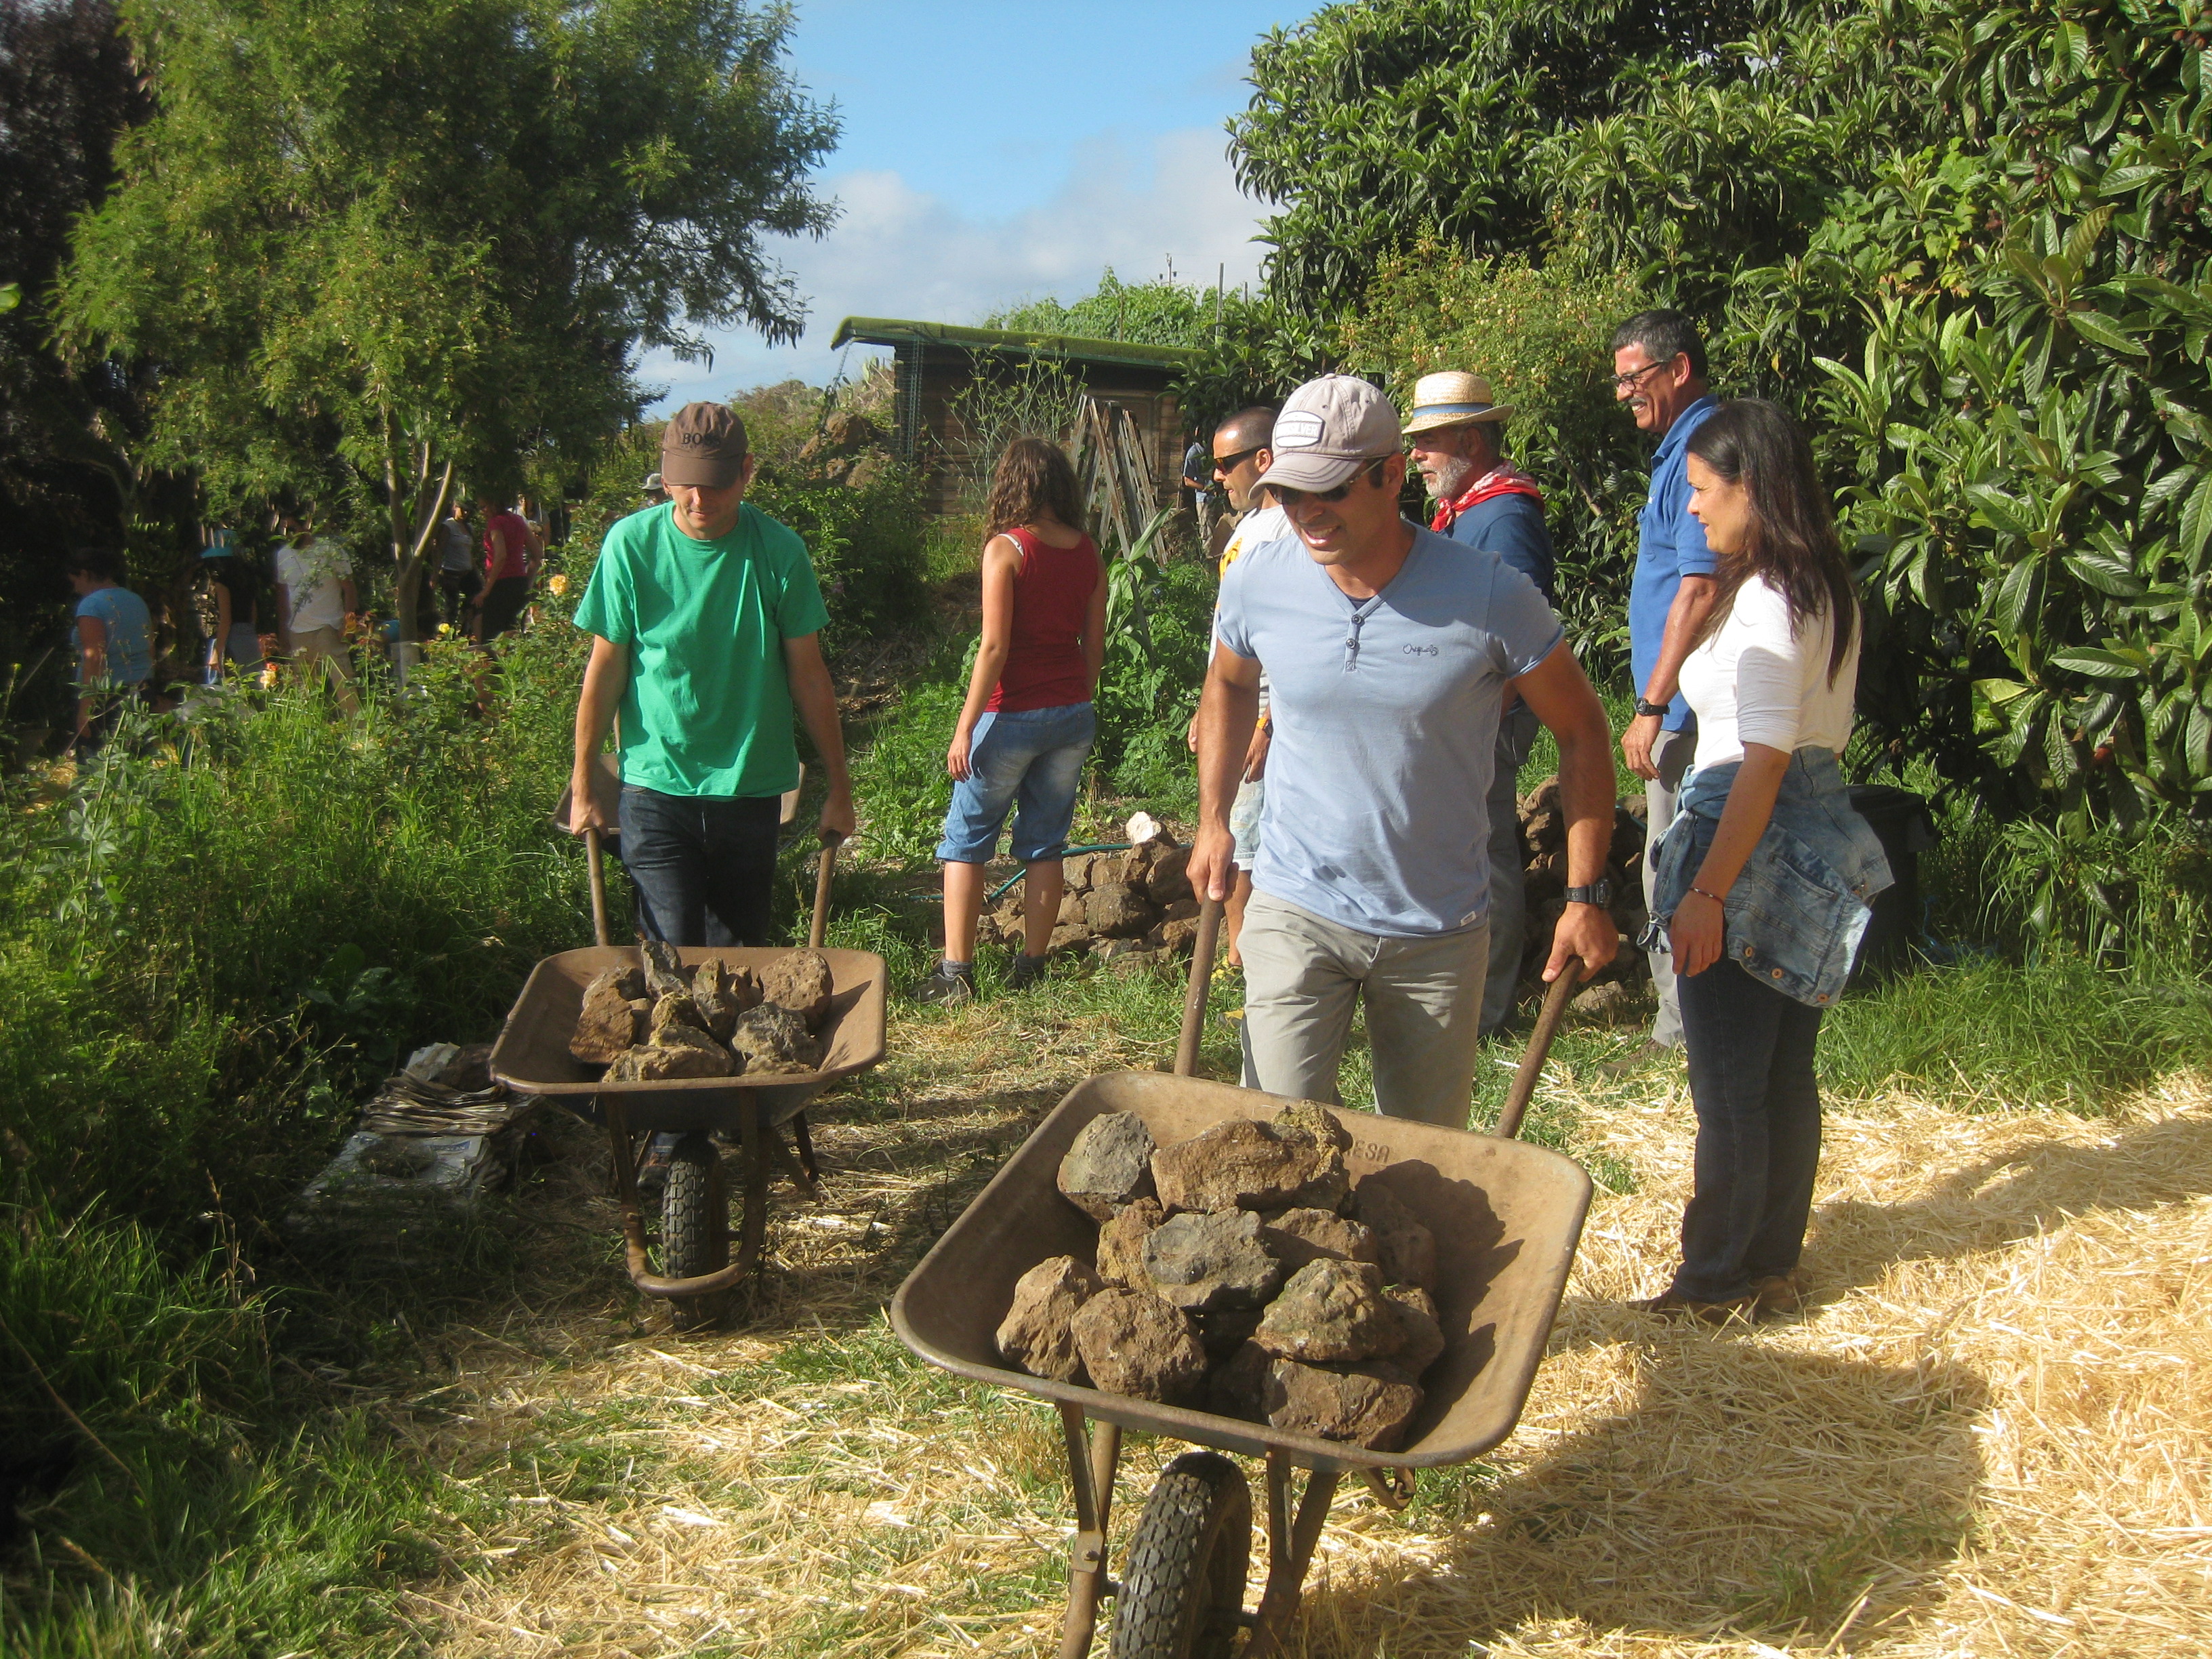
If we use stones they should be as close to each other as possible for the same reason as the bottles, placing on the ground the side that settles the best, and avoiding sharp edges sticking out on the path so we won’t have problems when pushing a wheelbarrow, or to prevent someone from tripping over (Figure III.17).
If we chose to use a log or a wooden board for the round beds, we would have to shape one of the ends into a peg so we can pin it down into ground on the outline of the design. If the beds were straight we could put down longer logs throughout the bed, pinning them down with small pegs at both ends.
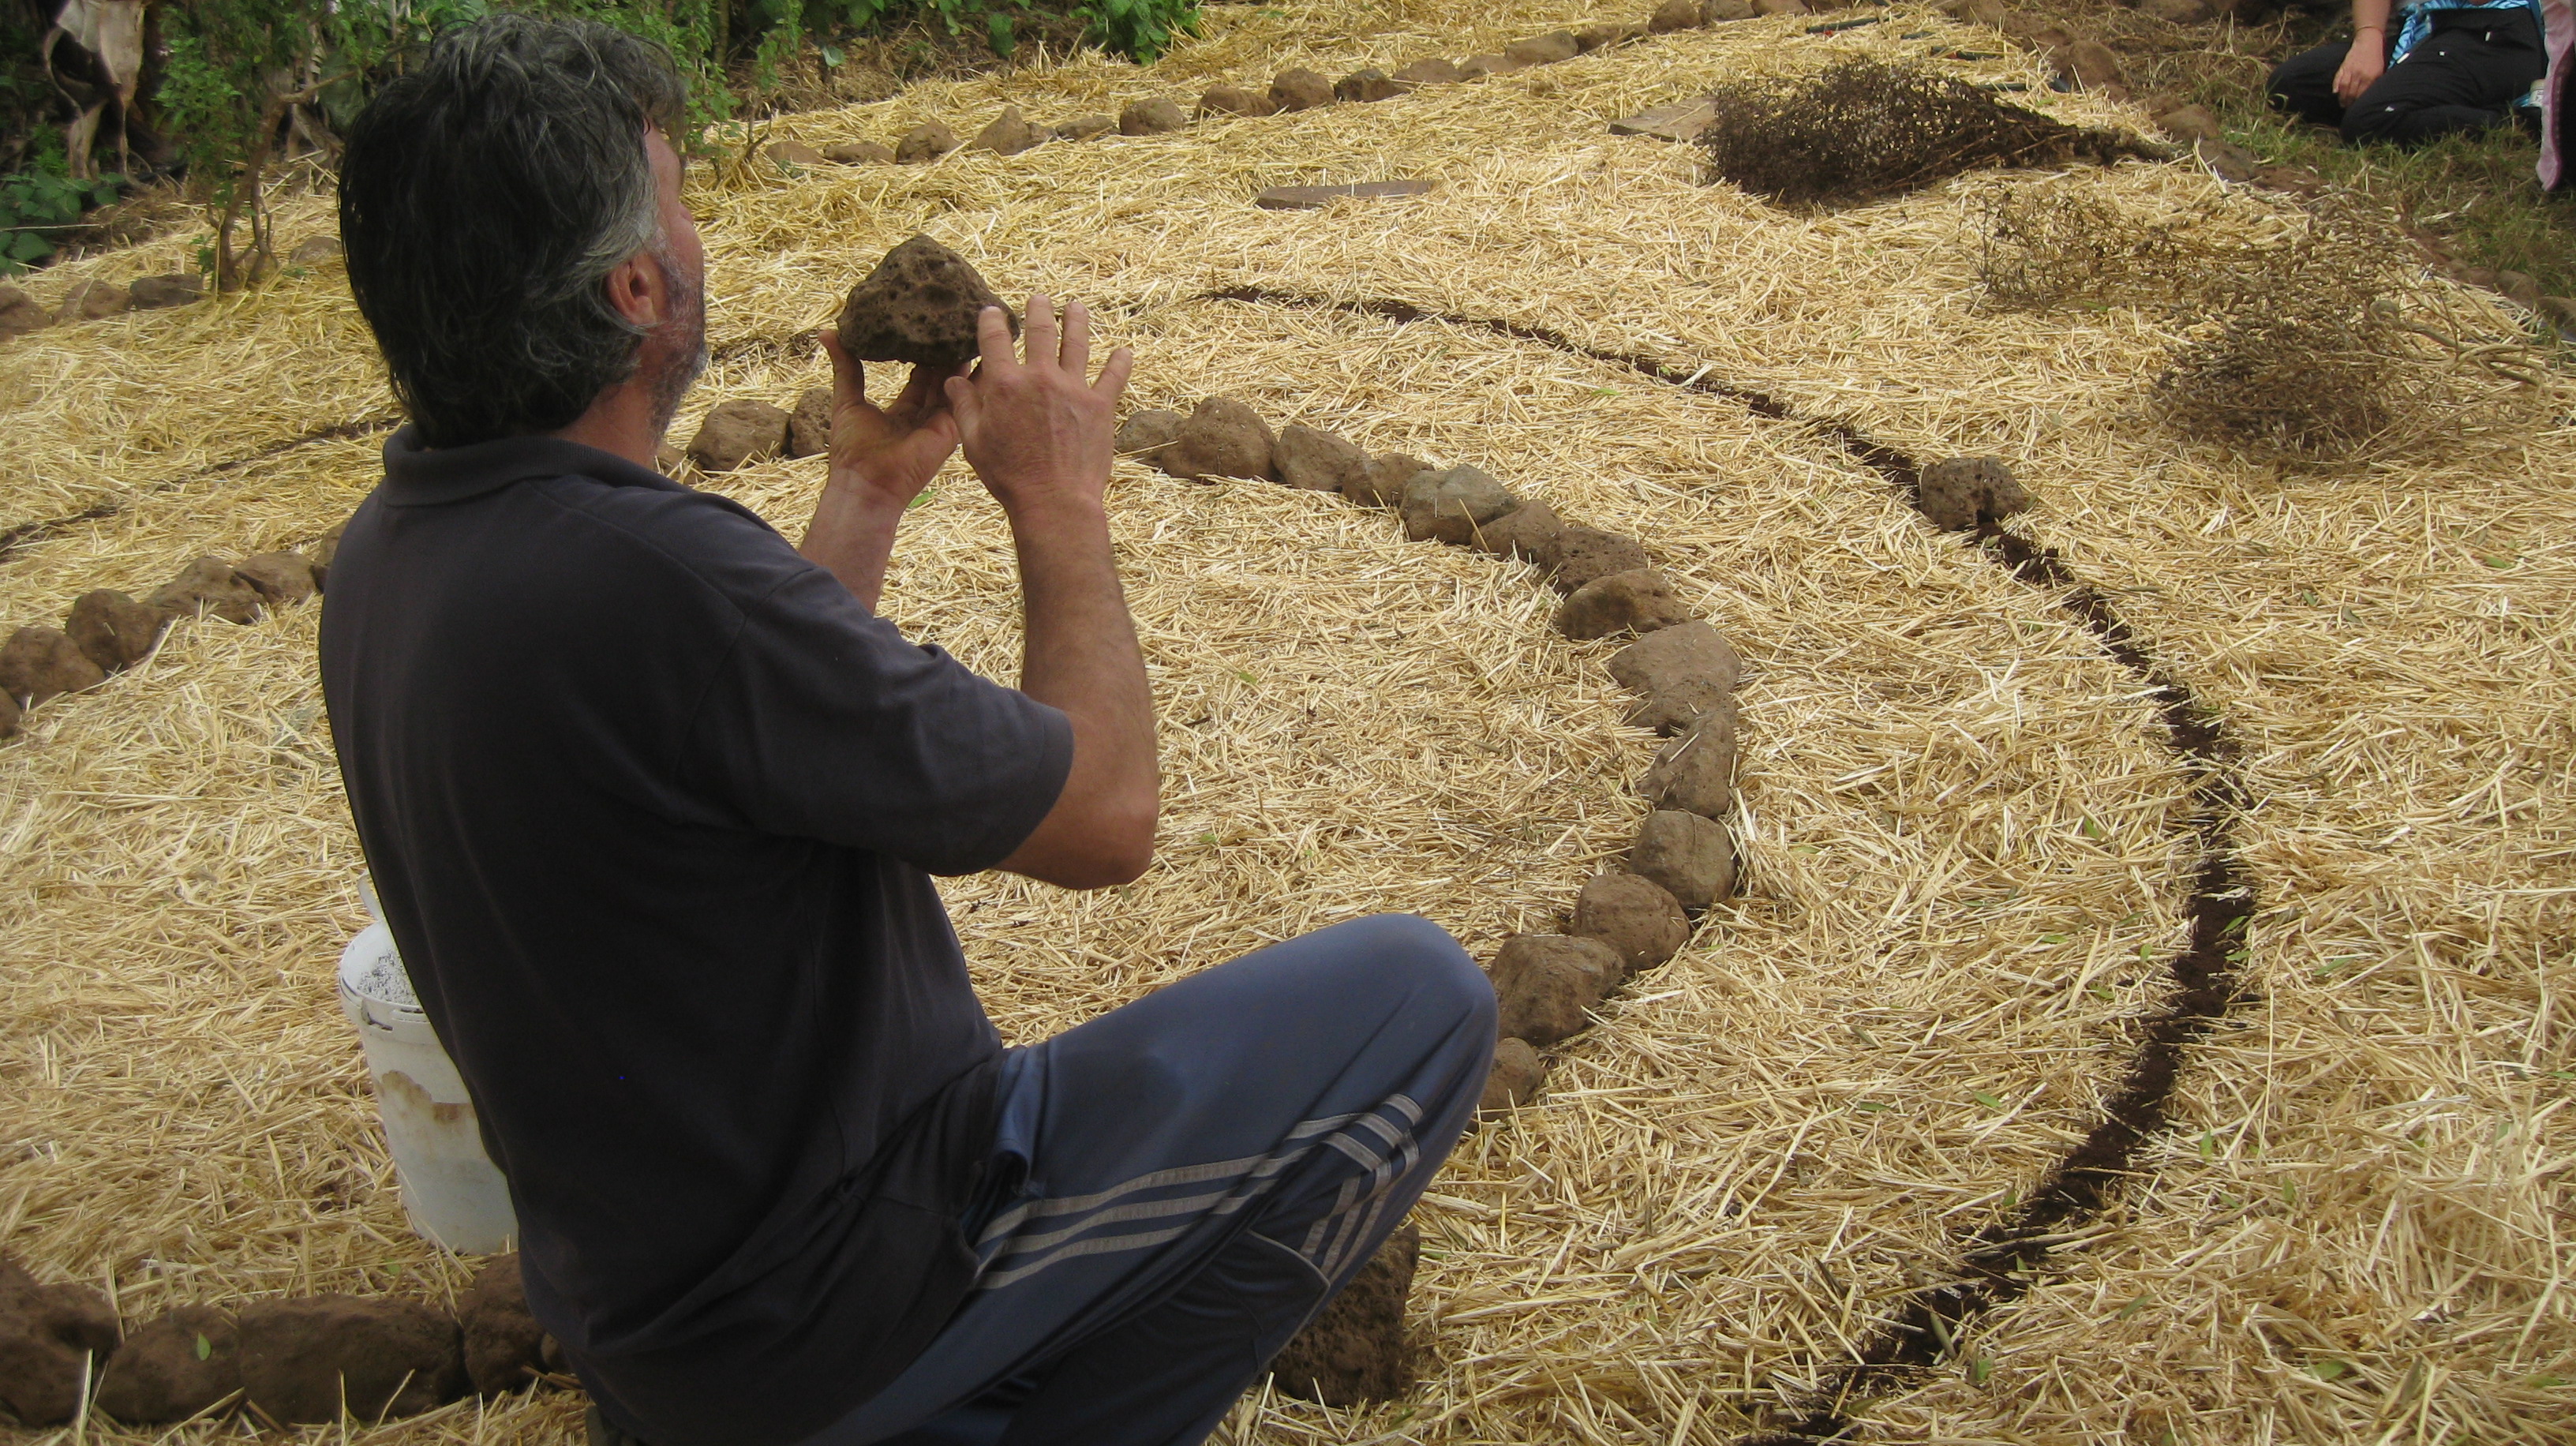
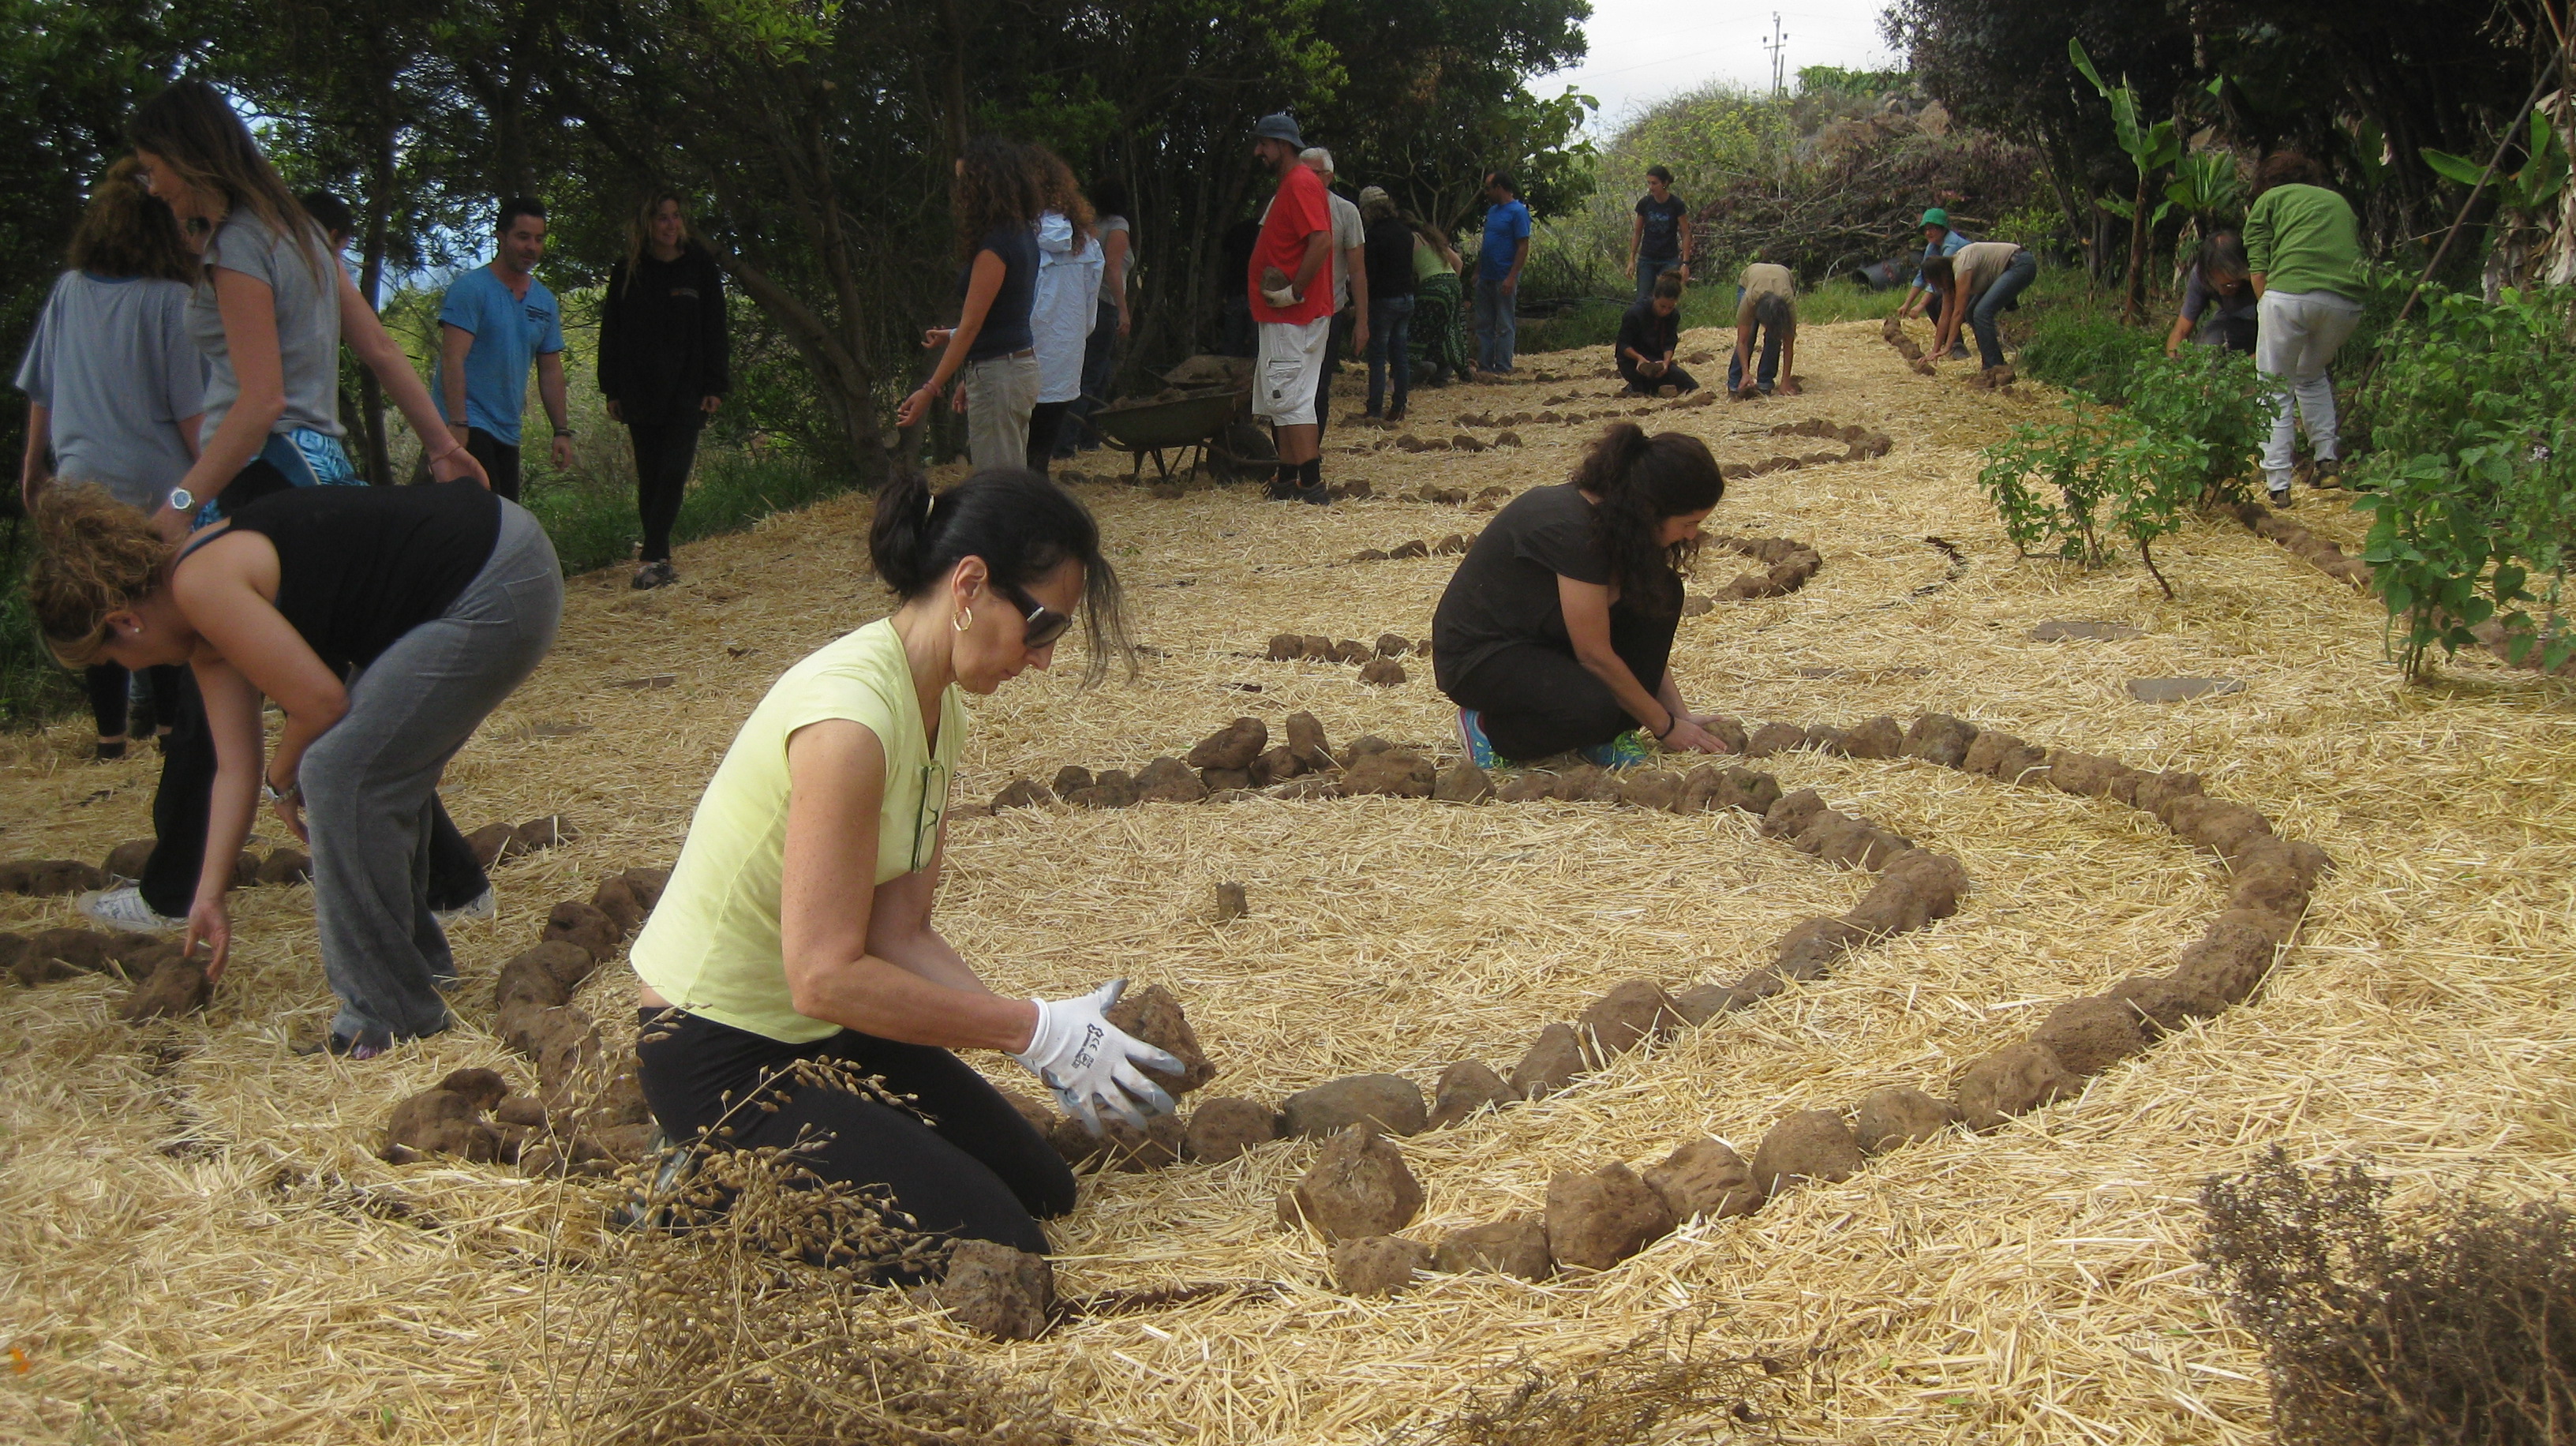
Figure III.17.- “Learning by doing” mandalas

If we disposed of organic matter with a different colour than the beds, we could spread out a thin layer over the existing mulch of the path to give it a more appealing look (Figure III.18).

Figure III.18.- Coloured paths using different vegetable mulchings

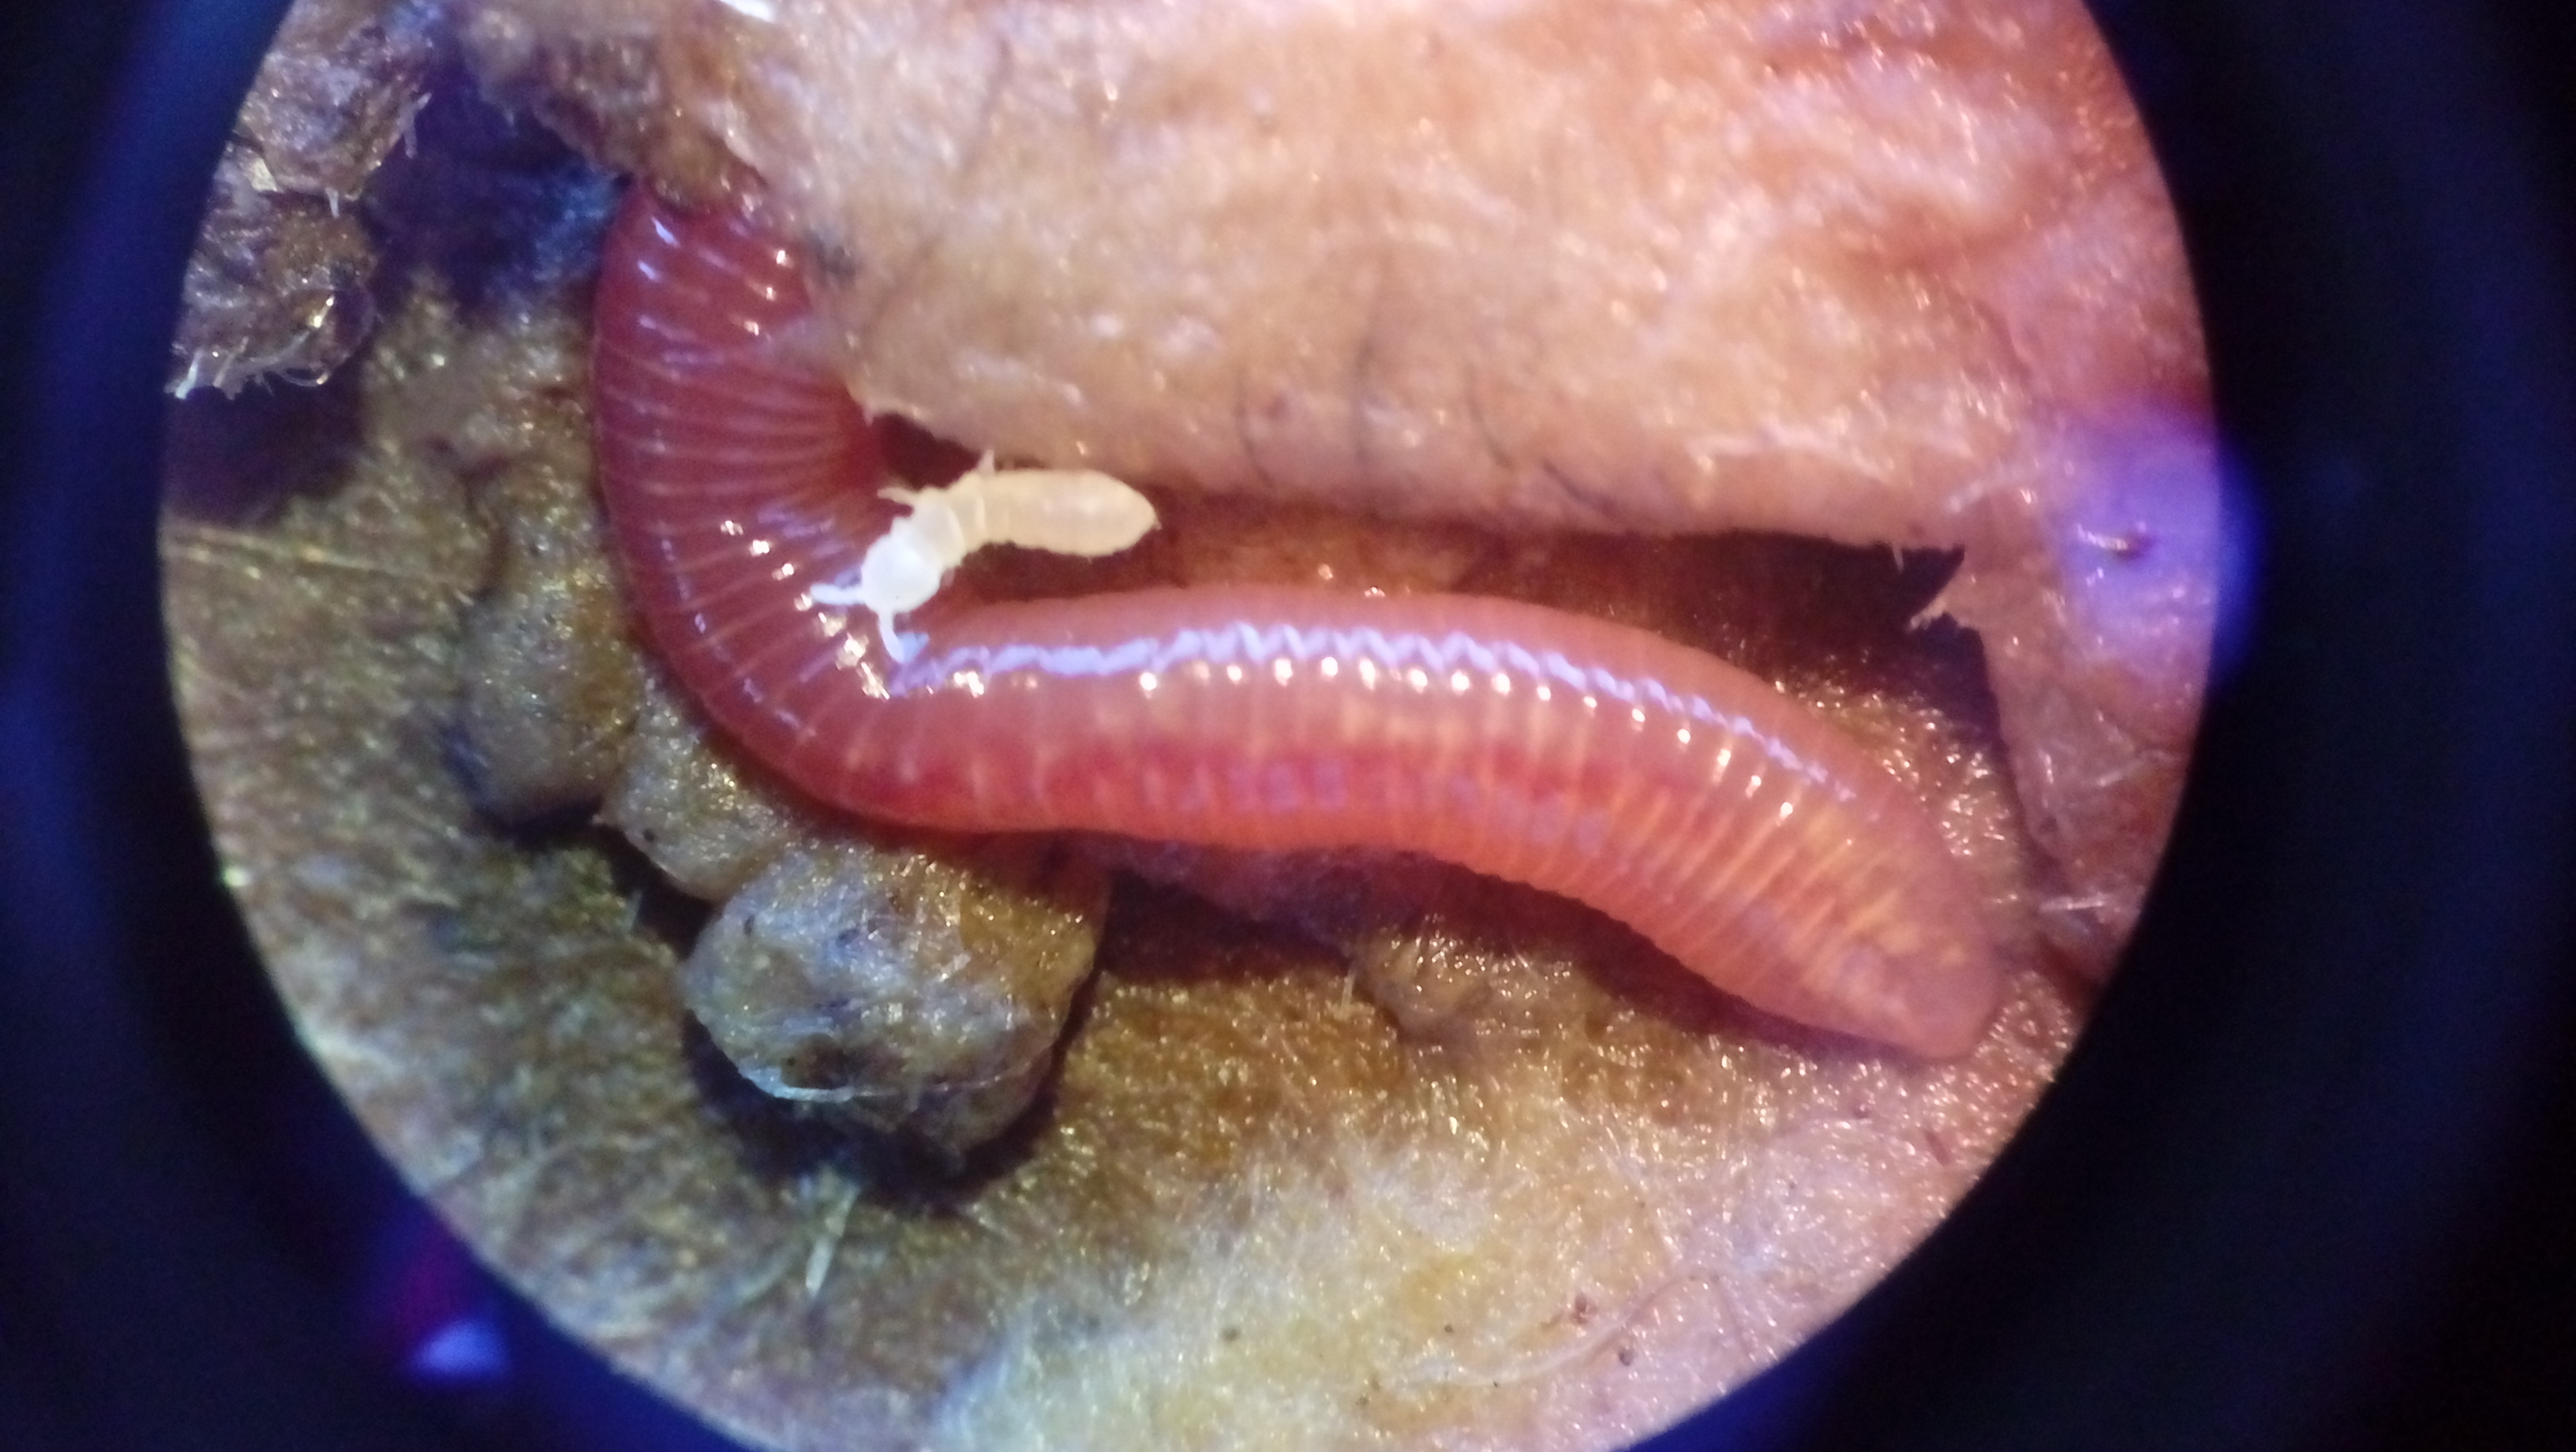
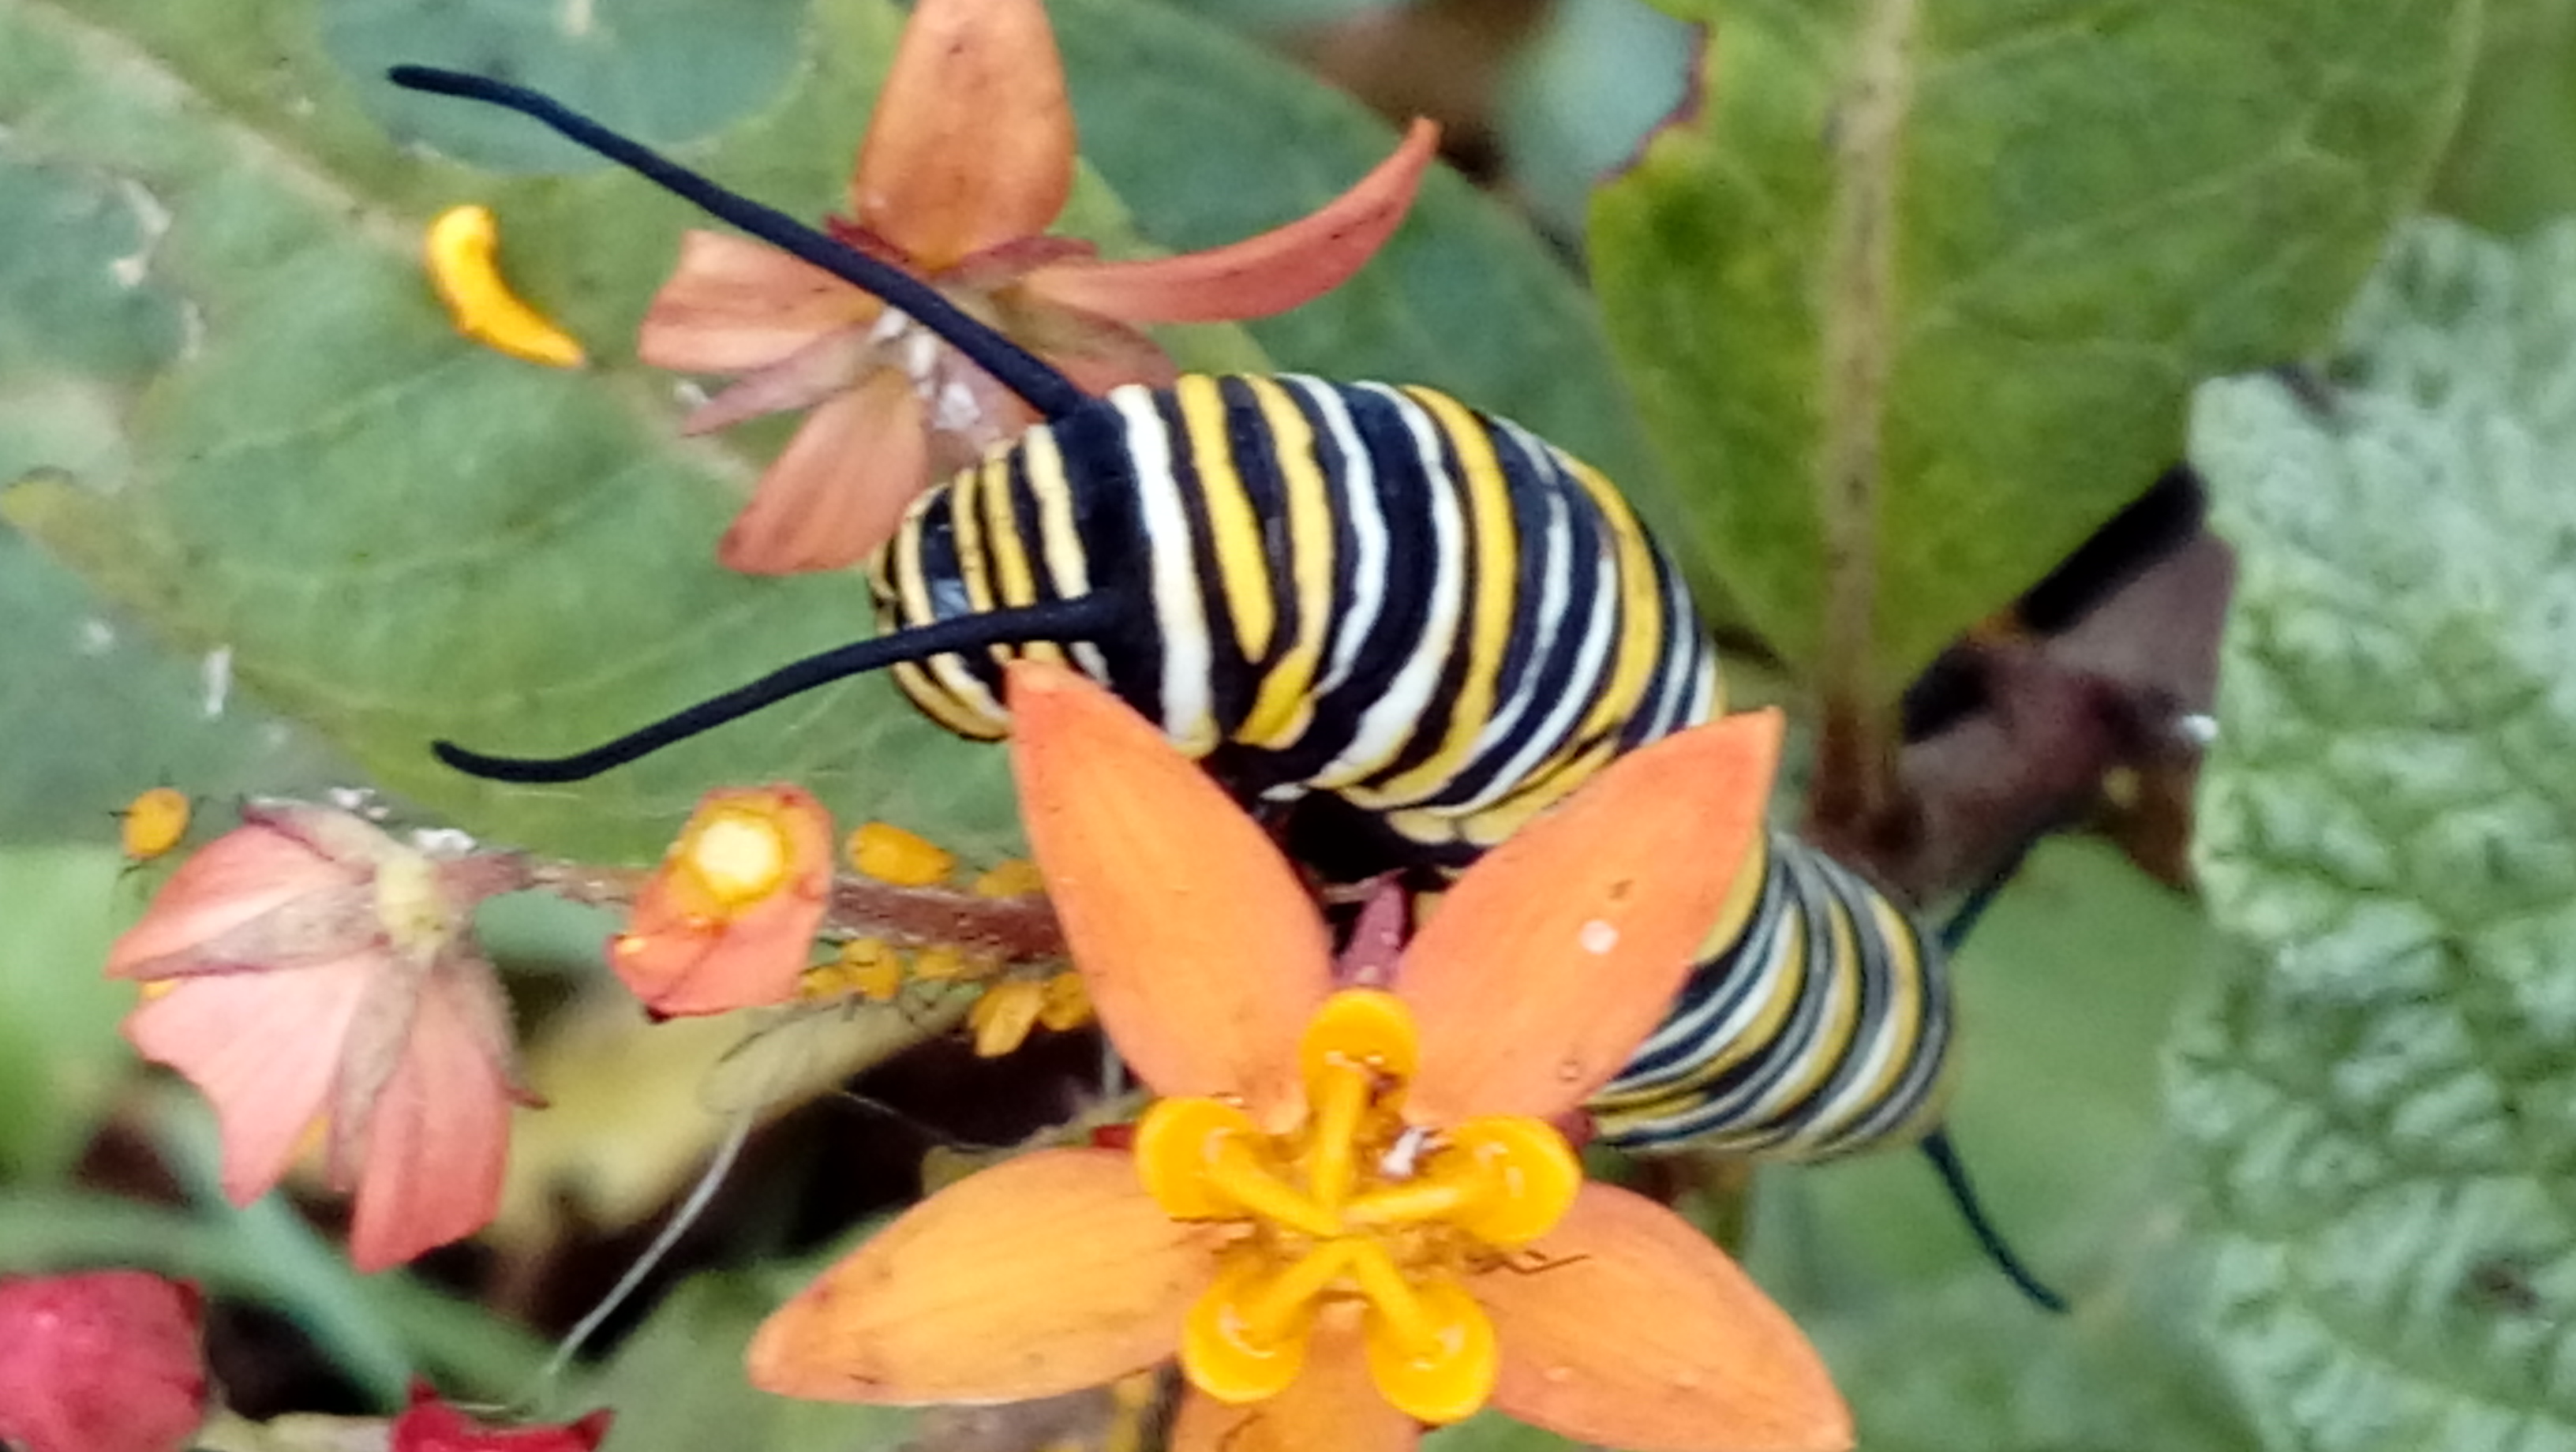
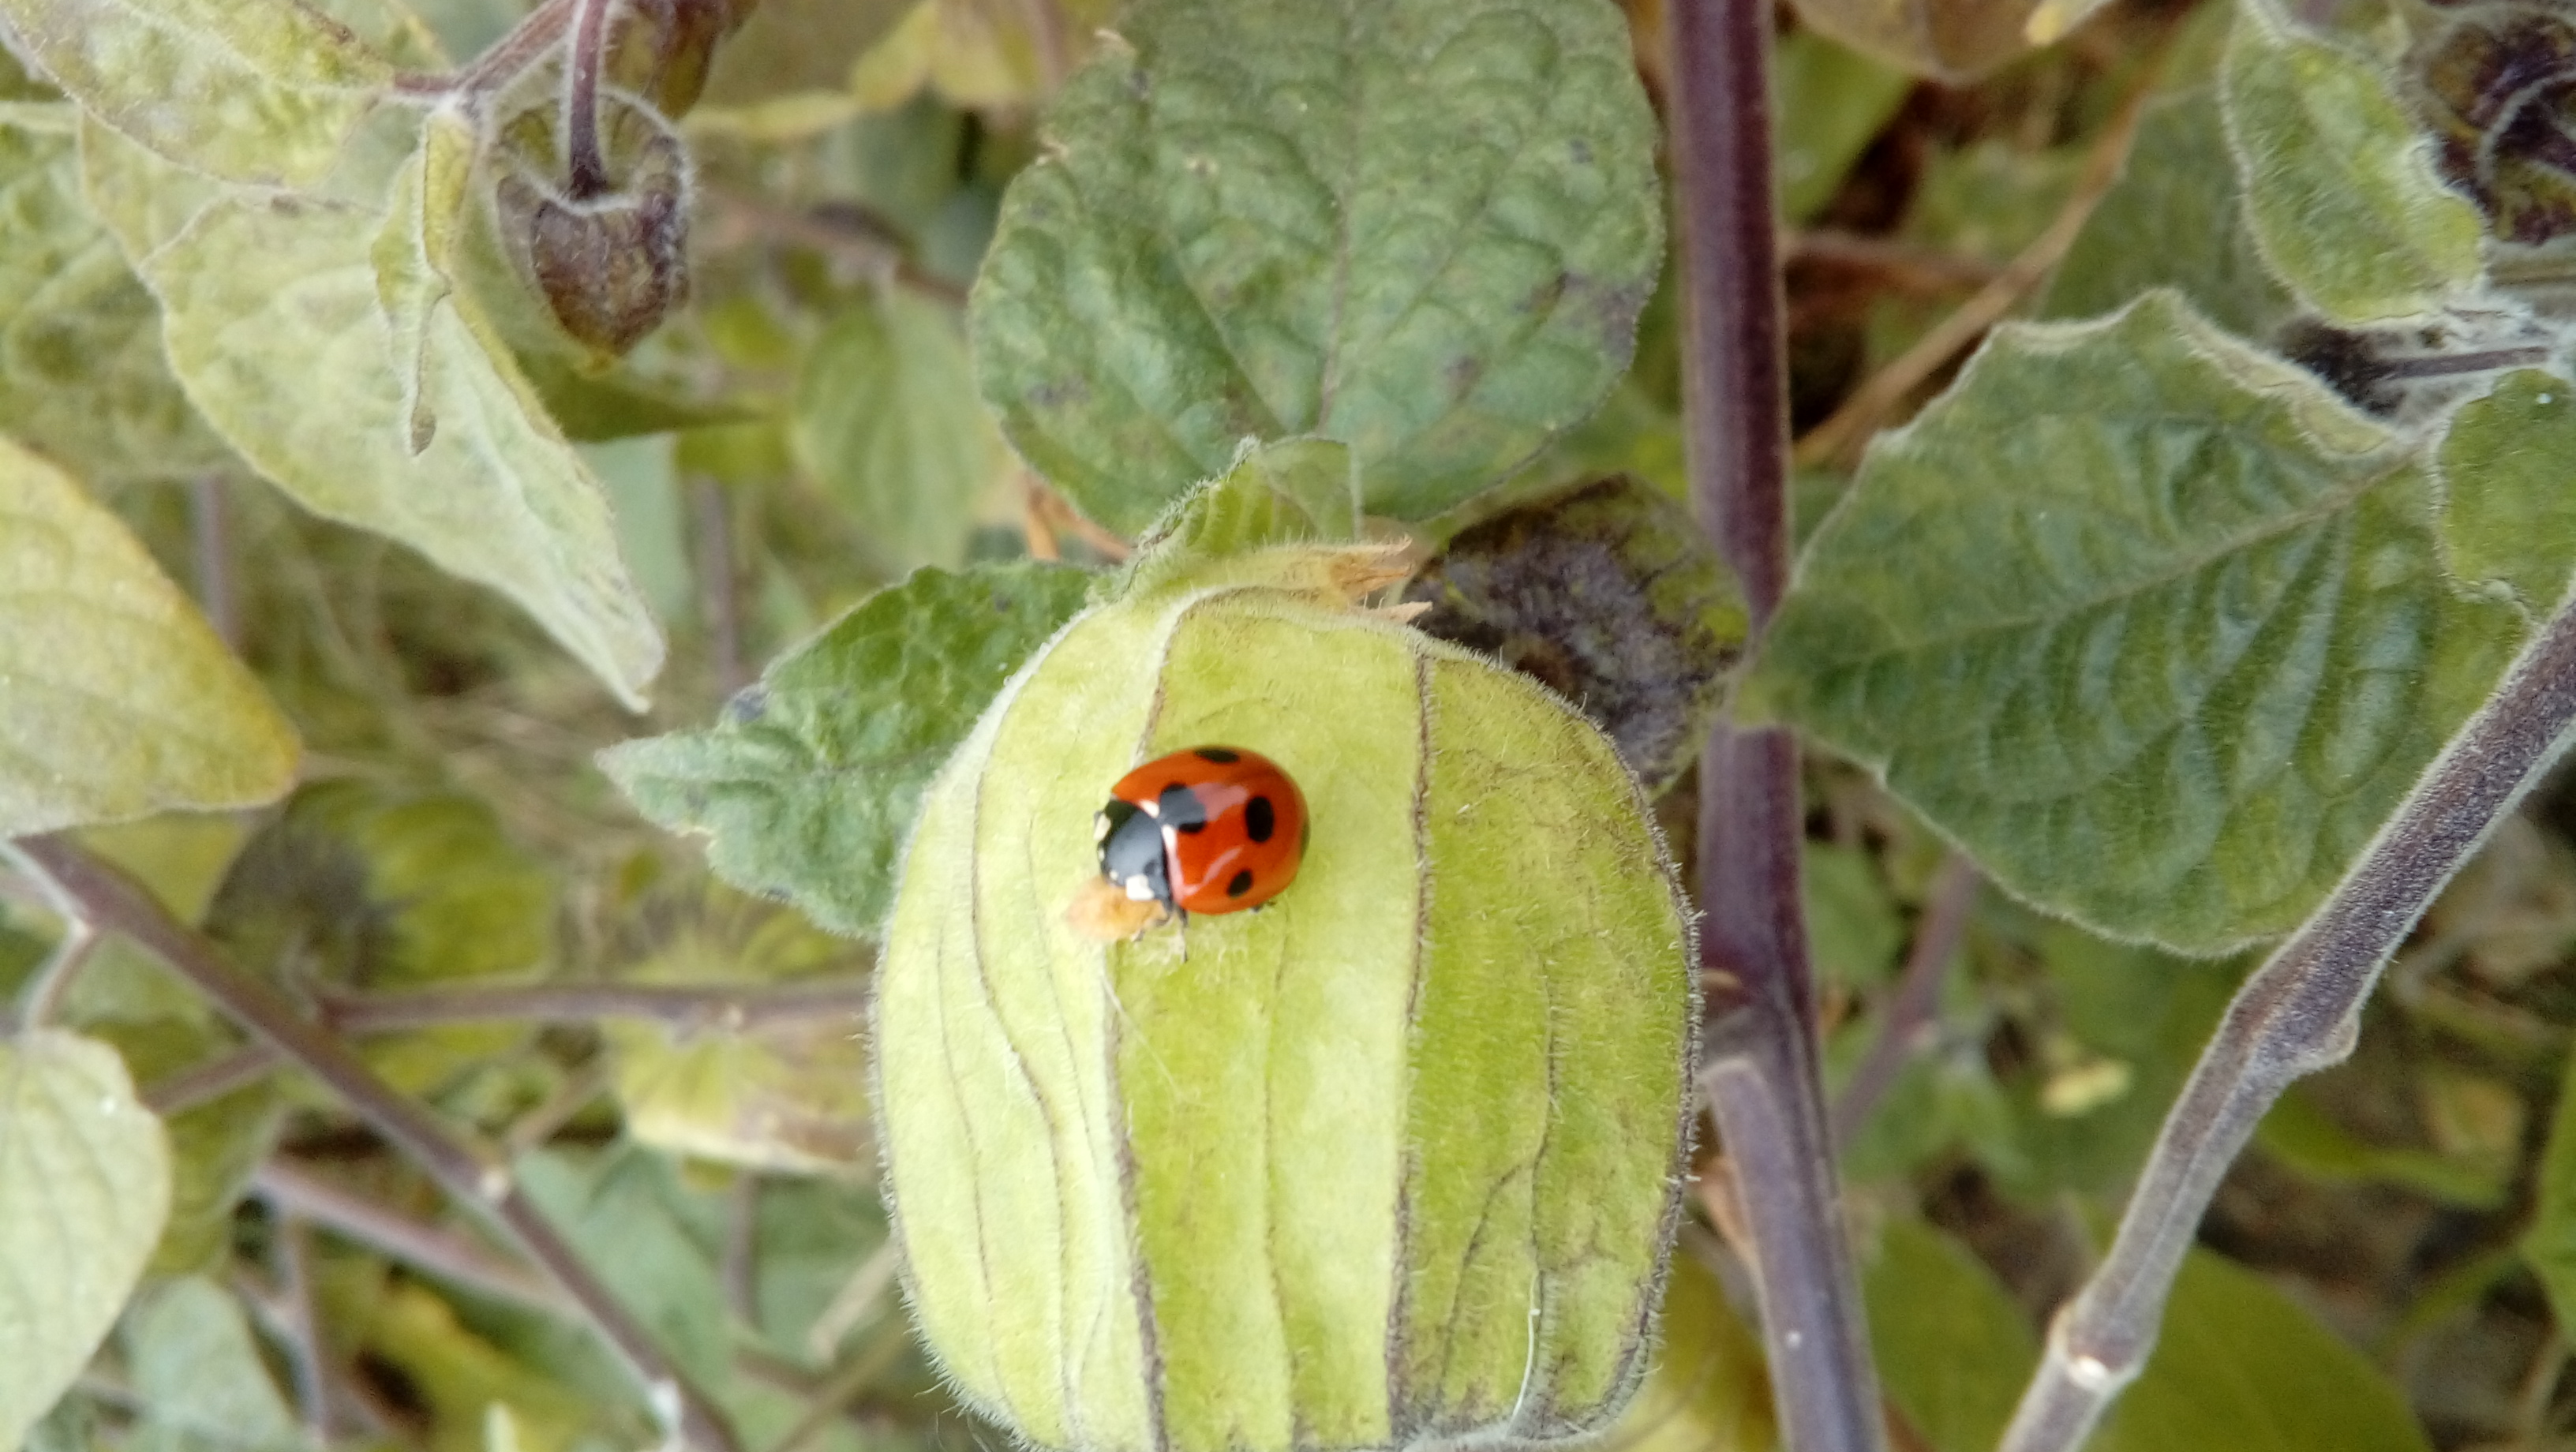
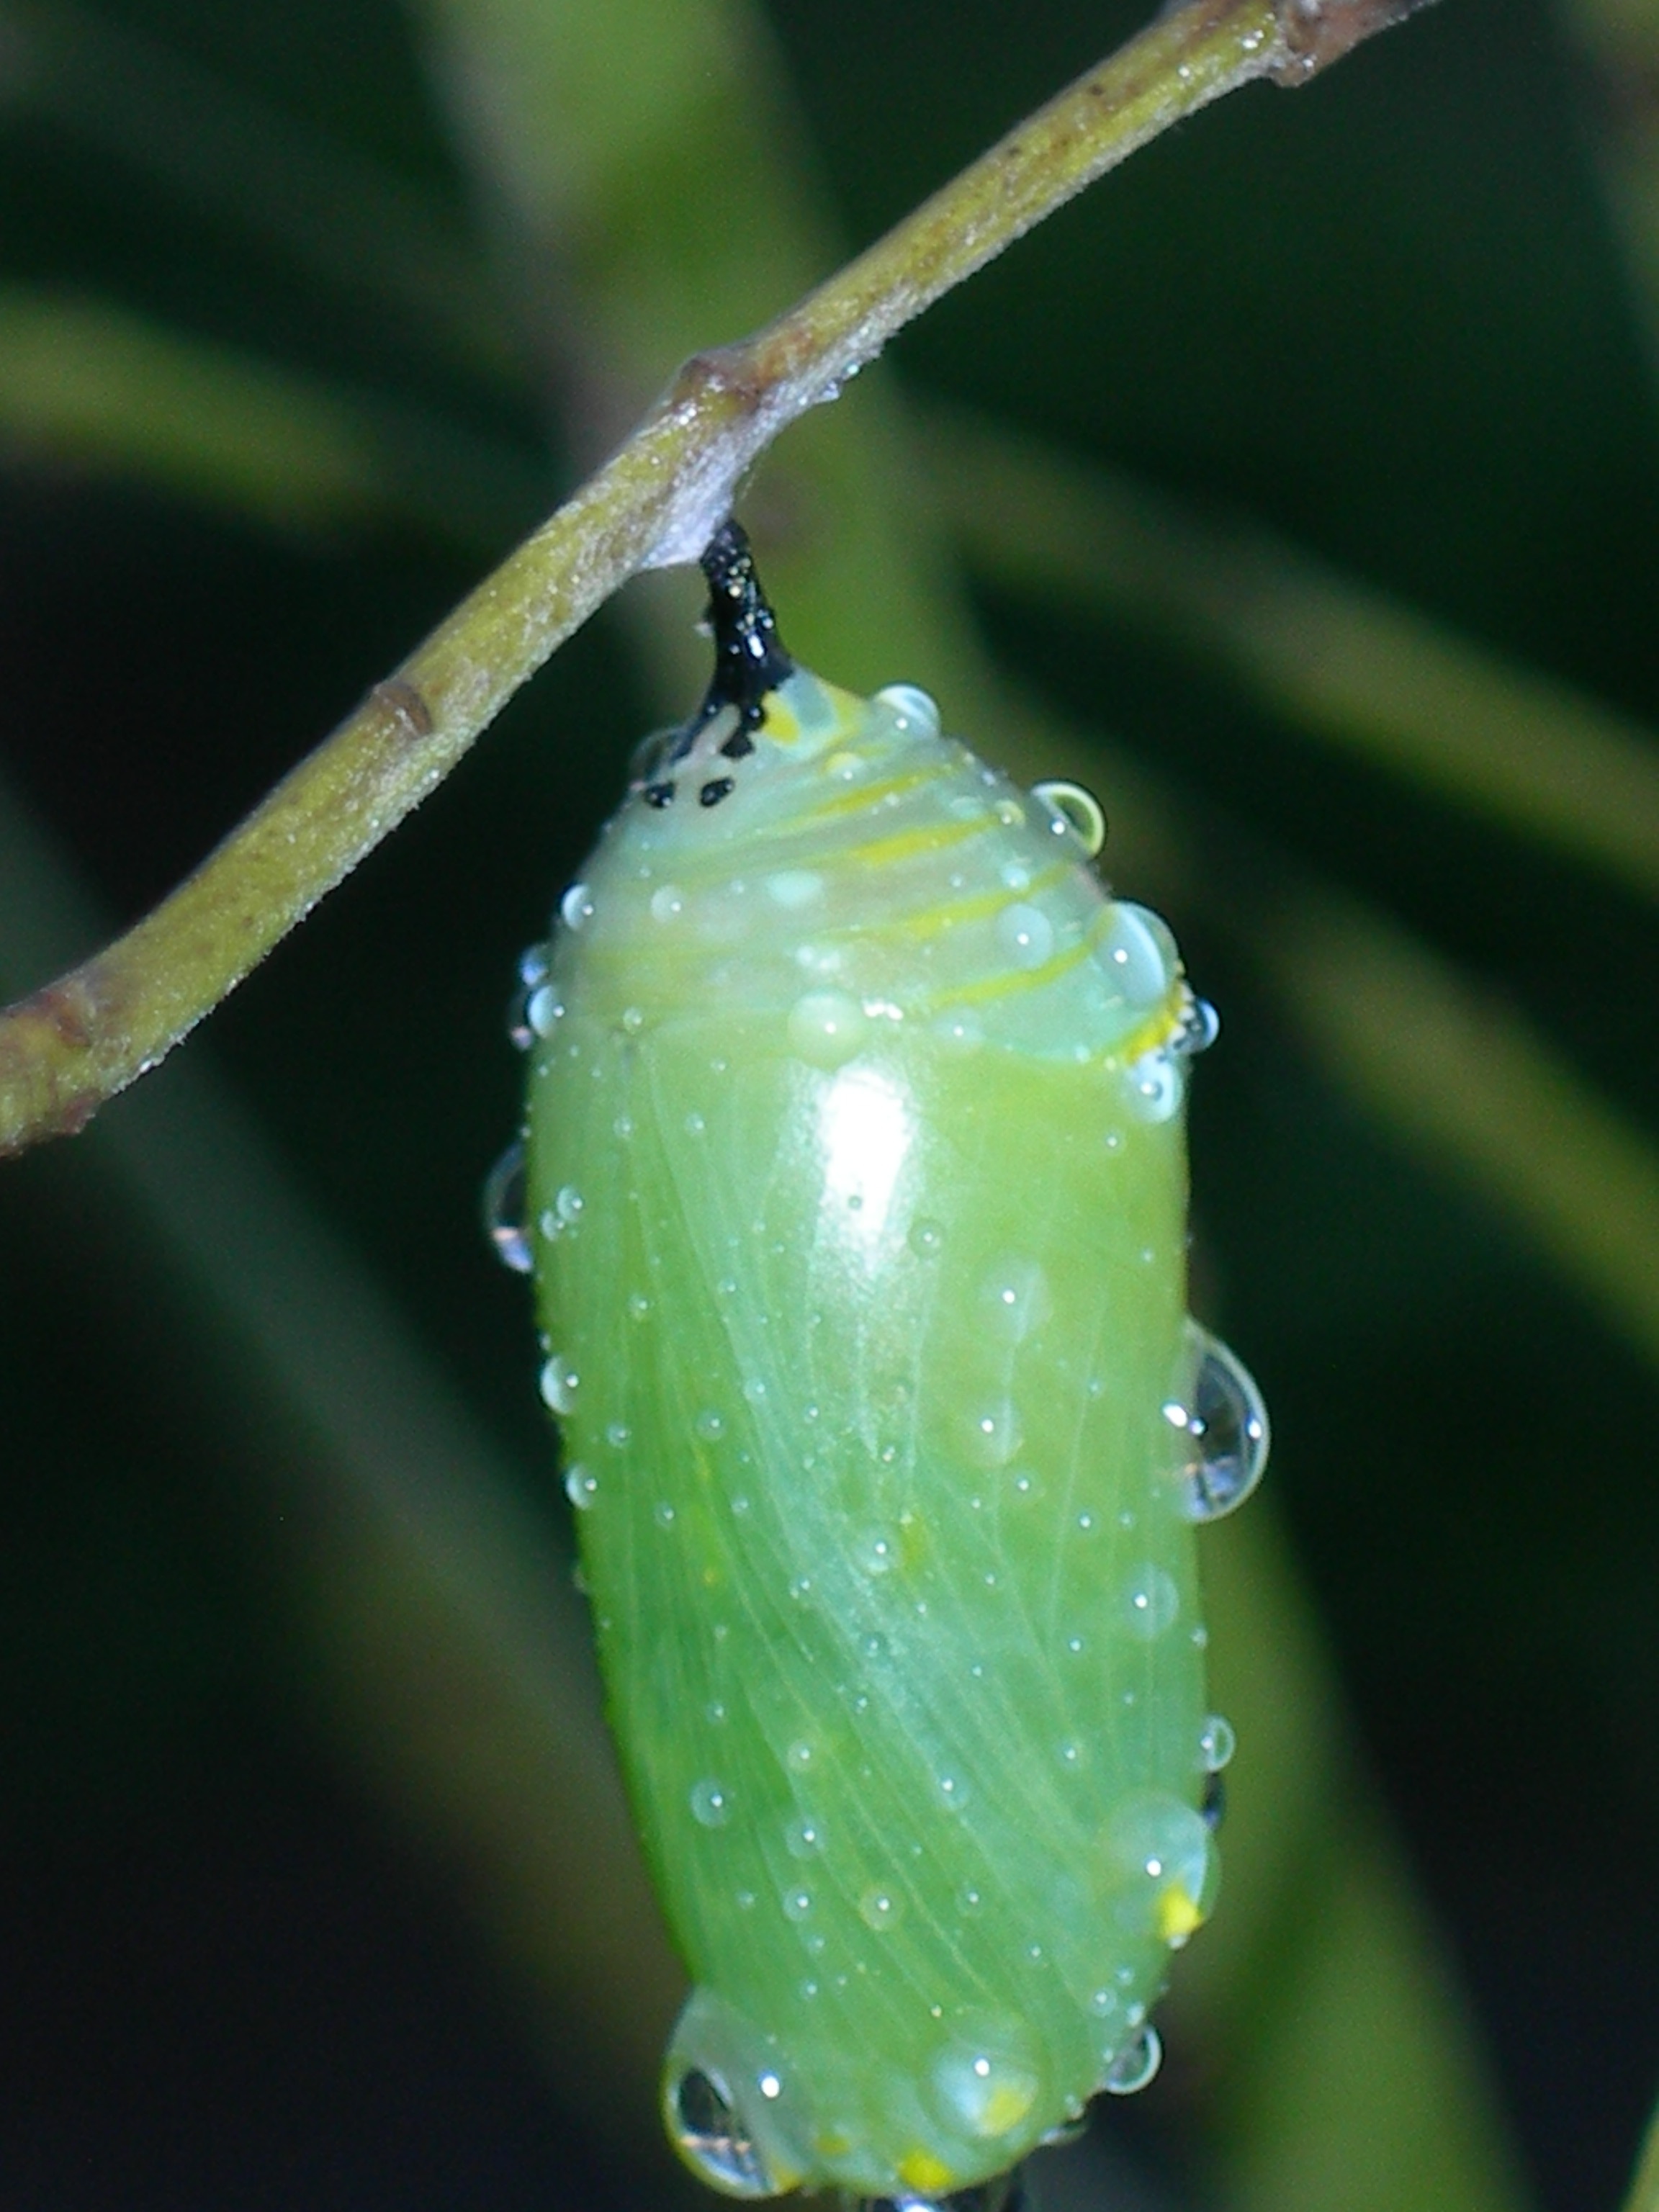
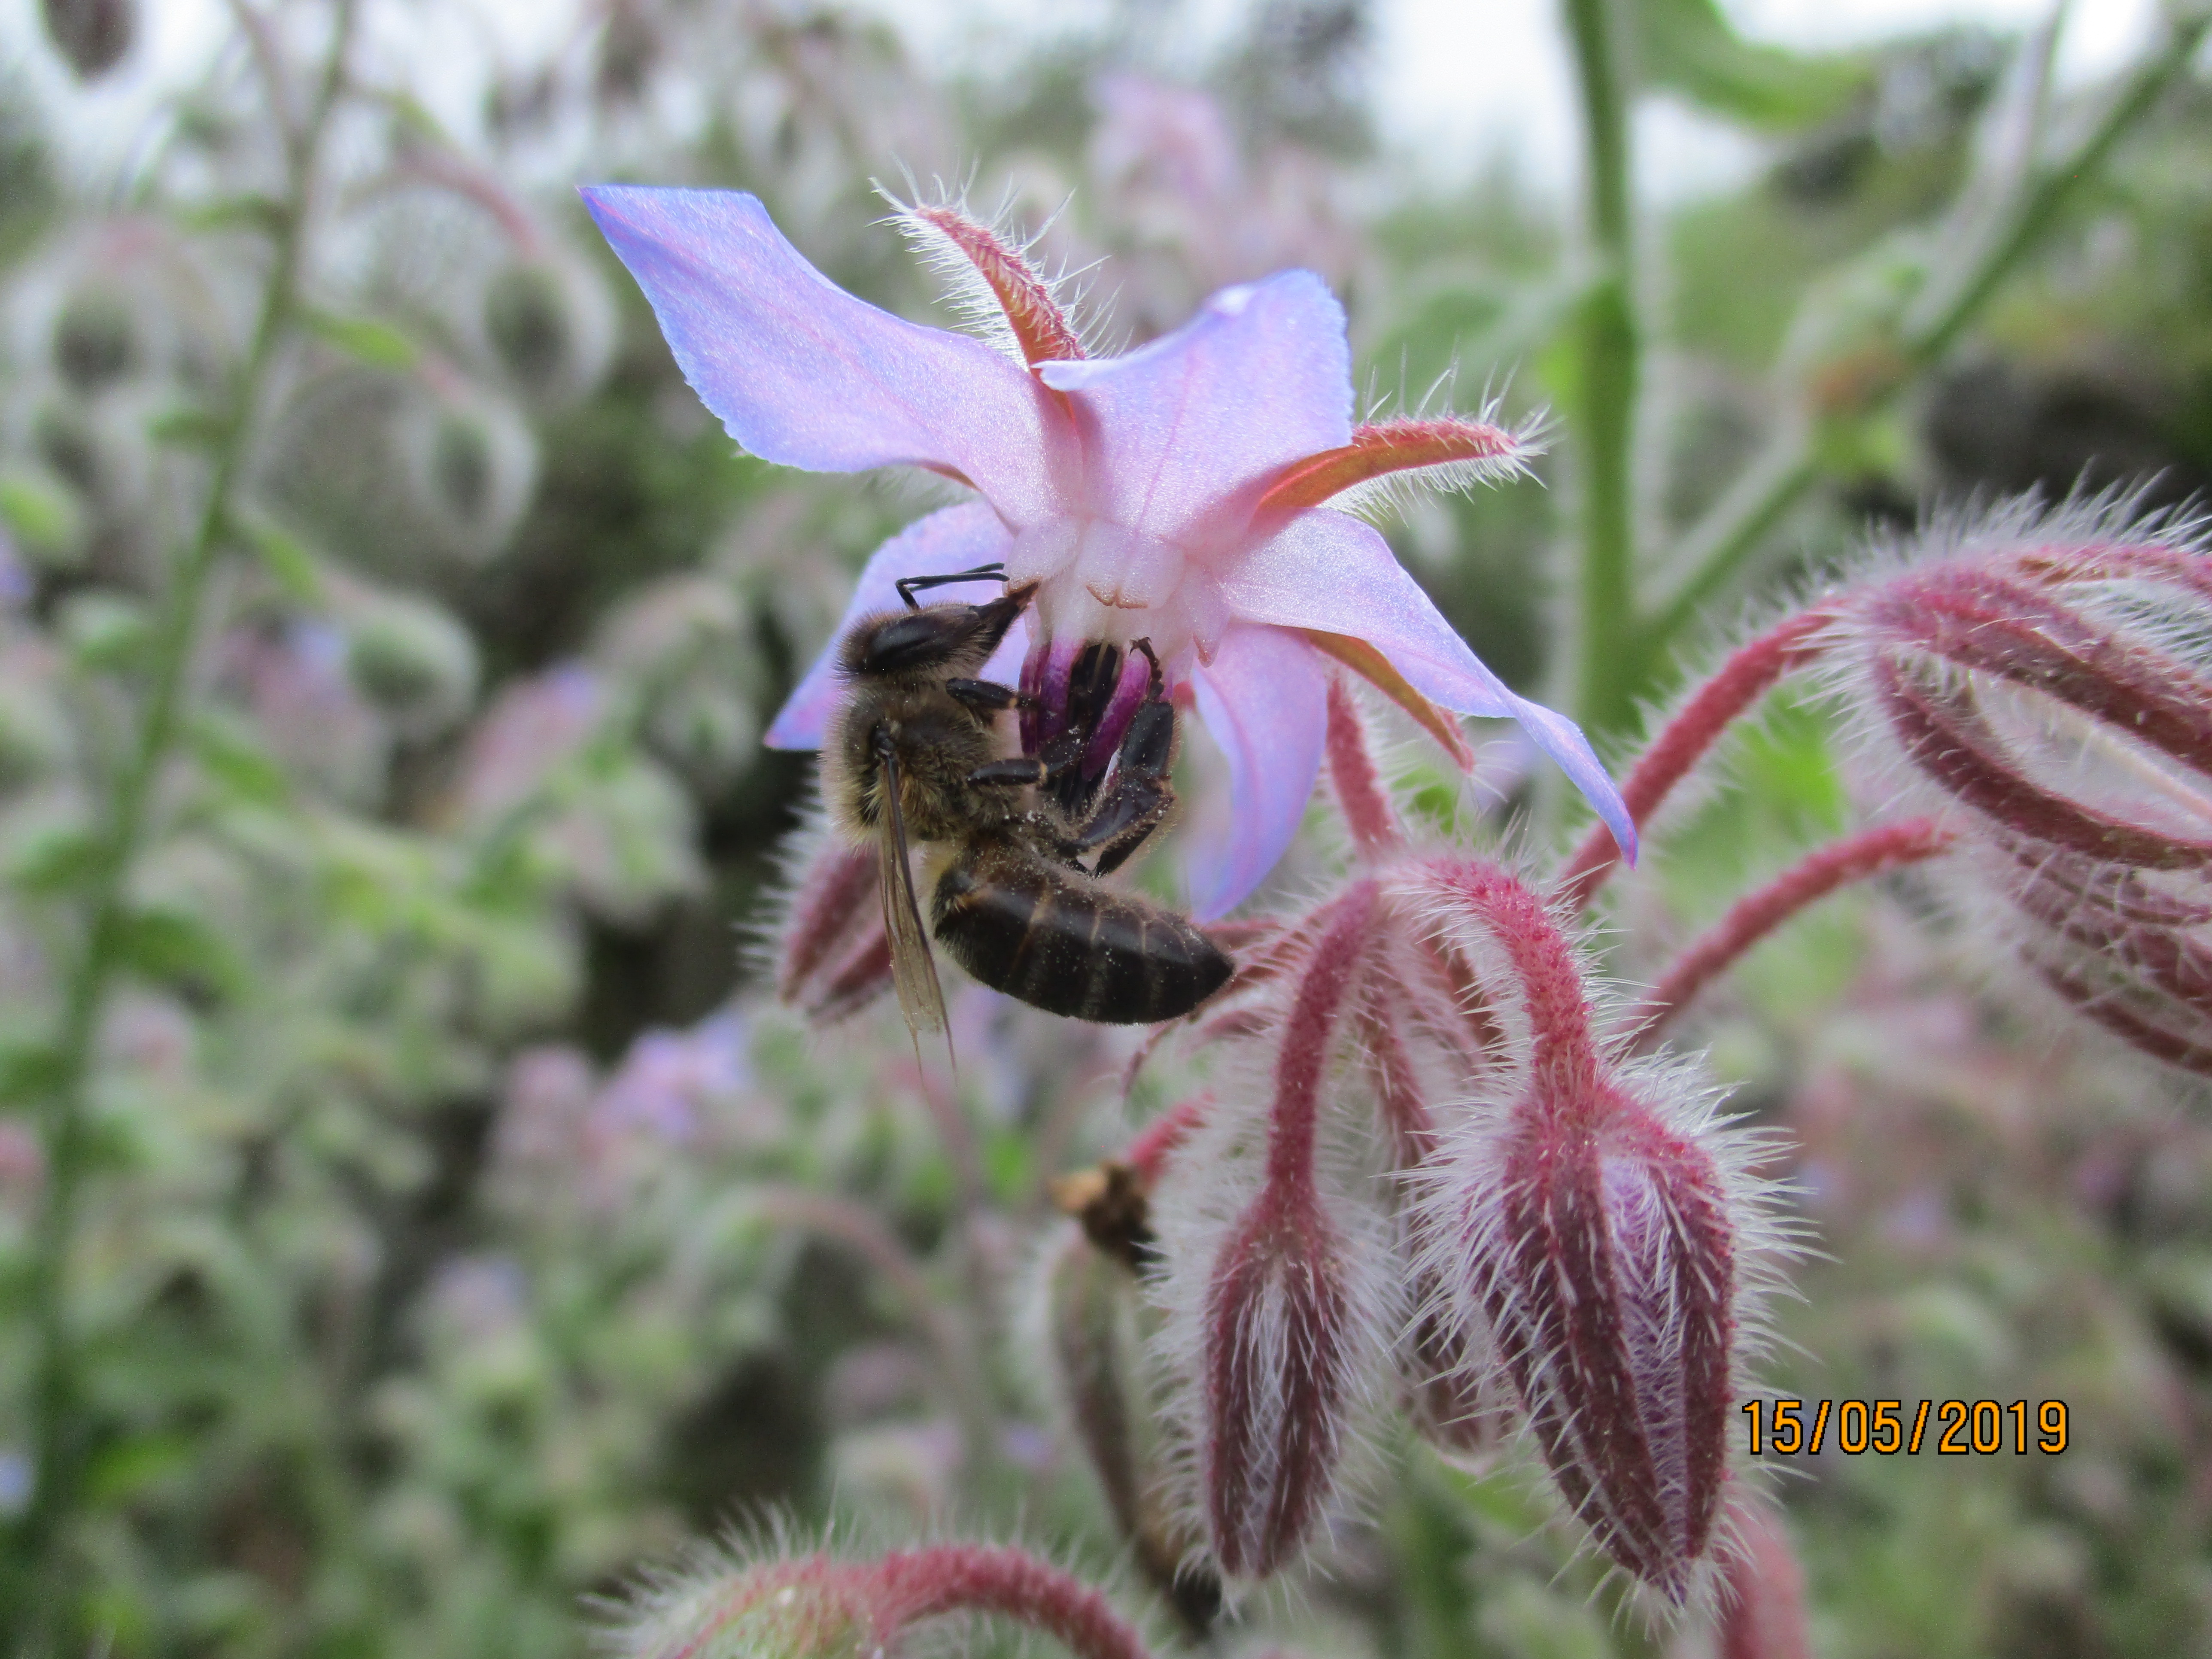
The materials we use as borders create an interesting effect of heat adsorption, creating microclimates in our edible garden and shelters for beneficial insects and other living organisms for the soil and our crops, which also give us the possibility to observe a section of the life in the garden using tools such as magnifying glasses directly in the garden or by taking sections of soil to our classrooms where we can analyse the life in the edible garden with regular or binocular microscopes. With this activity we can develop a therapeutic, instructive and fun exercise with the participants and we can discover with our own eyes THAT WE ARE NOT THE ONLY ONES THAT WORK IN THE EDIBLE GARDEN! (Figure III.19).
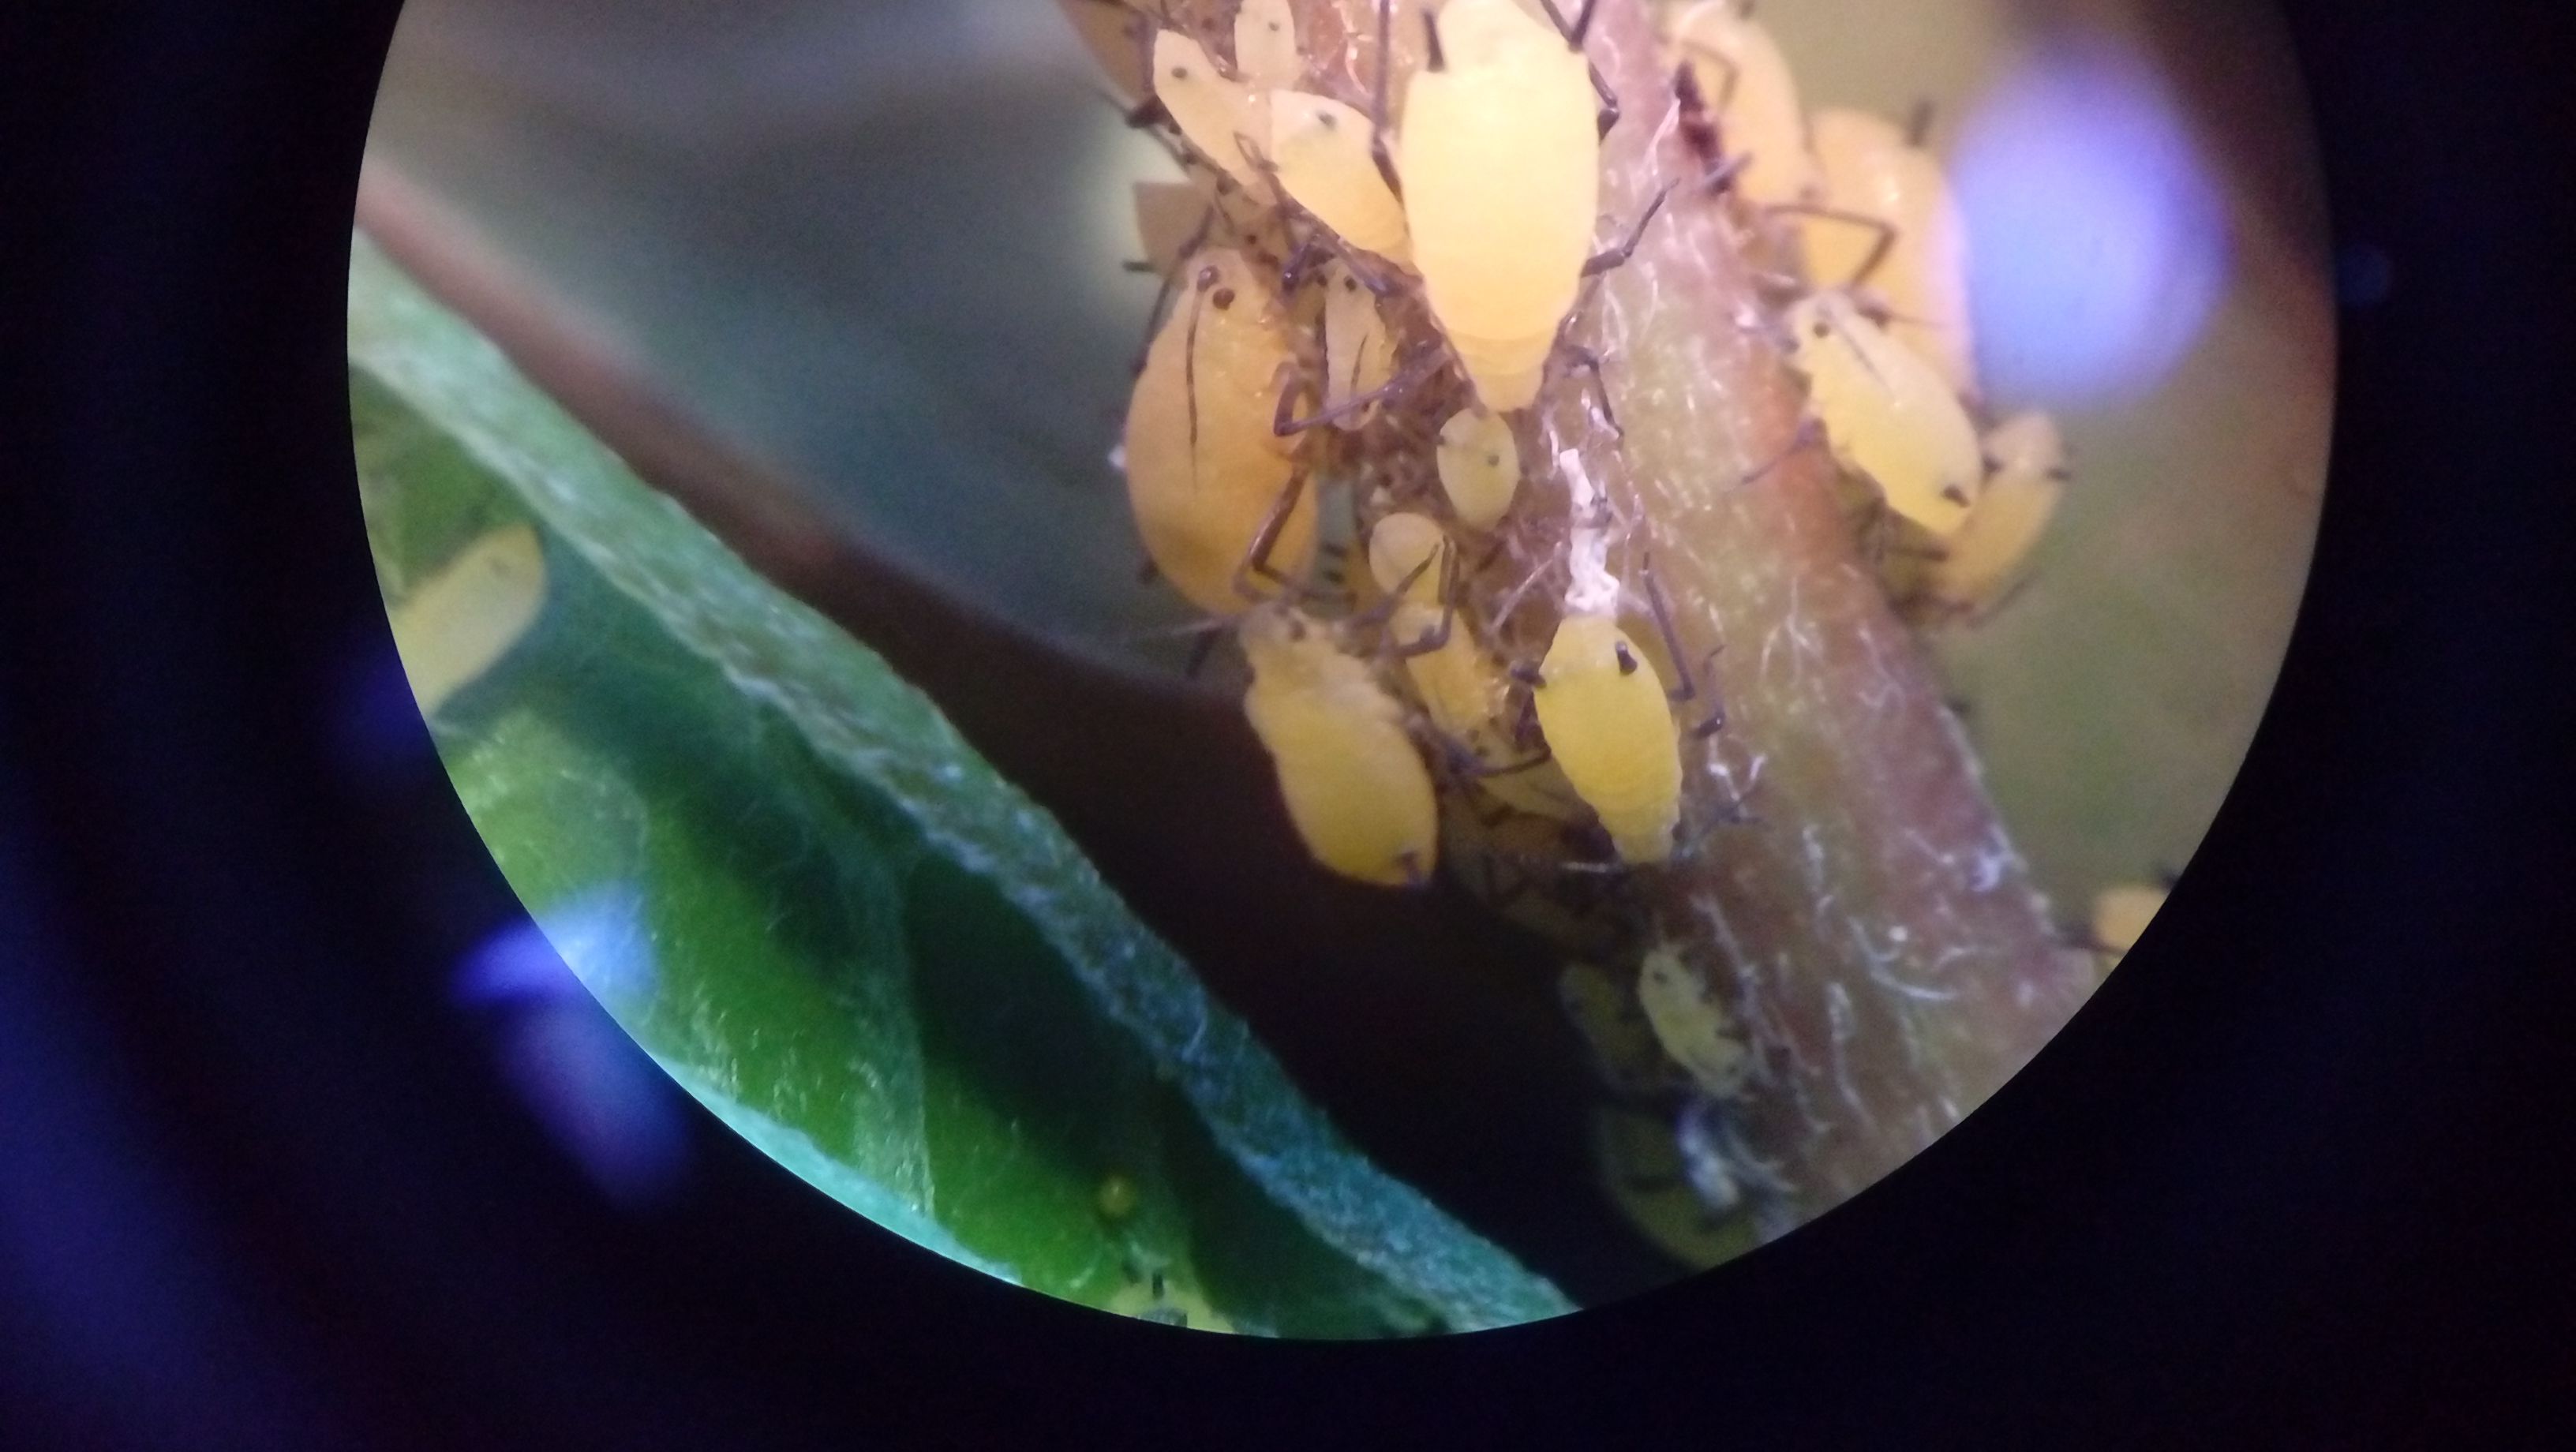

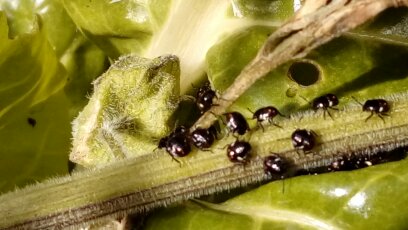
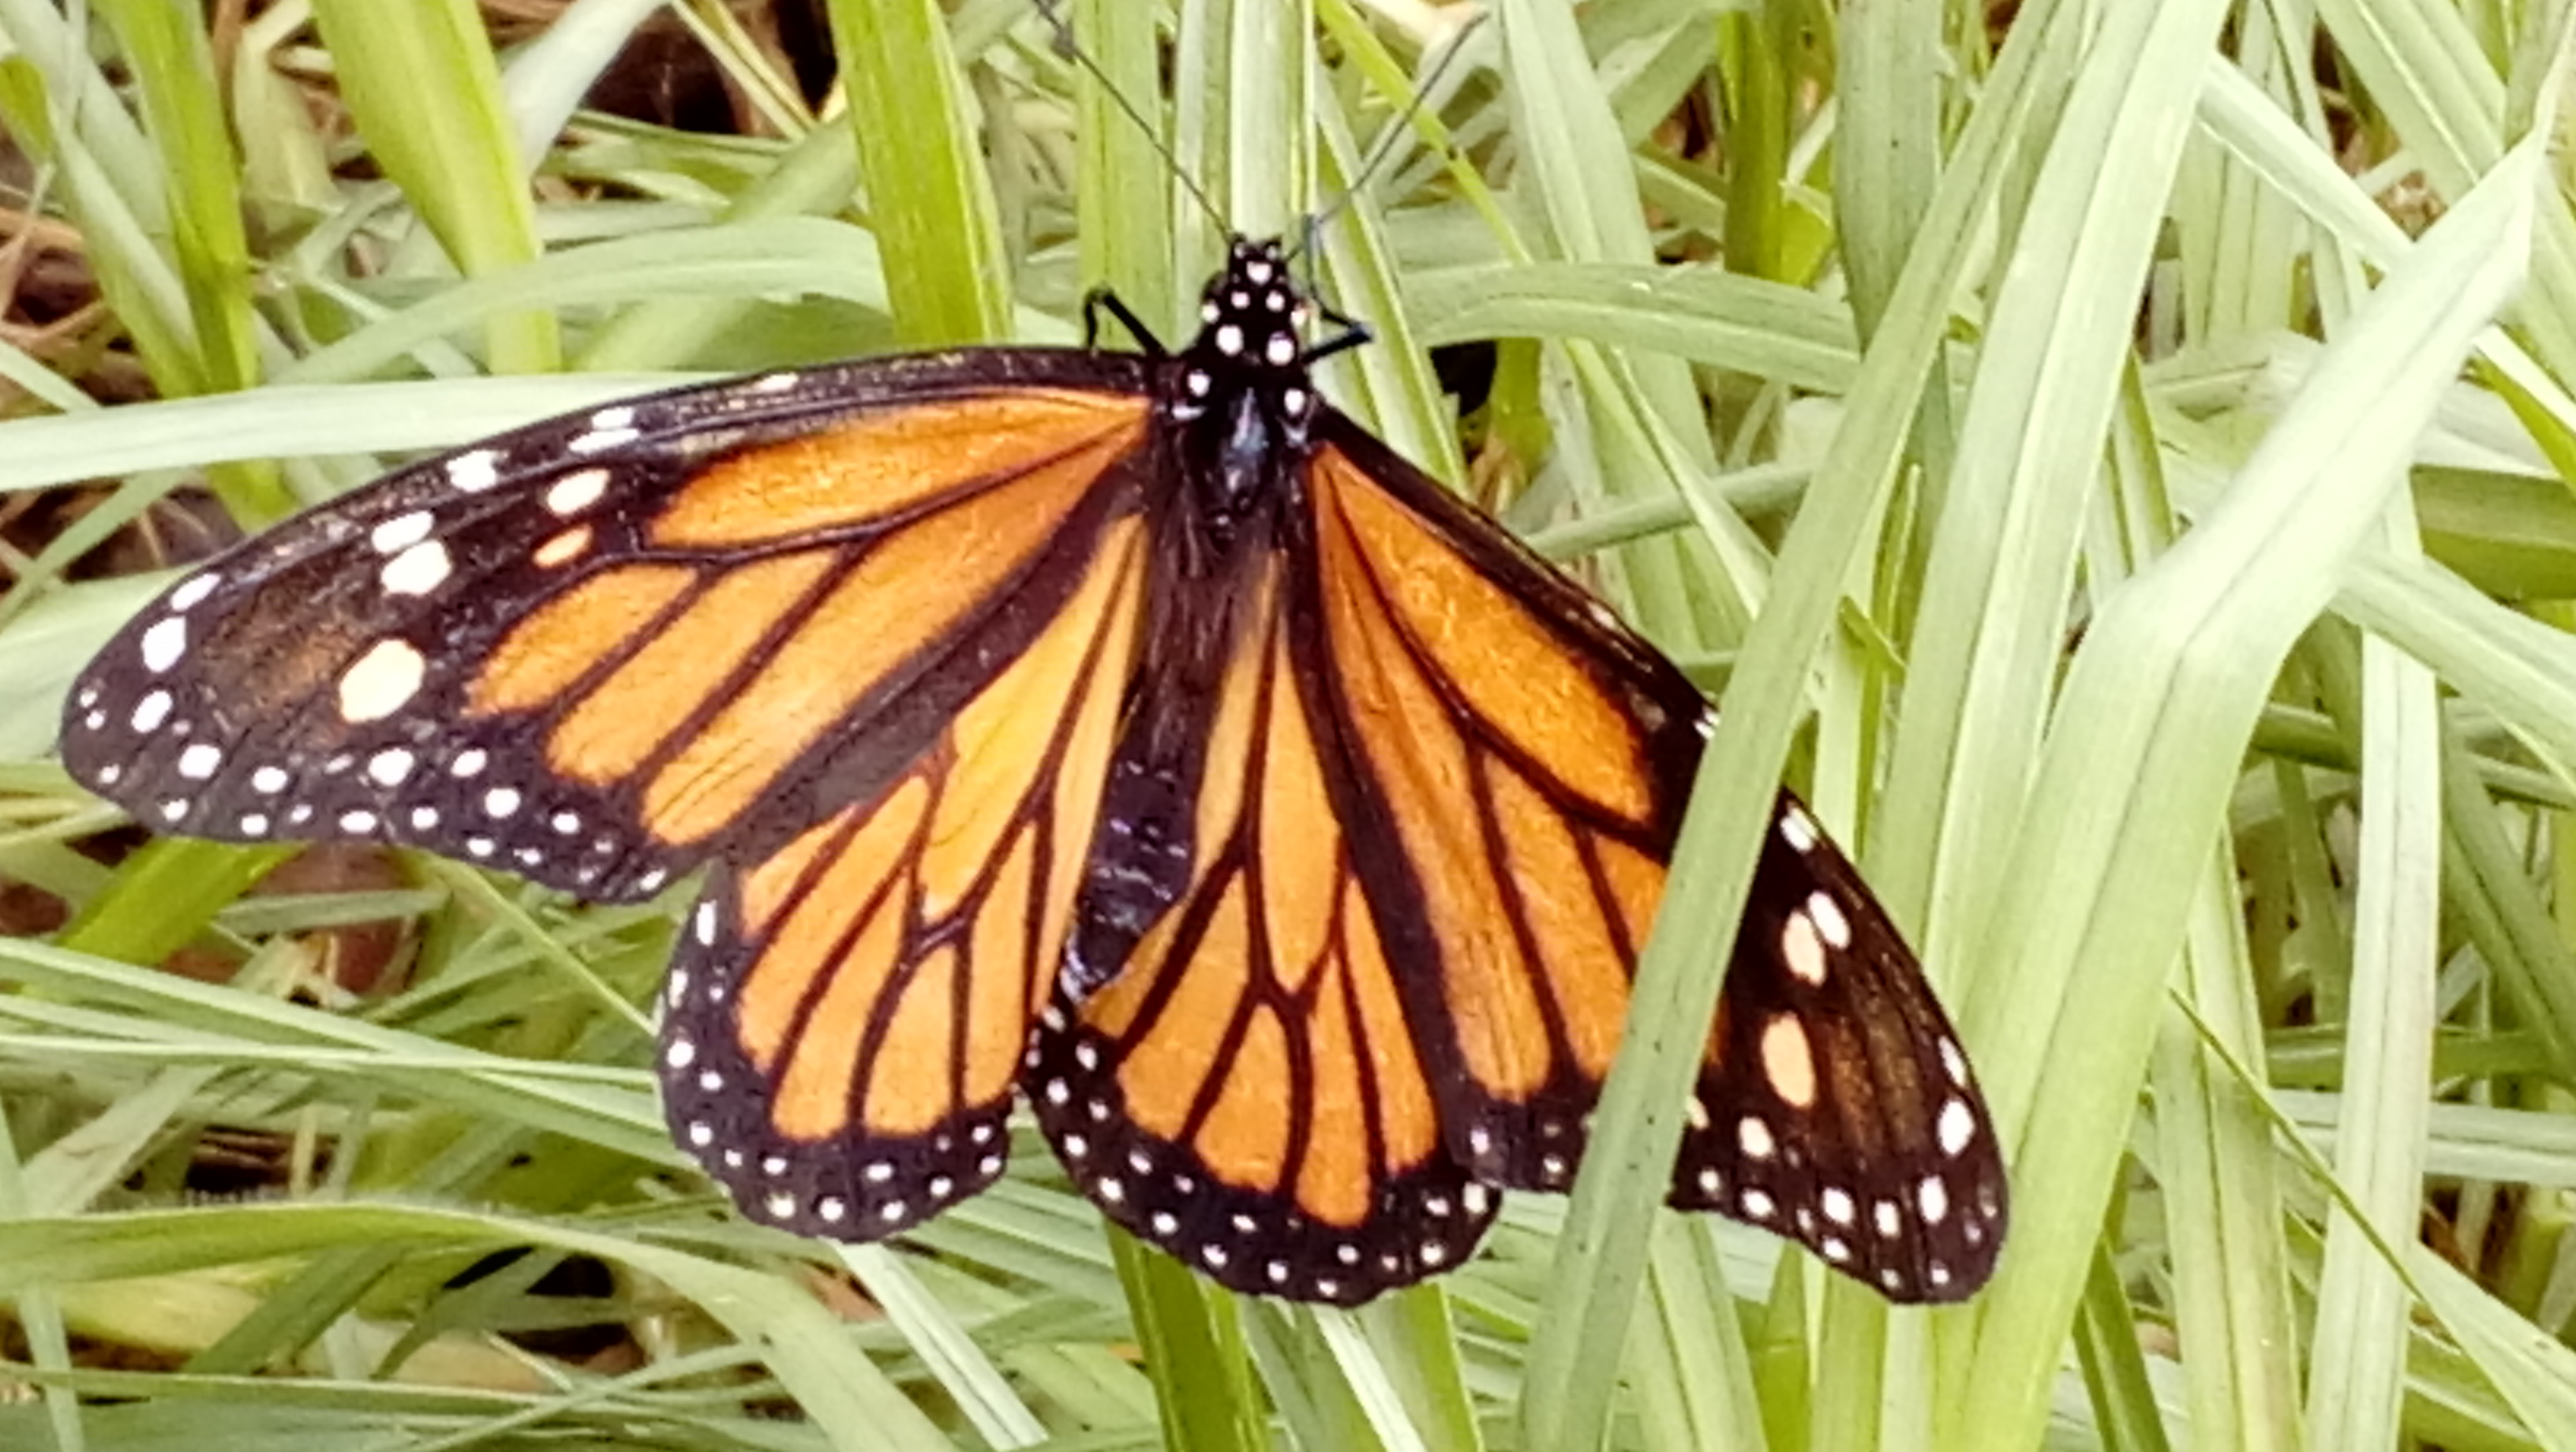

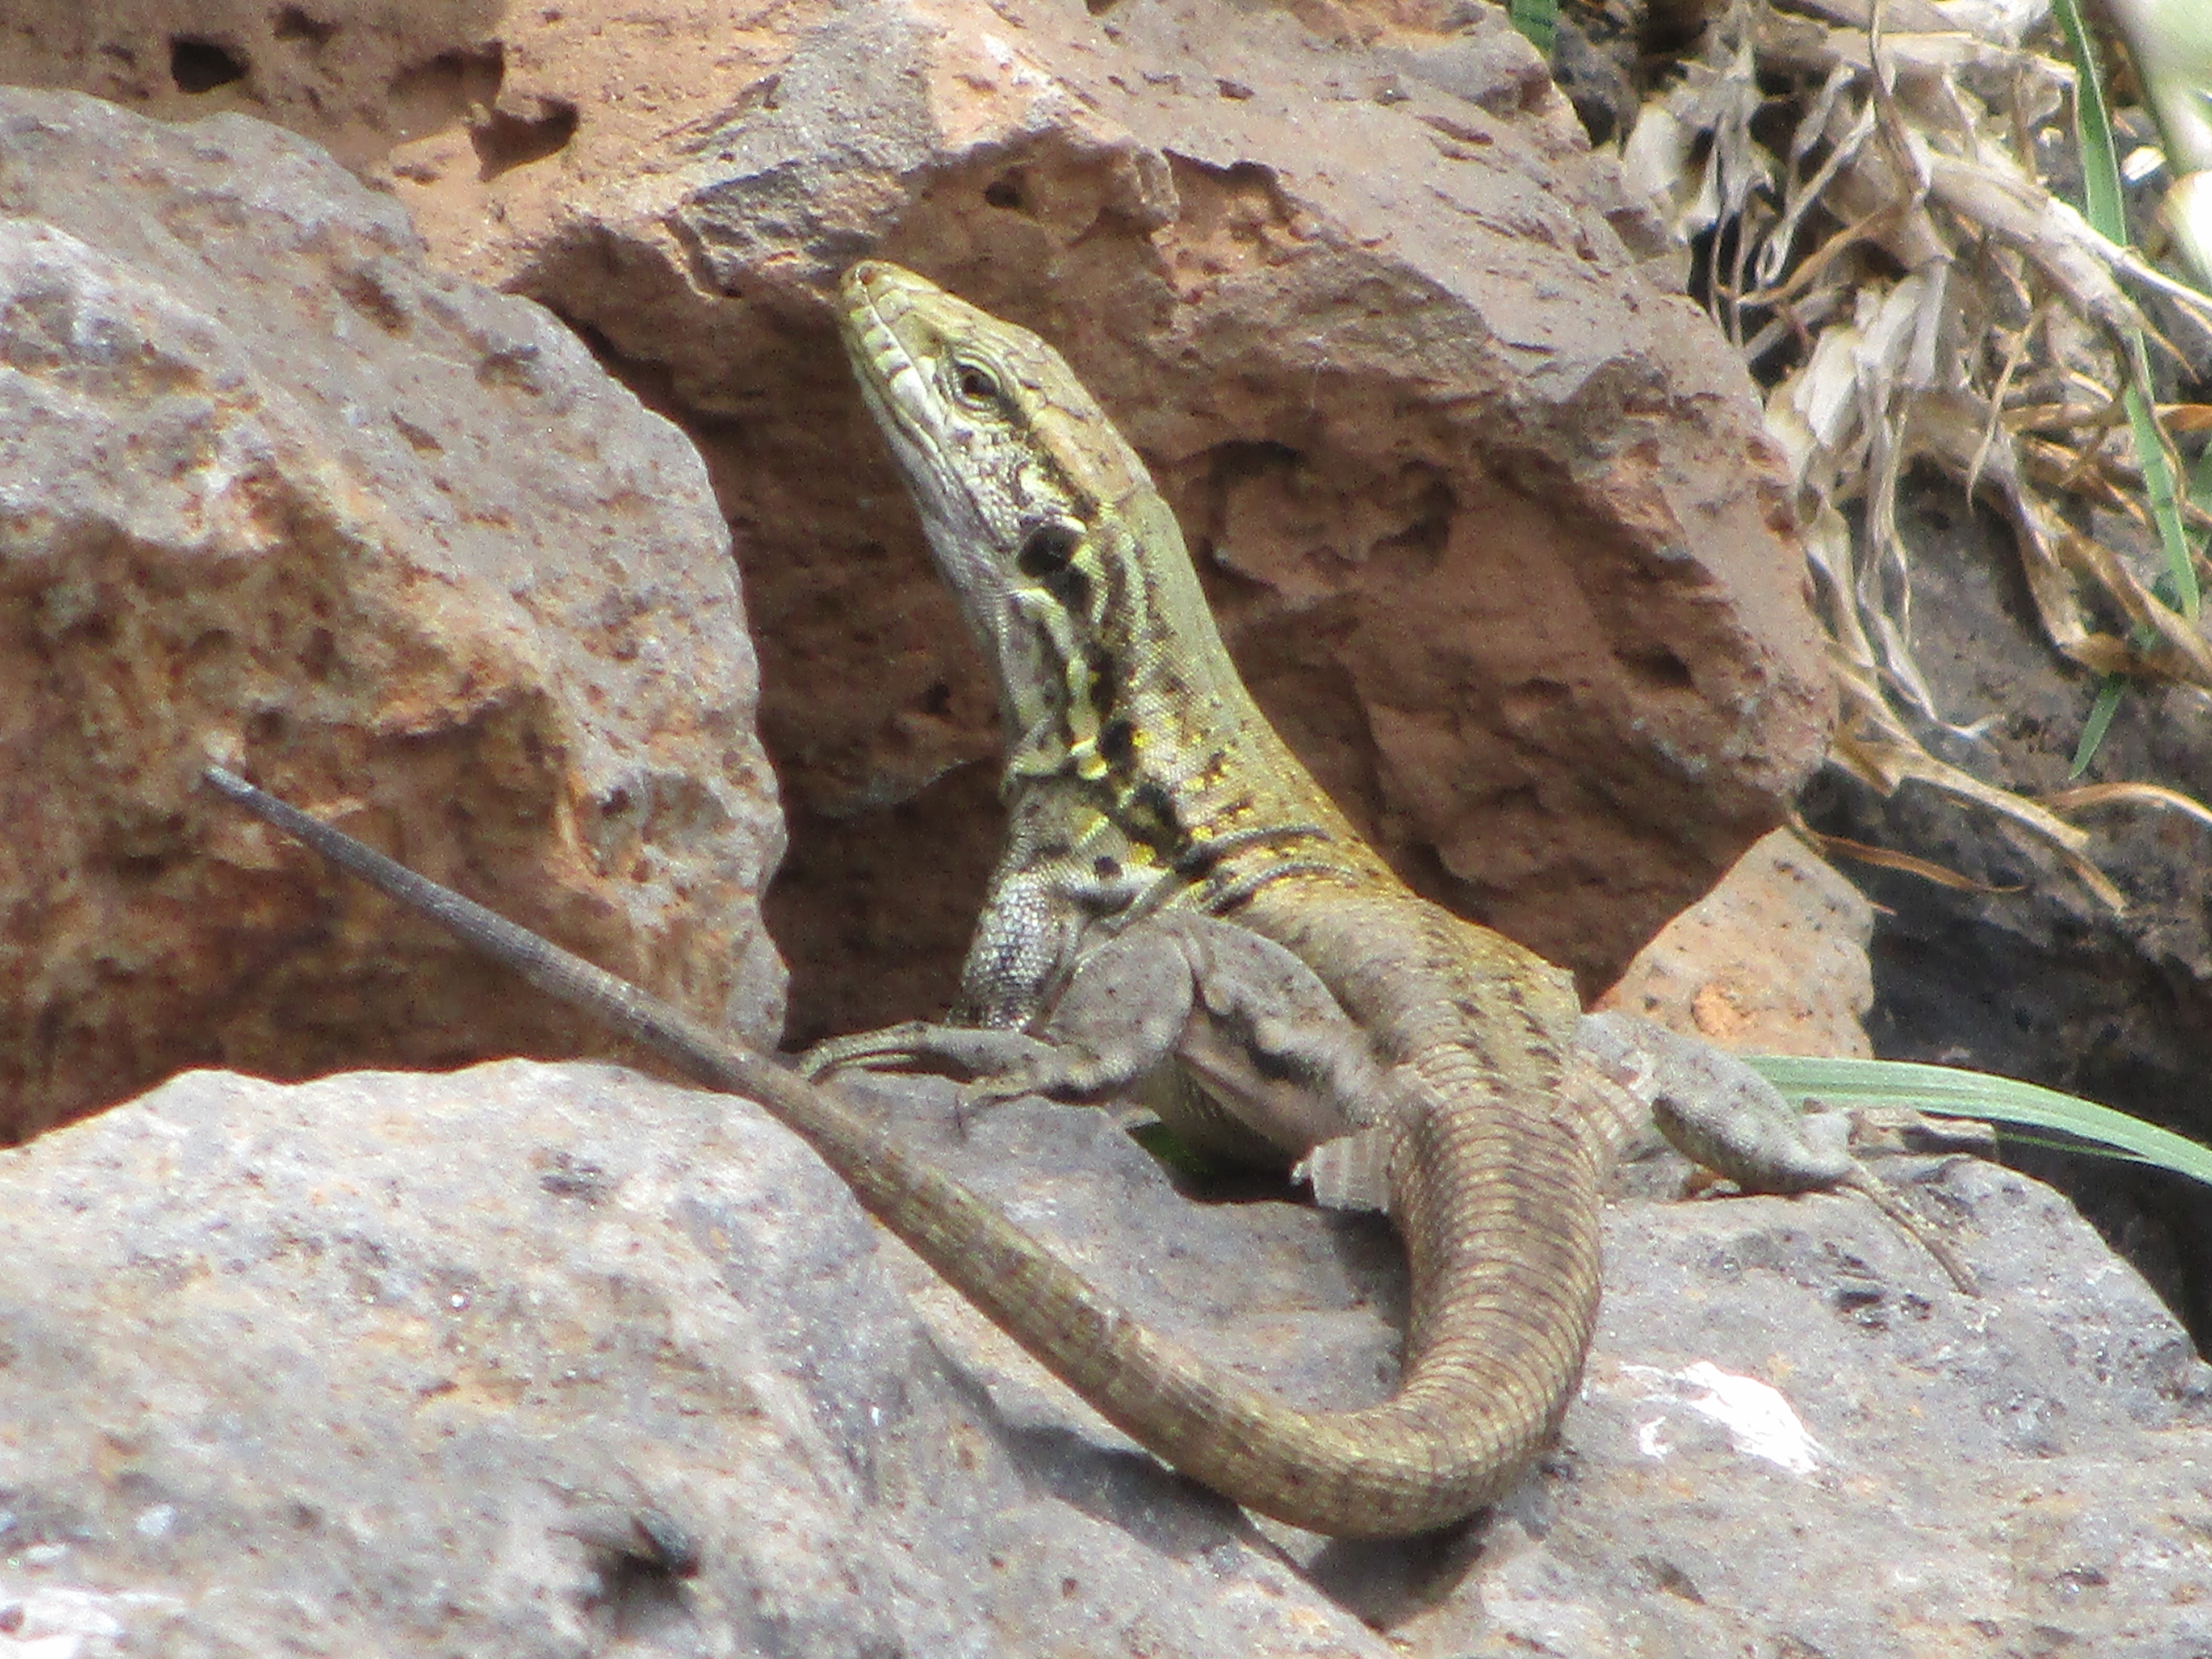

Figure III.19.- We are not the only ones working in the edible garden!
If some areas of the design of the beds turn out too wide and we can’t reach some areas from the corridor, we could place tiles in a strategic way to solve the problem; always taking into account the shortest or less flexible person so we can step on the tiles to access the cultivation area without stepping on the soil.
Or in case there is only a small piece of land available and in order to make the most out of it, the paths could be substituted for tiles, which could work as steps, placed in the cultivation area, making it possible to plant crops between them (Figure III.20).
In both cases, this system could help the participants to develop important skills such as concentration and balance.

Figure III.20.- A tile path in the cultivation area
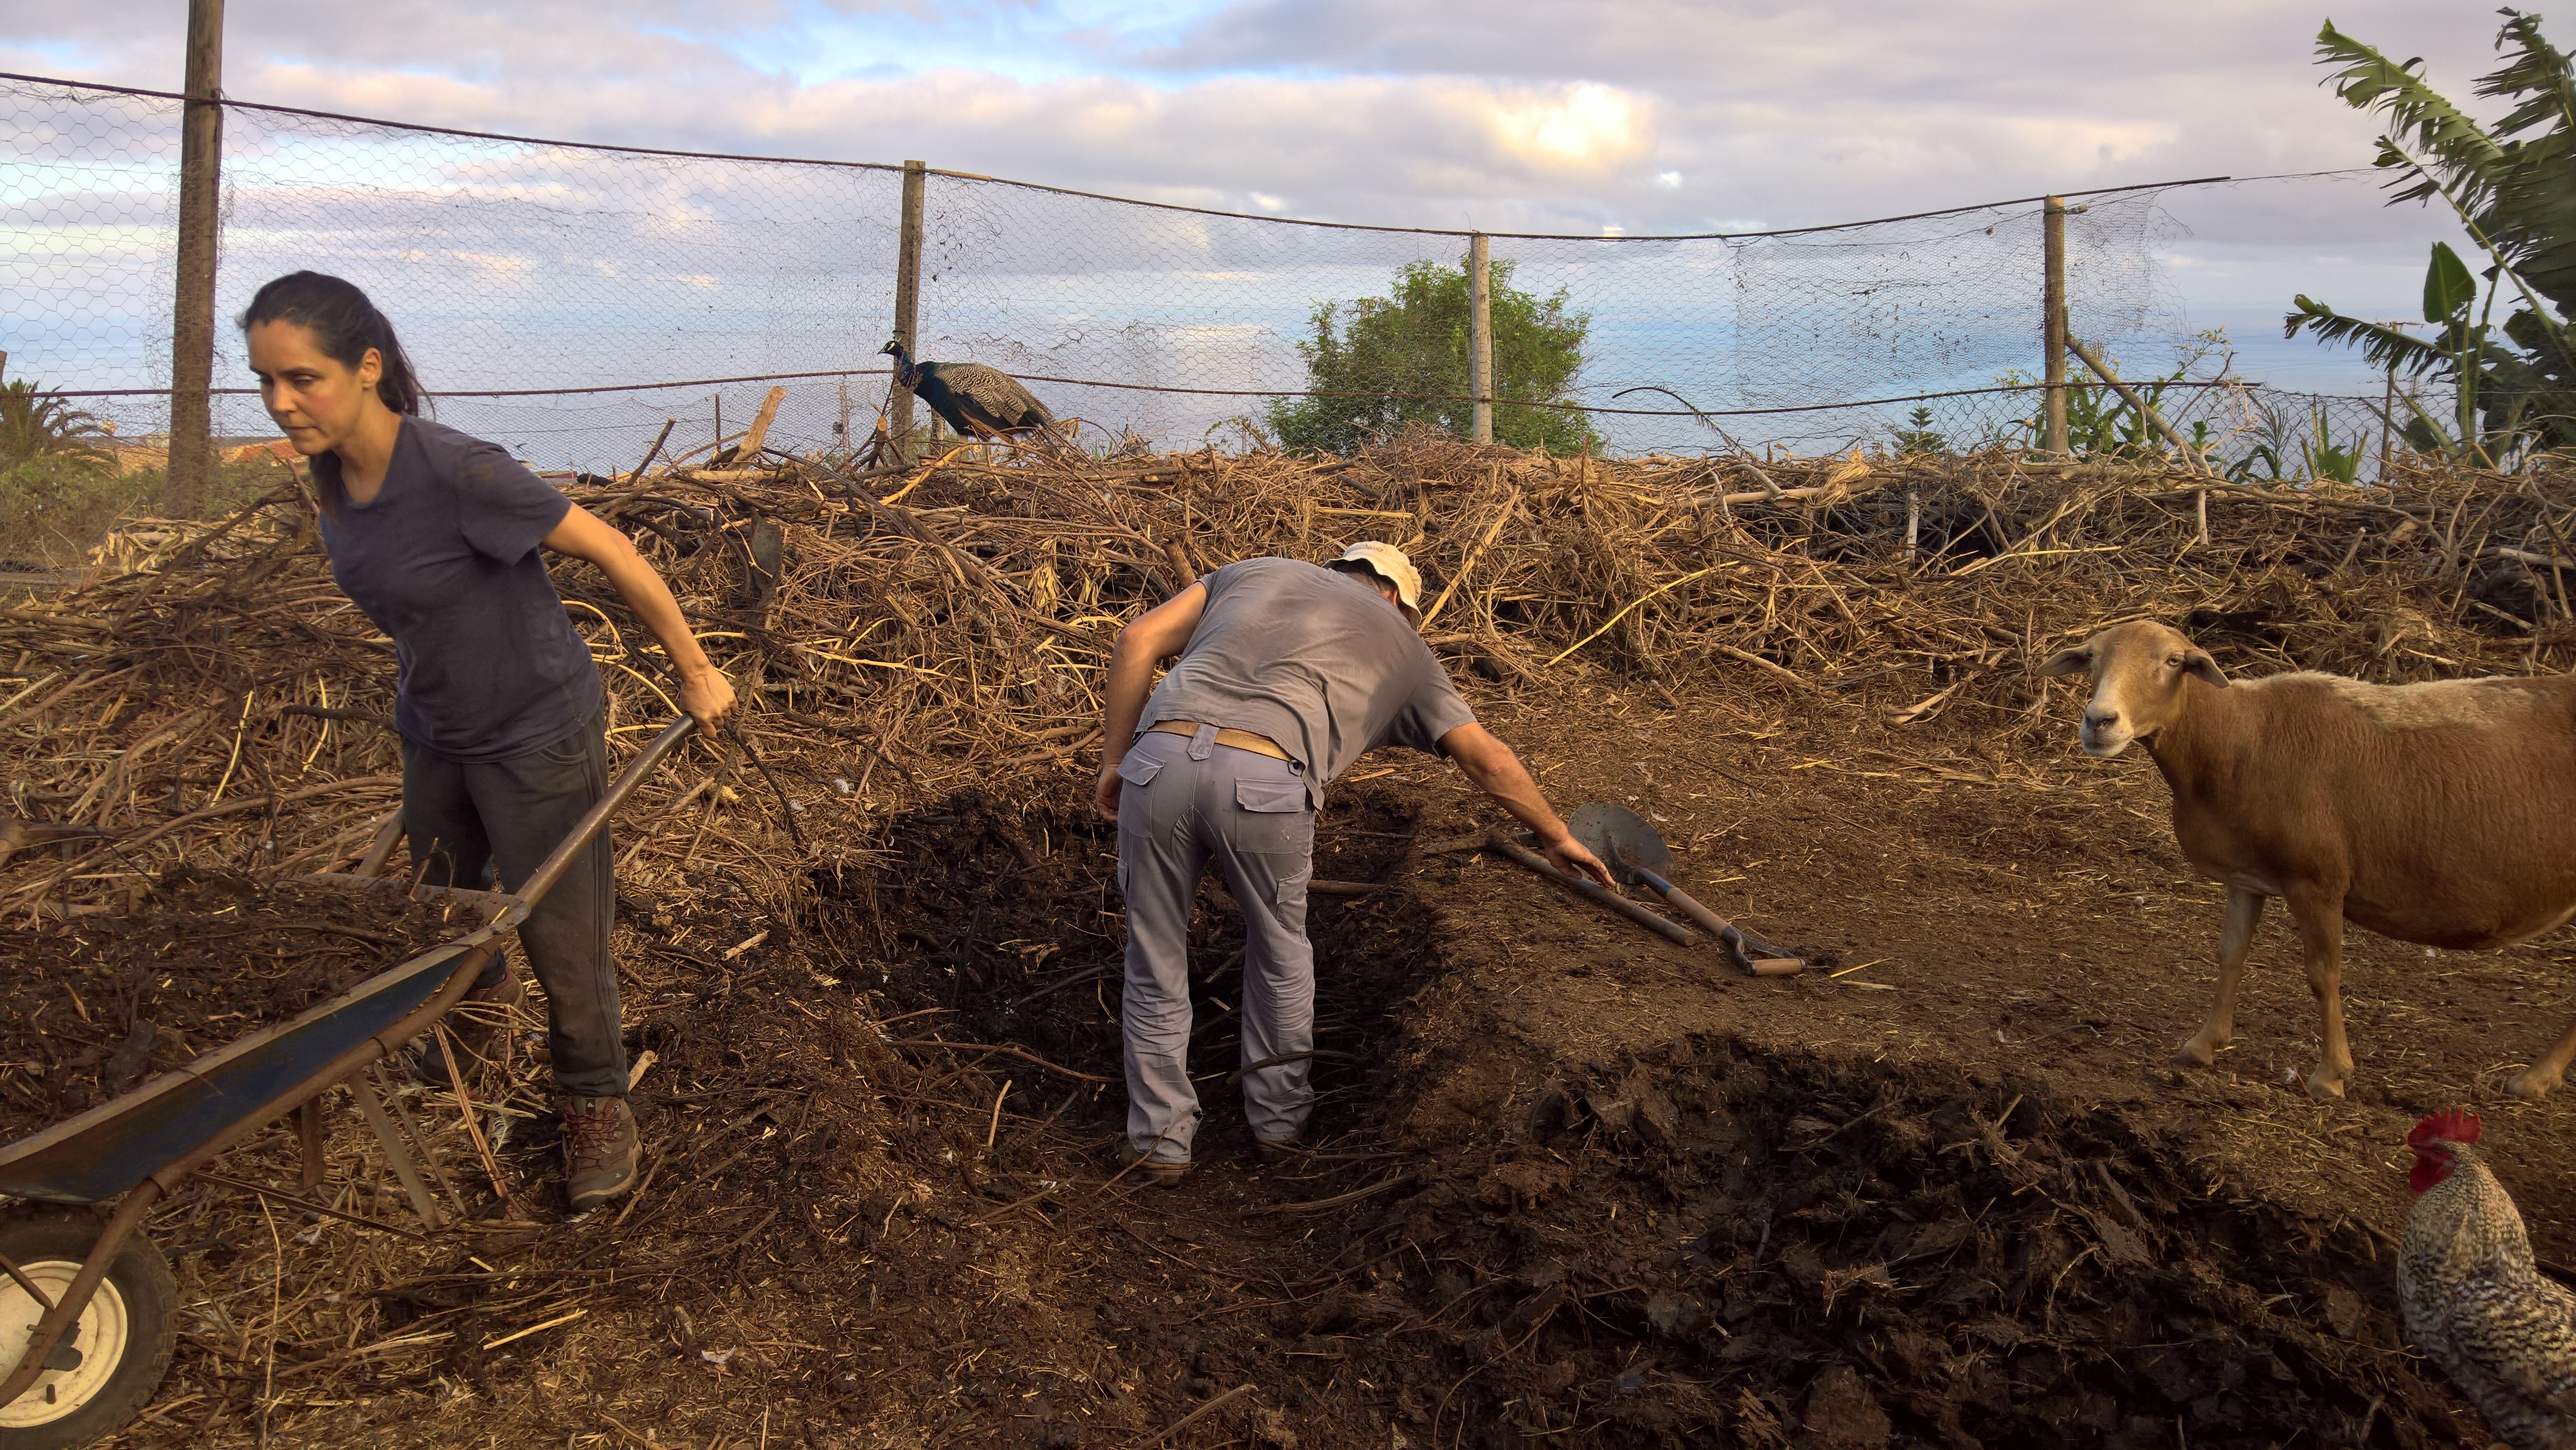
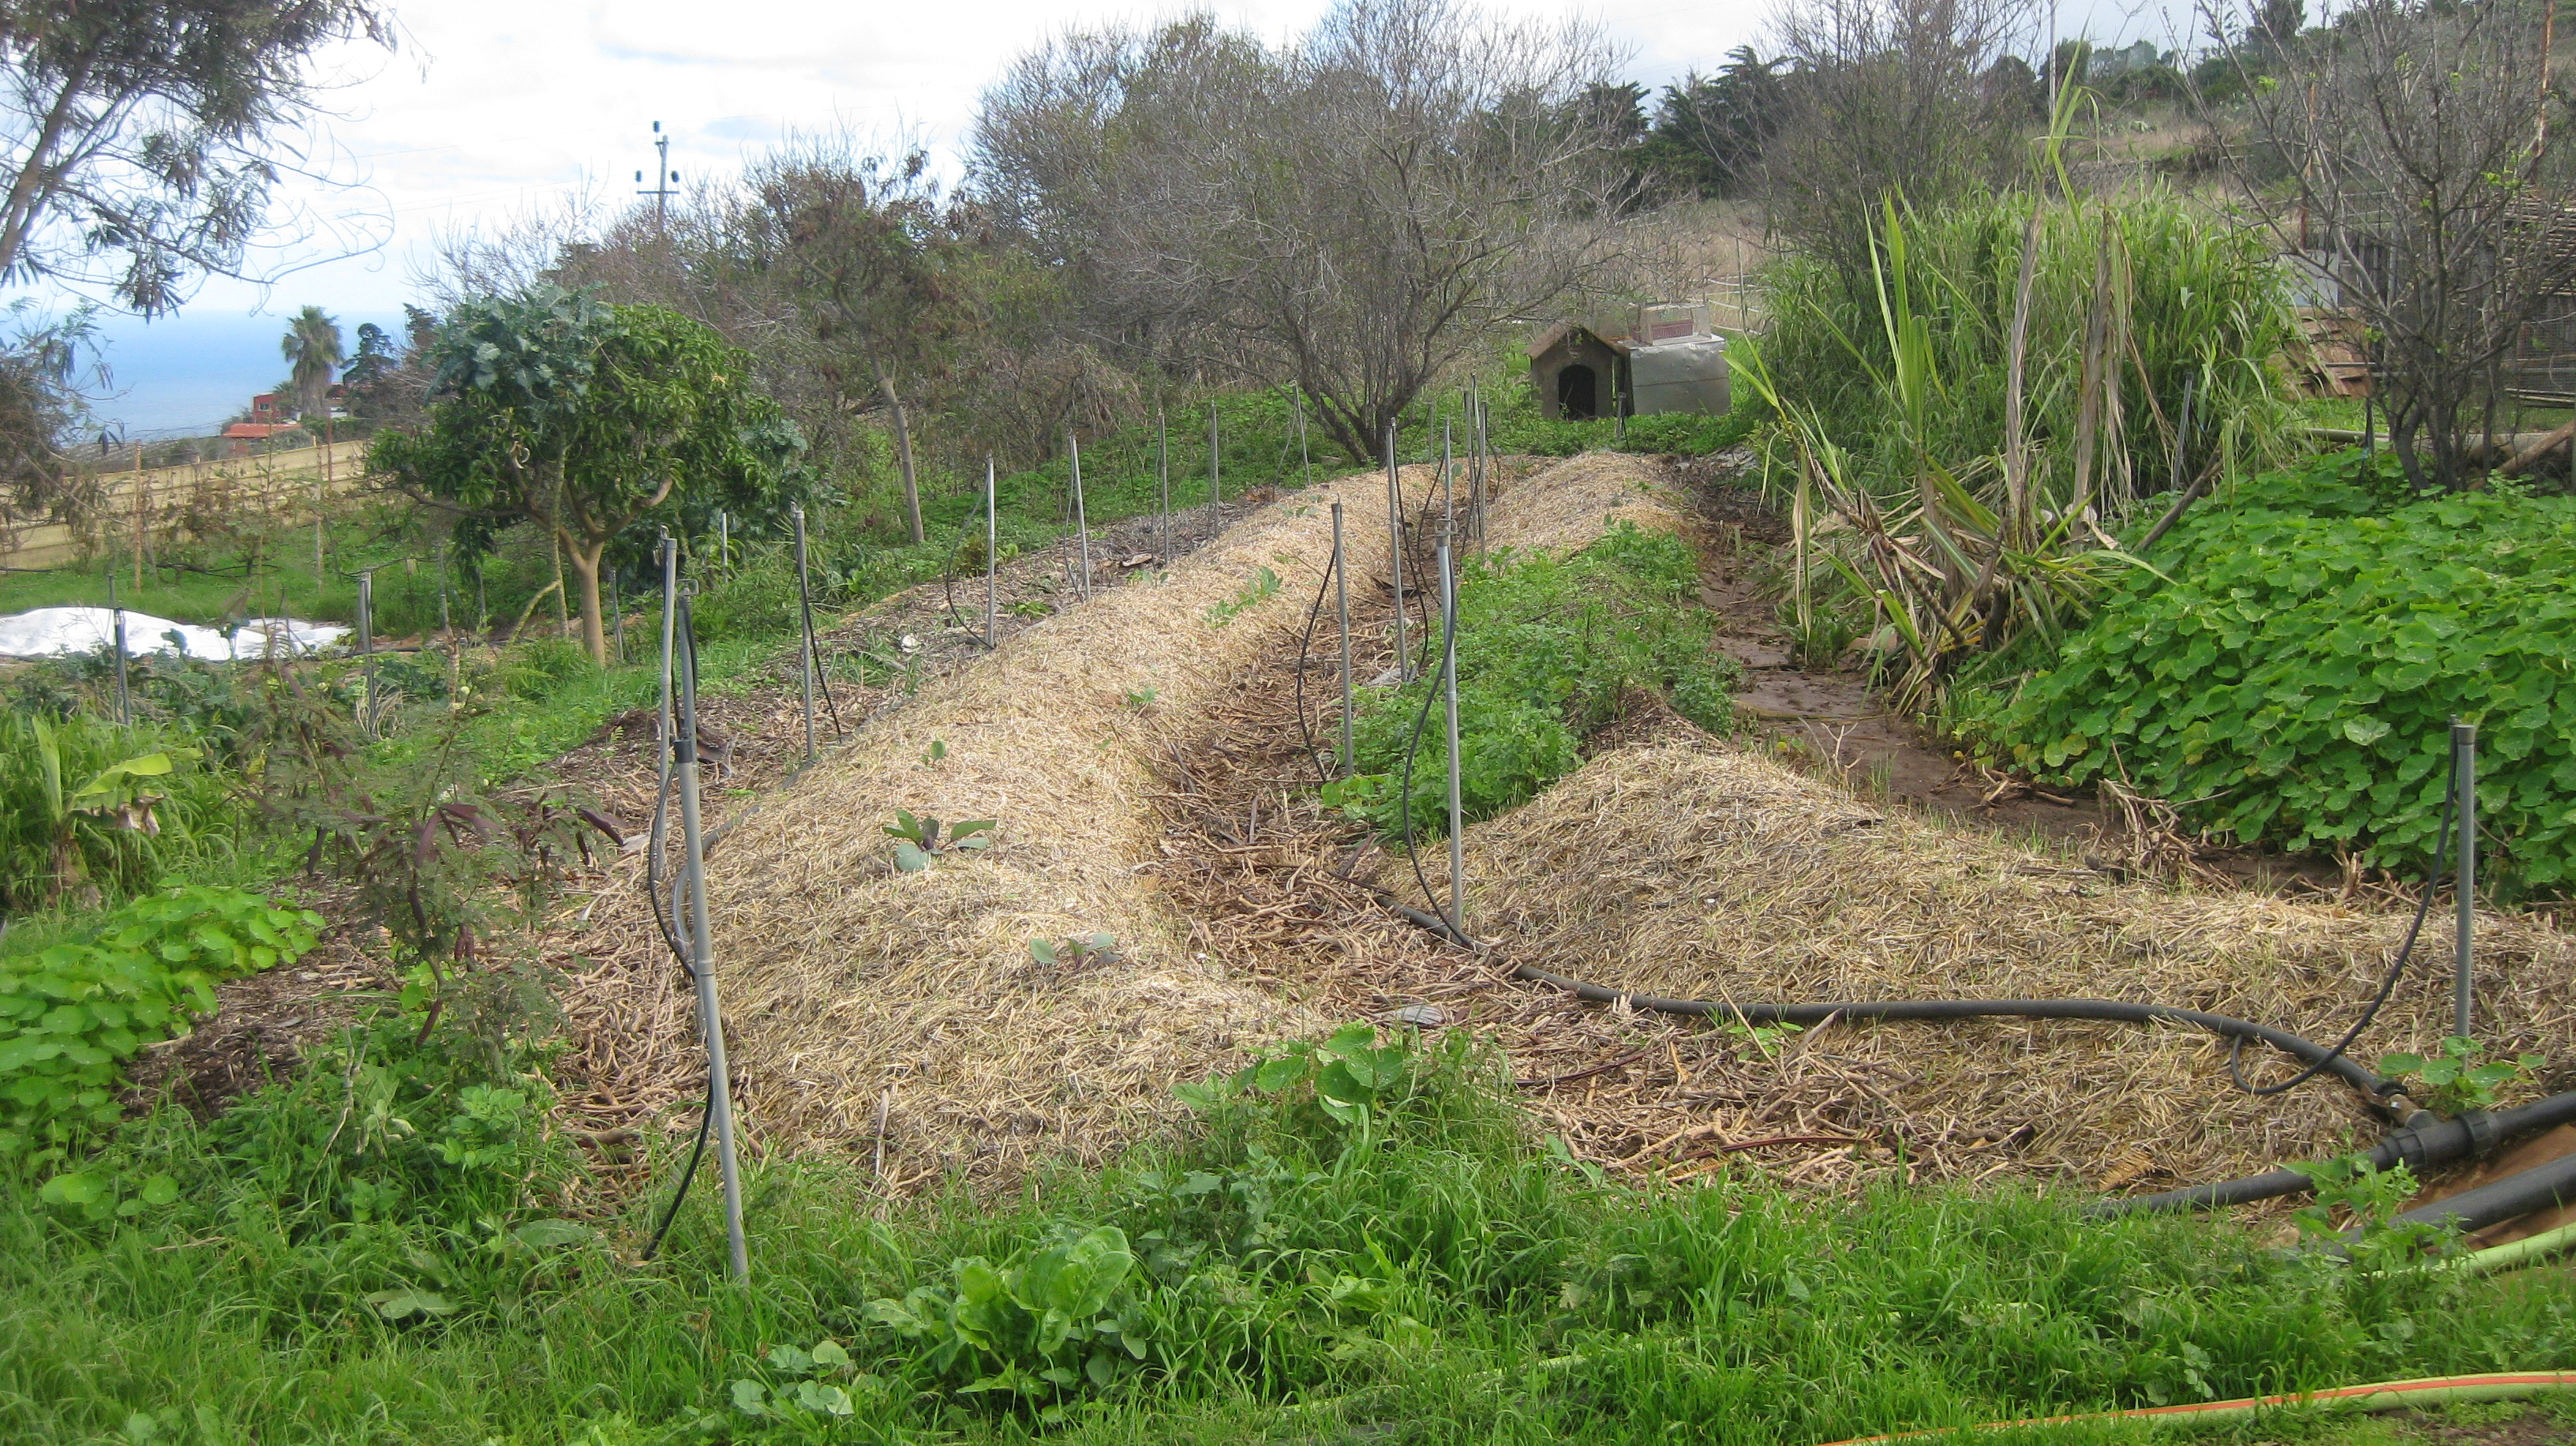
We could also design raised beds/allotments to protect the crops from excess water in areas where there are floods. In areas with little but intense rain, it would help to guide the water between the beds, slowing the water down, filtering and helping to avoid erosion of the soil. These raised beds would be built by digging out the soil from the paths and pouring it onto the beds until they reach the desired height. Straightaway we will provide at least 15-20 cm of compost just on the bed, not on the paths. The same method of placing newspapers/cardboards with mulching on the allotments and paths applies as previously explained (Figure III.21). It would be planted the way we will later explain.
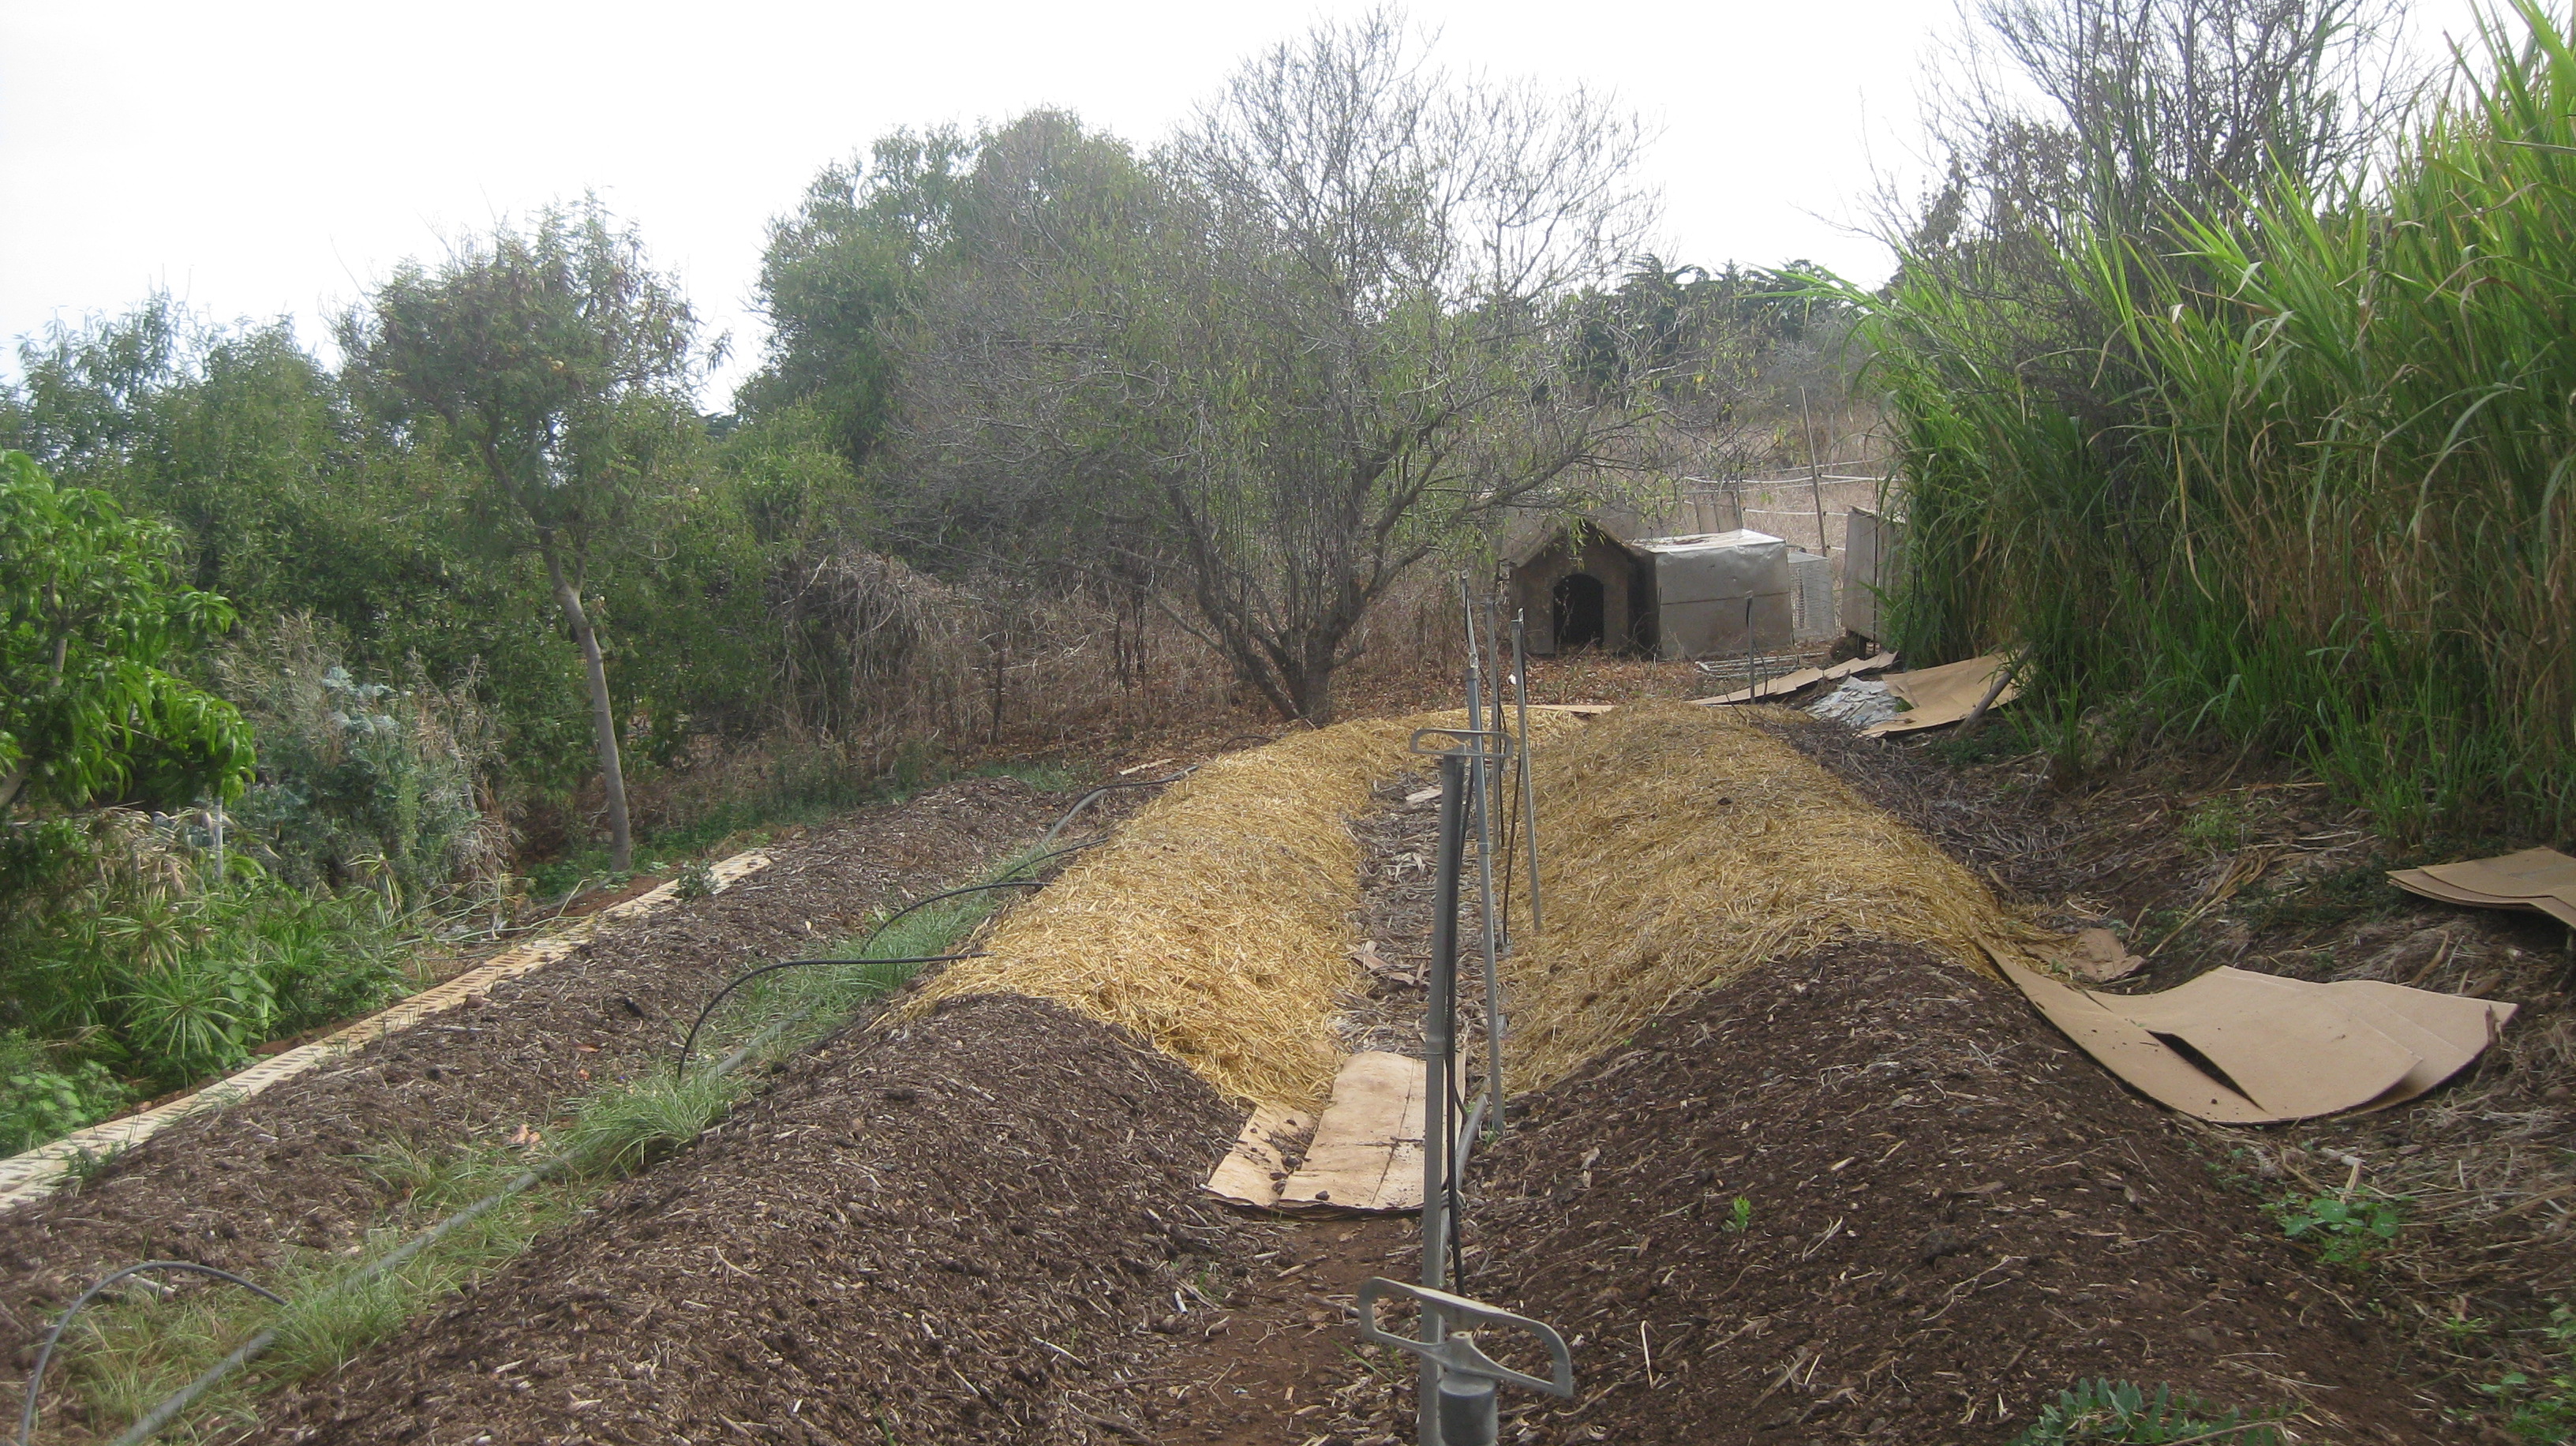
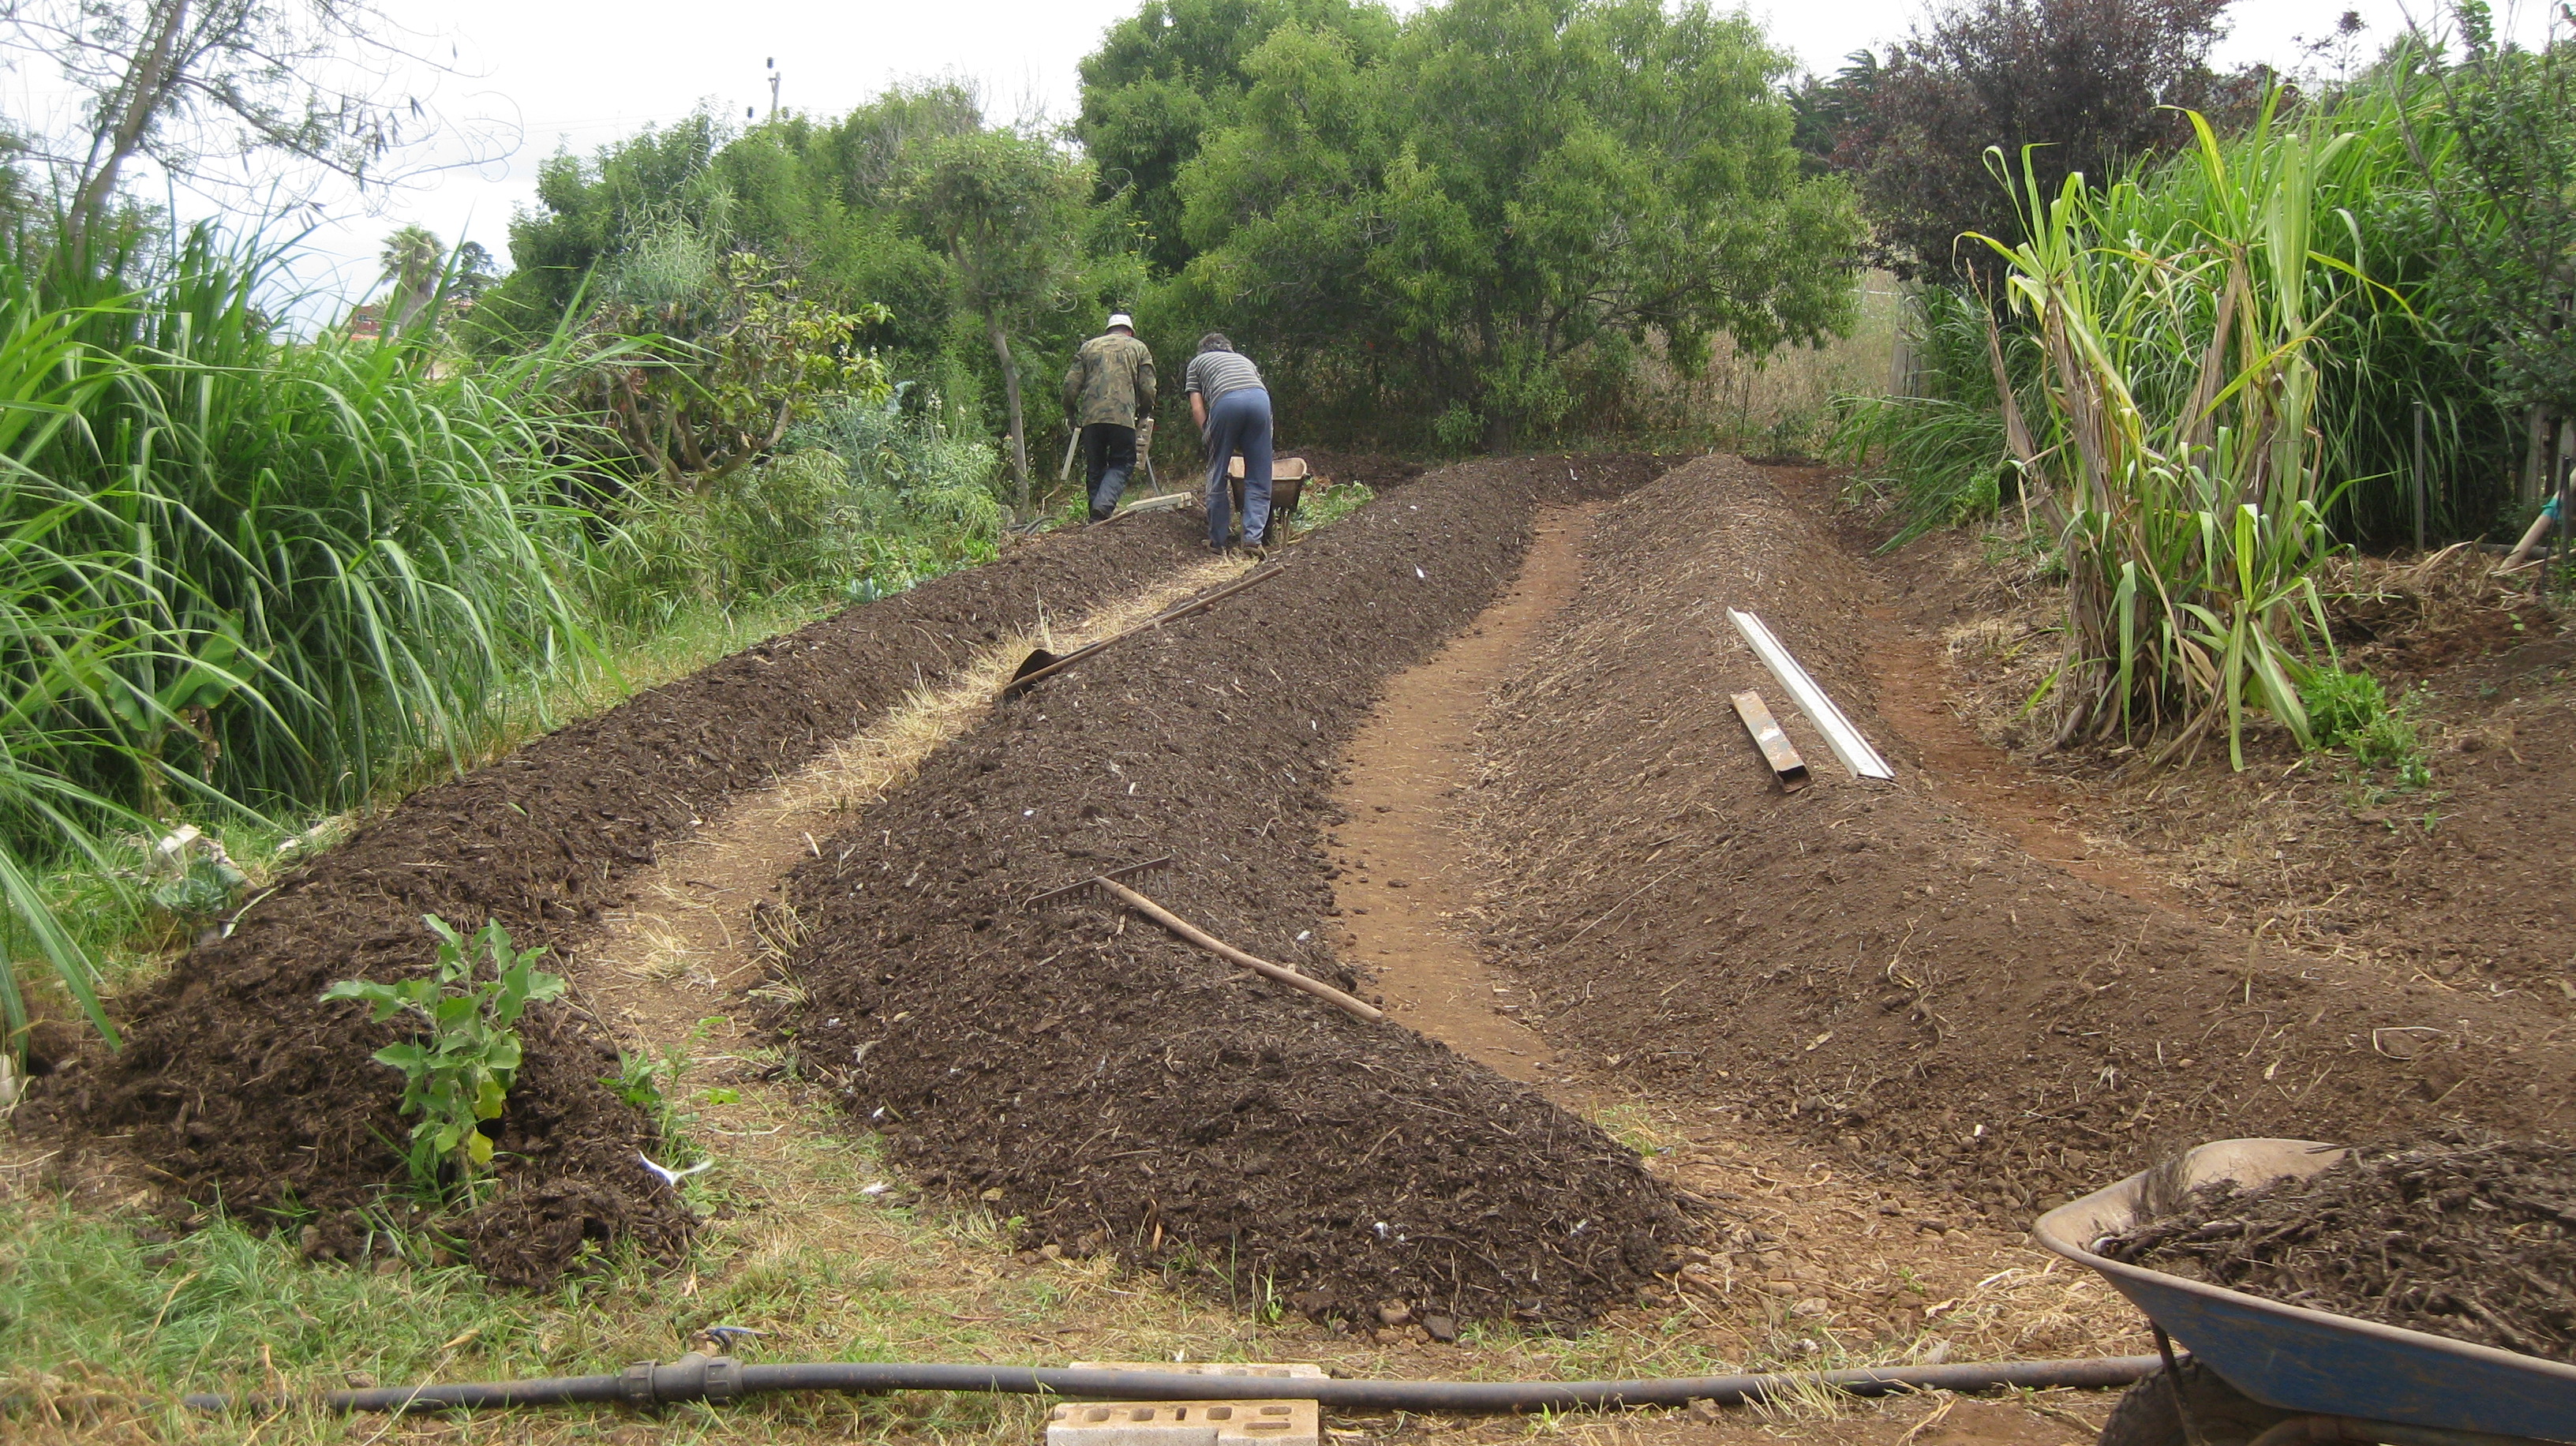
Figure III.21.-Building raised bed allotments
III.3 Irrigation systems we can use
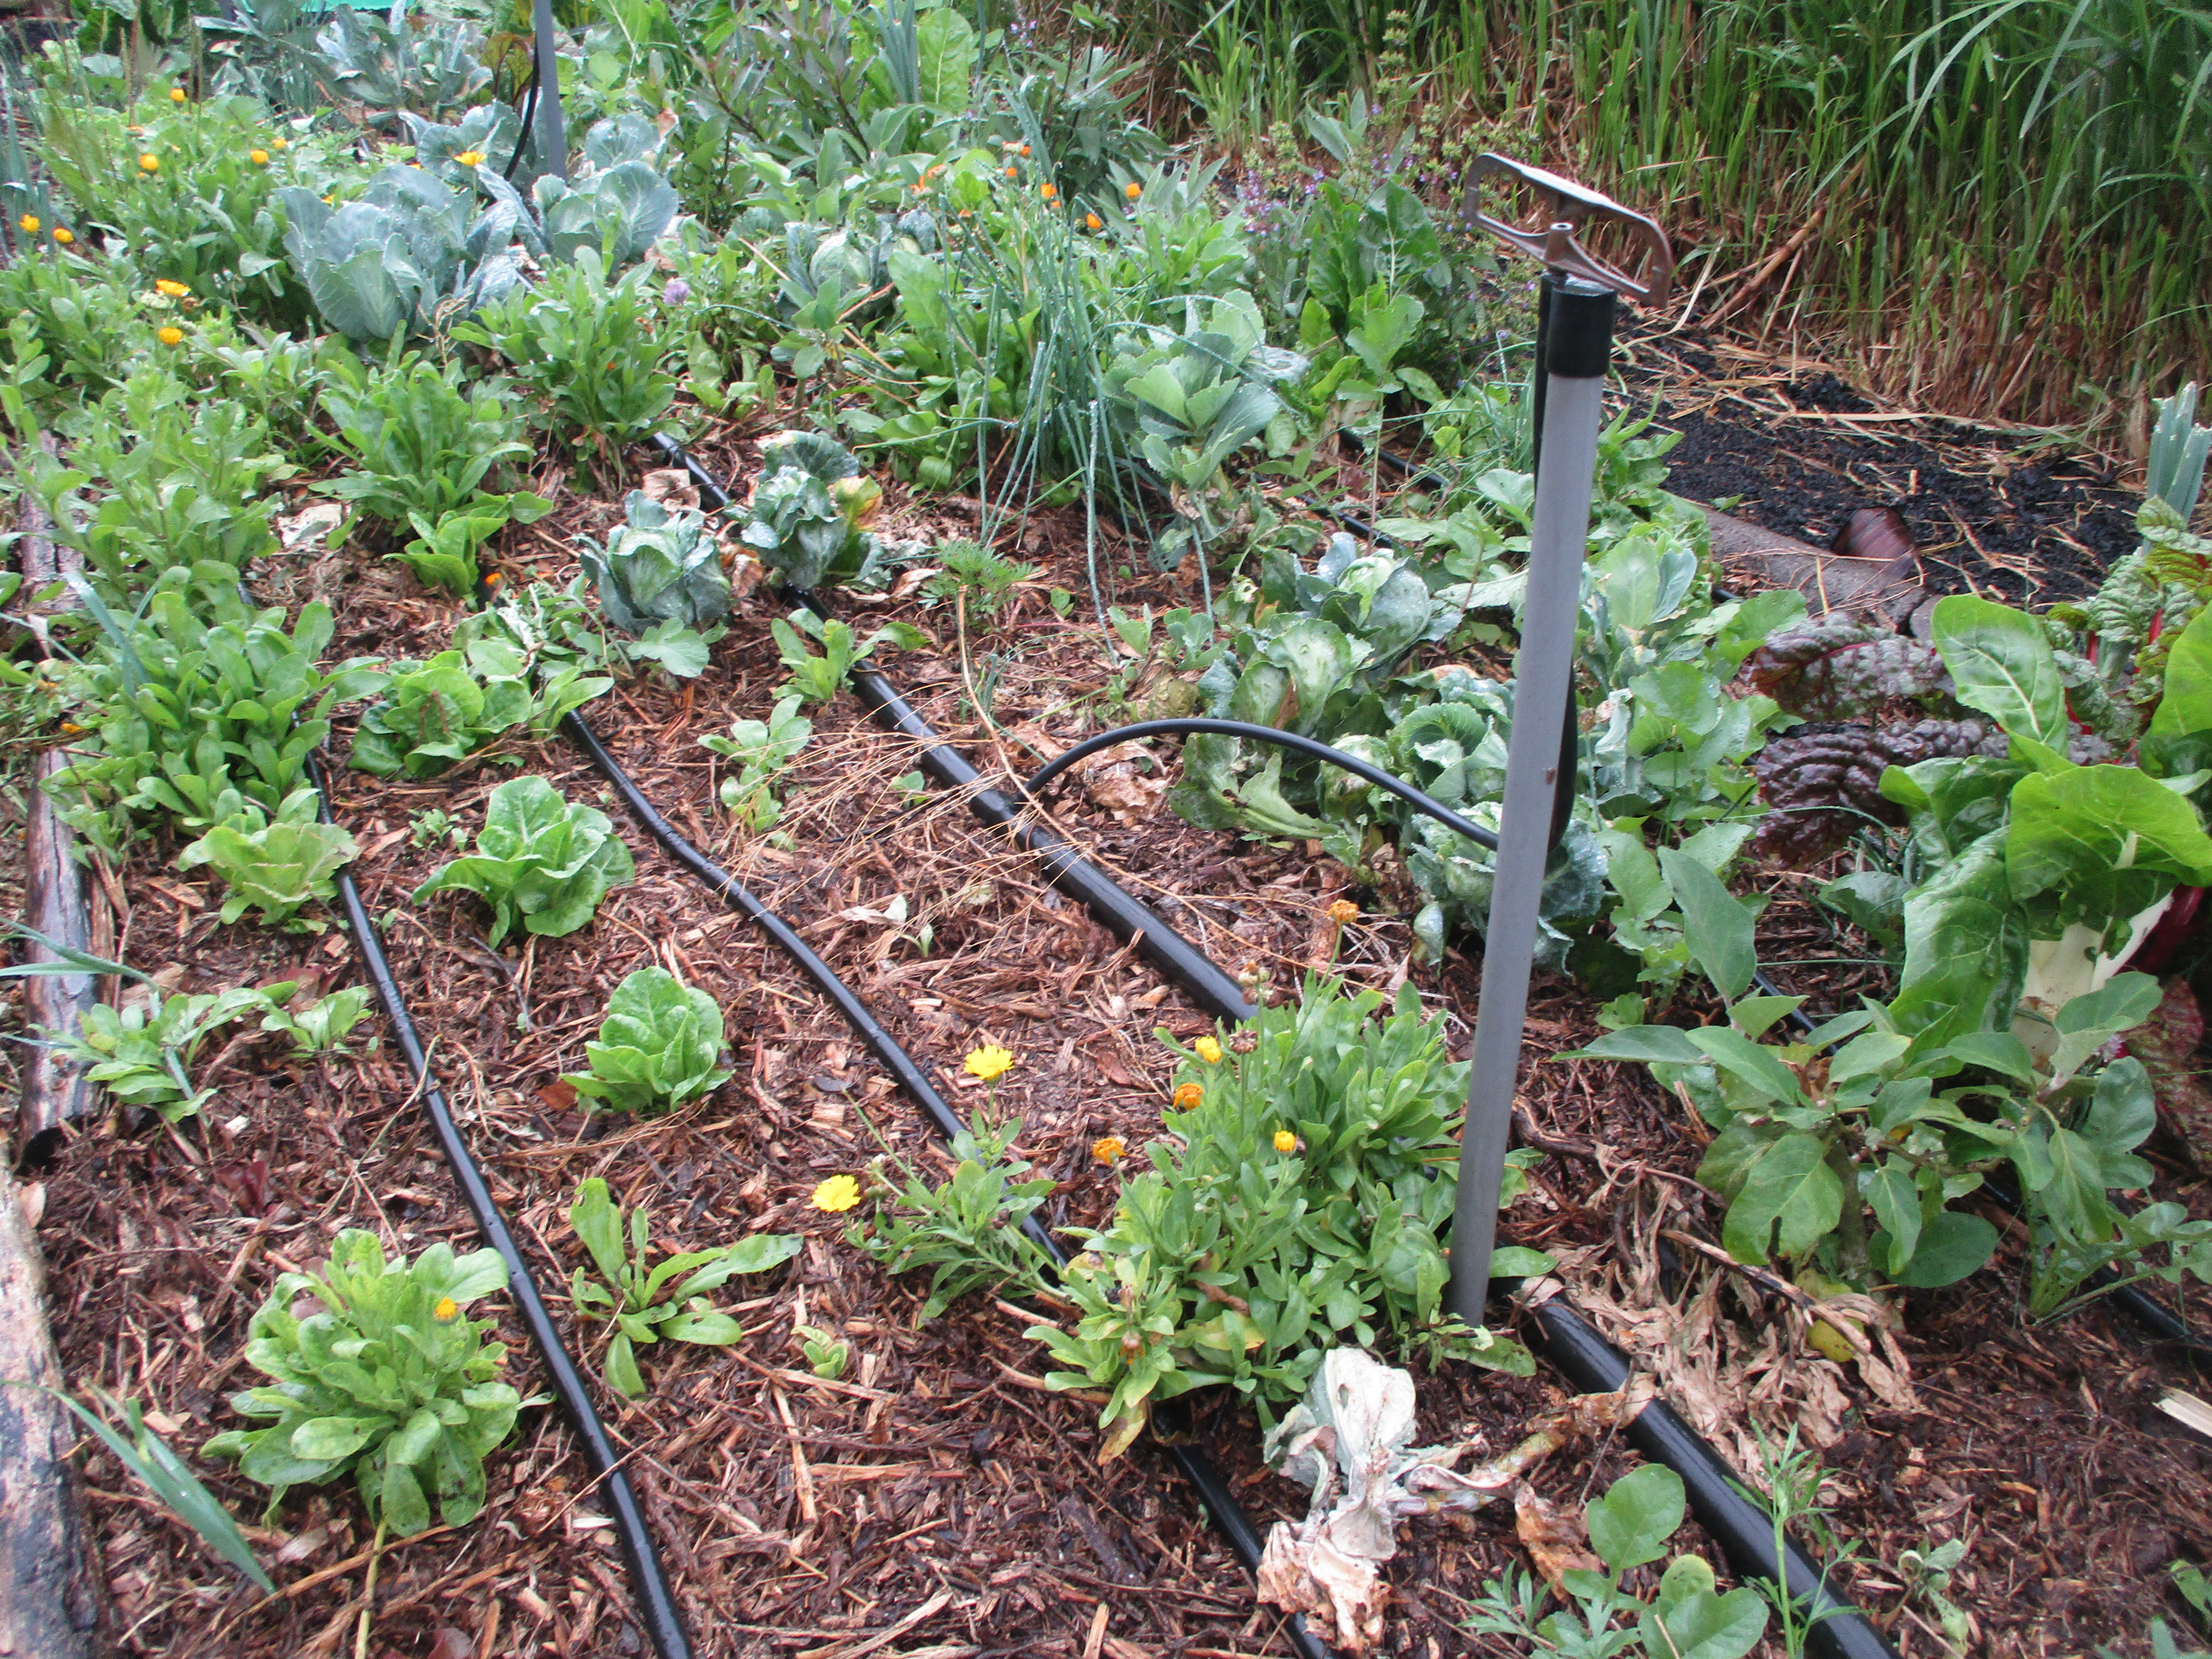
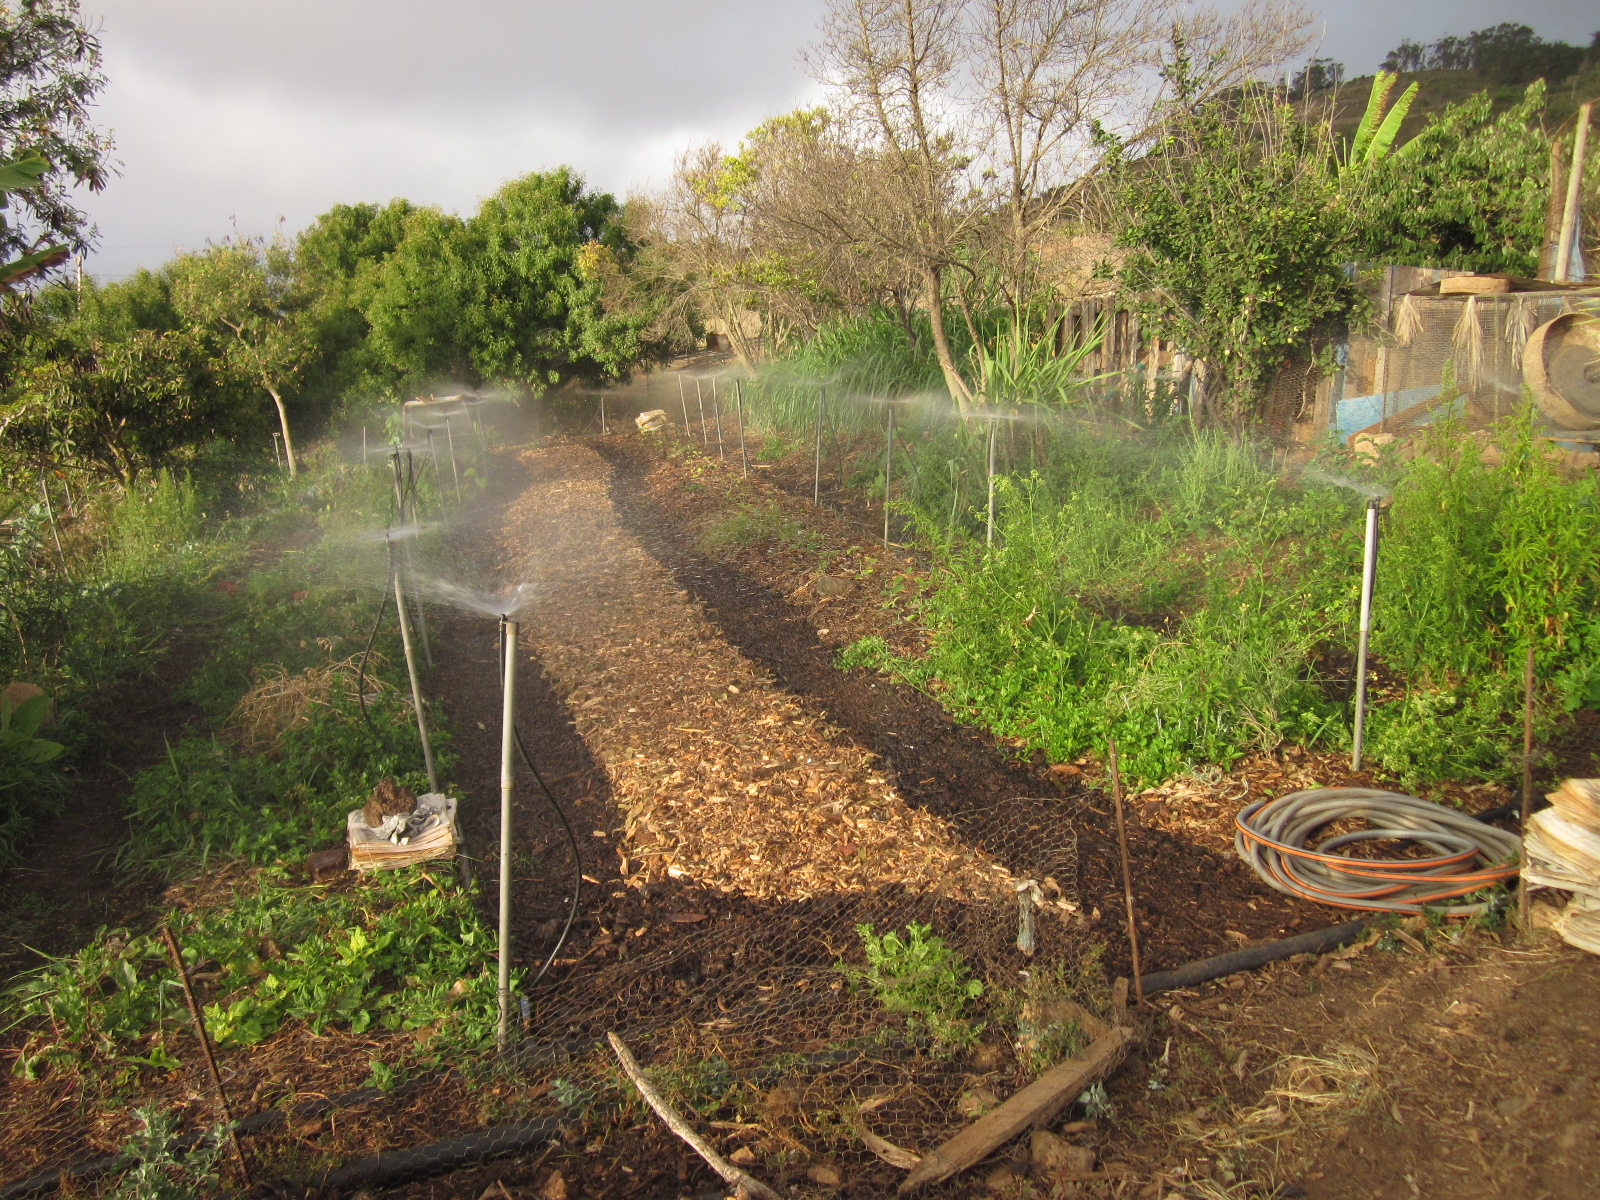
The ideal irrigation system for this permaculture edible garden based on natural ecosystems is the sprinkler irrigation system because it resembles most to rain, wetting the whole surface, including beds and paths. This system humidifies the garden in a uniform way, which facilitates the decomposition of the organic matter and helps creating a rich soil life. This way, whilst irrigating the beds, the paths are also wetted. About a year later, we can harvest good quality compost from these paths. This compost will be used as substrate in the greenhouse or as extra nutrients for our beds.
It is also possible to combine the sprinkler irrigation system with the drip irrigation system in order to manage the water use in places where it is scarce; or only use the drip irrigation system if the situation required it (Figure III.22). In our case, these facilities will be placed over the design of our edible garden. The irrigation will end up on top of our mulching so that we can see it in case of breaking. We can easily fix it this way, avoiding breaking the hoses or cutting them by mistake.
The installation of the chosen irrigation system can be an opportunity to start an instructive workshop for the people that benefit from this project.

Figure III.22.-Irrigation systems: spray (left), drip (centre), combined (right)
III.4.- Our first planting
The day after designing our allotments, we can already start planting for the first time. In any case, before starting to plant, it is a good idea to water the seedlings trays we will use and to wet the beds with a hose or sprinklers. This way the organic matter will settle better and it will be easier to dig the holes to plant (Figure III.23).
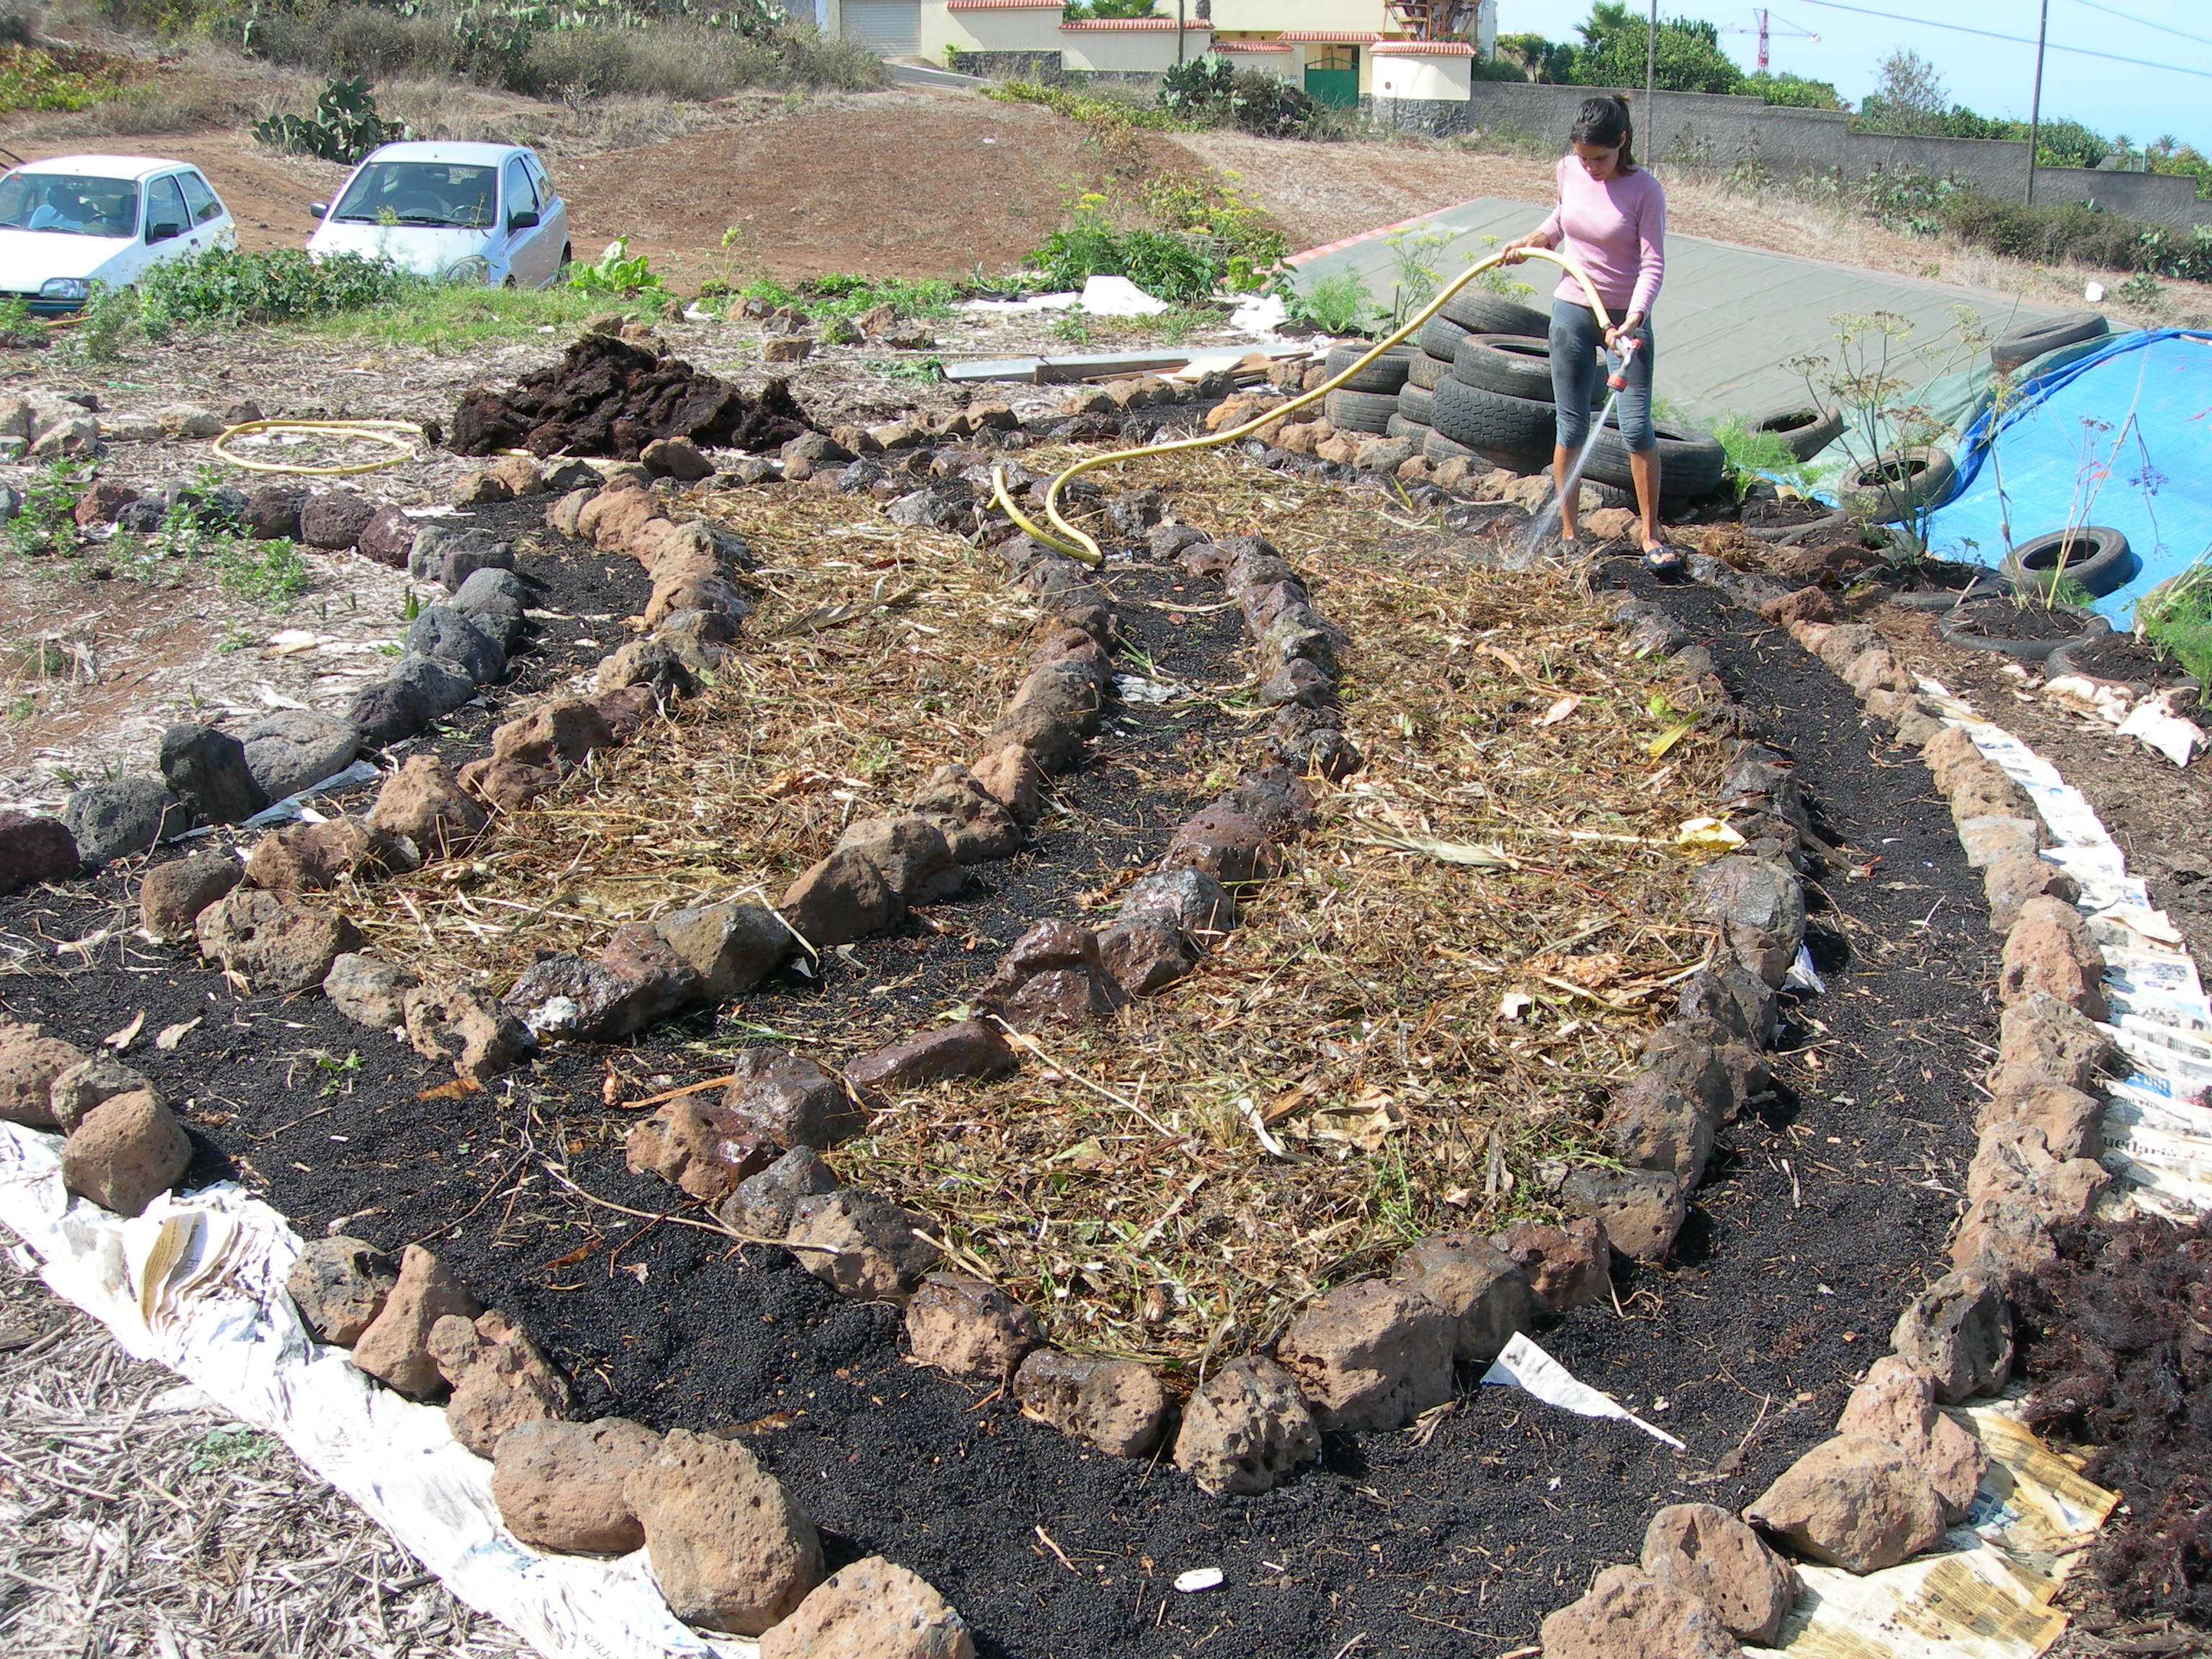
Figure III.23.- Watering the beds to make the organic matter settle before planting
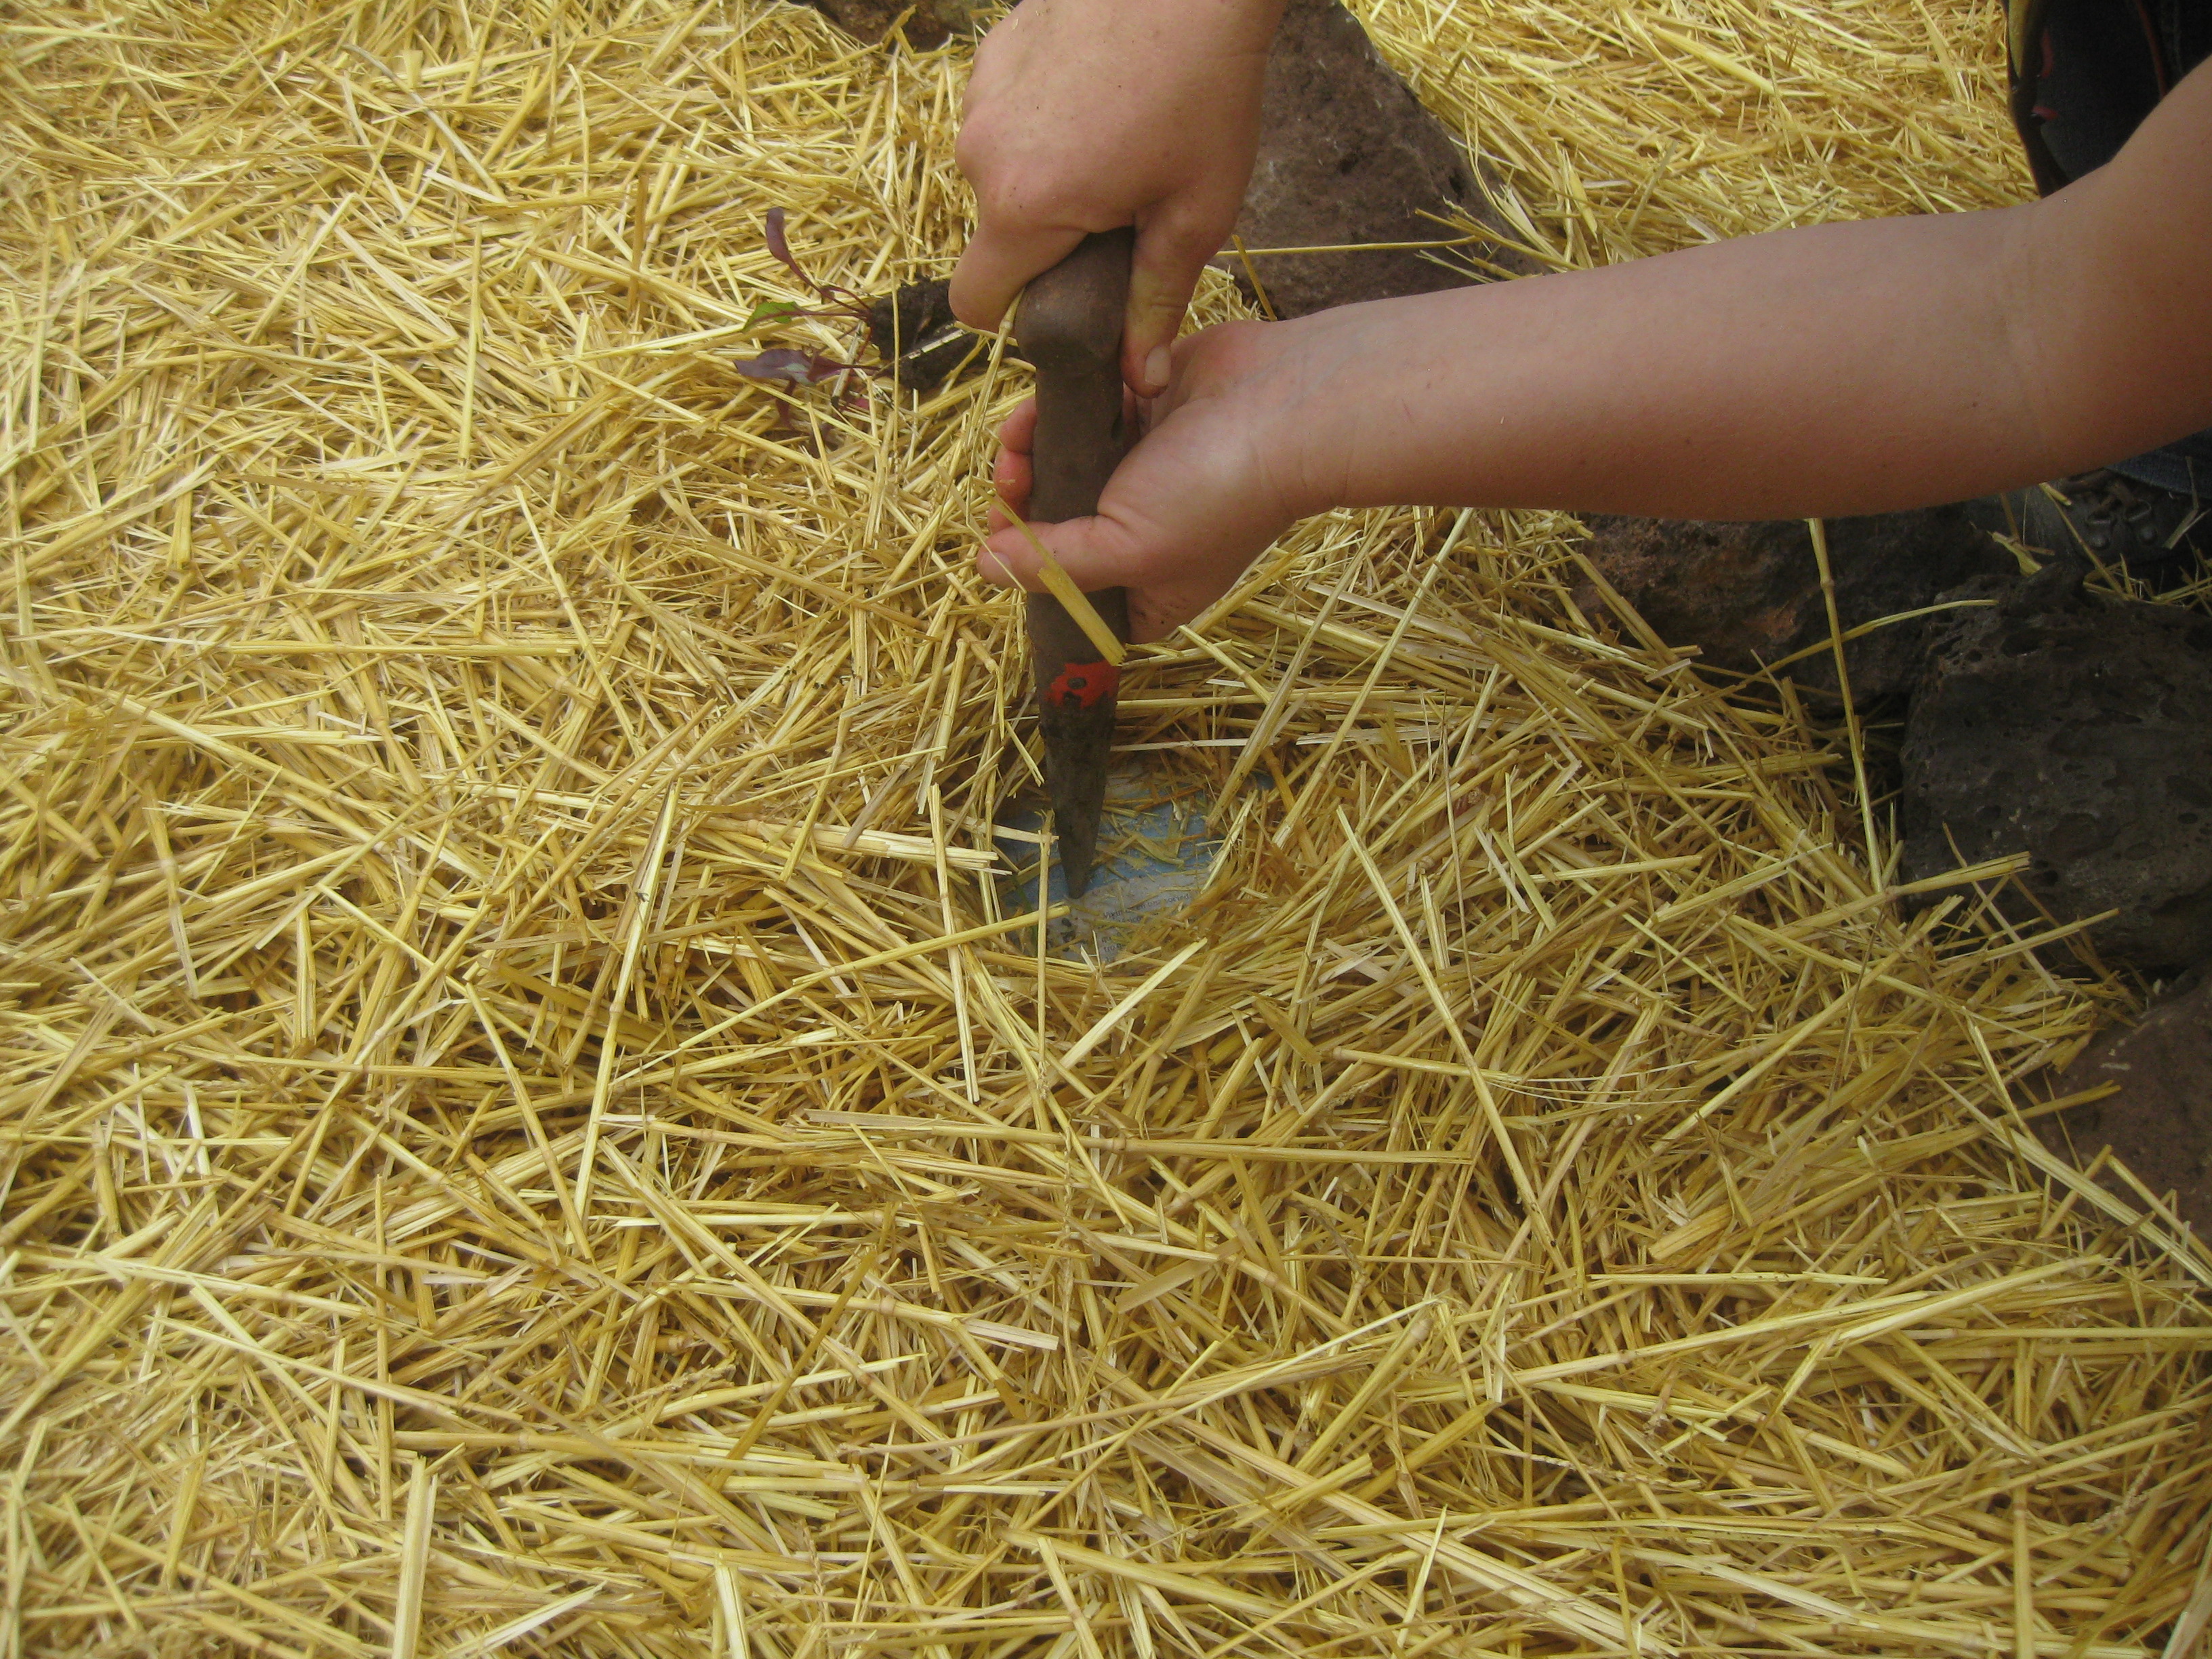
At the time of planting it is necessary to move the organic matter a bit aside with our hands or carefully creating small circles with a dibble in order to avoid organic matter from falling into the hole we will make. The organic matter has to be moved away until the underlying paper is visible. If the organic matter falls into the hole it is harder to insert the seedling into the hole and later on it could also provoke decomposition, which would hinder the plant to take root and grow. With a dibble, we will make the hole so we can perforate the newspaper or cardboard, hence the importance of wetting them to make the perforation easier (Figure III.24). In case we chose to use cardboard instead of newspaper, we would have to wait long enough for it to soften down so we can perforate it more easily.
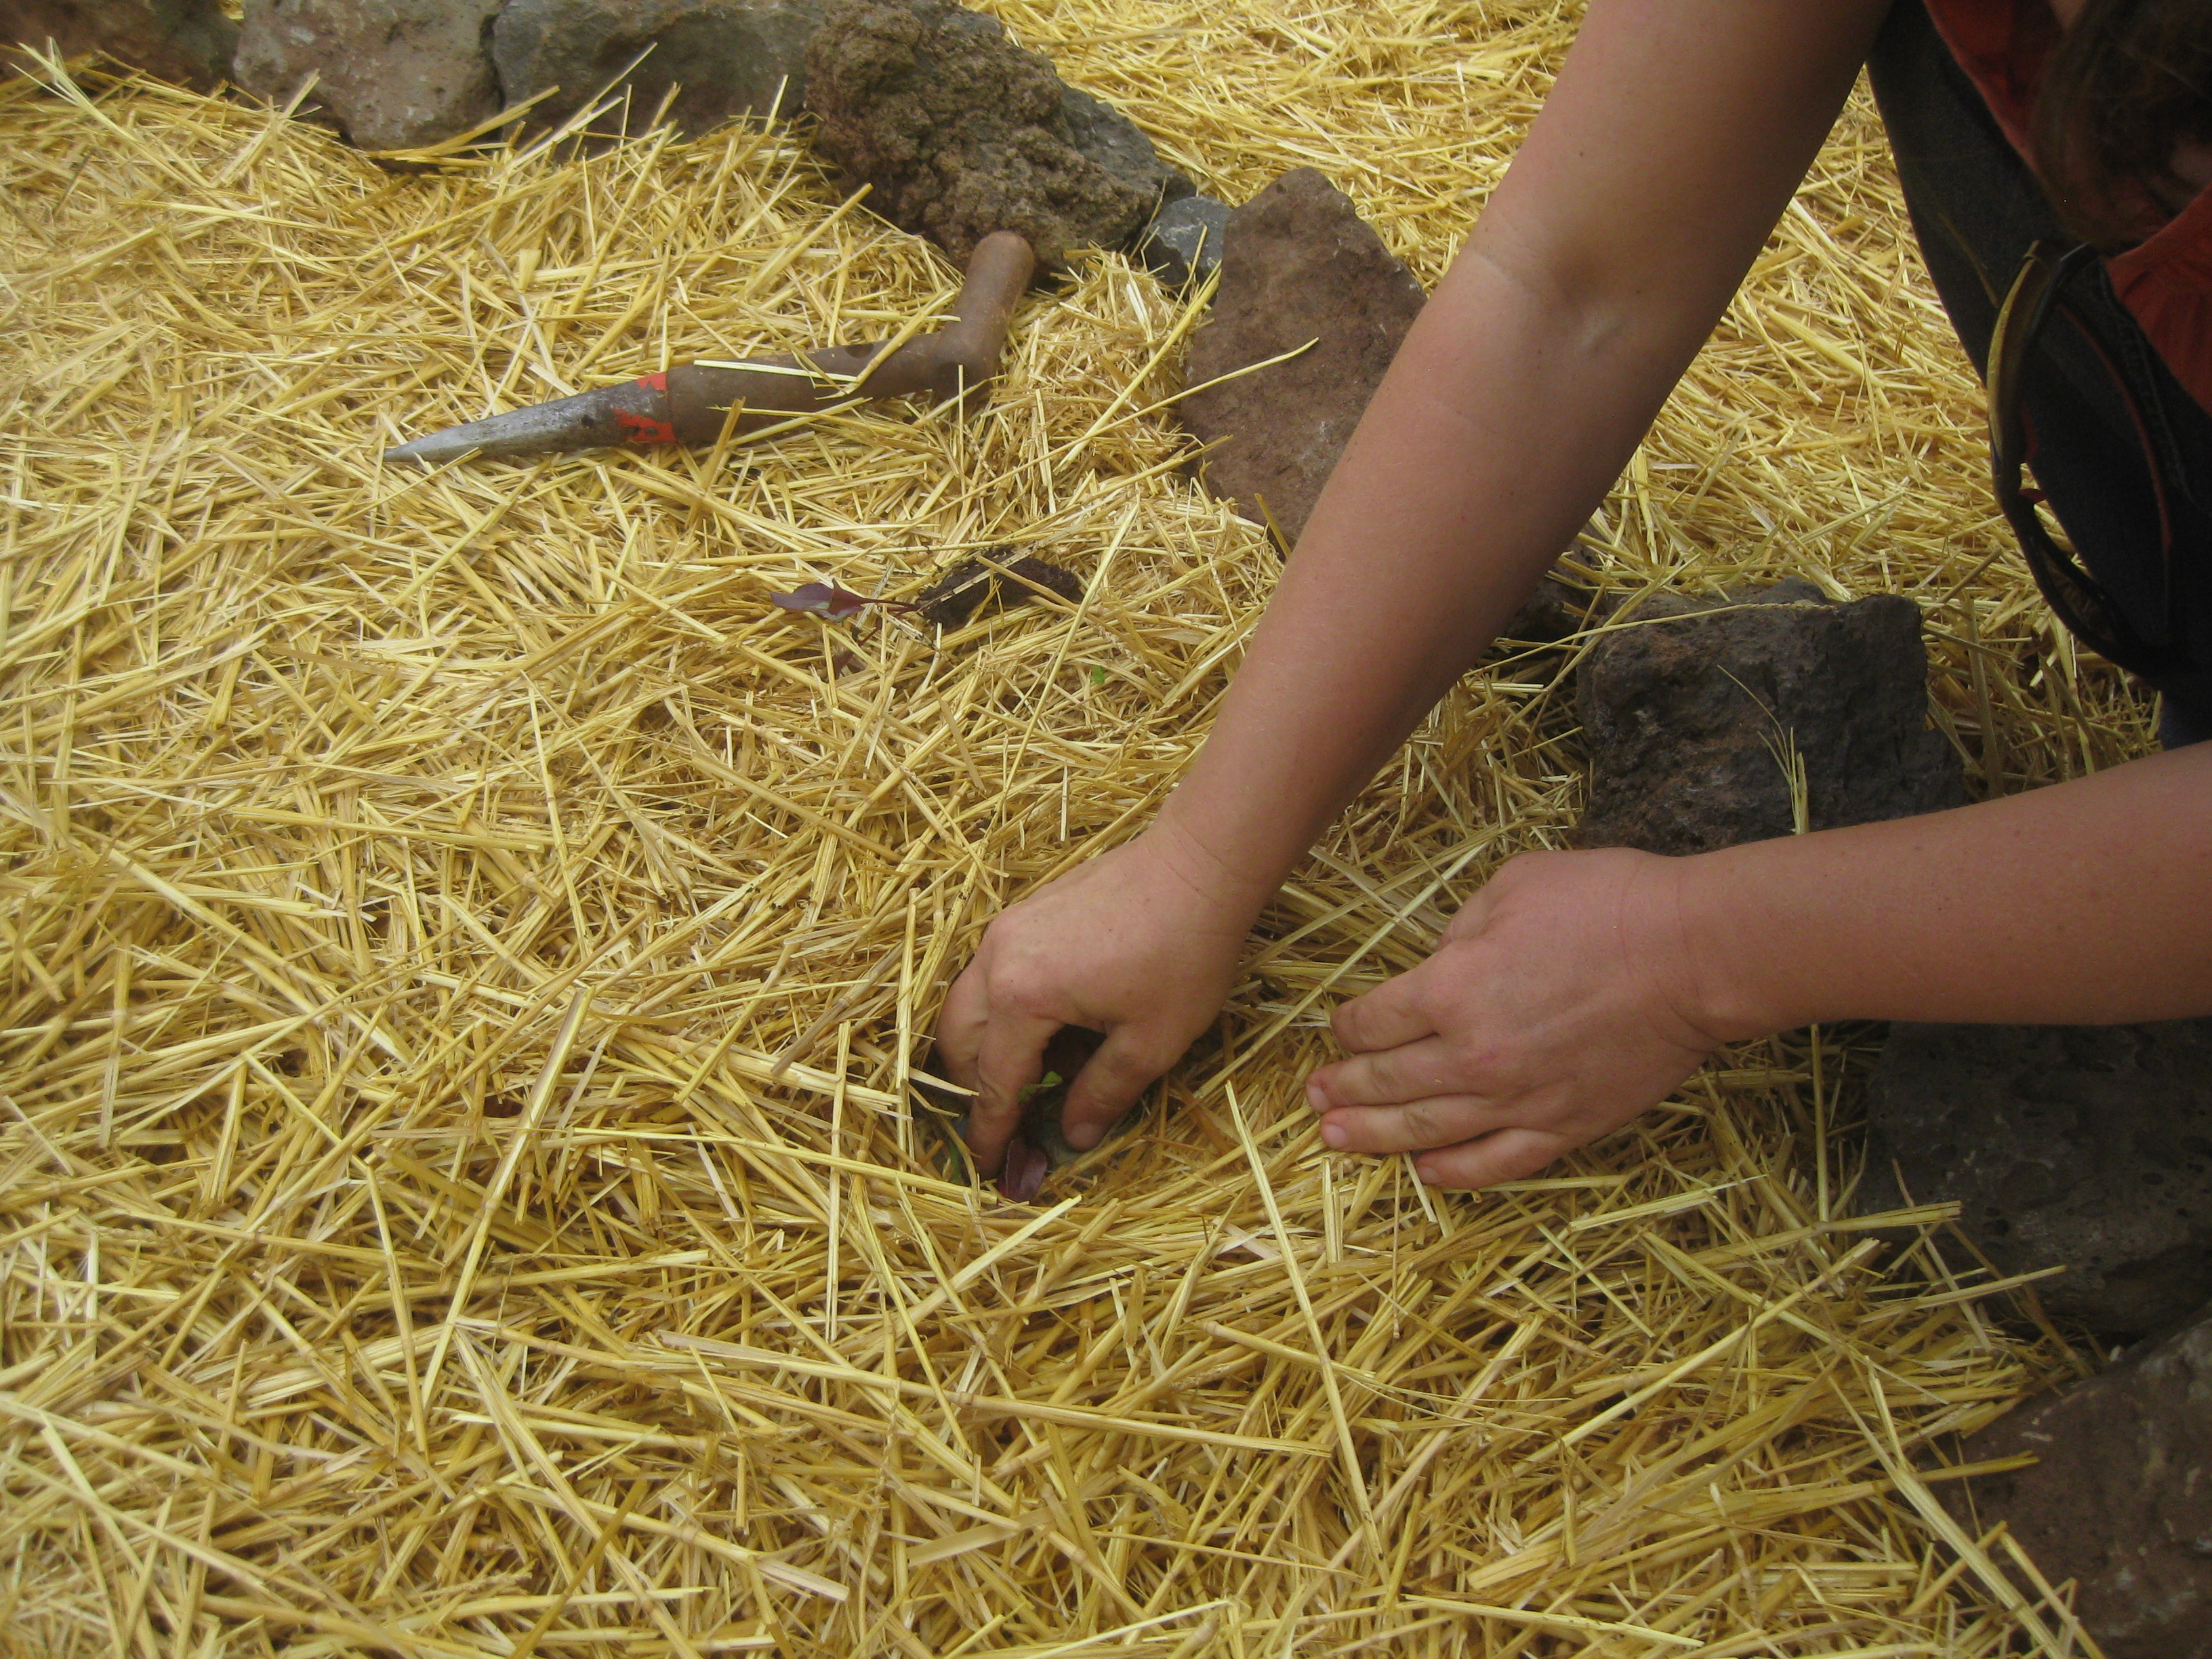
Figure III.24.-Planting for the first time the designed beds
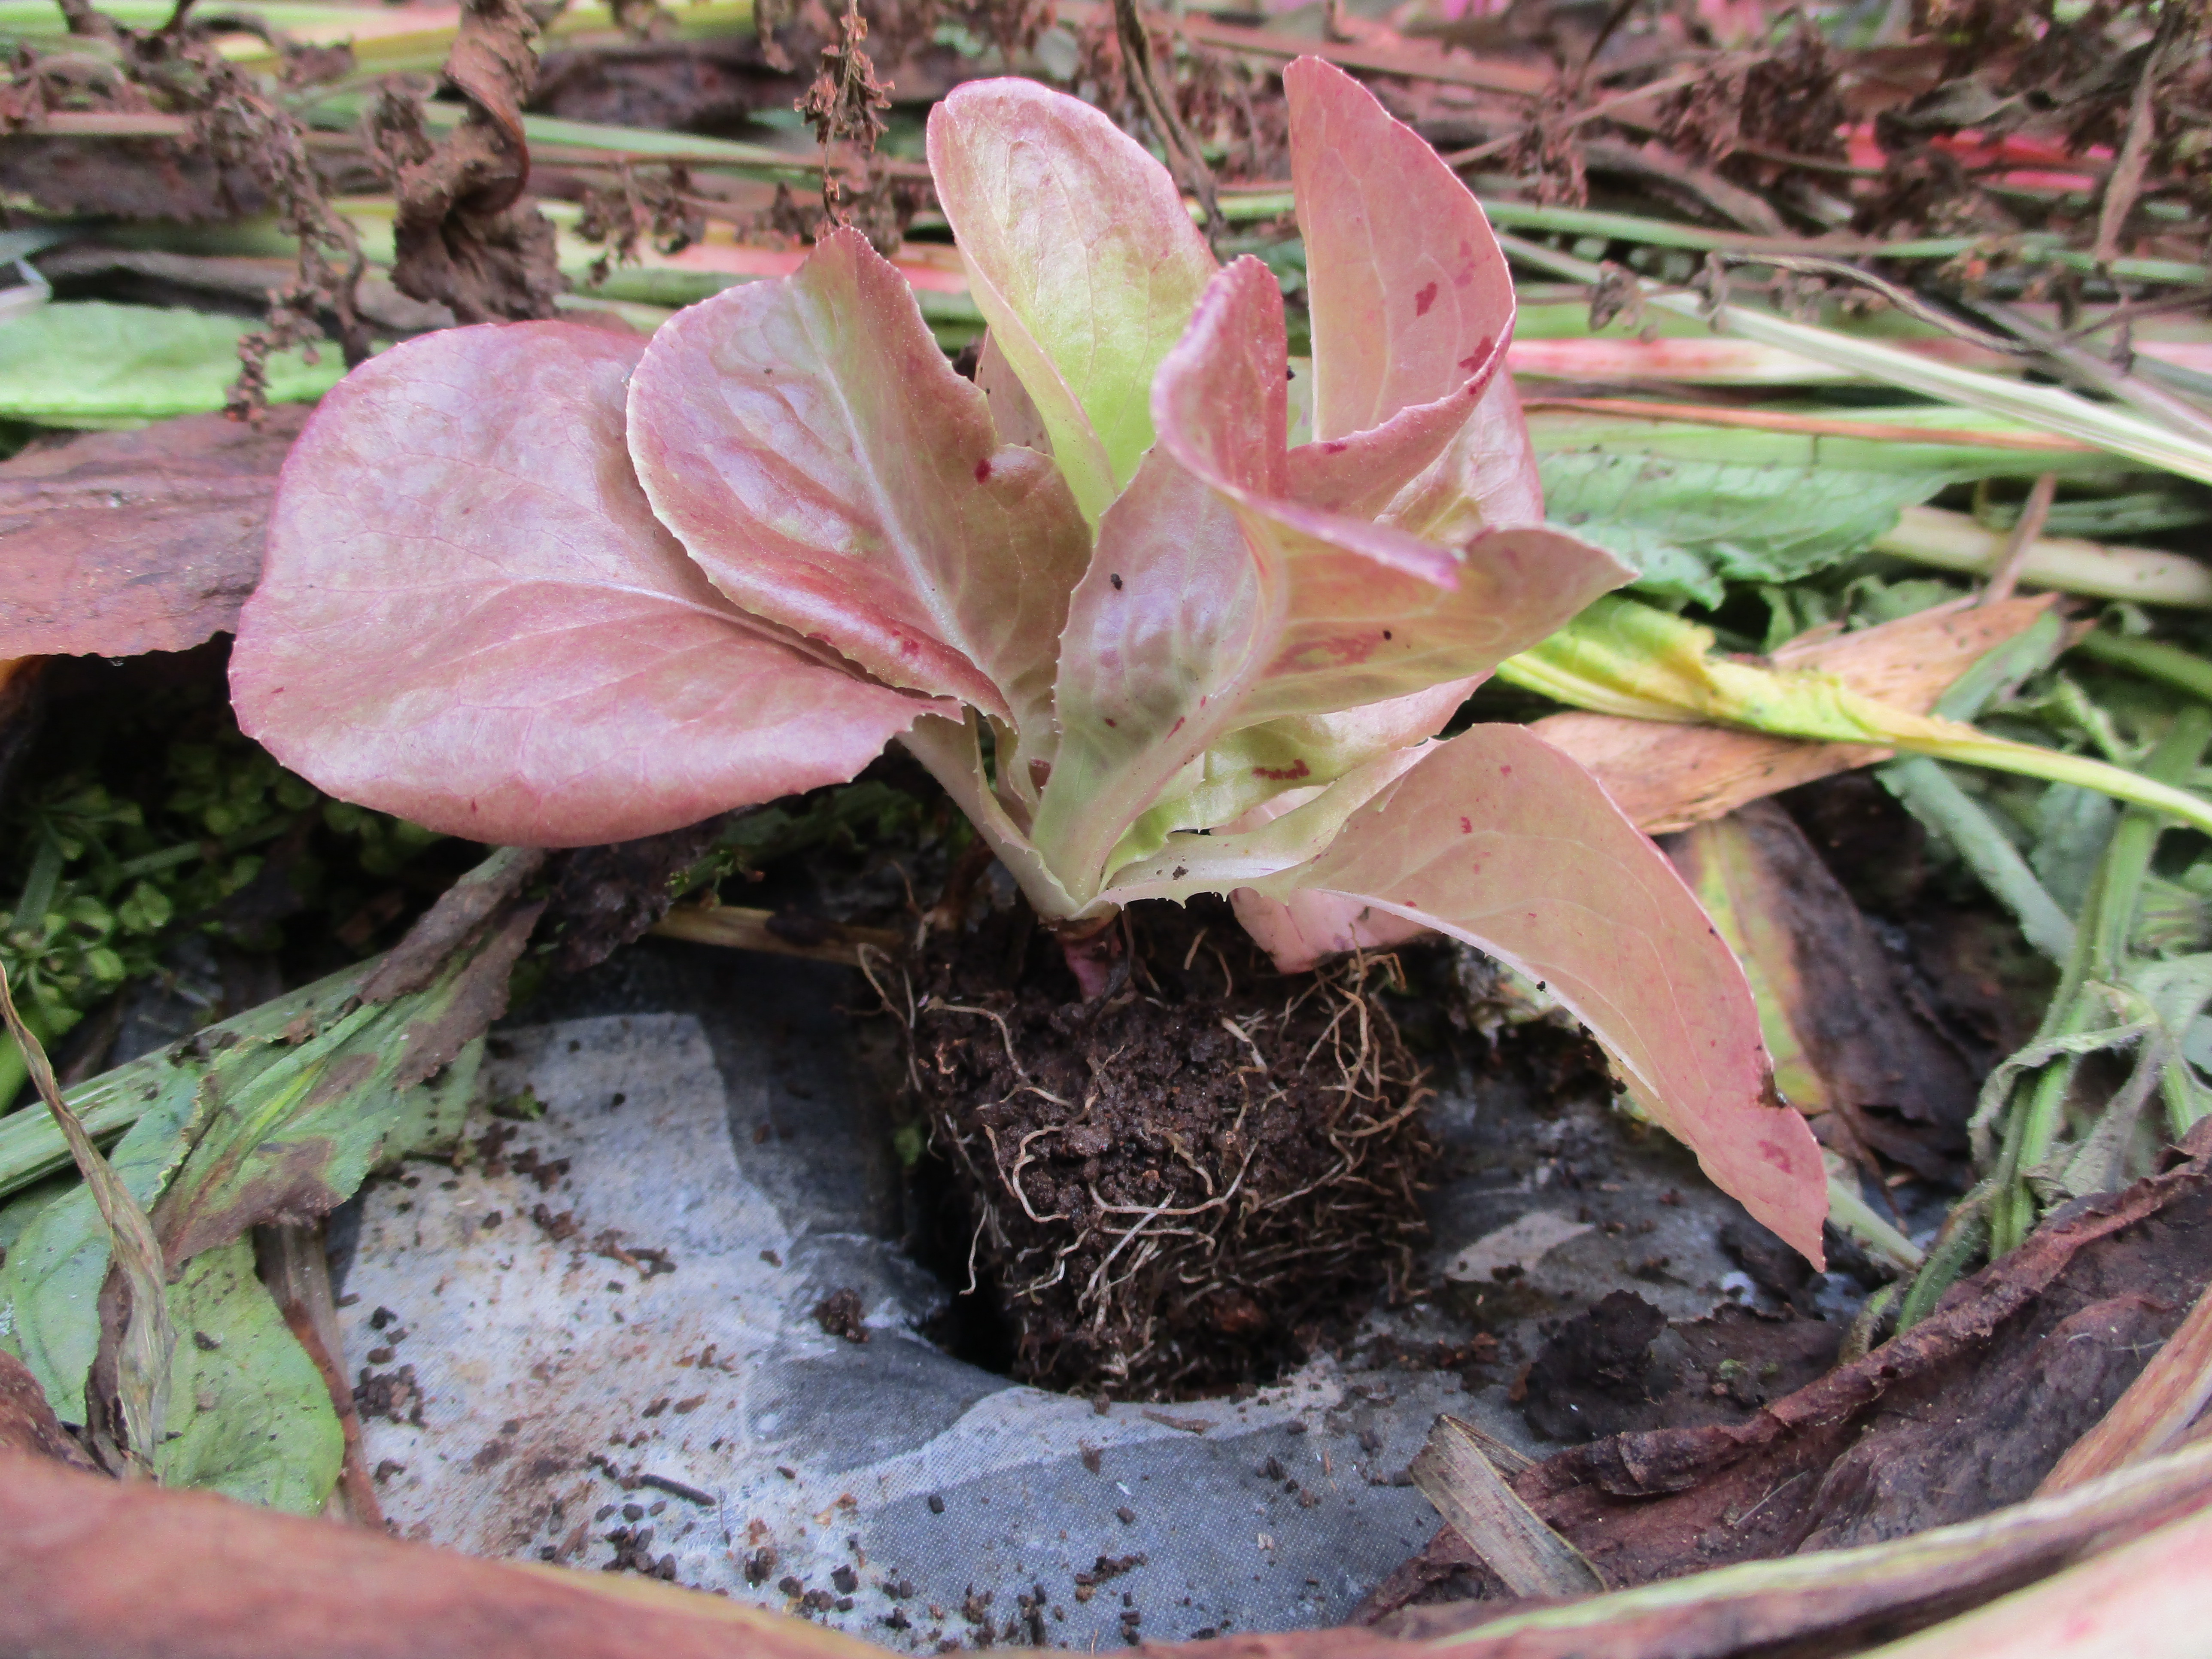
The size of the hole will be slightly wider and deeper than the size of the rootball of the seedling so that when we drop it gently and without squeezing, it fits perfectly into the hole, on the same level as the compost, just below the newspaper. Once the seedling is planted, it is important to put the organic matter back into place: covering up again the part of the newspaper we uncovered before, making sure, however, not to cover the sprout of the seedling so it doesn’t rot.
On the other hand, if we were to squeeze the rootball, we would make it very difficult for the roots to expand and for the plant to develop. The natural development of the plant would also be hindered if the rootball is left too high above the newspaper because in this case, the upper part of the roots will not be able to take root in the compost (Figure III.25).
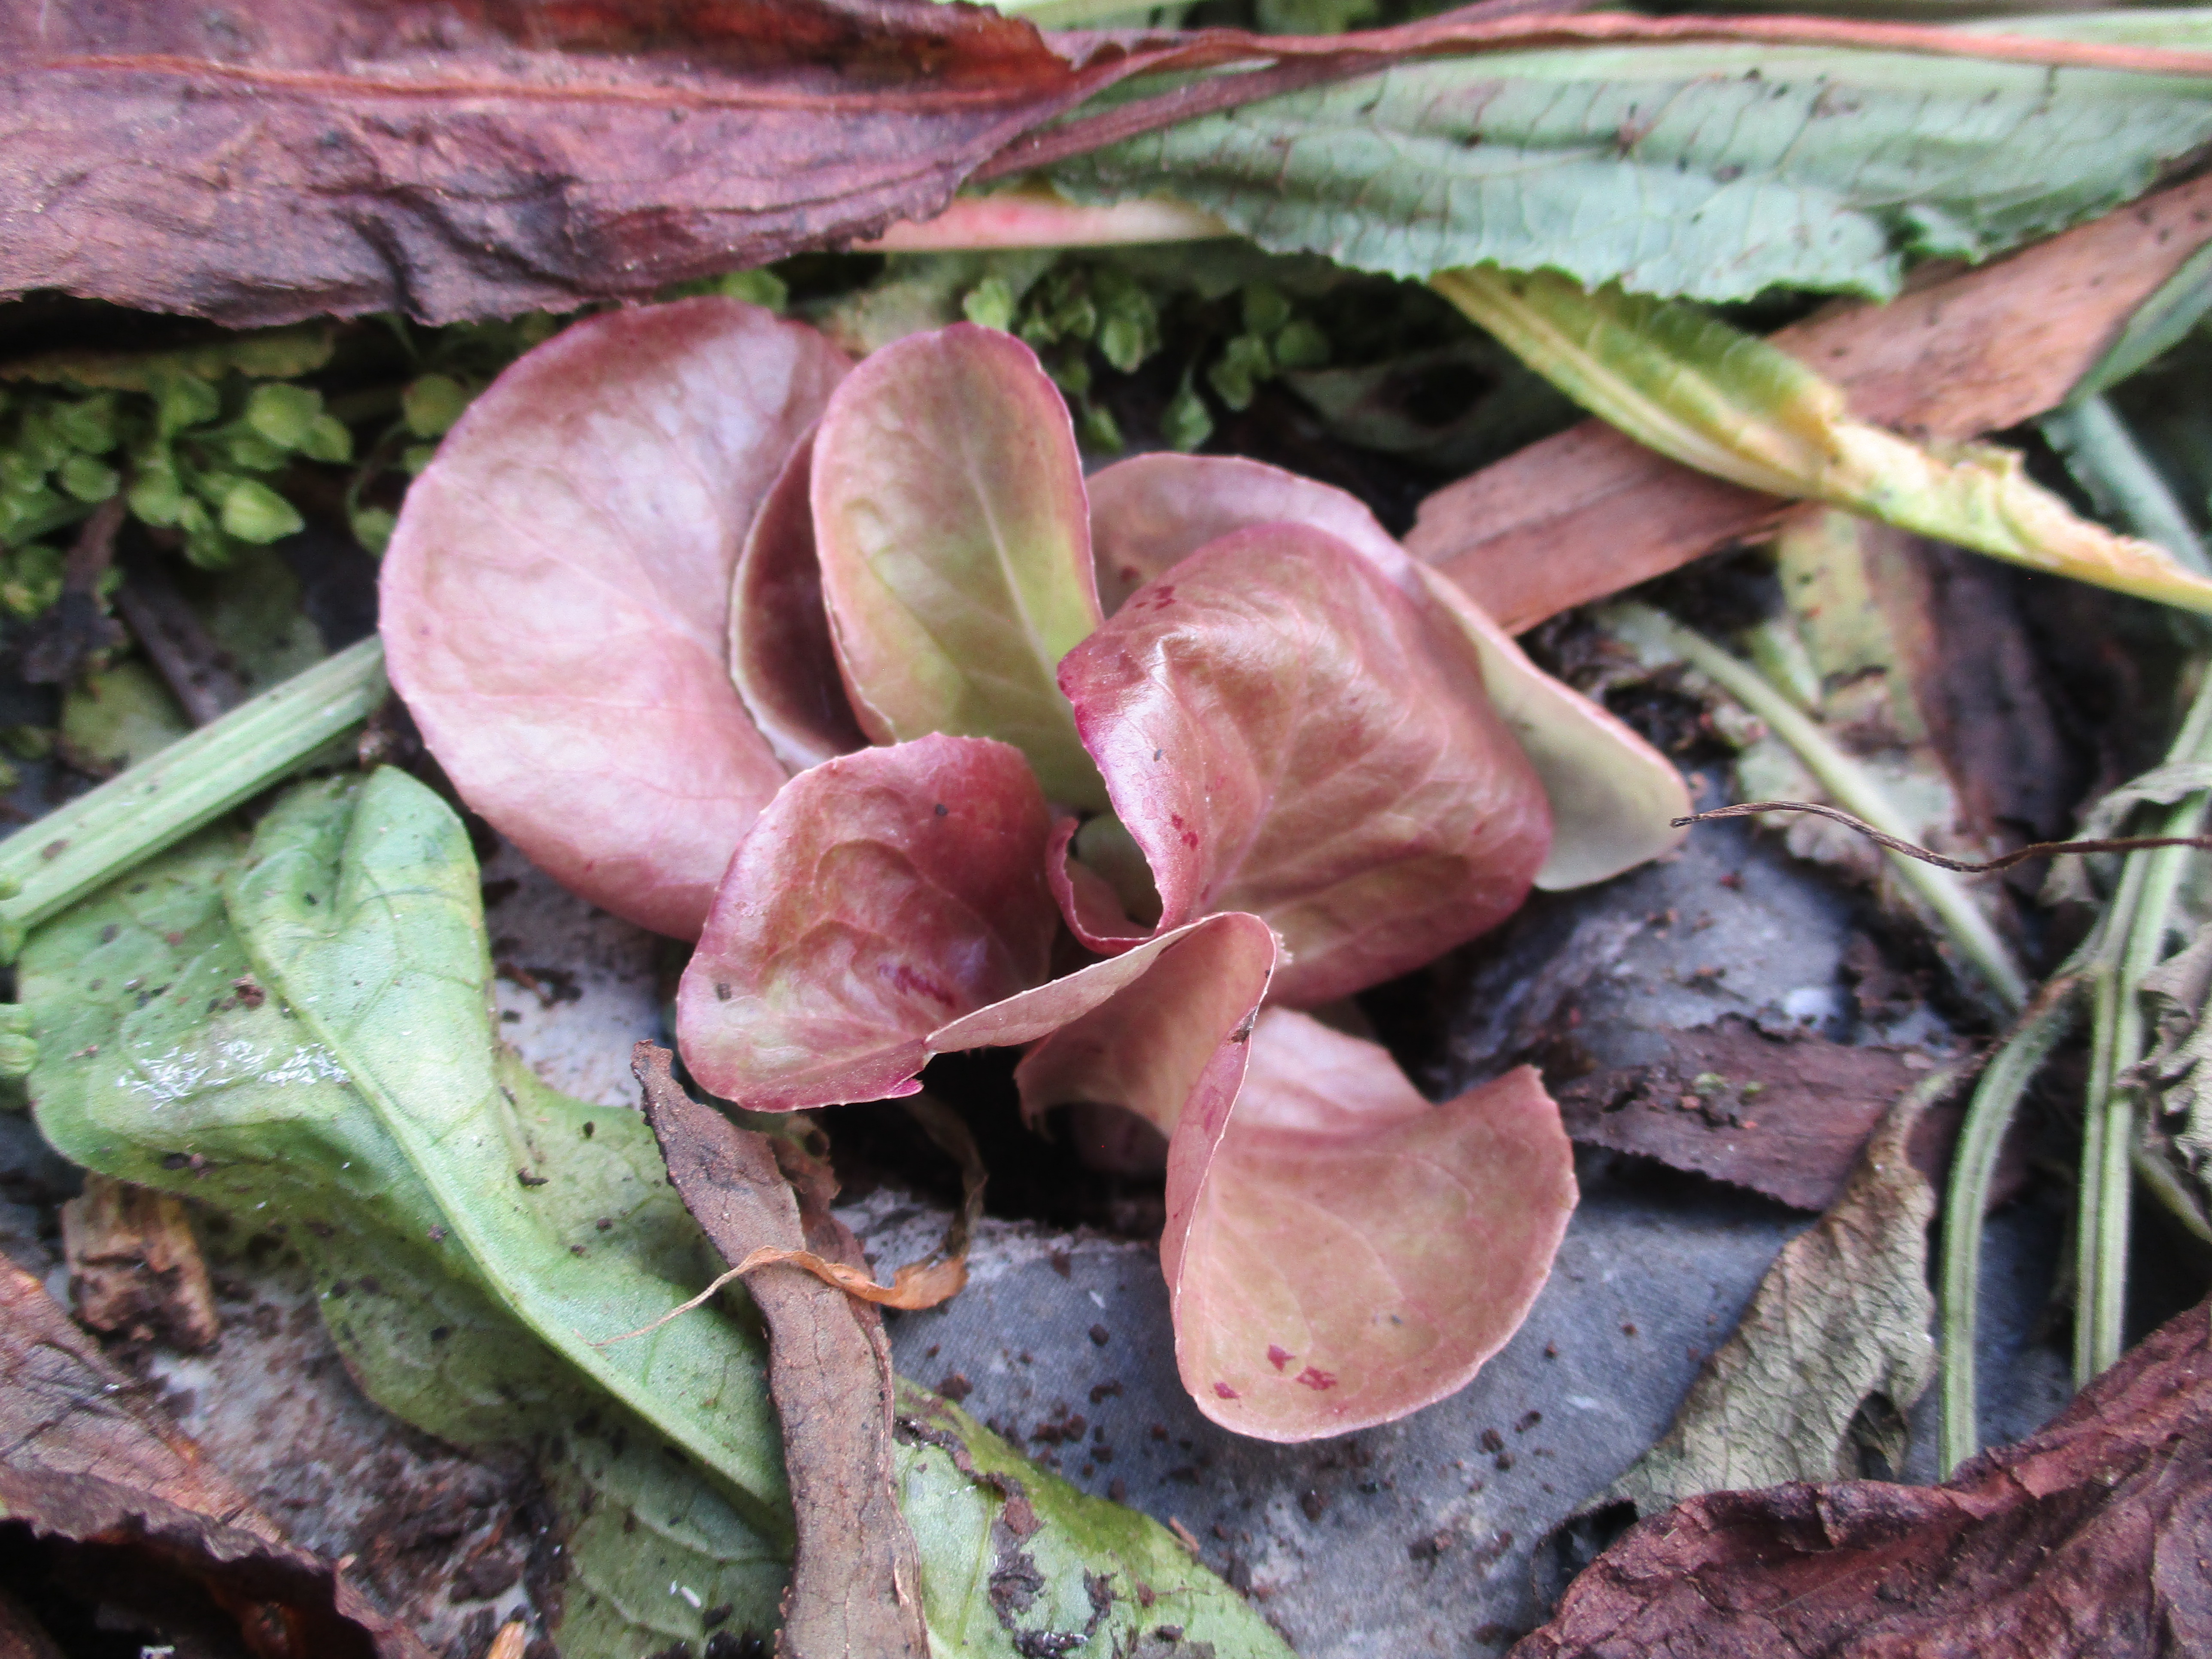
Figure III.25.- Right suggested way of planting (left), wrong one (centre) and planting evolution (right)
When we finish planting, we need to water the seedlings so they take root quickly. Watering them two or three days in a row with a small amount of water will help them to settle down. Afterwards, we can check the humidity of the soil and water when necessary.
We will discuss the technique of direct sowing in the beds in the Didactic Unit V, “Maintaining our edible garden”.
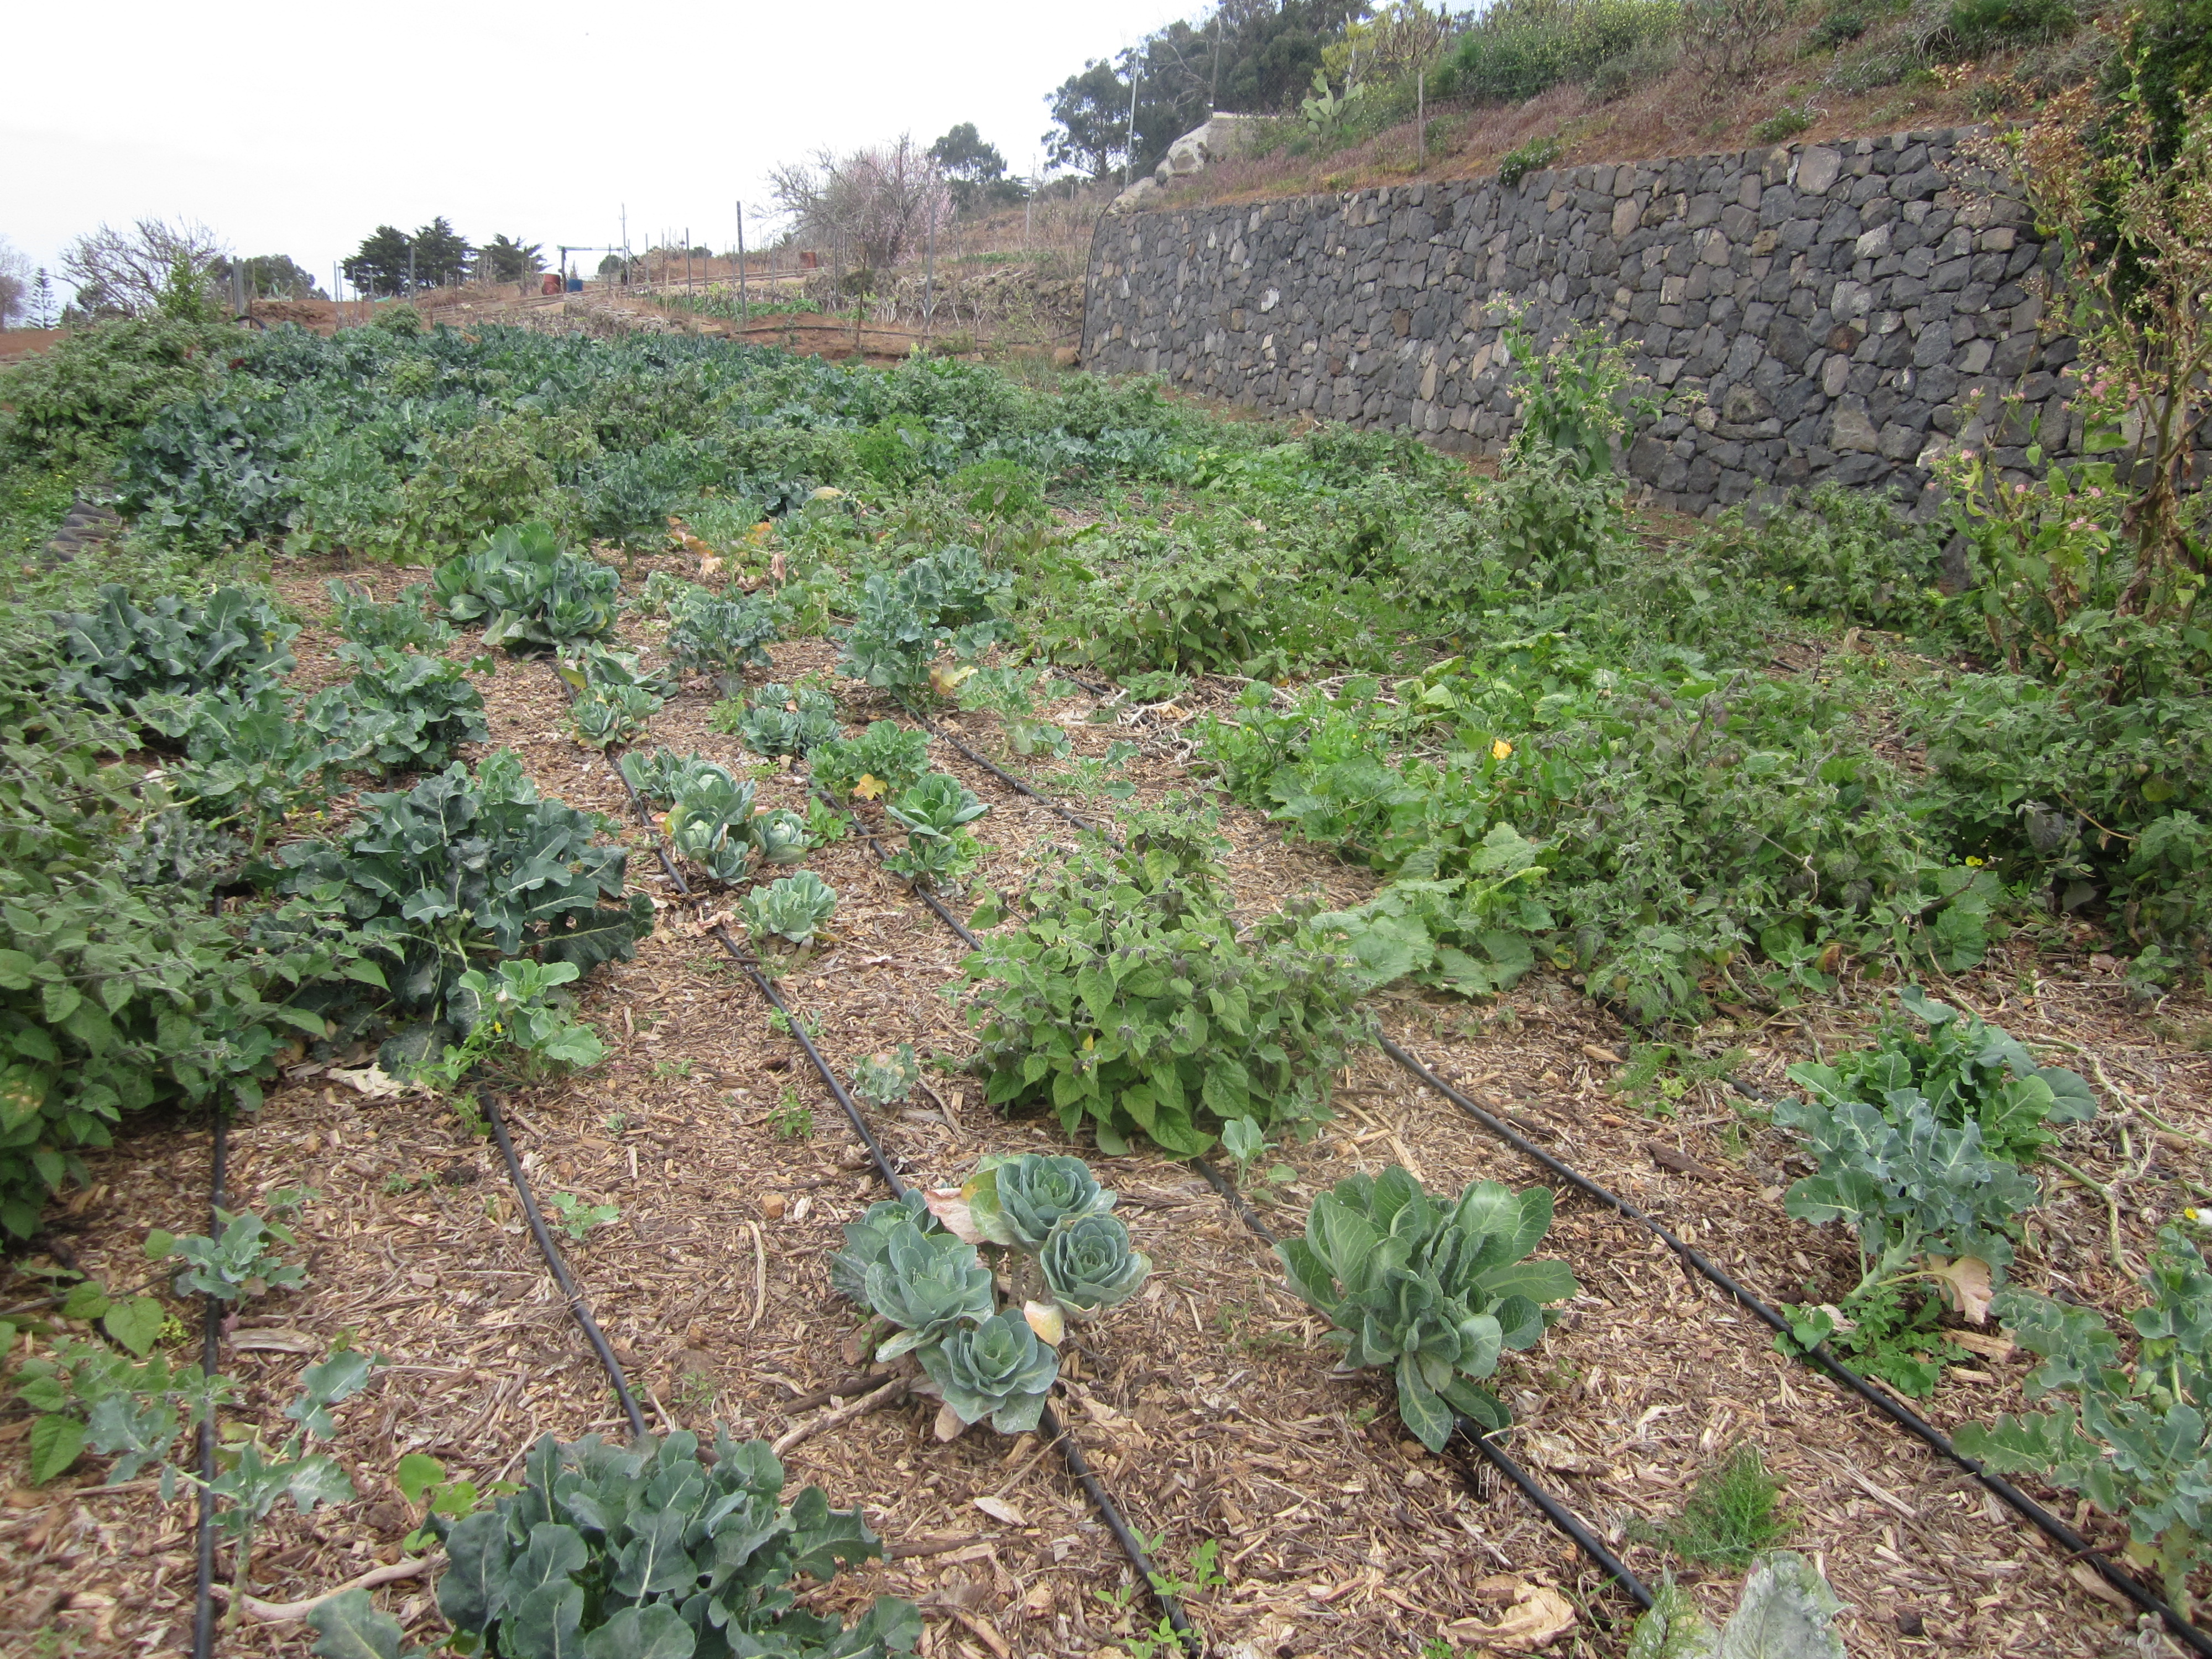
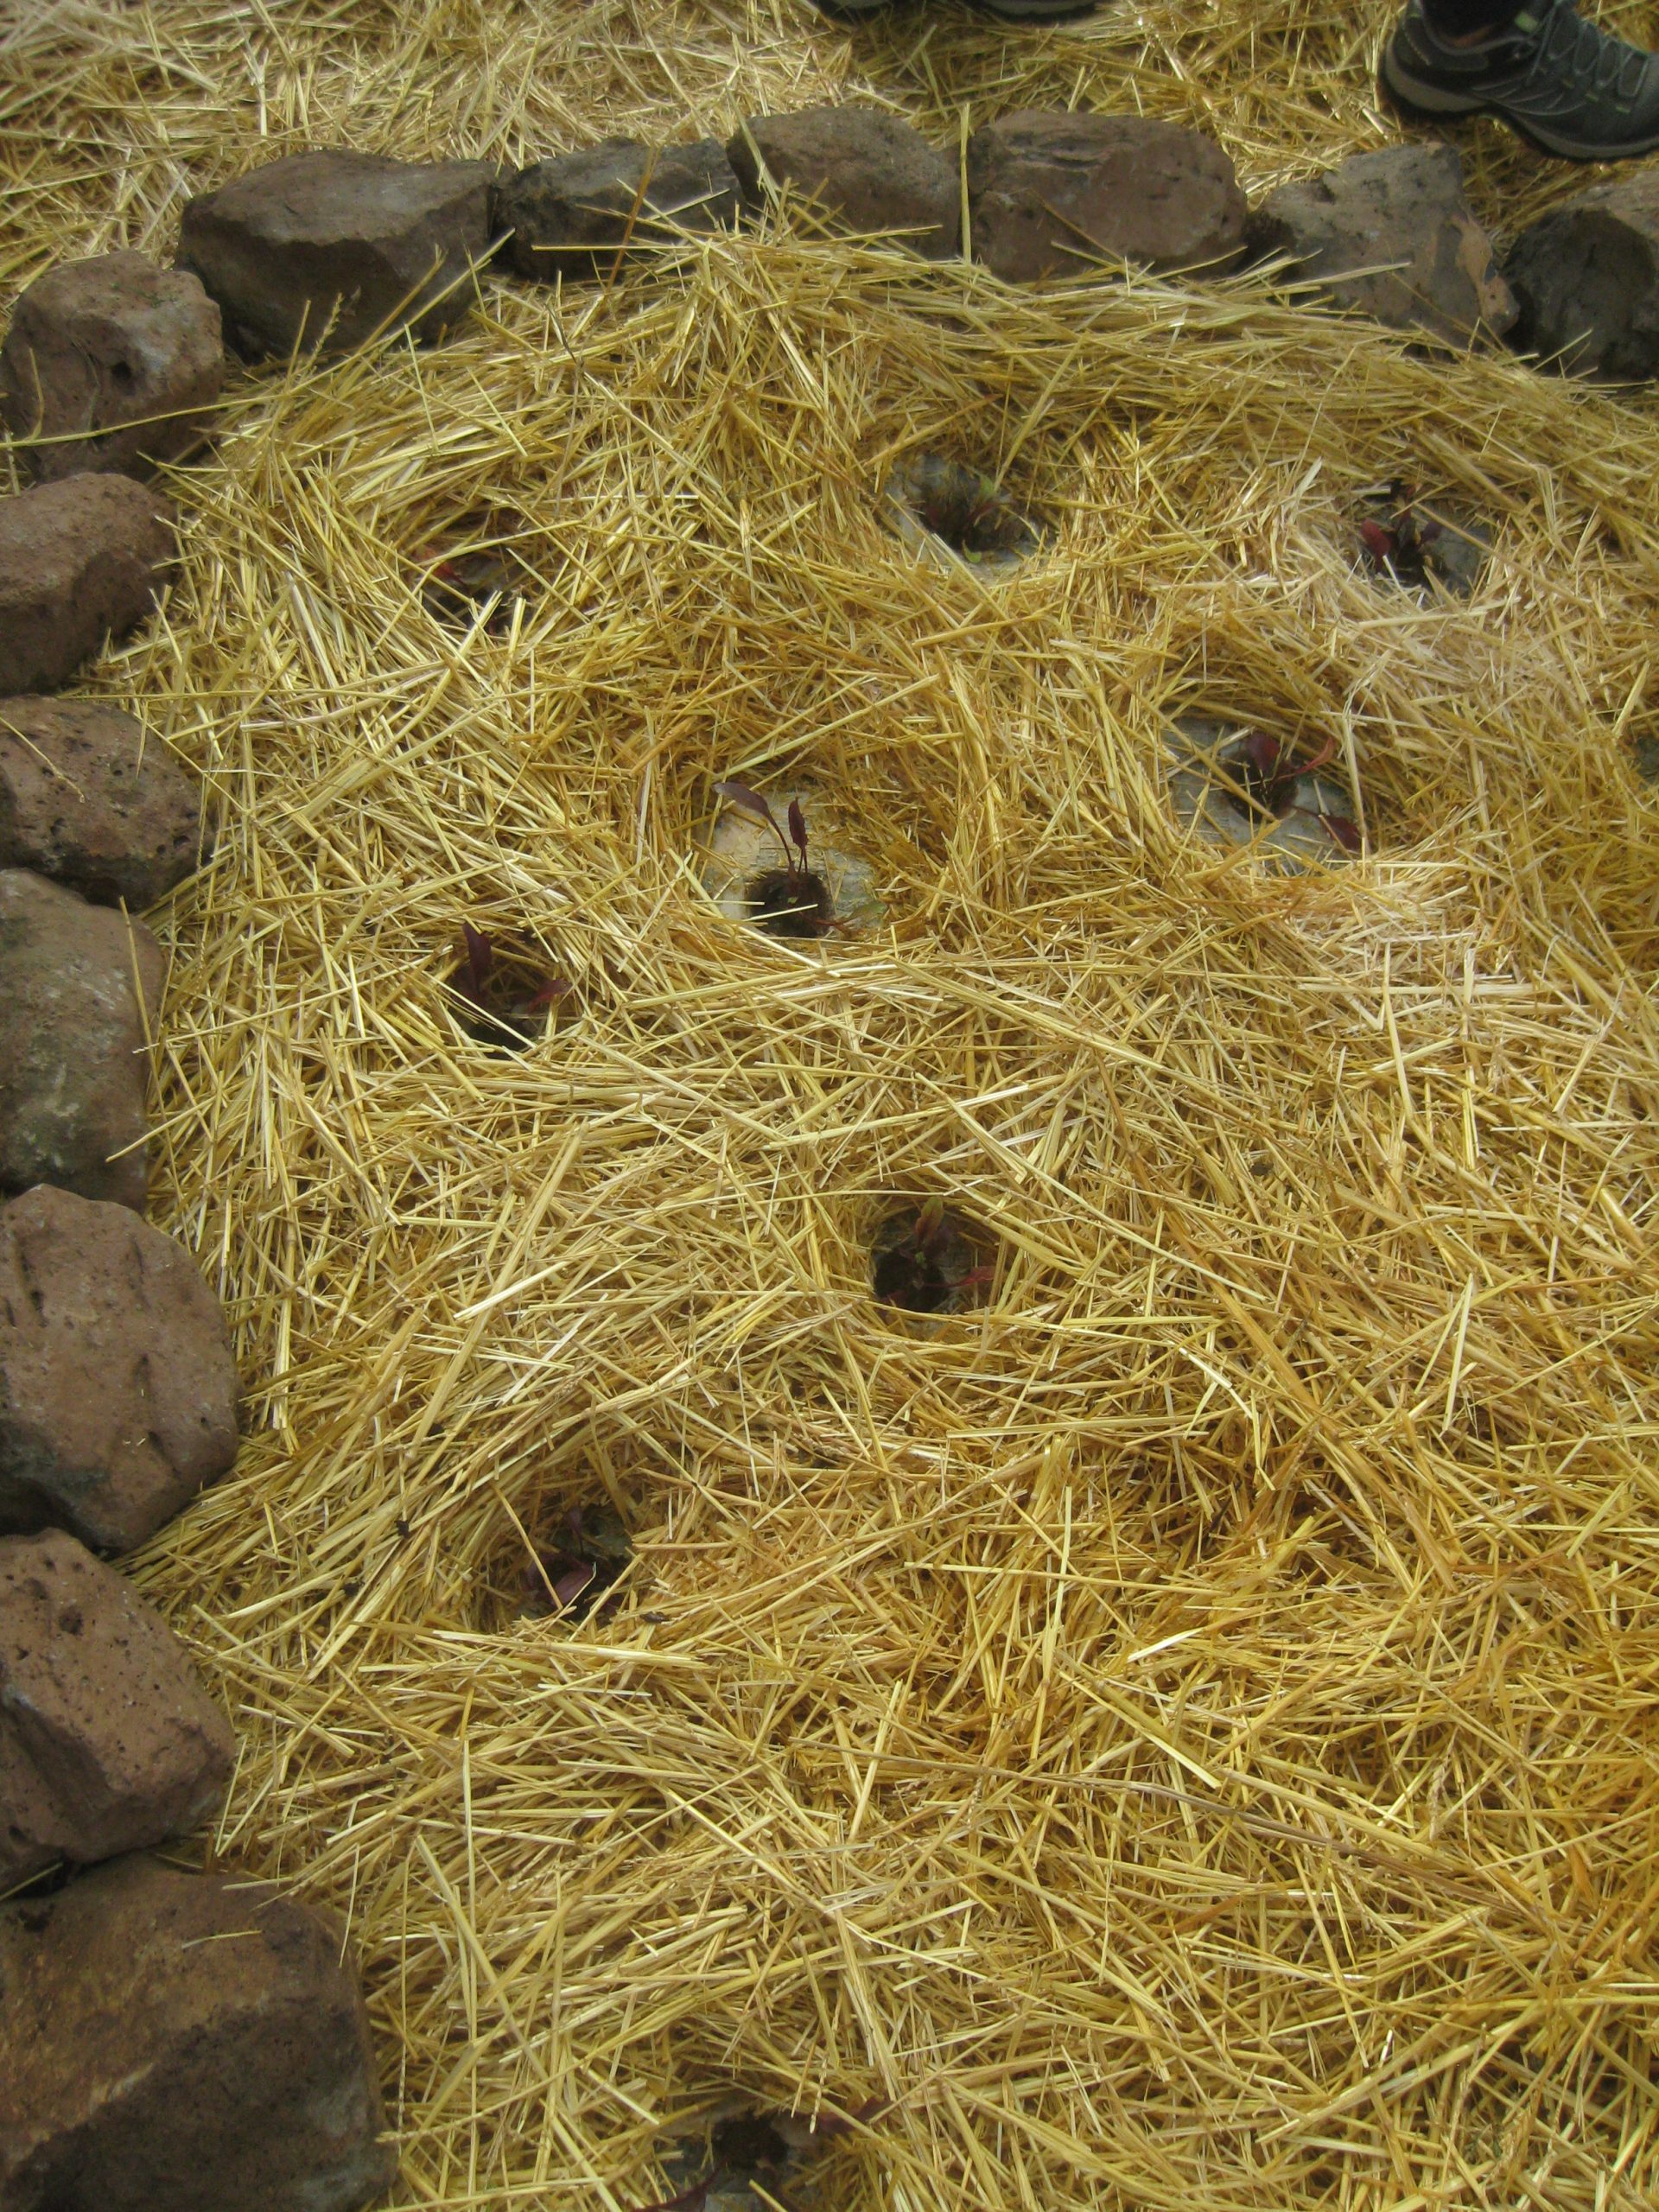
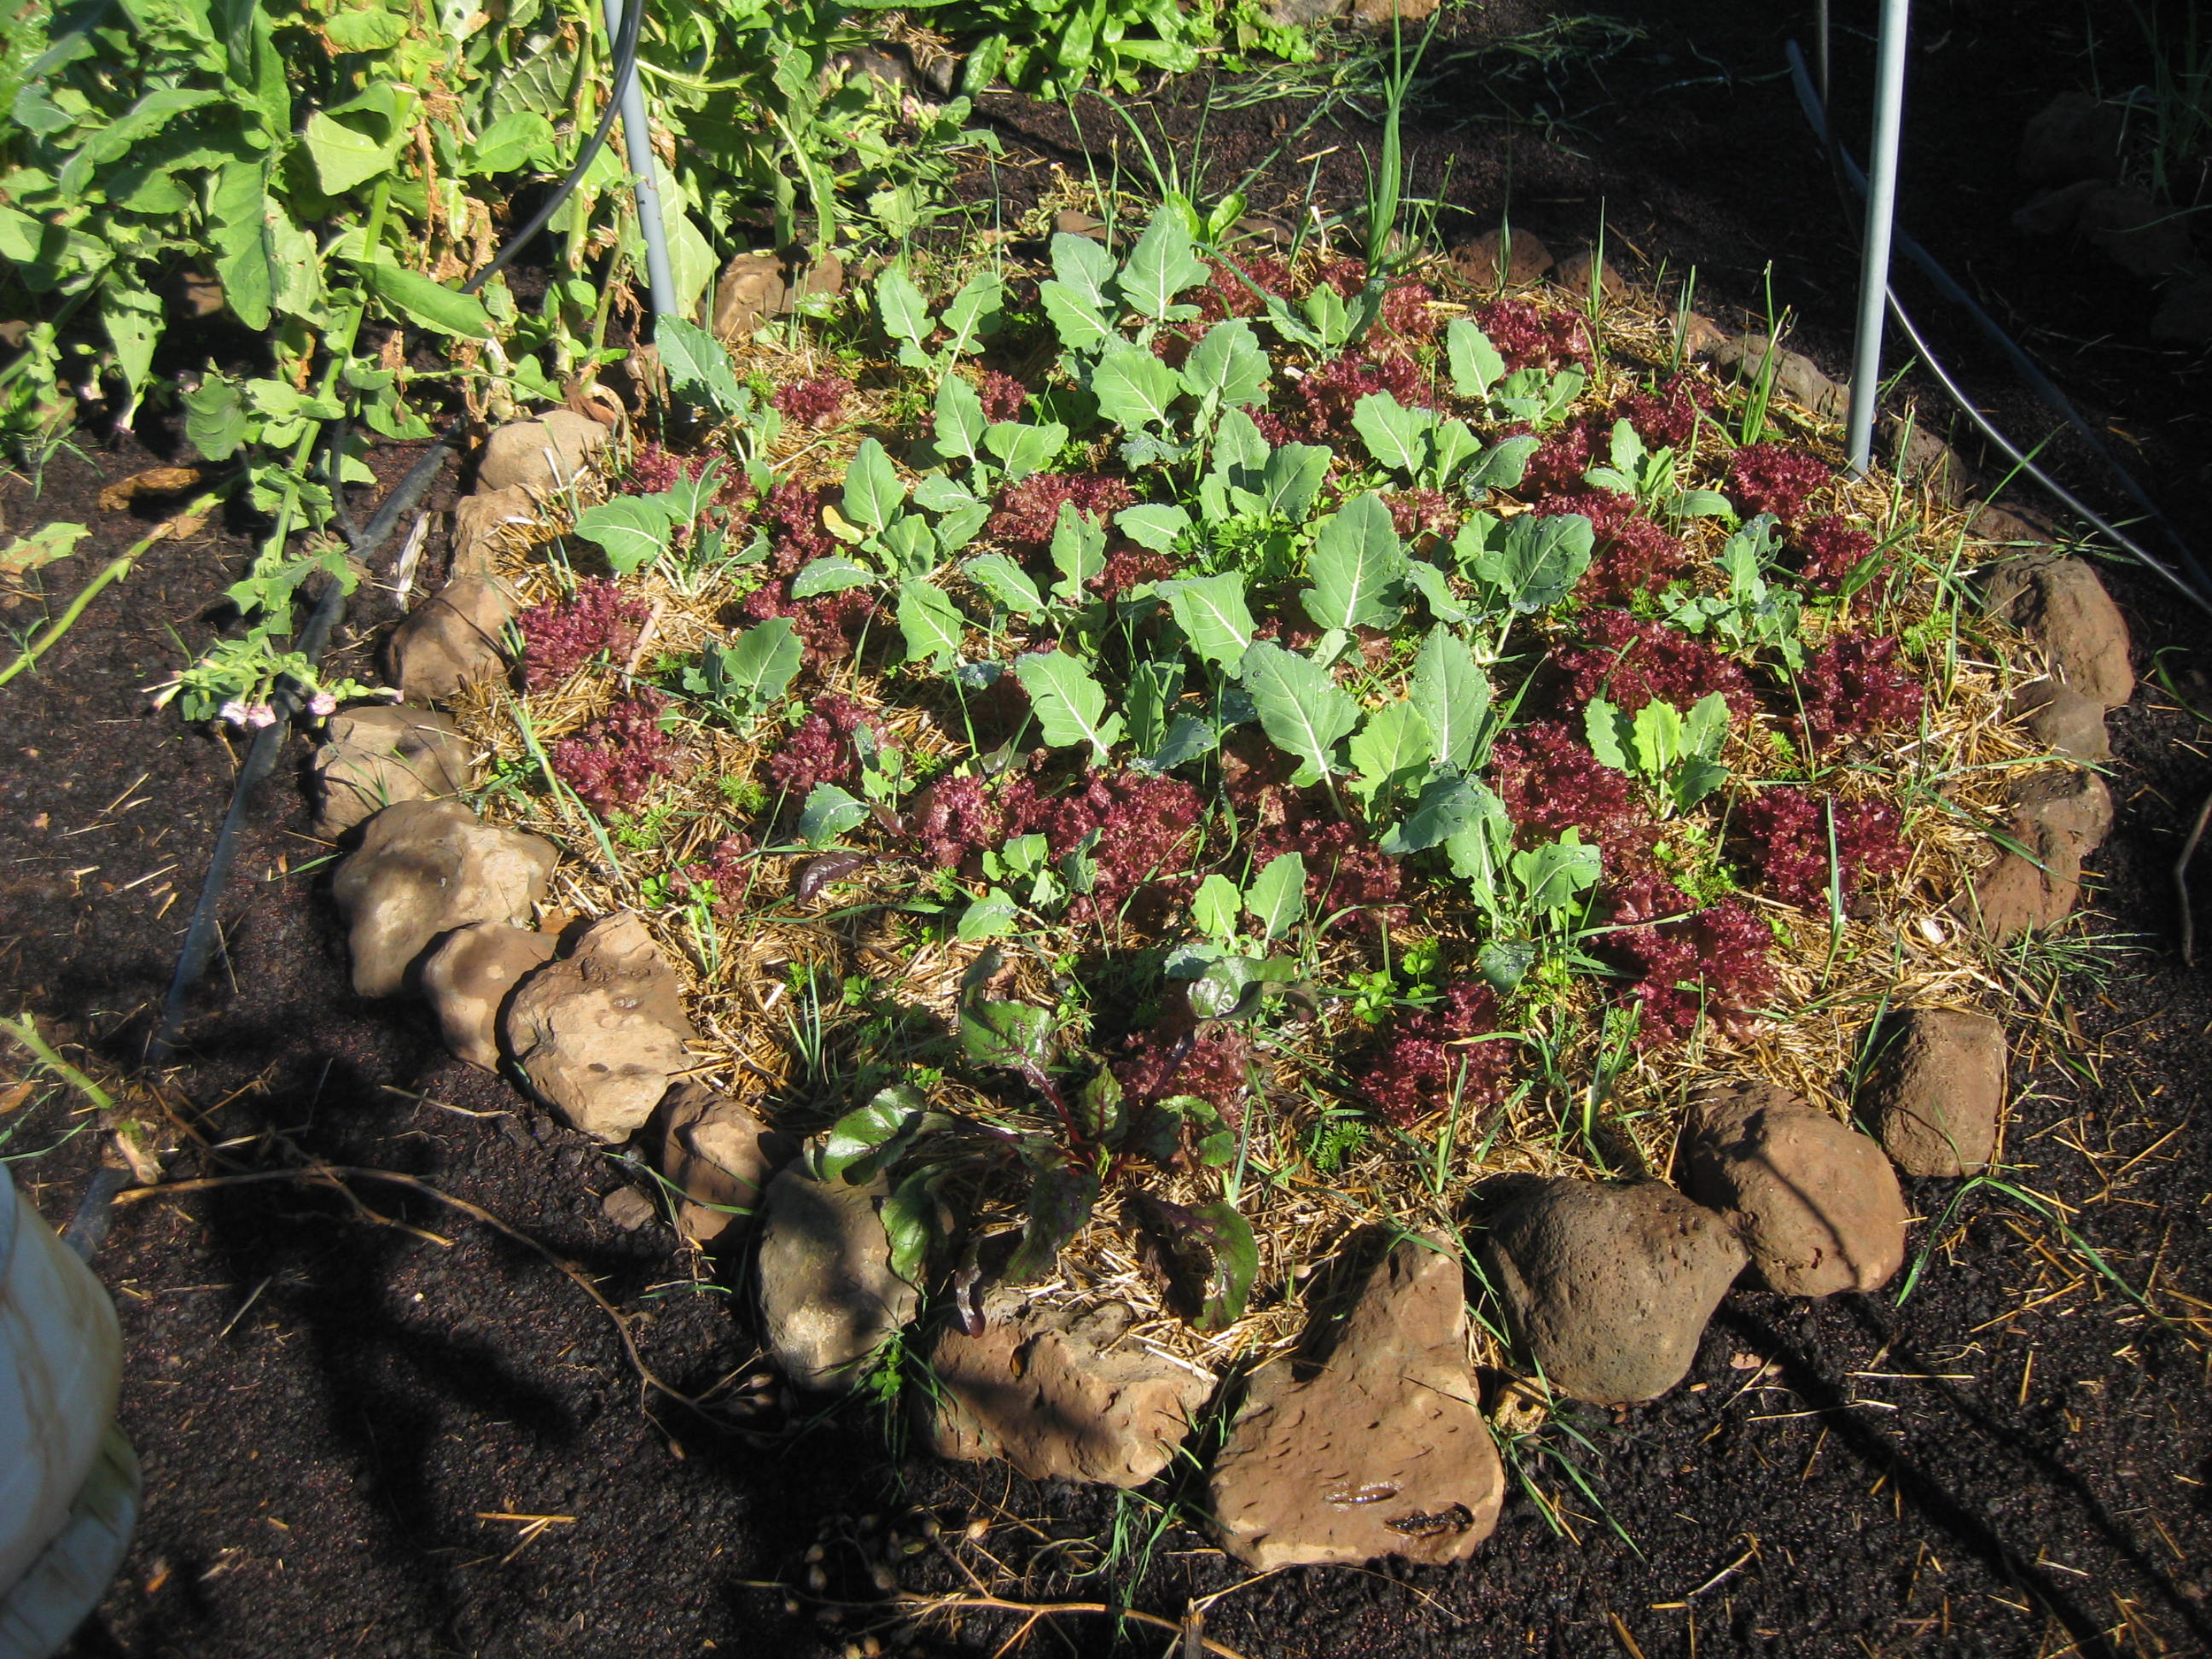
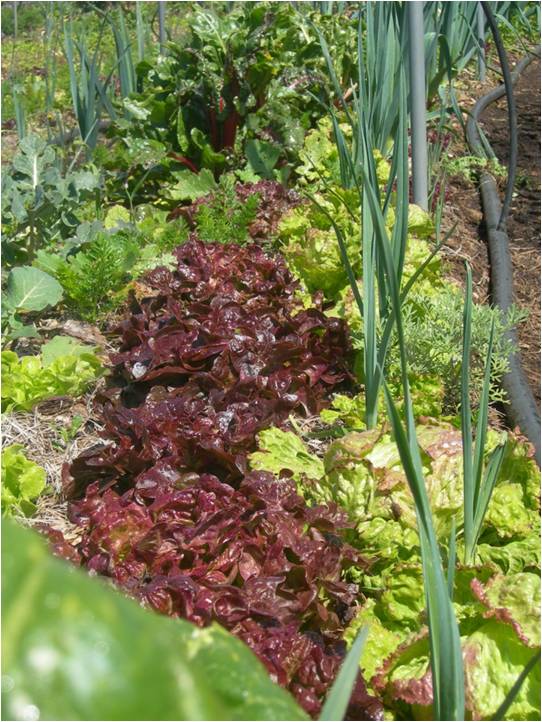
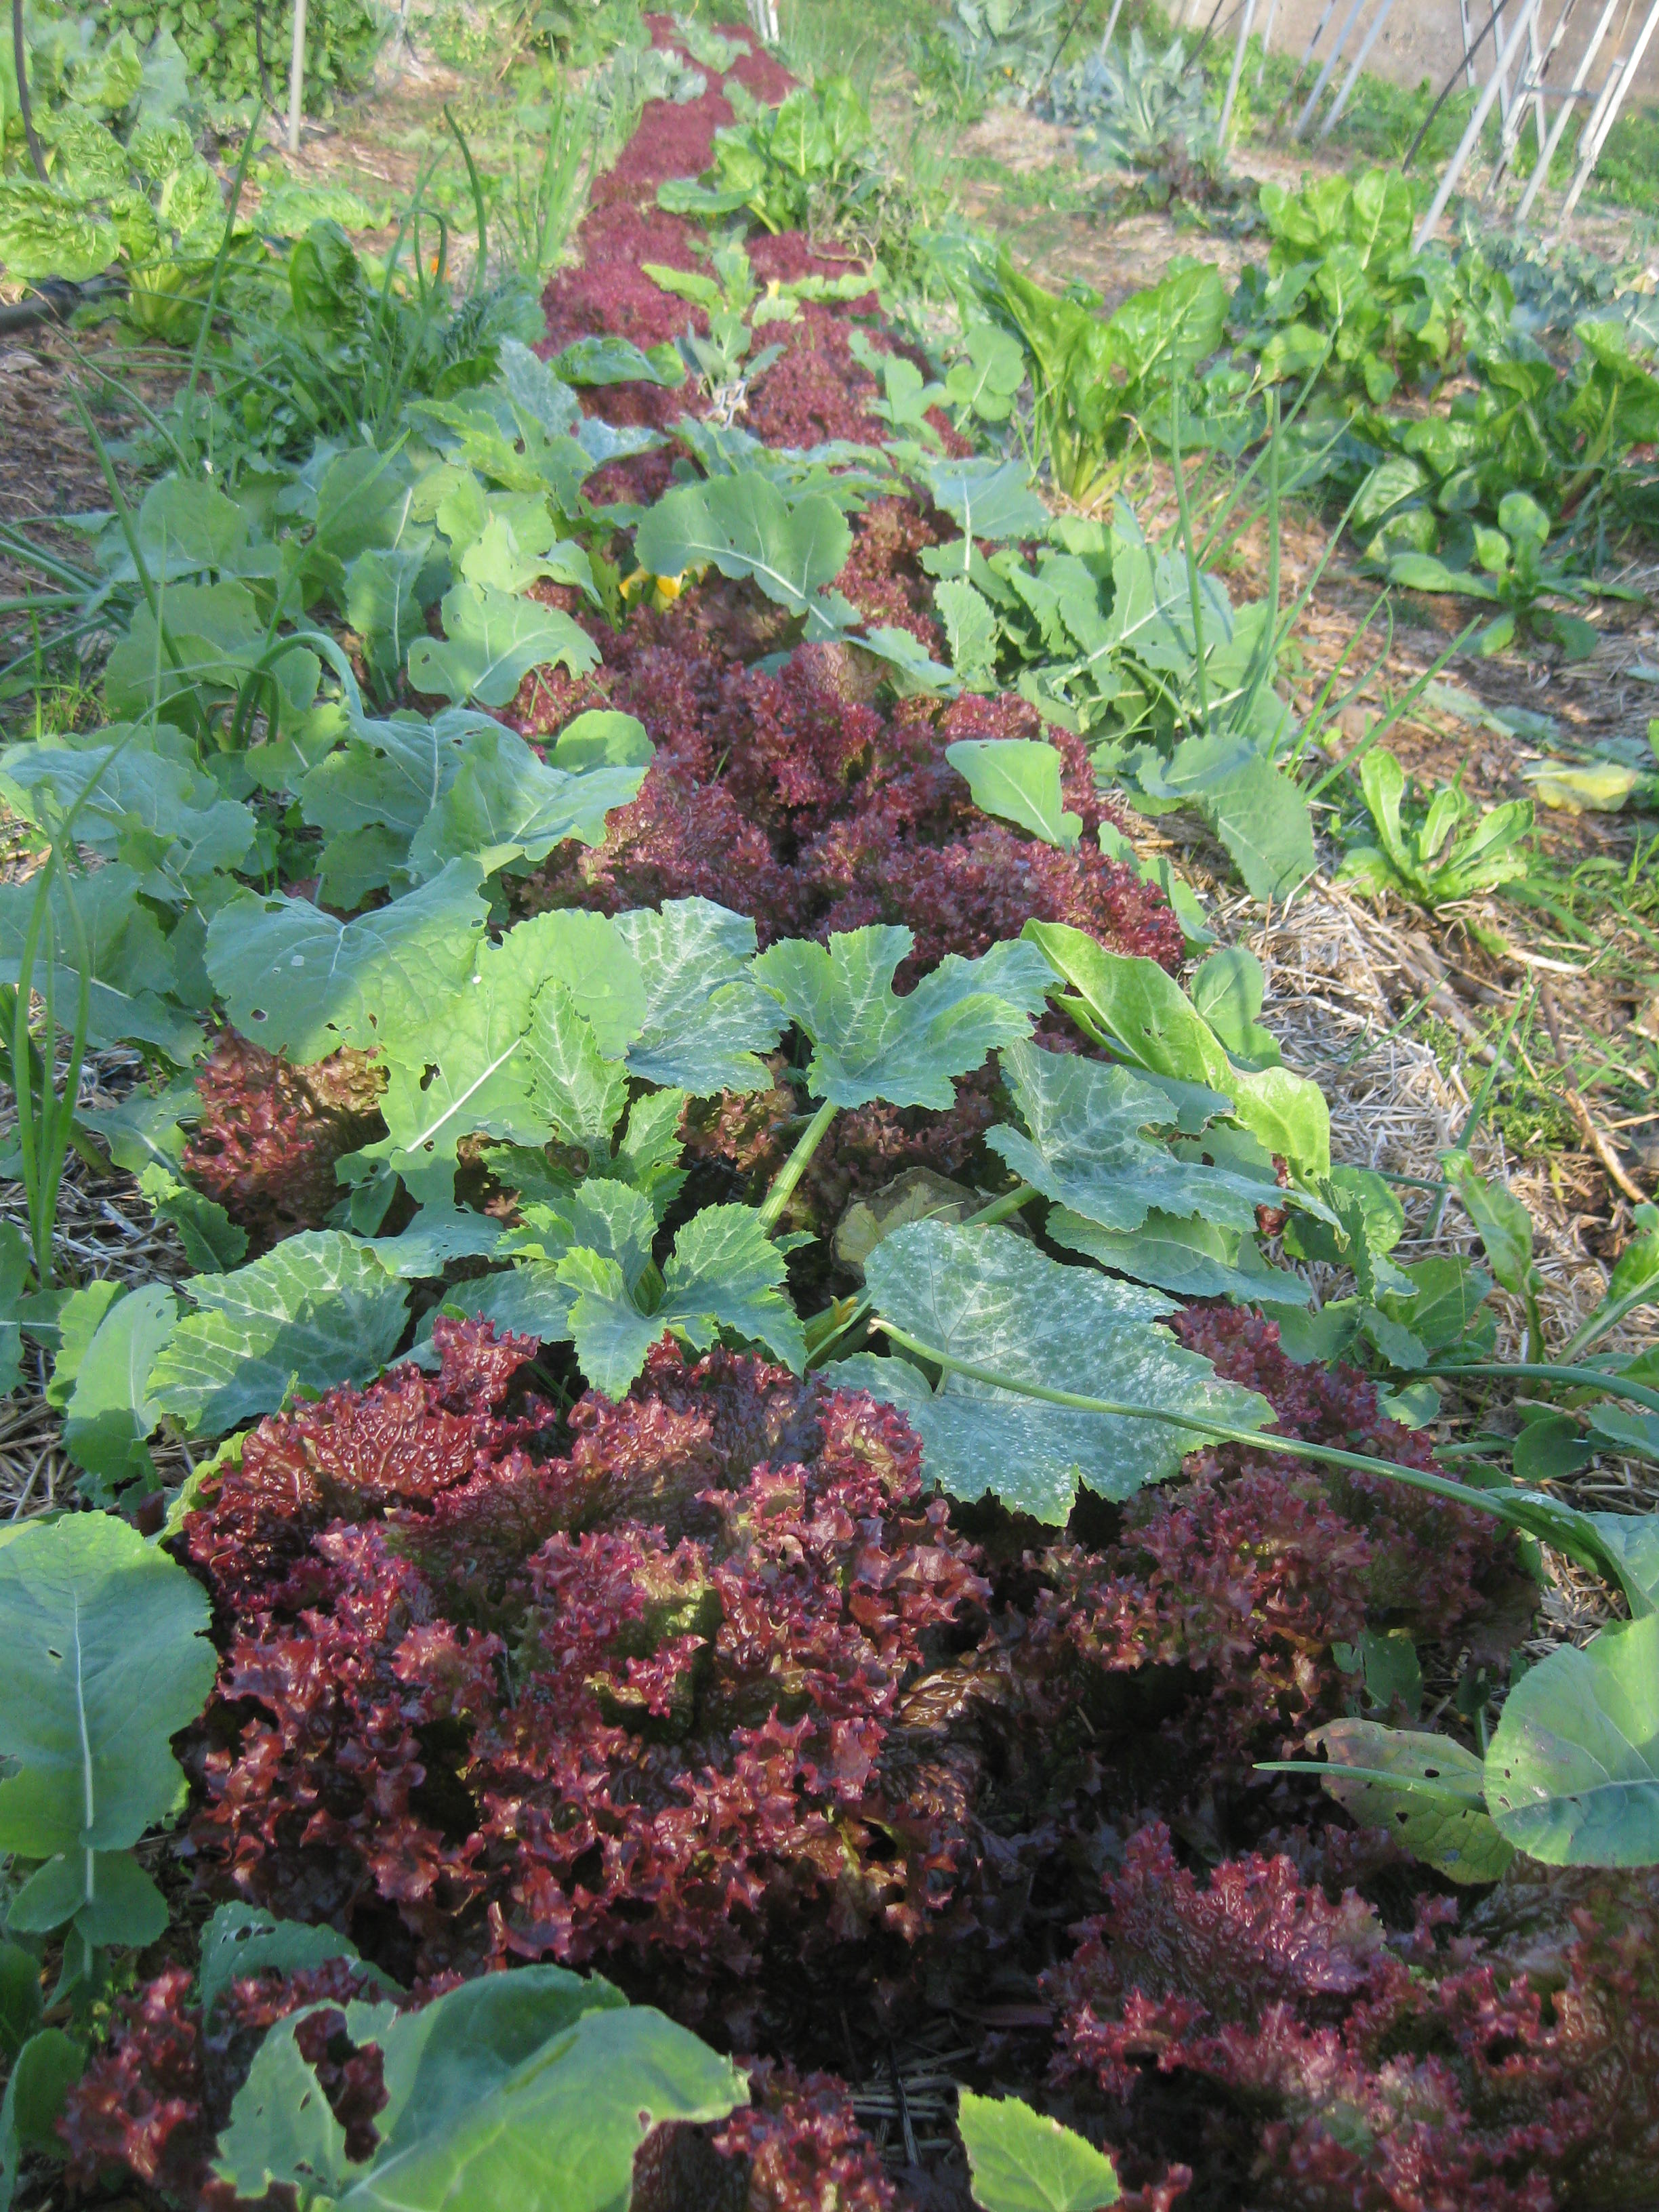
For a better harvest, space management and to make the most out of the sunlight, the most frequently used design for the plant distribution in our edible garden is a pyramid shape, which consists of placing the highest plants in the centre of the bed and the smallest plants on the sides (Figure III.26).
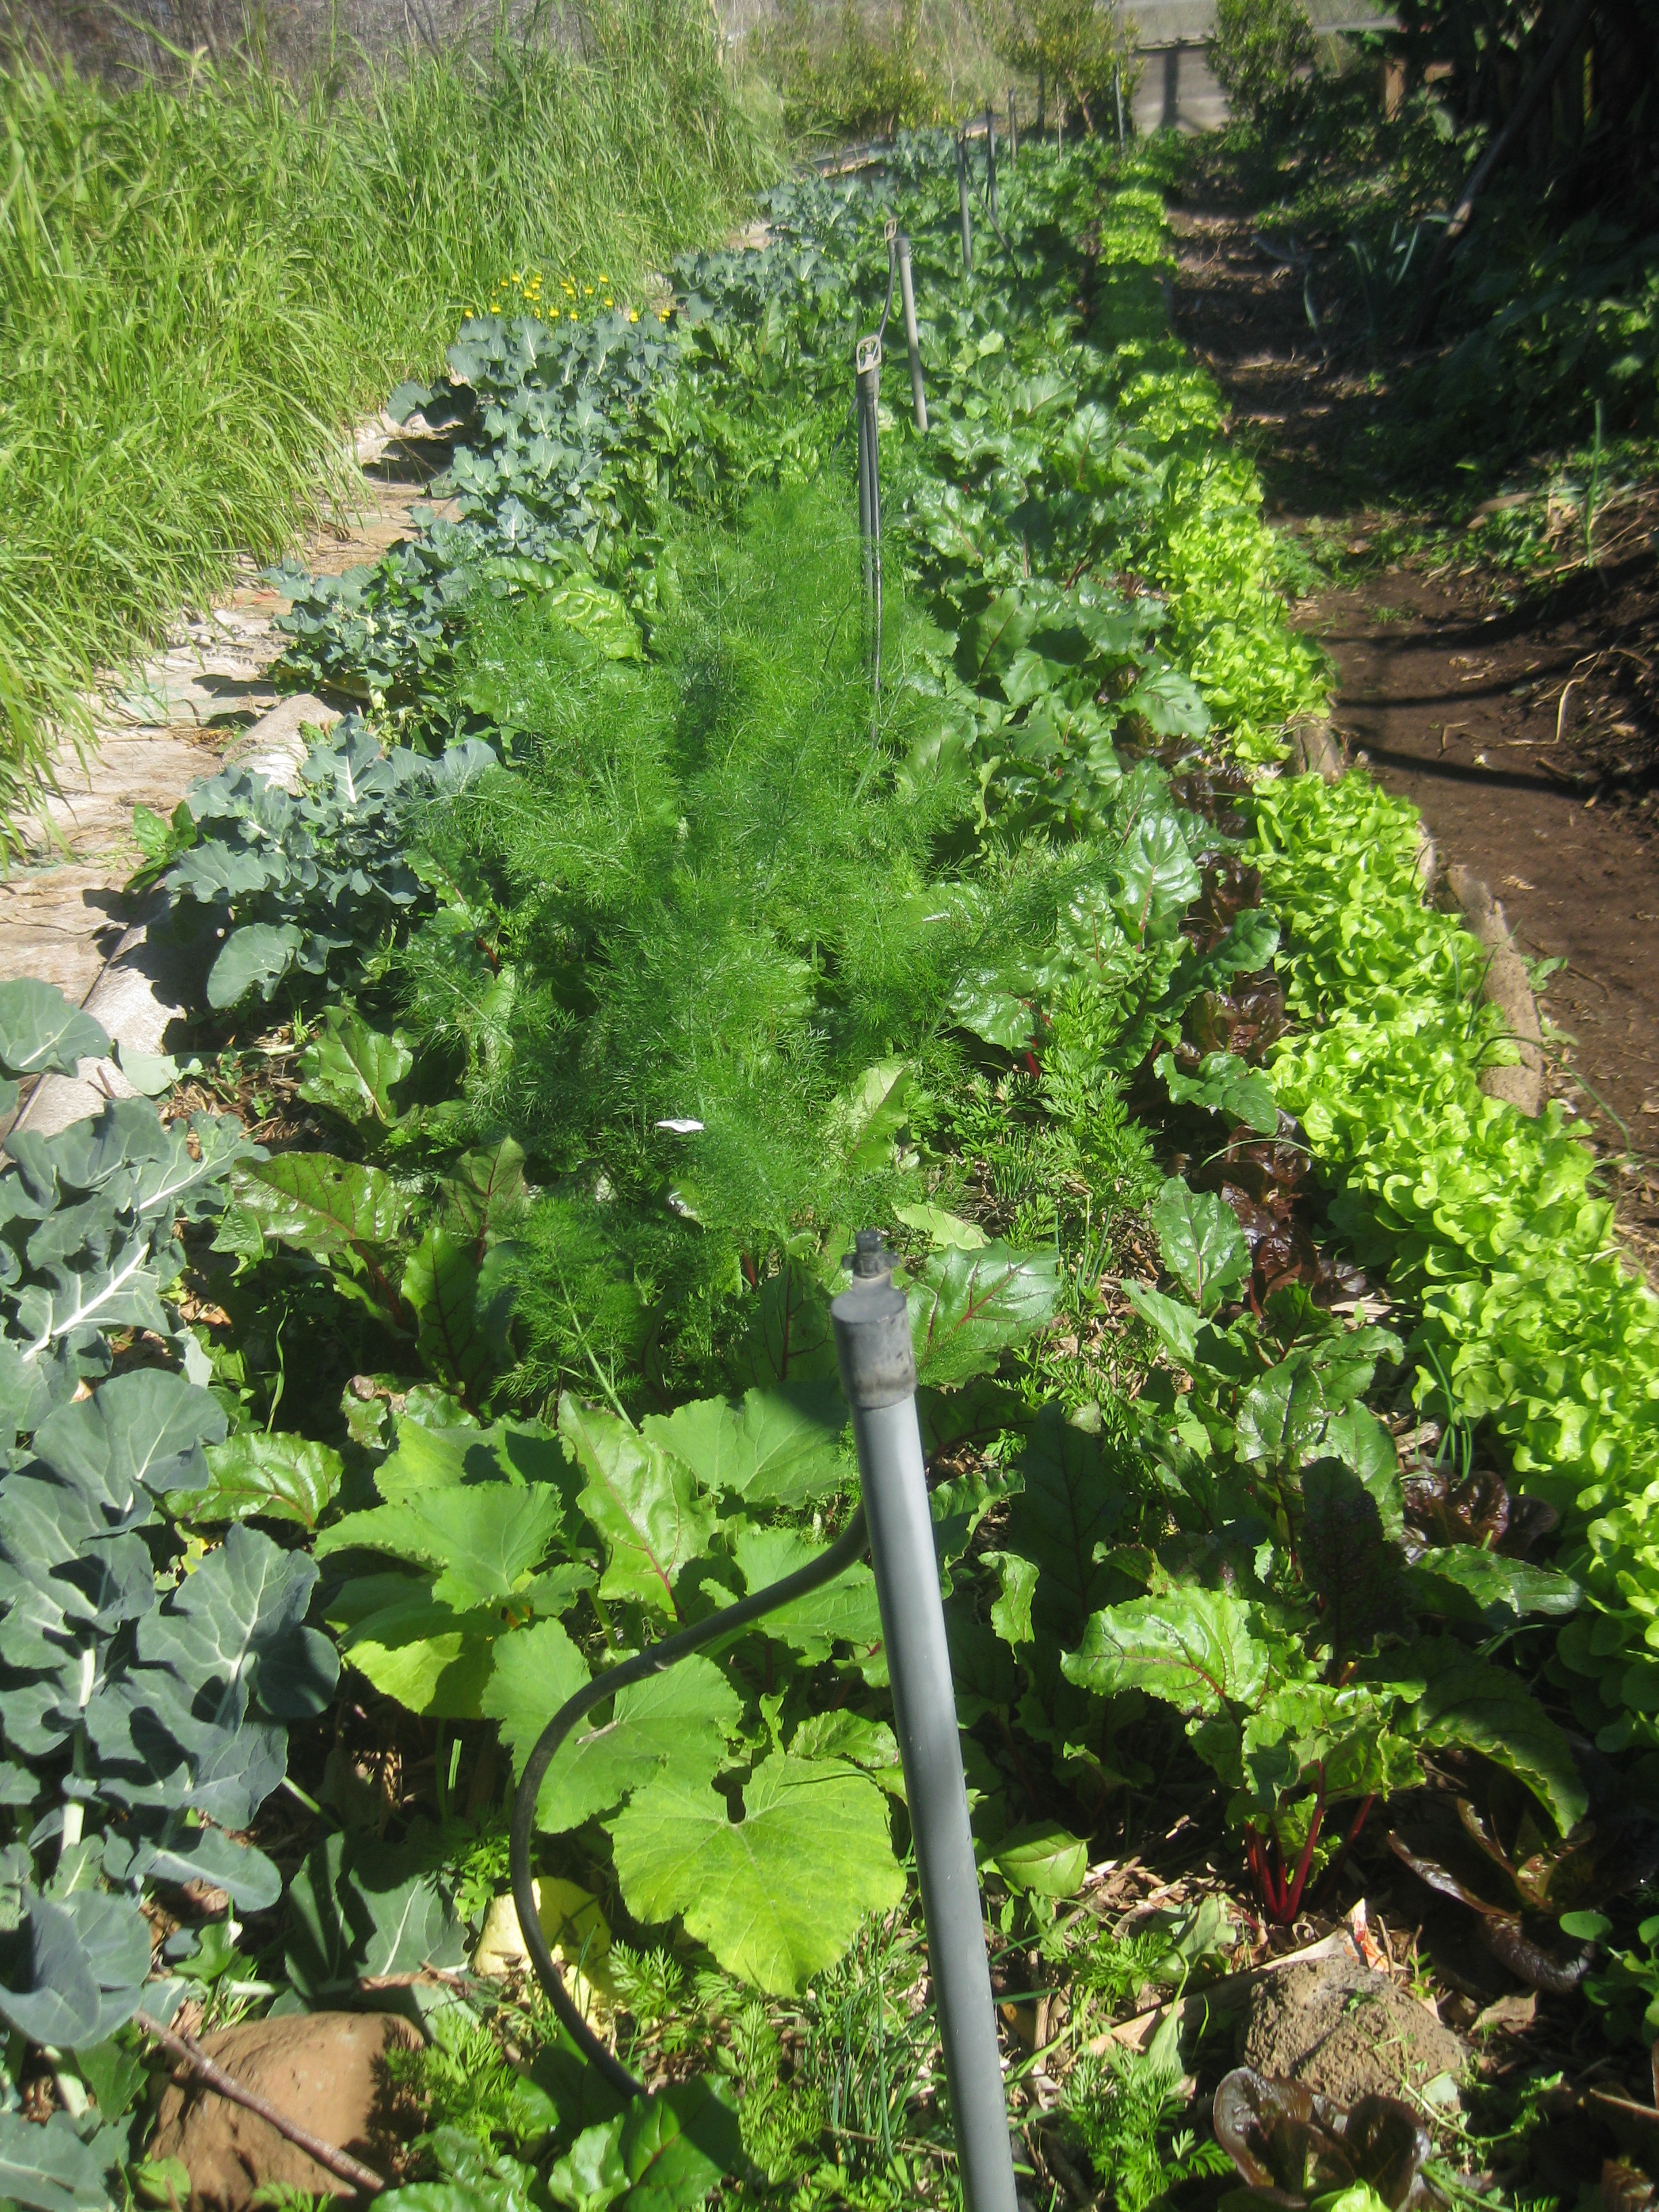
Figure III.26.- Pyramidal distribution of the plants

For this activity, our participants can use their imagination in order to create rainbow coloured arrangements with the plants in the beds. This way, they develop their “edible creativity” (Figure III.27).
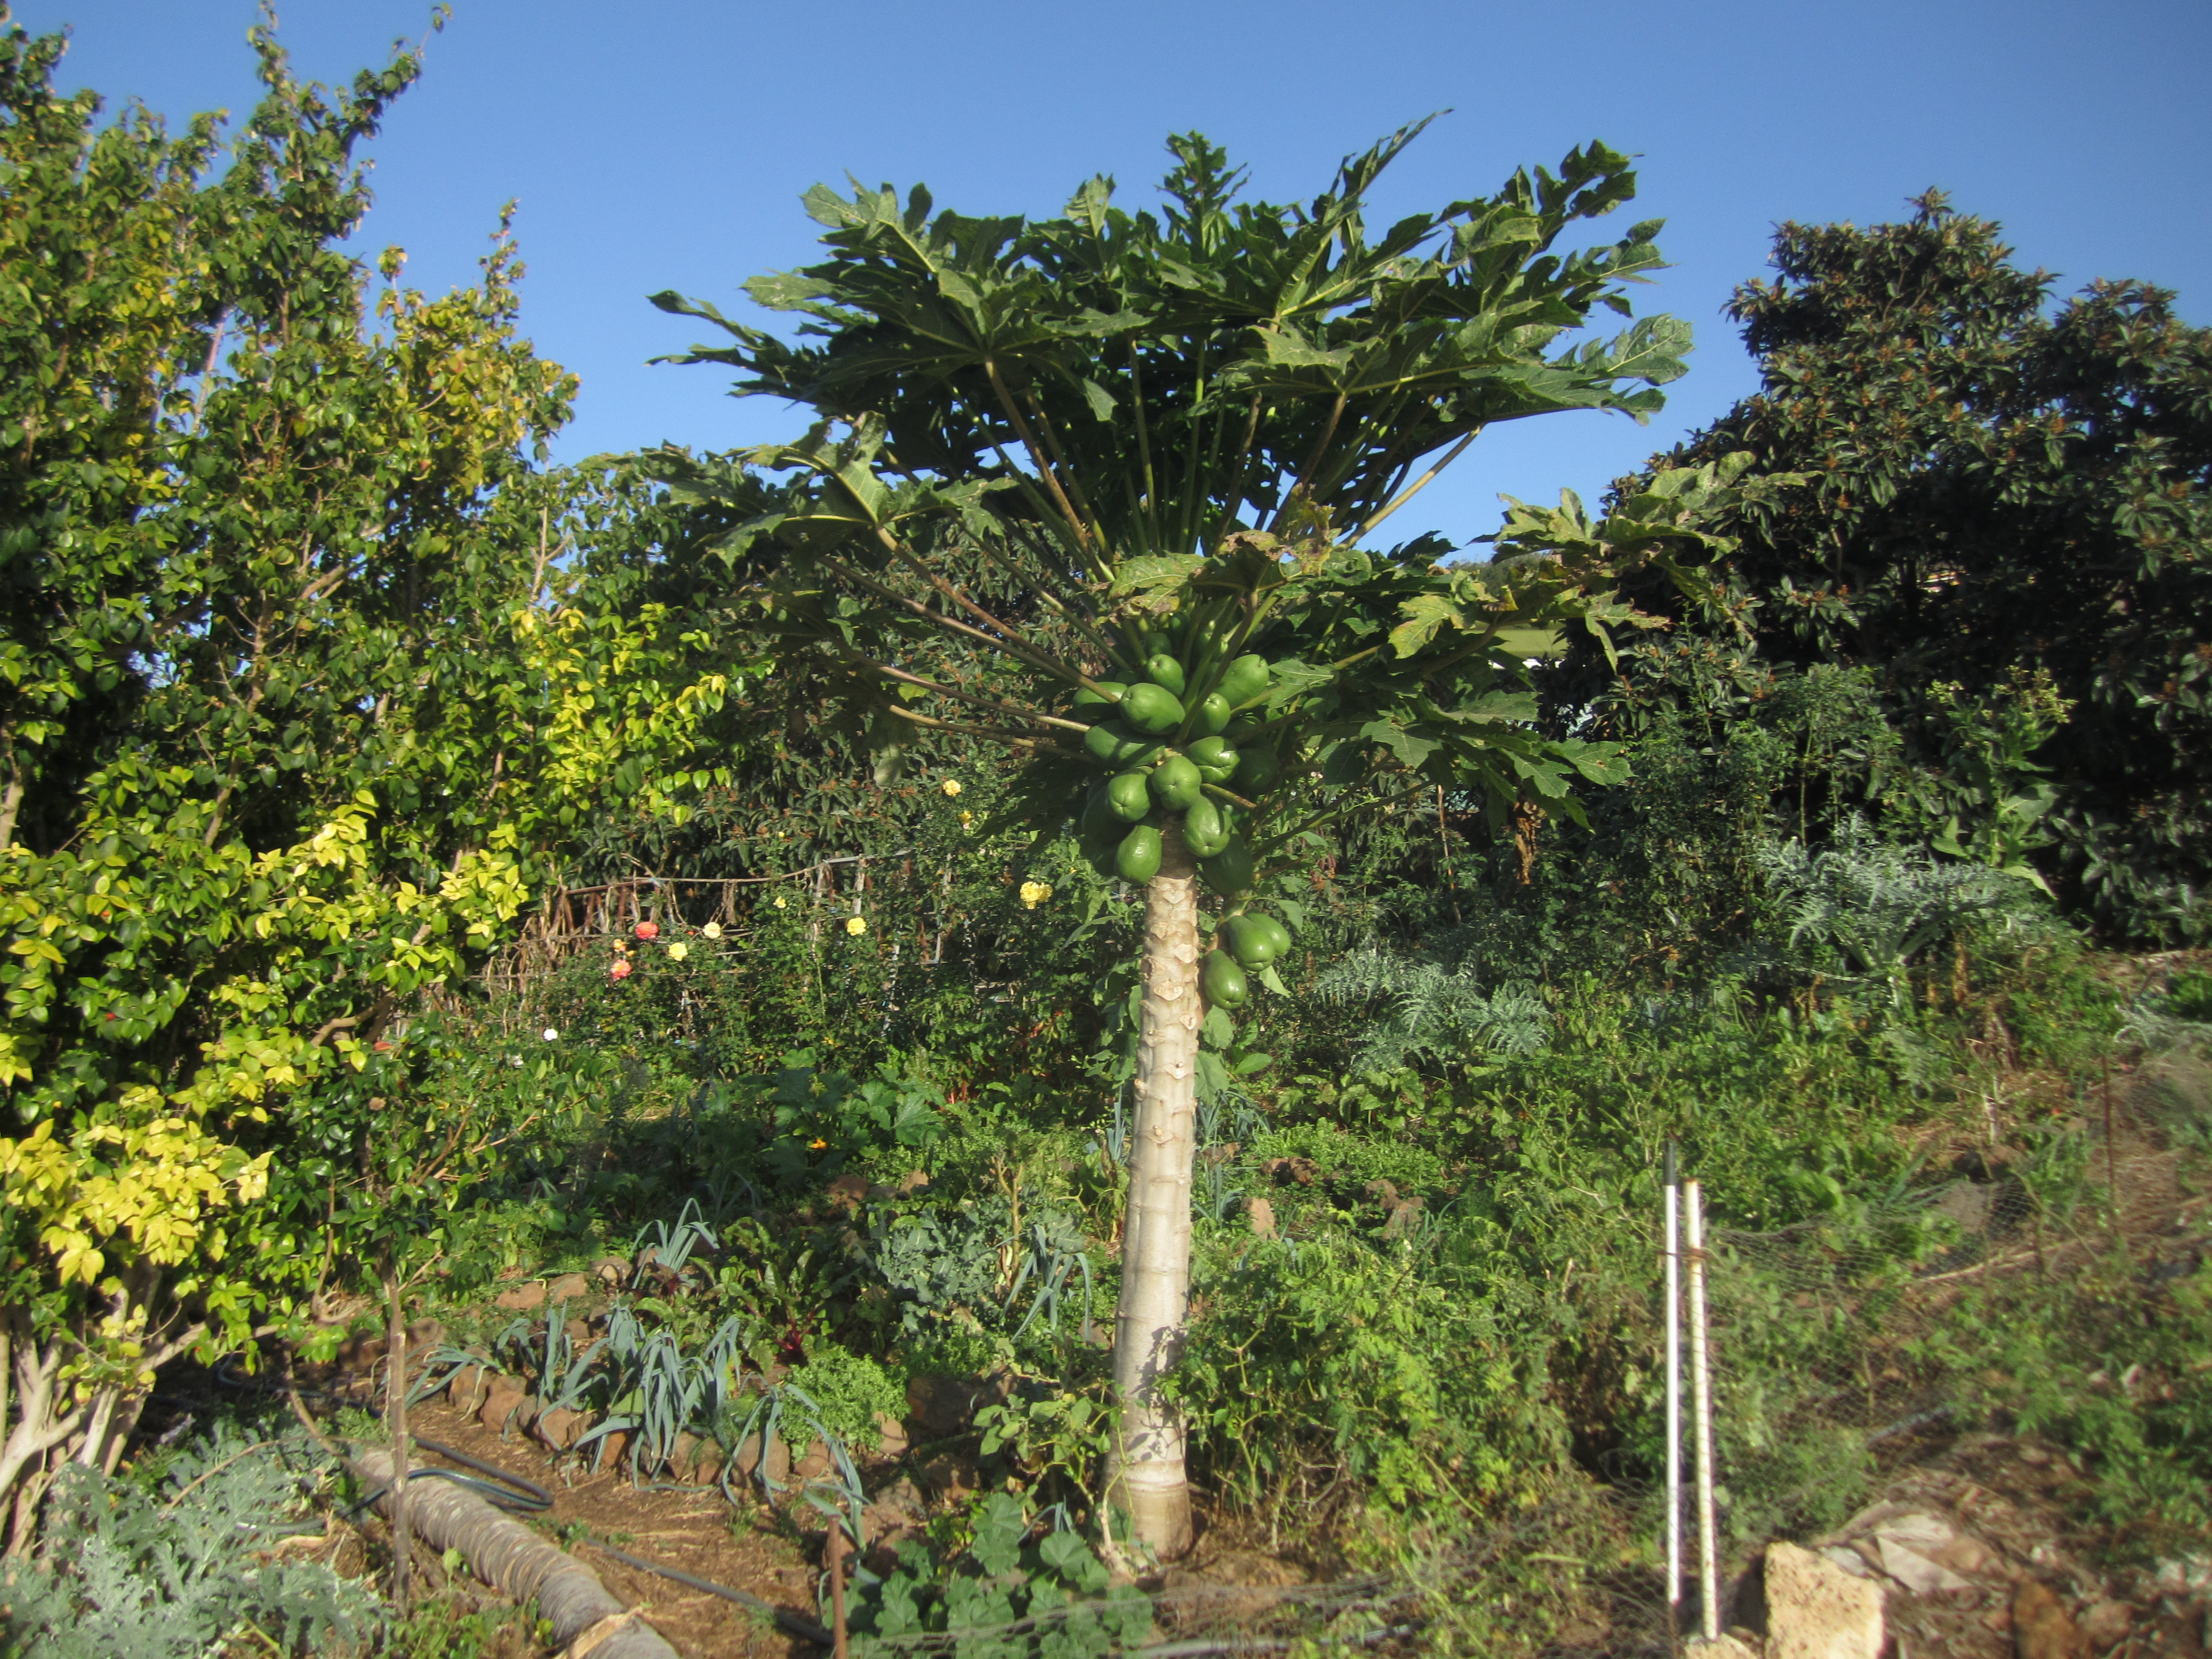
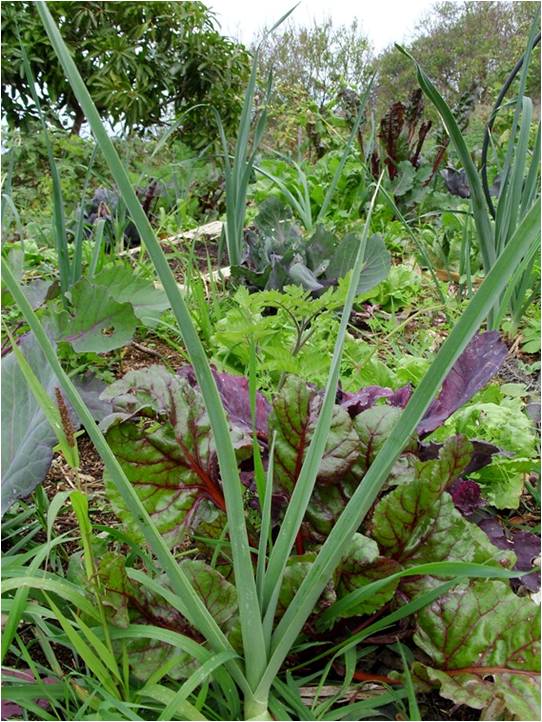
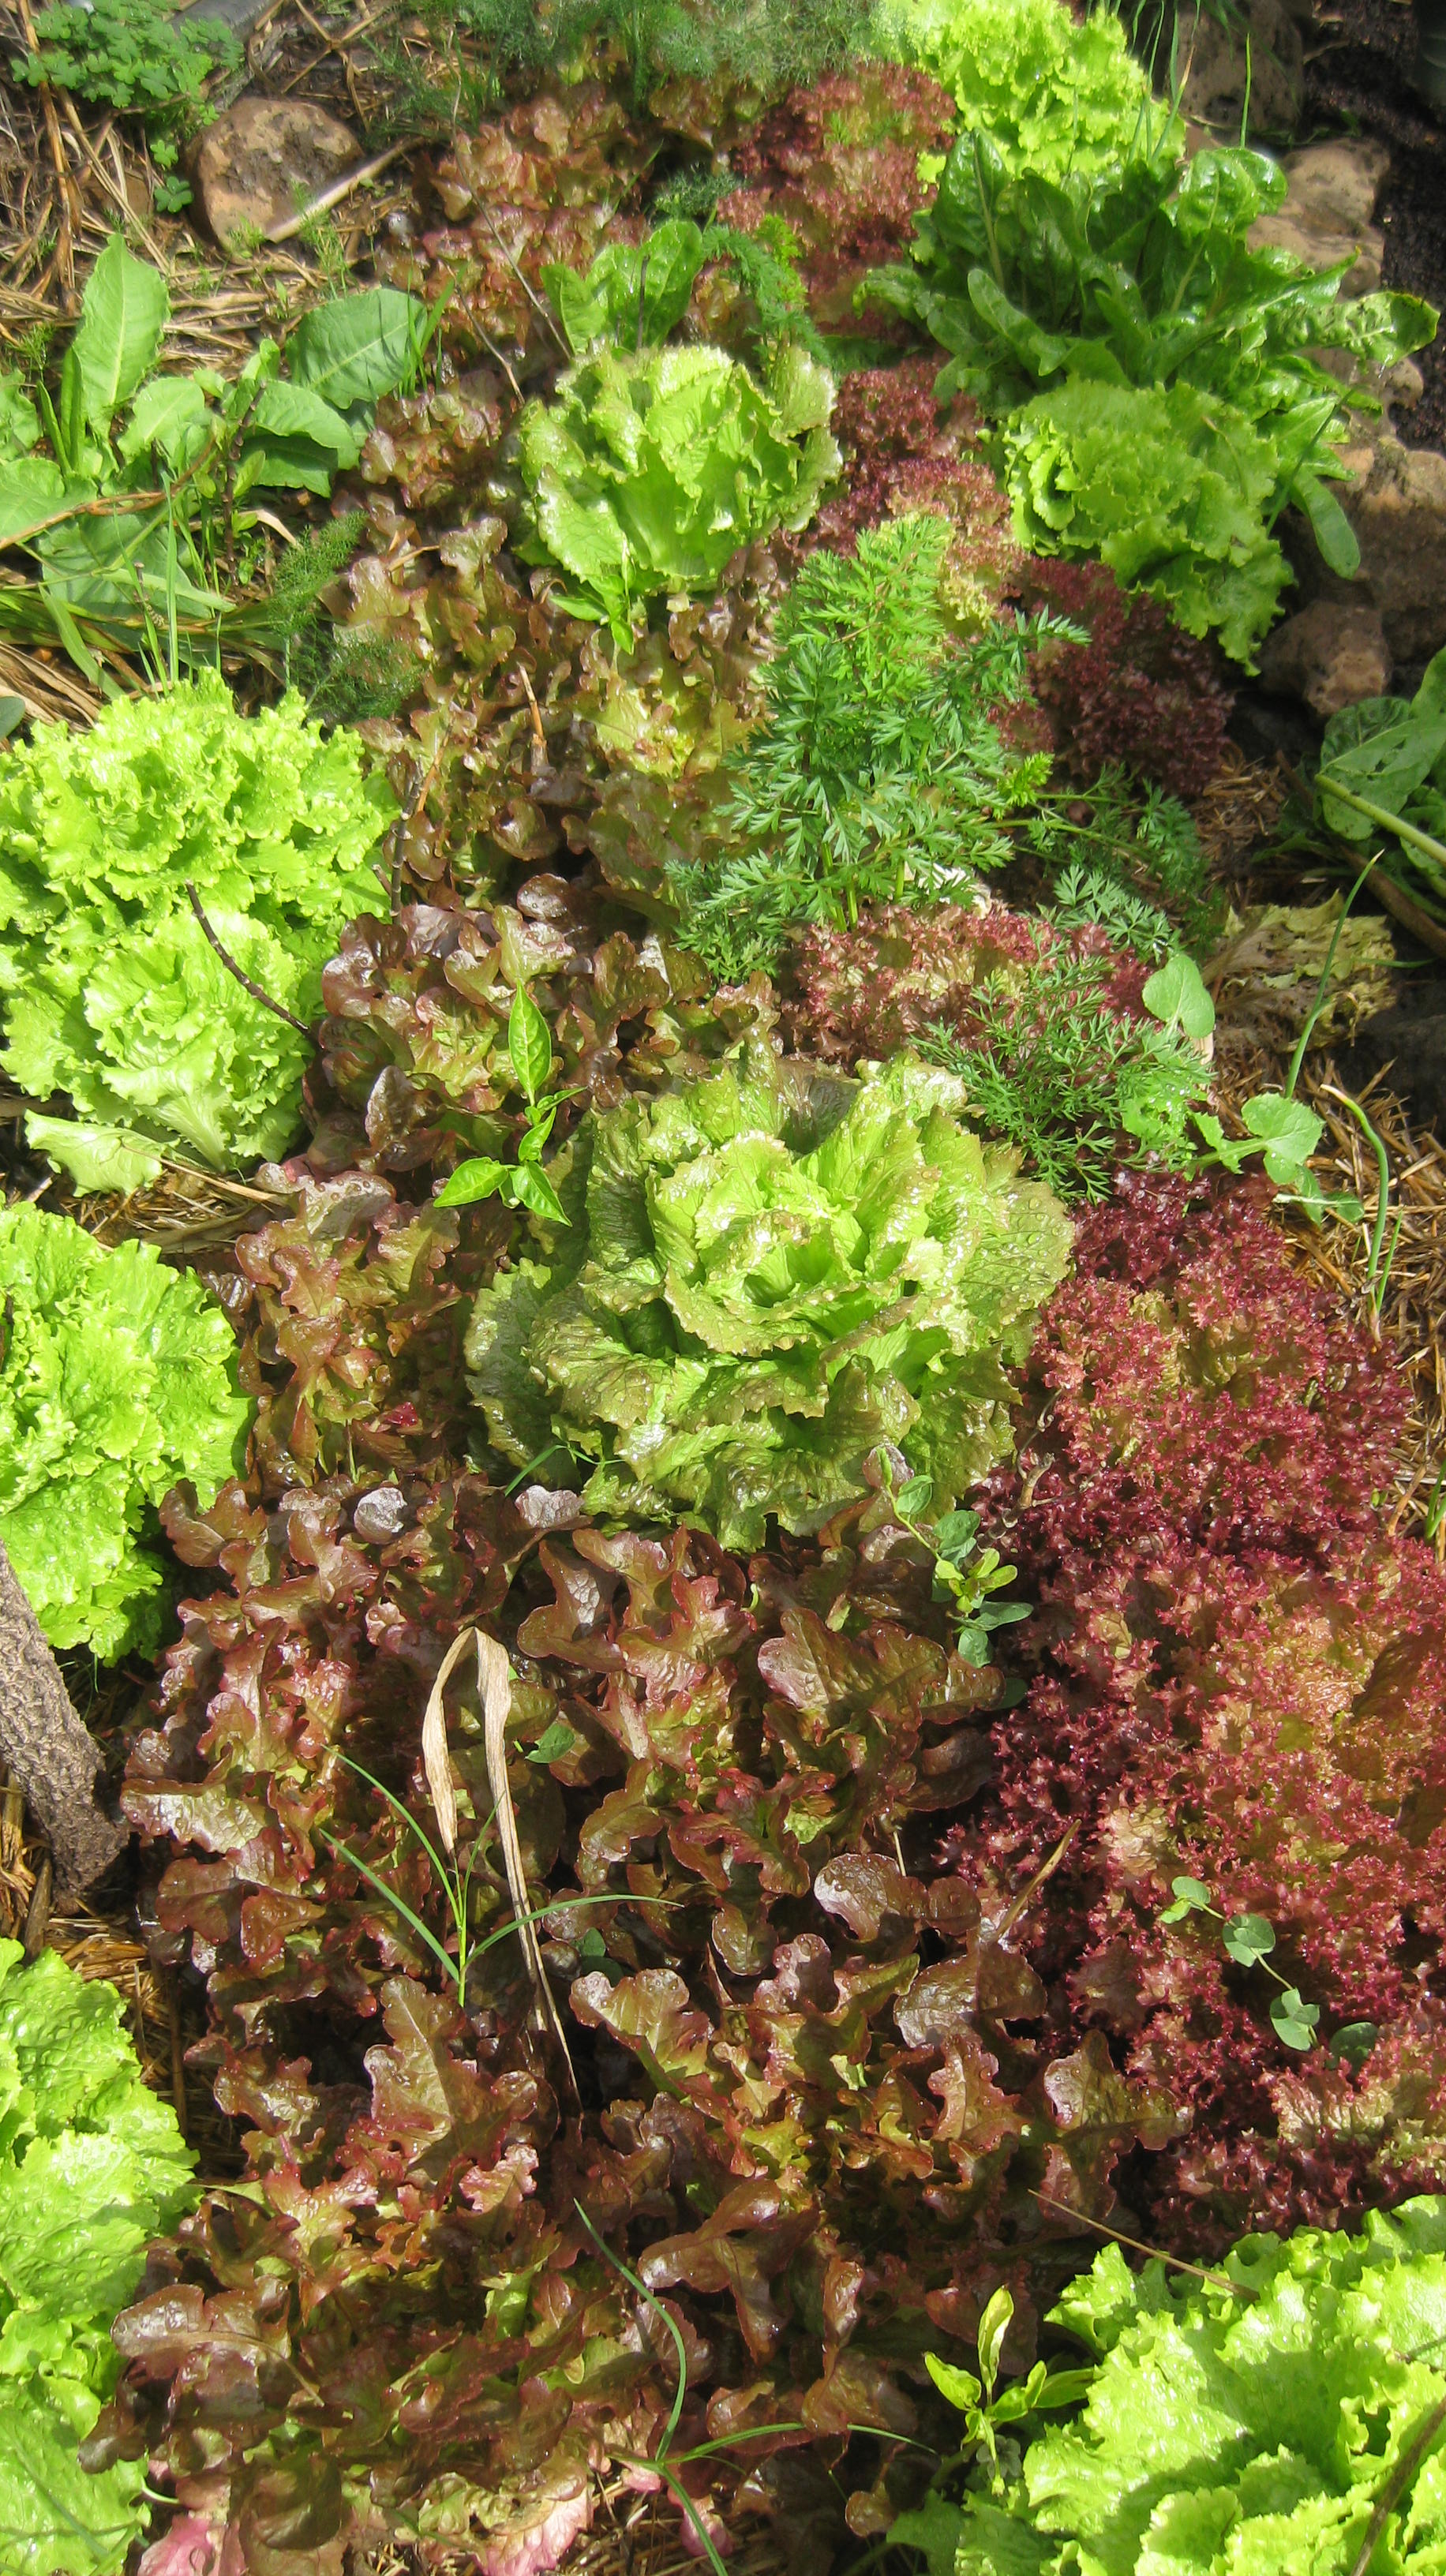
Figure III.27.- “Edible creativity”
III.5.- To summarize
In this didactic unit we desired to explain how important soil cultivation as a living creature is in Permaculture. In the previous didactic unit we emphasized as well the importance of the cultivation of water.
Let’s not forget that according to José Graziano da Silva, FAO Director-General, “the soils host at least one quarter of the world´s biodiversity. They are key in the carbon cycle. They help us to mitigate and adapt to climate change. They play a role in water management and improving resilience to floods and droughts”, as stated in the declaration of the International Year of Soils by the UN in 2015.
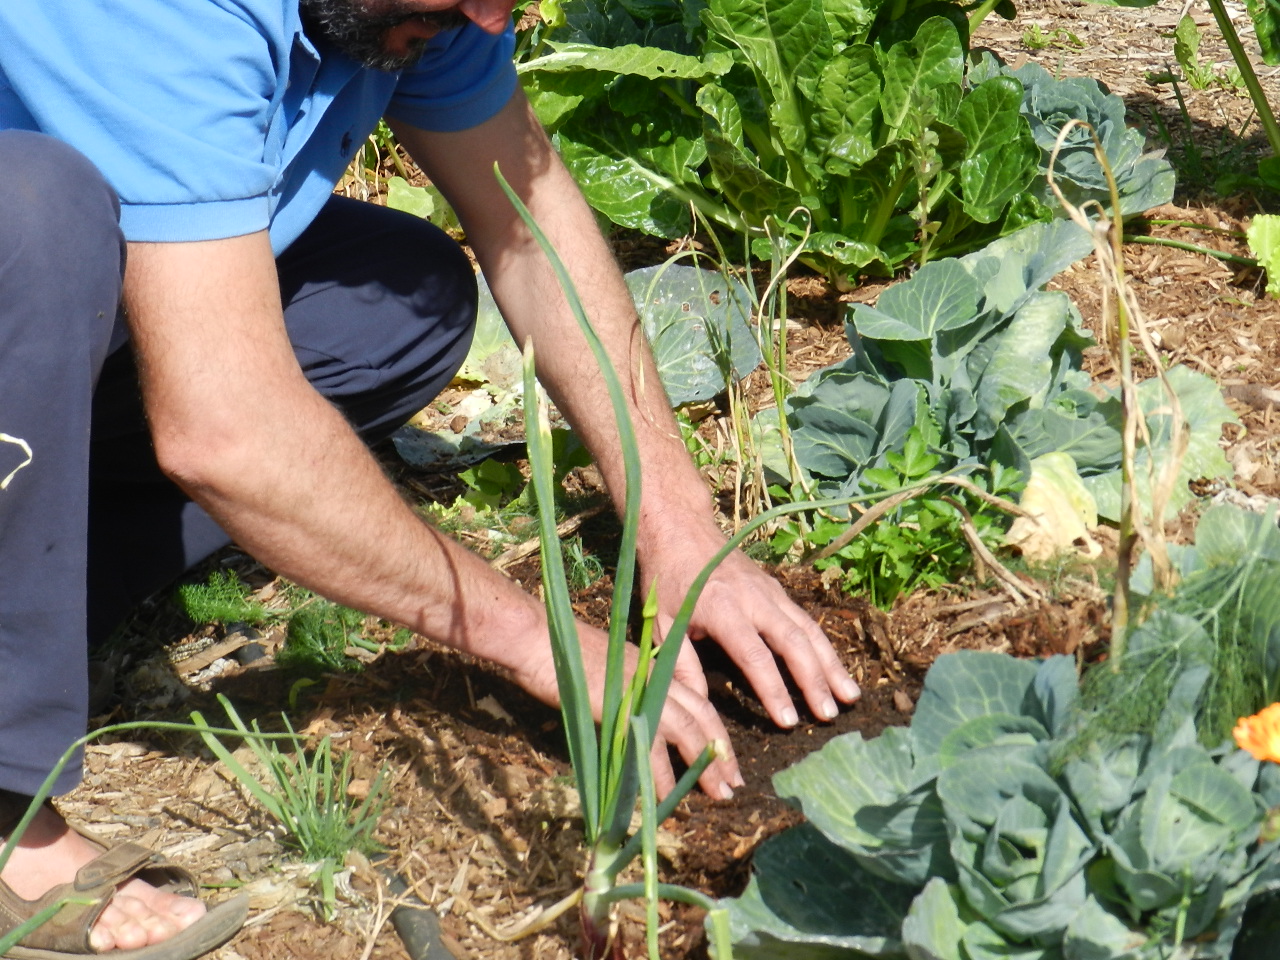
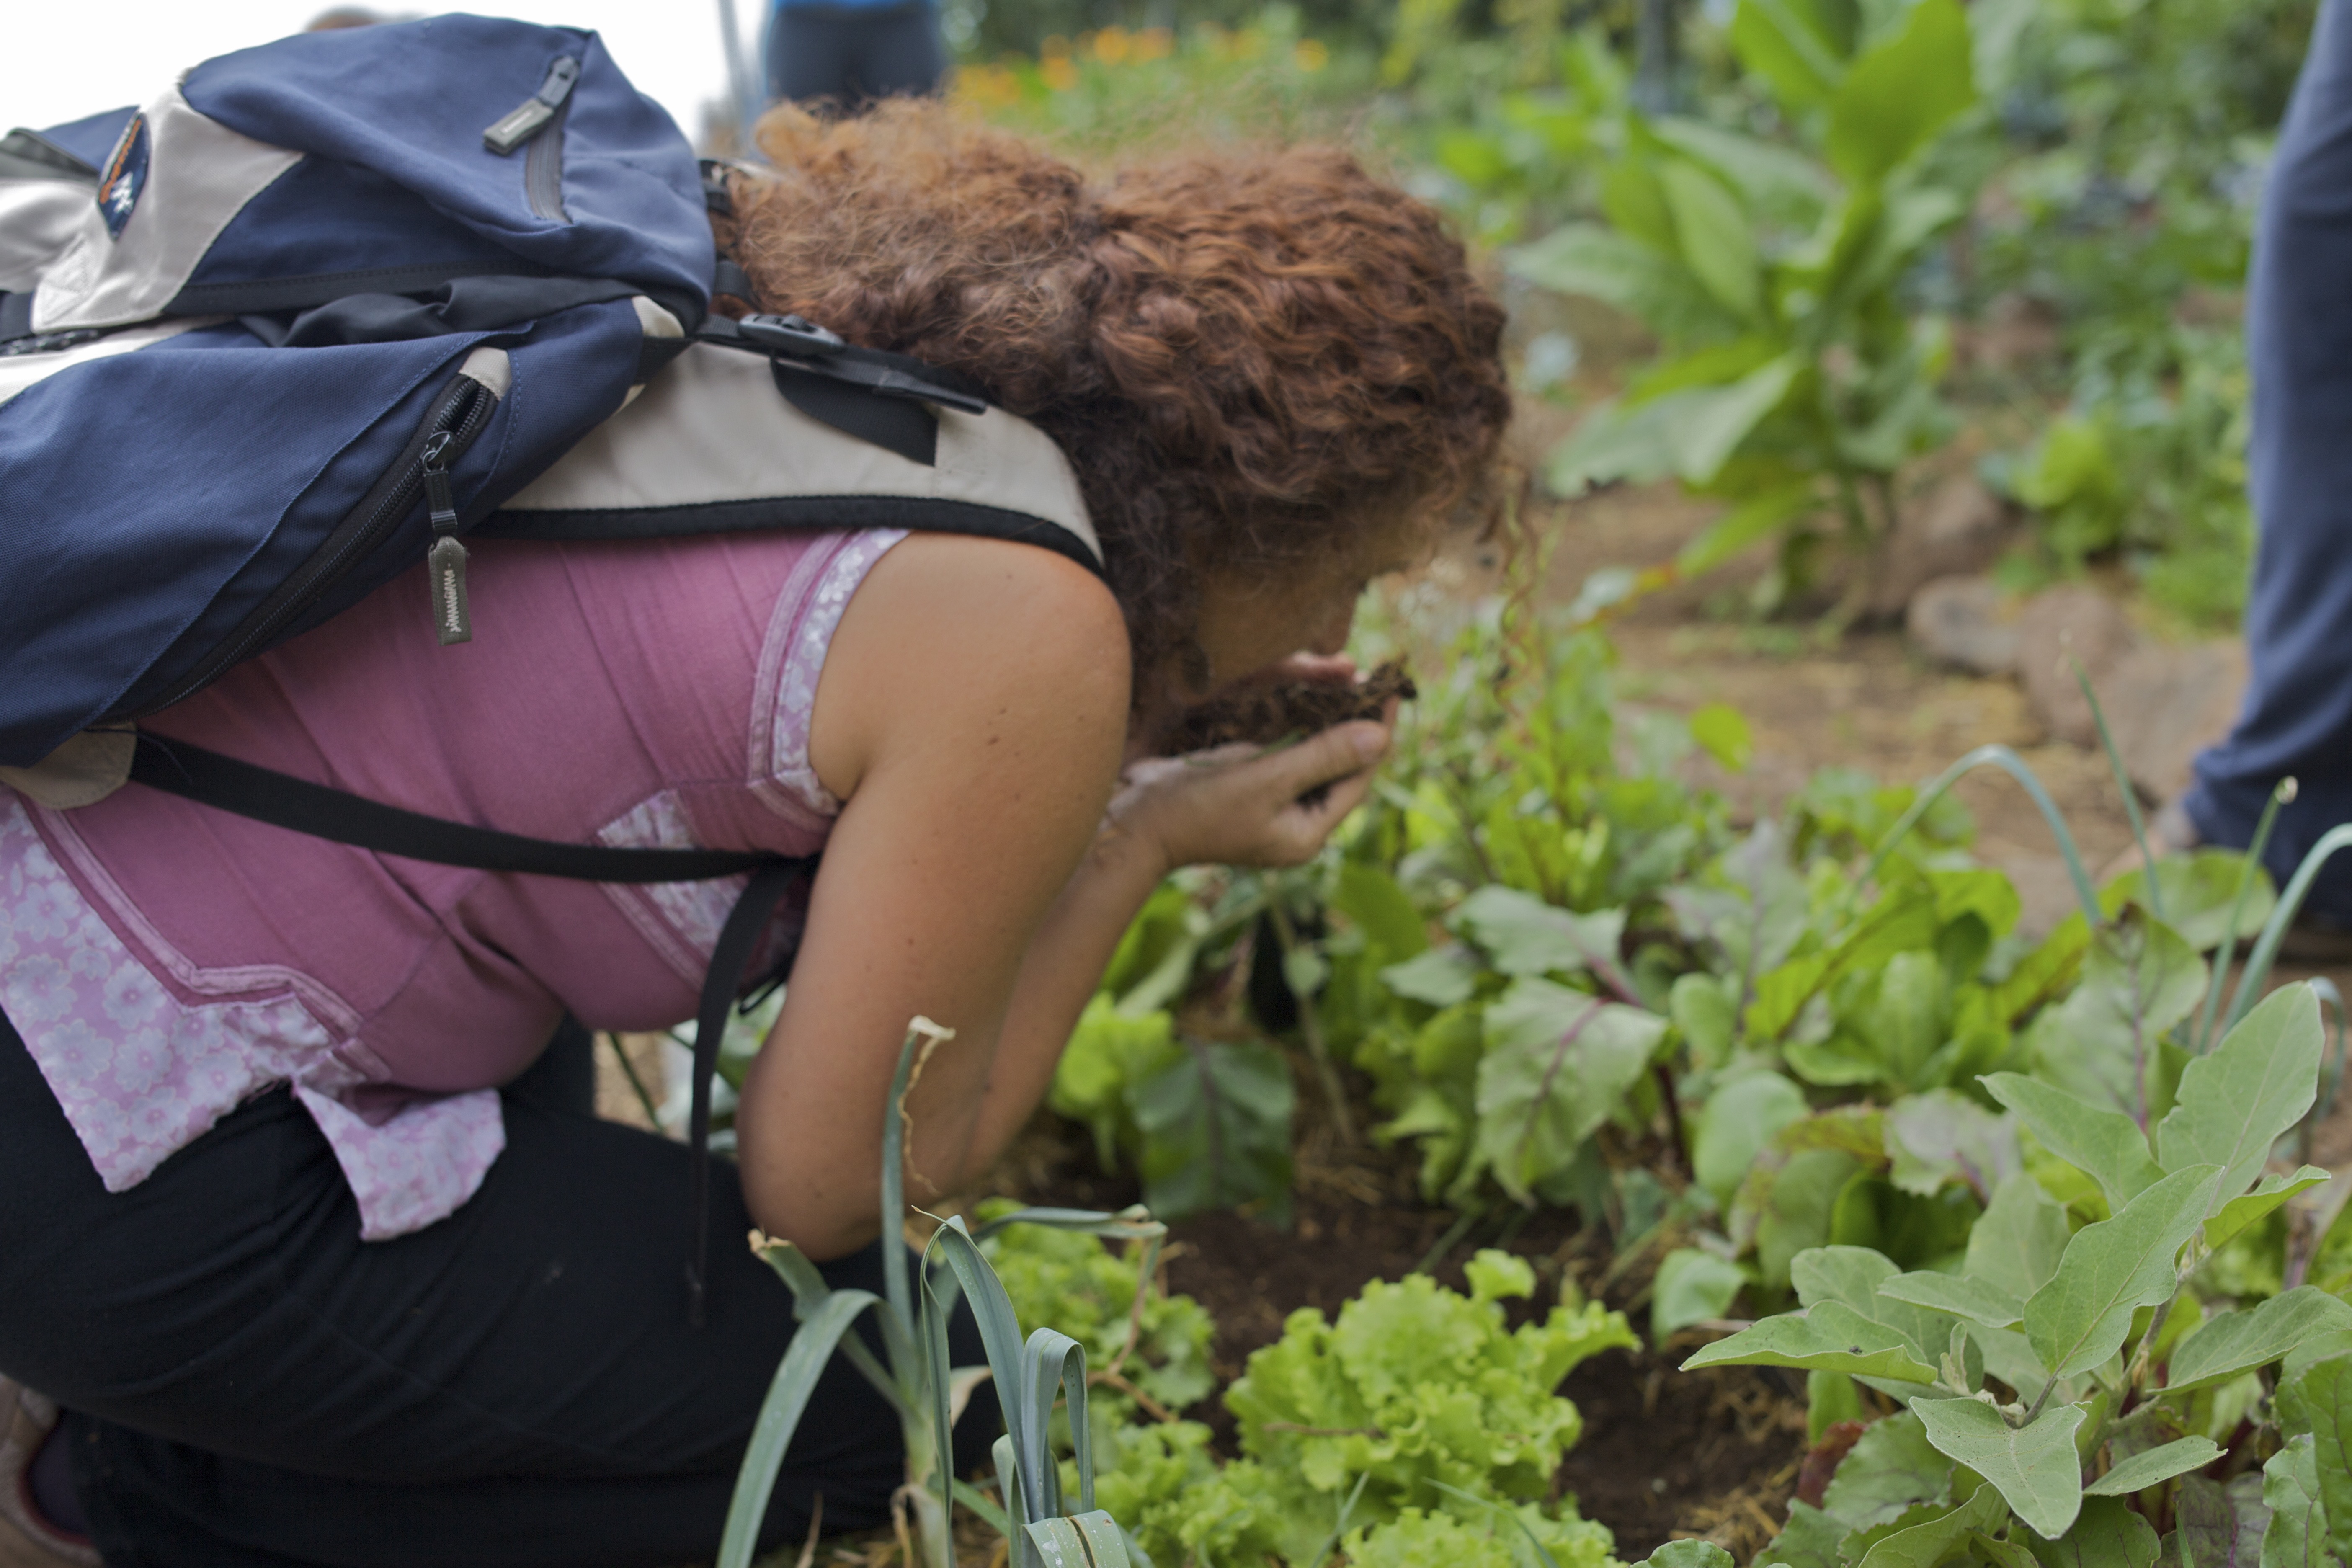
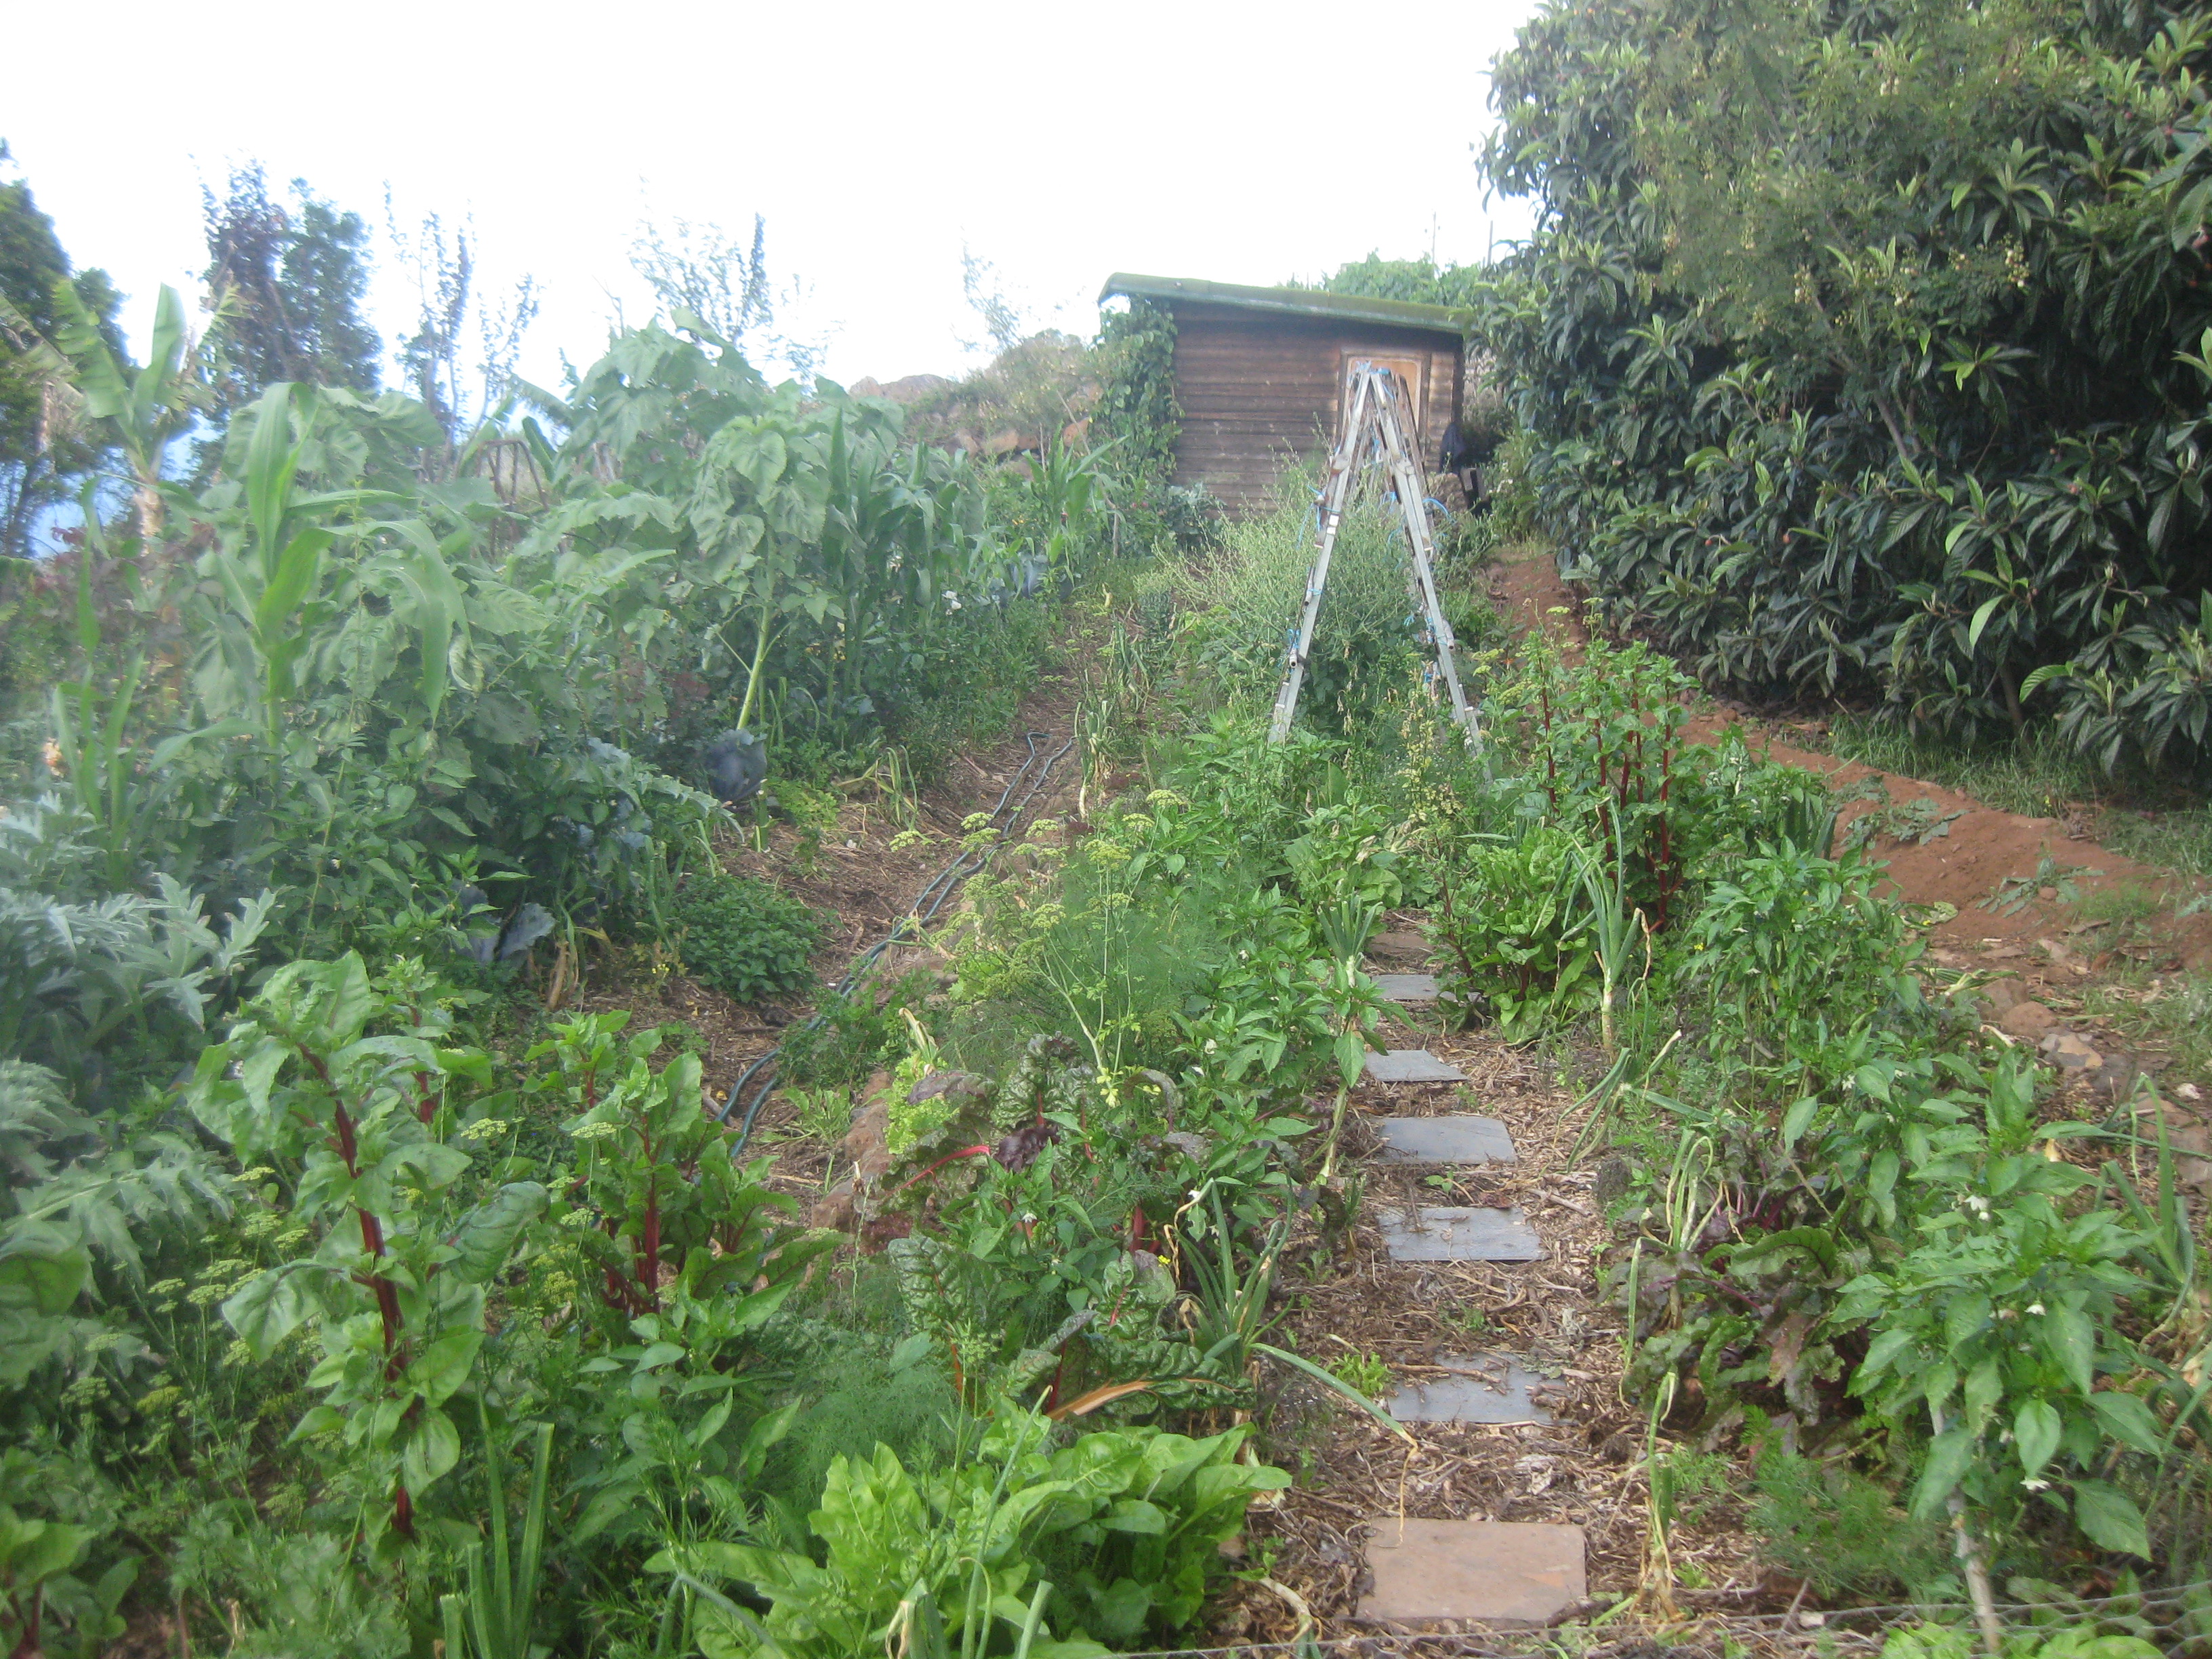
But cultivating the soil is much more than this. It is also an opportunity to obtain nutrients for food, and an opportunity to reconnect as human beings to the nature we are part of, and the beauty through the magic of our senses: touch, smell, observe…In a nutshell: A GREAT OPPORTUNITY TO HEAL (Figure III.28).
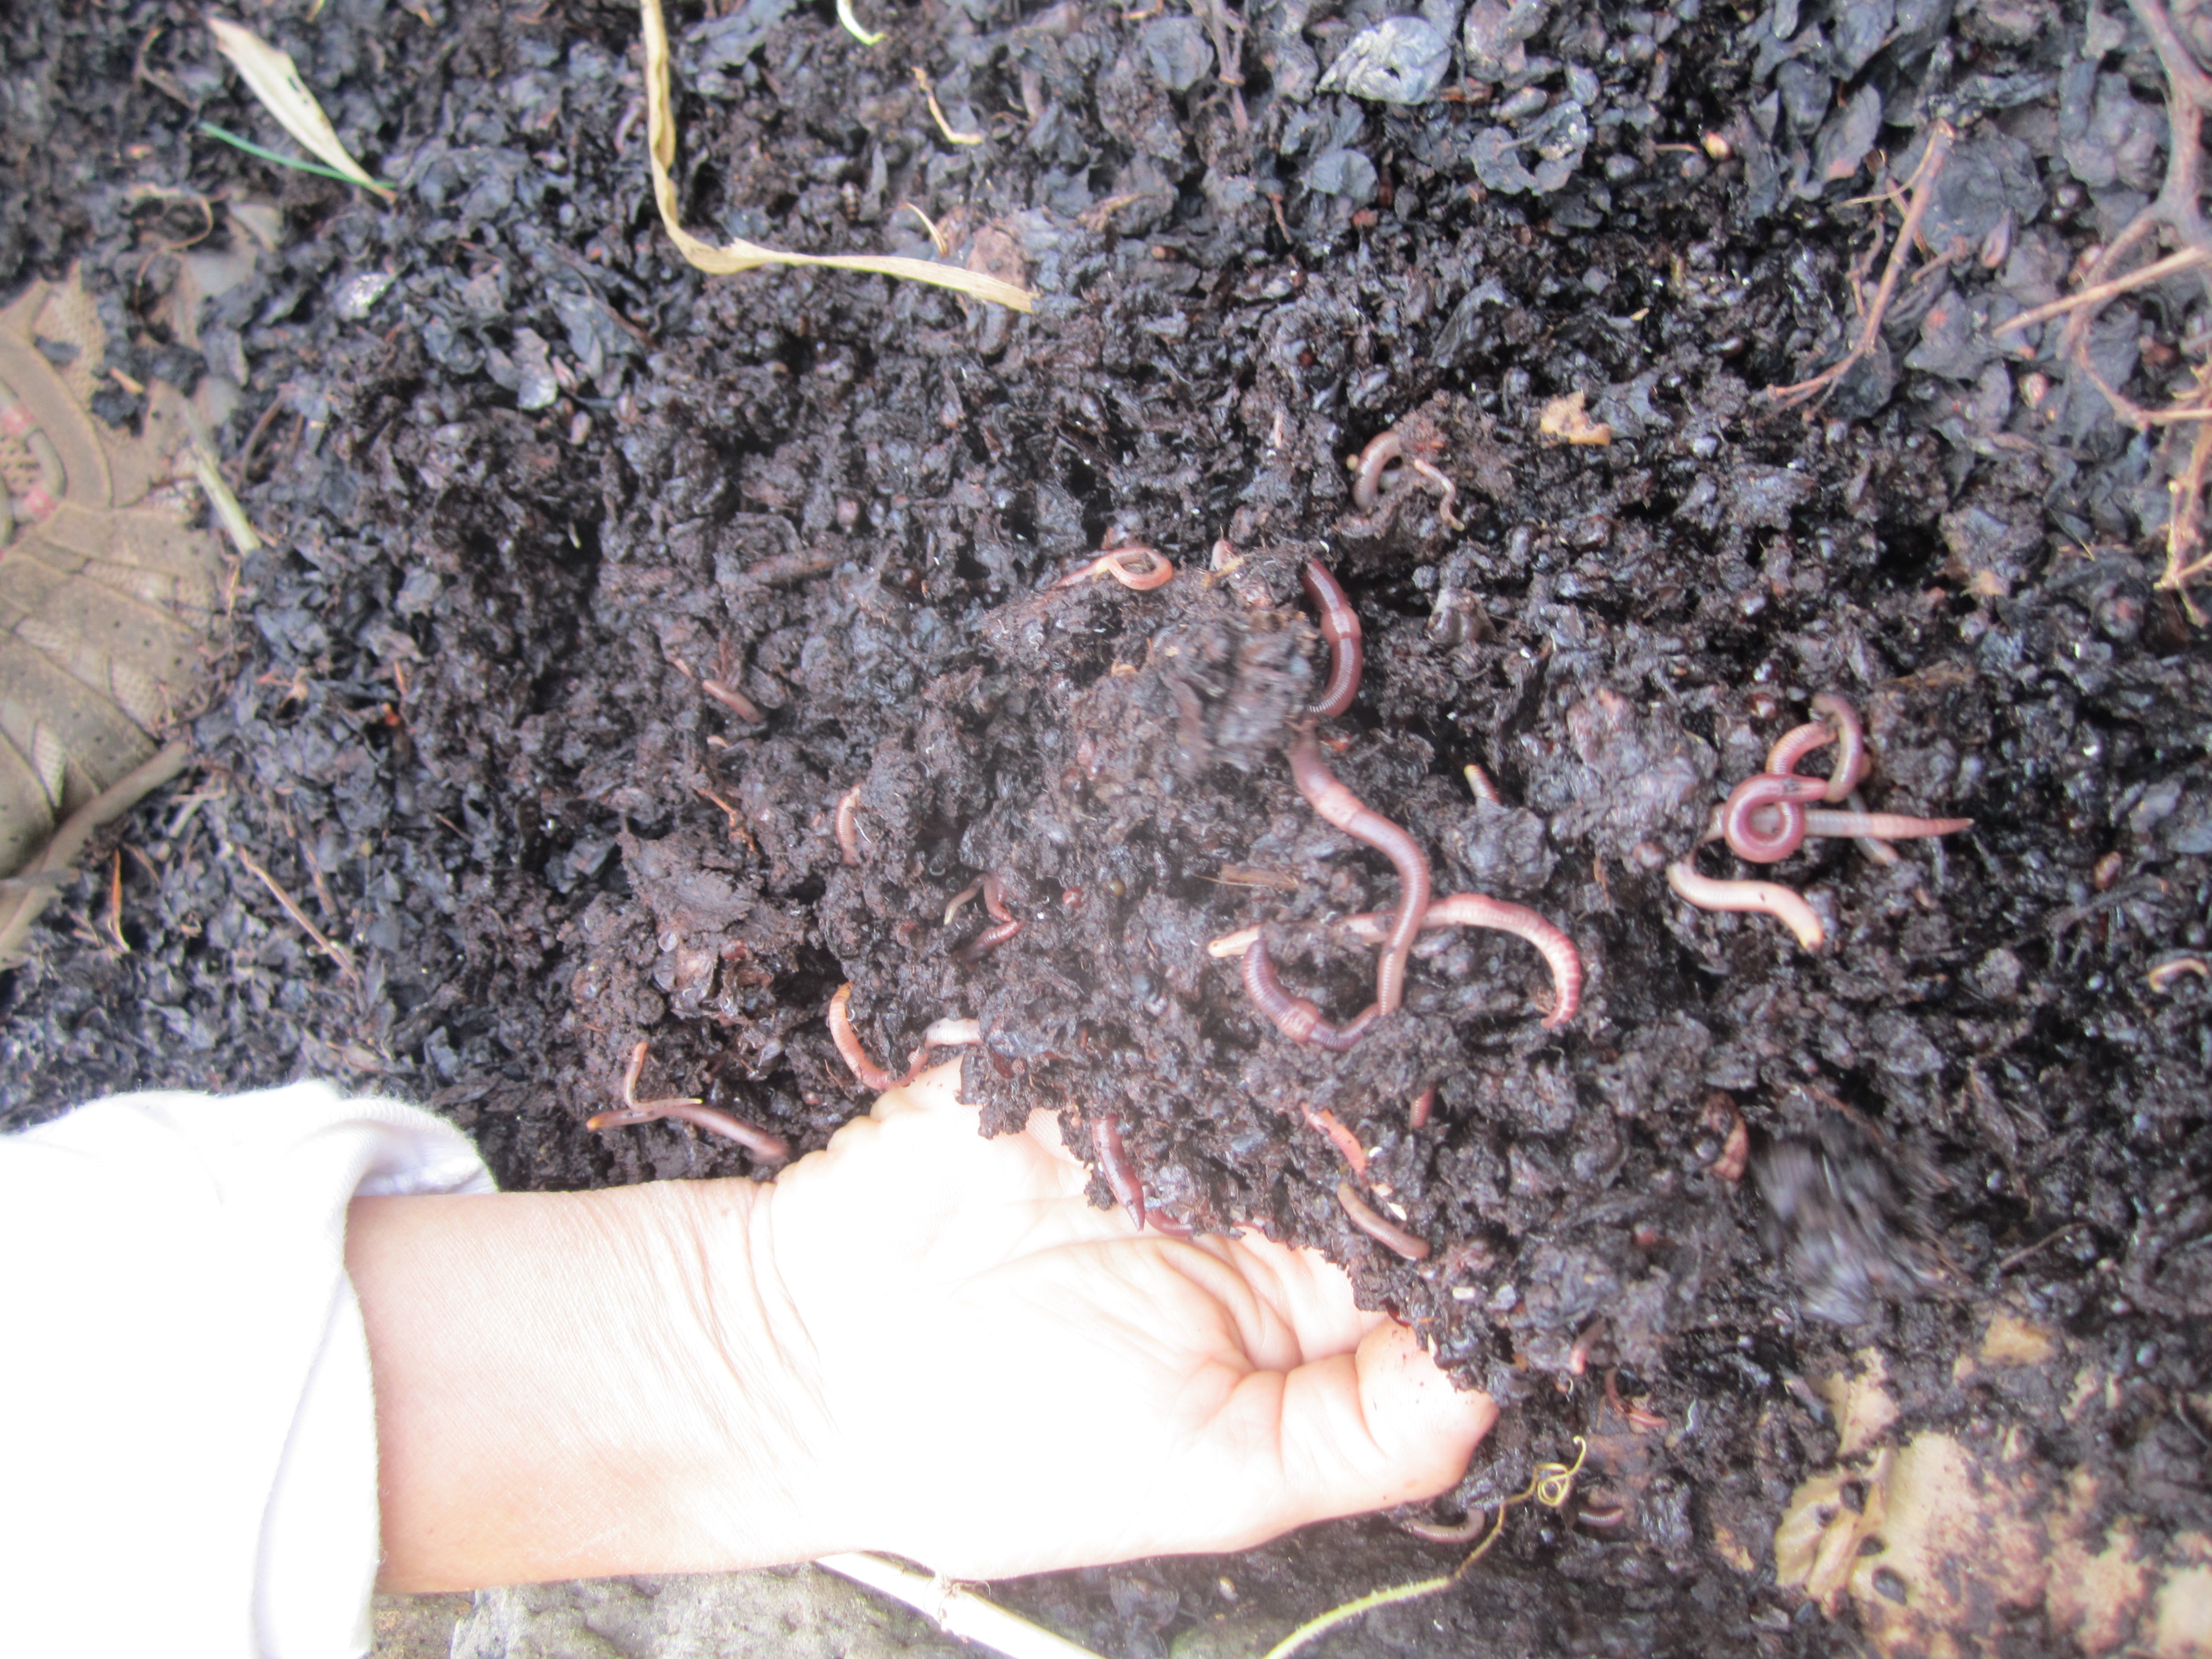
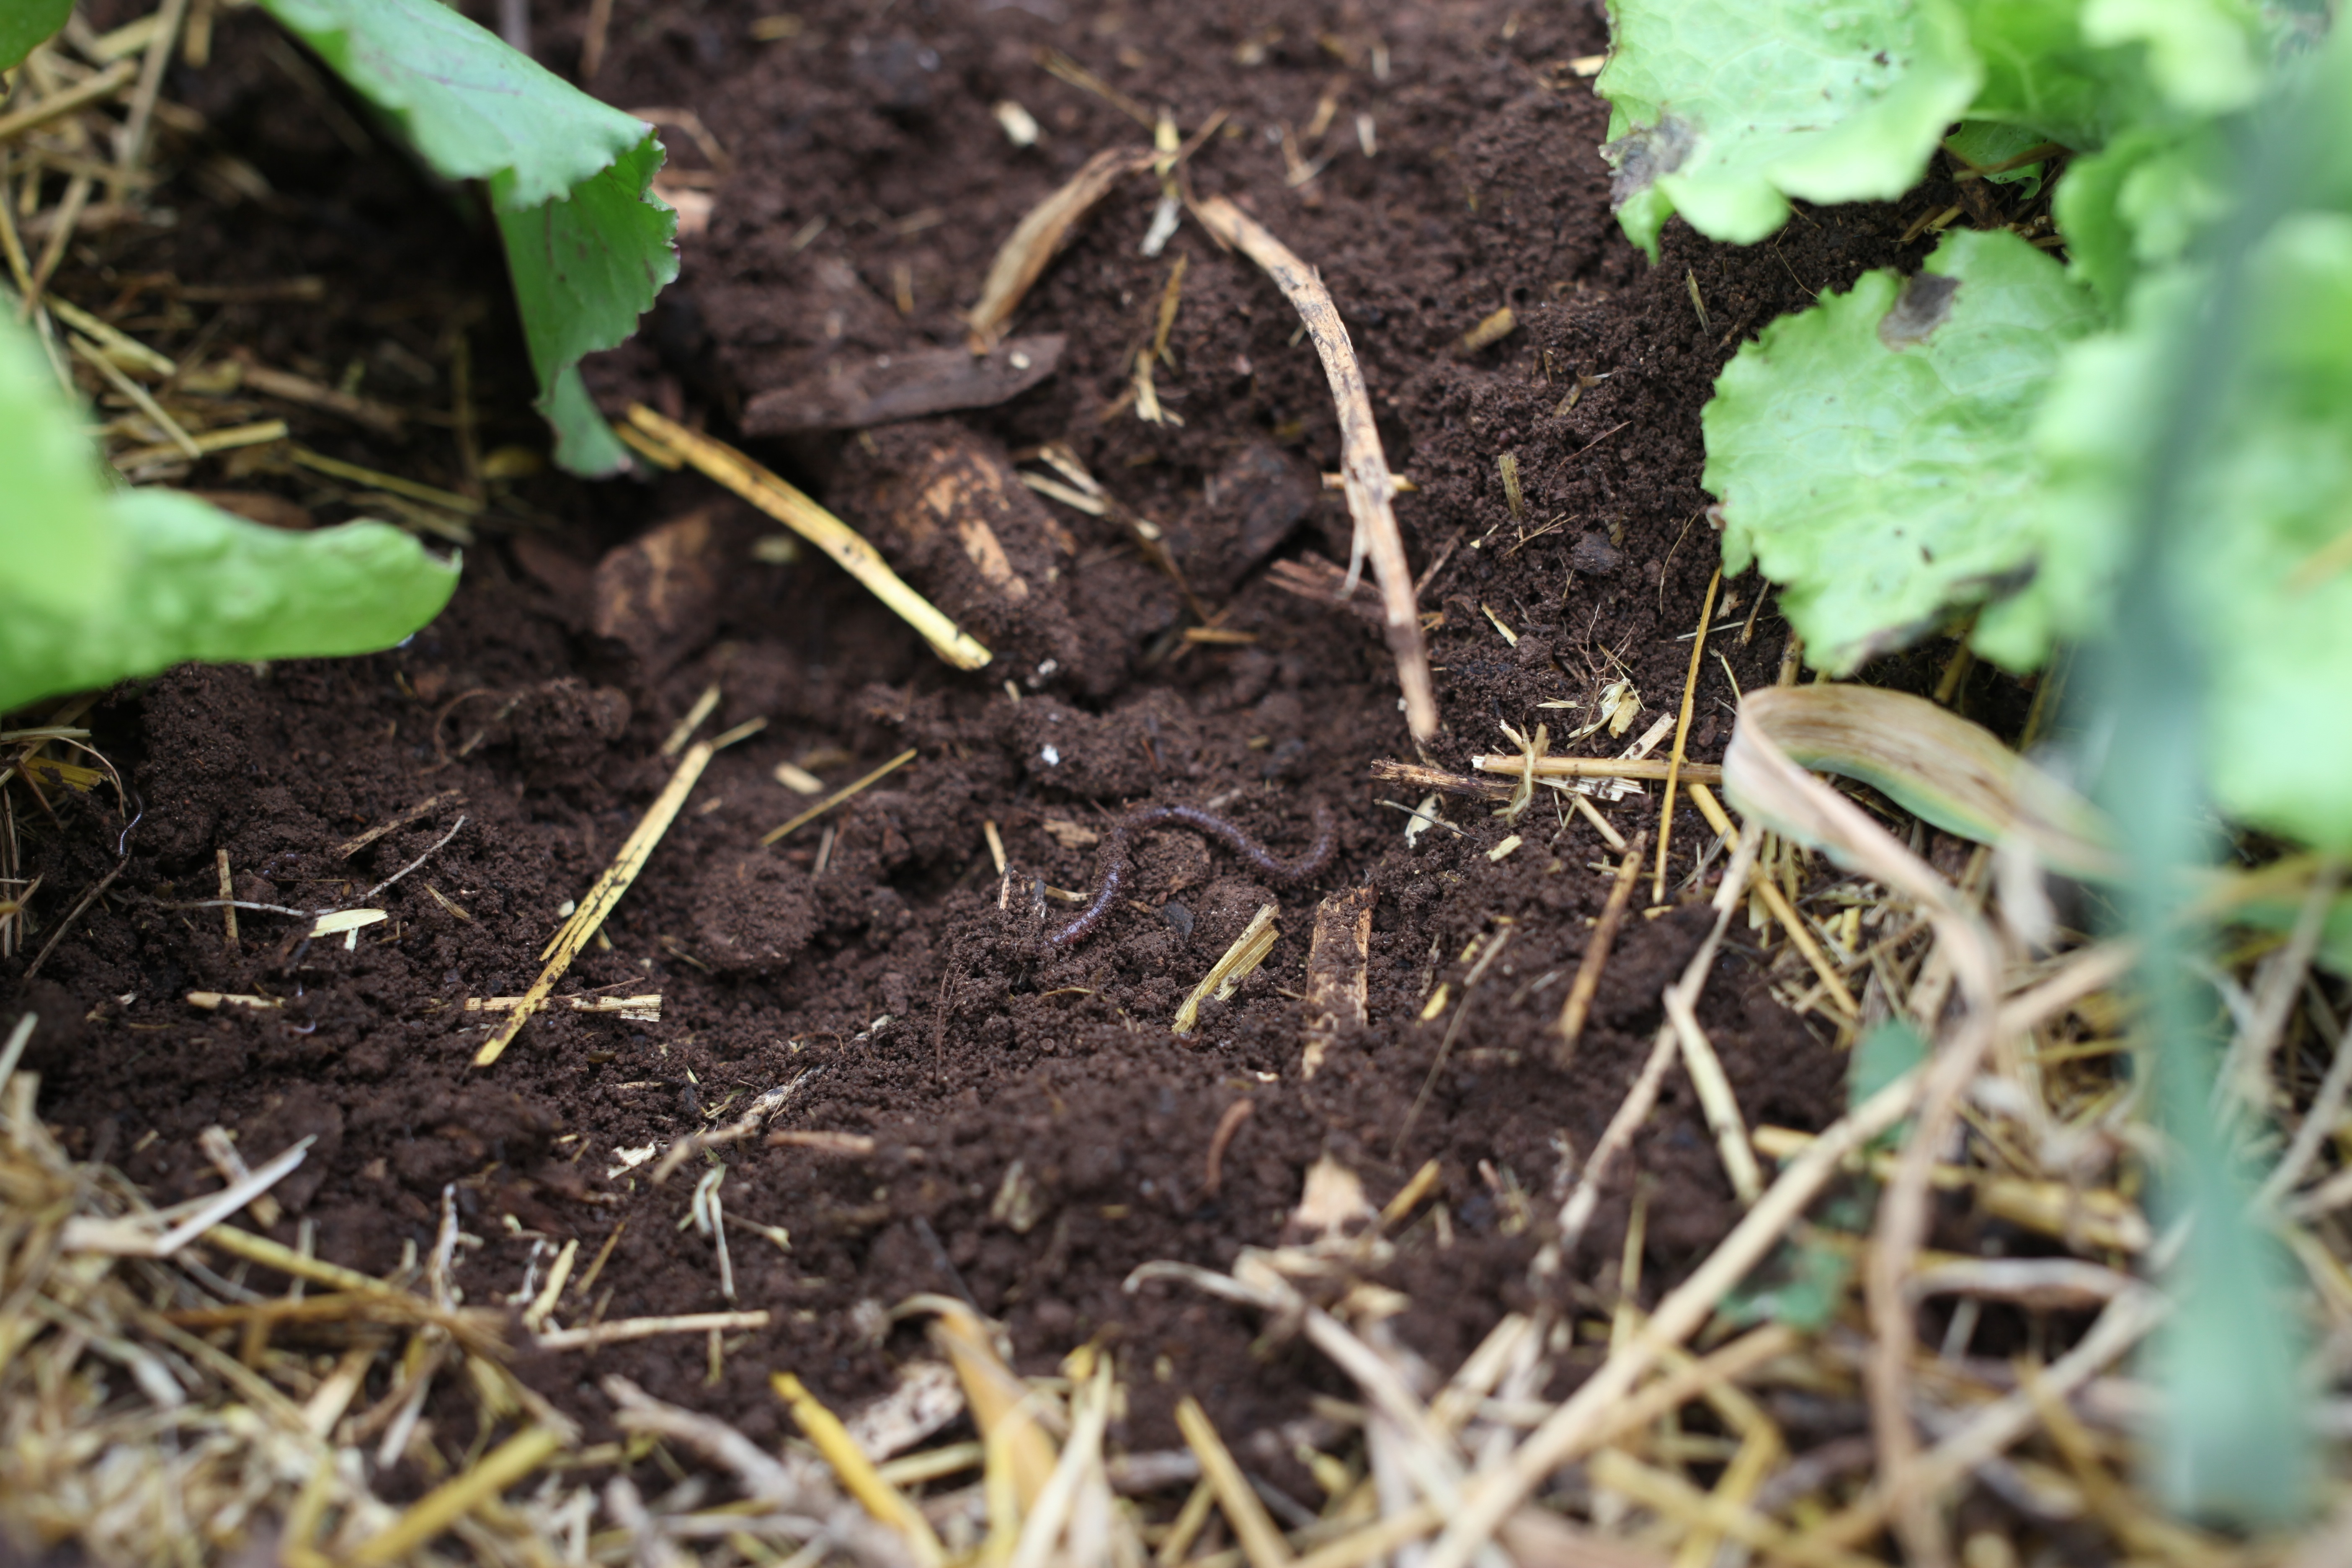
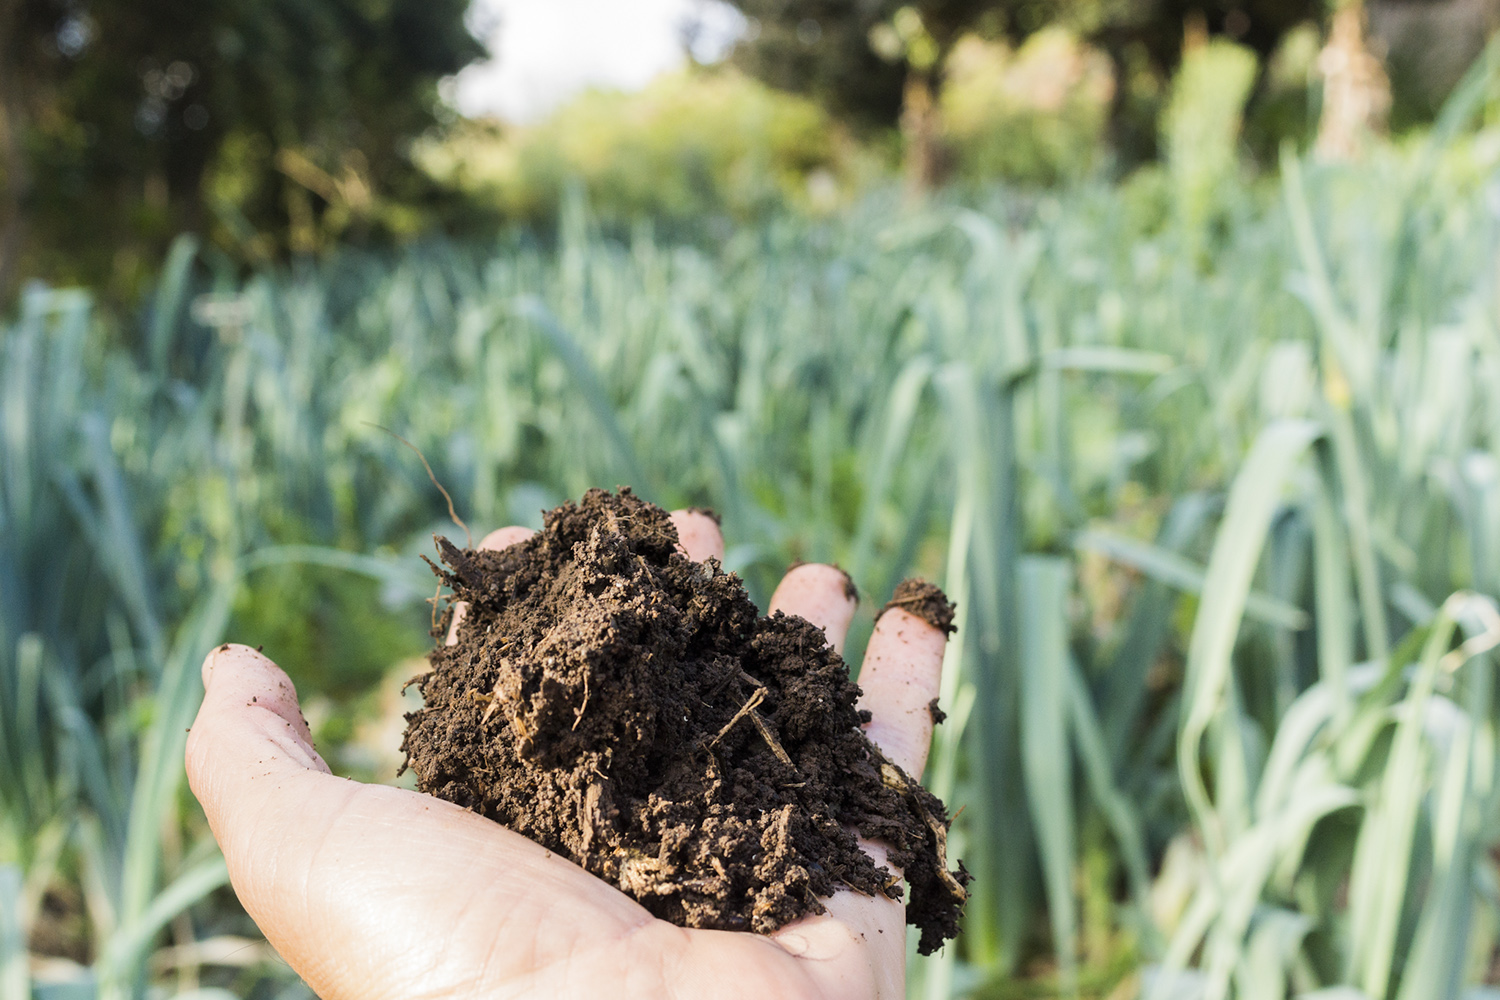
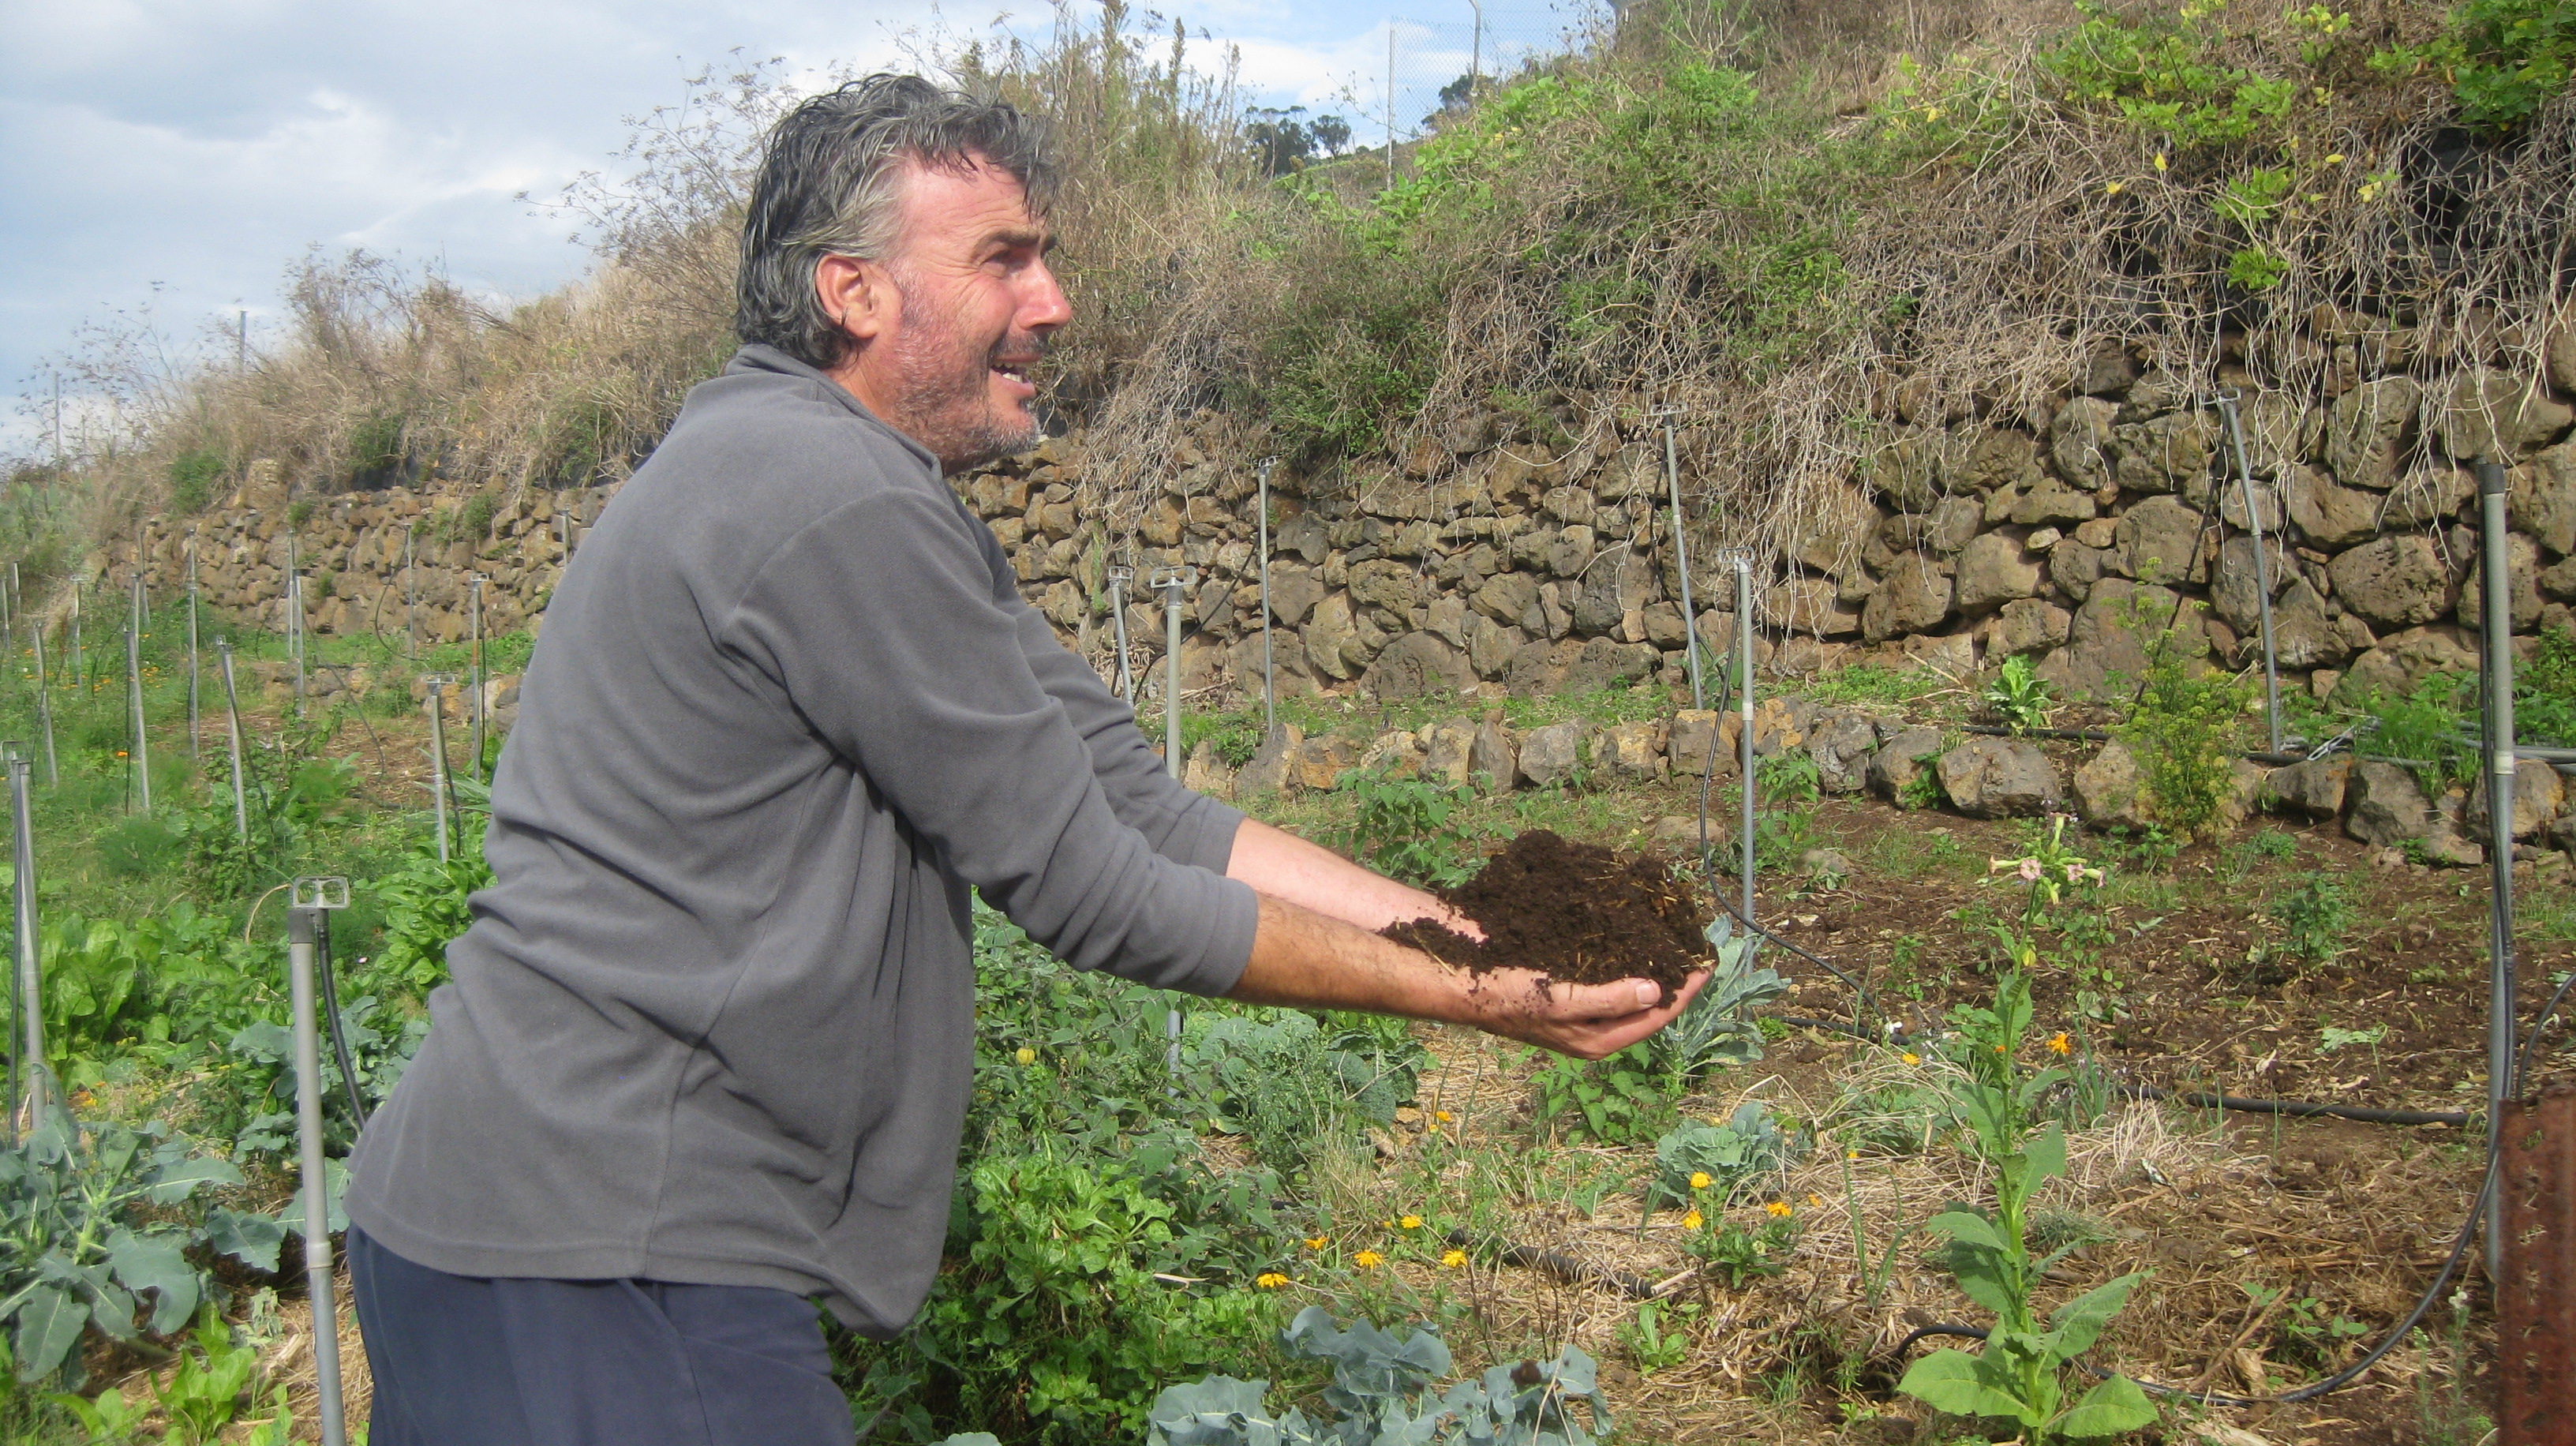
Figure III.28.- Cultivating and feeling the soil